Making a DIY grapevine wreath is a wonderful and rewarding craft project that adds a rustic and natural touch to your home decor. This versatile craft is perfect for various seasons and occasions, and once you get the hang of it, you can experiment with different vine types, decorations, and sizes. This guide will carefully explain each step you need to know to make your own grapevine wreath, from selecting vines to decorating the final product.
What Is a Grapevine Wreath?
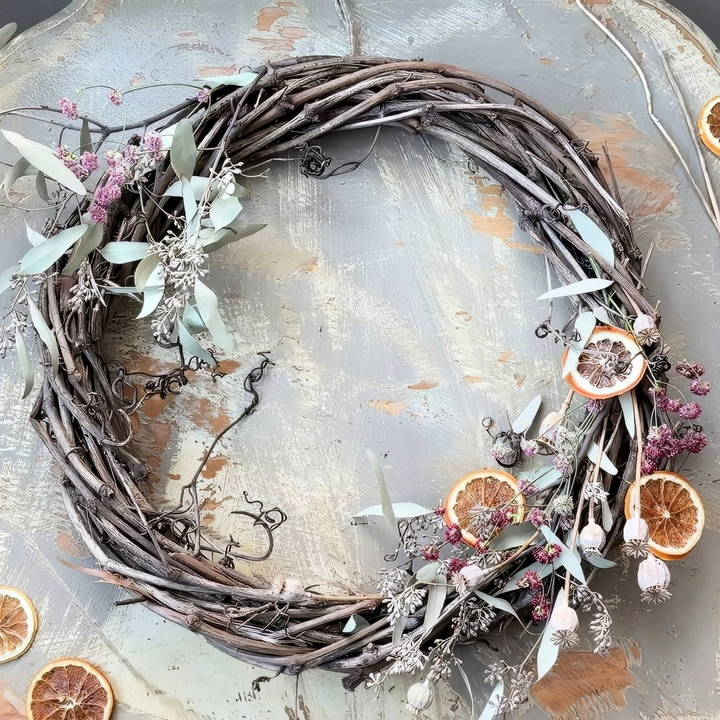
A grapevine wreath is a circular arrangement made by twisting and intertwining grapevines or other types of vines to make a sturdy base. It serves as a blank canvas that can be decorated with various materials like flowers, leaves, seasonal fruits, or ribbons, making it a versatile decor piece for holidays, events, or everyday use.
While grapevines are commonly used for this project, you can also substitute other vines such as honeysuckle, wisteria, Virginia creeper, or even willow. The key is to use vines that are thick enough to form a solid structure and pliable enough to be shaped into a circle.
Benefits of Making Your Own Wreath
- Cost-effective: By harvesting vines from your own garden or nearby areas, you save money on store-bought wreaths.
- Customizable: You can tailor the size, thickness, and decorations to suit your personal taste or seasonal themes.
- Eco-friendly: Using natural materials reduces waste and helps you recycle garden prunings.
- Therapeutic: Crafting a wreath is a relaxing and creative activity that connects you with nature.
Materials and Tools You'll Need
Discover essential materials and tools for your project with our comprehensive guide. Acquire everything you need to succeed efficiently.
Materials:
- Grapevines or Other Vines – As mentioned earlier, you can use grapevines or similar vines like honeysuckle, wisteria, or Virginia creeper. Aim for vines that are flexible and strong enough to hold their shape when twisted.
- Decorative Items – These can include dried flowers, leaves, fruits (like dried citrus), pinecones, or ribbons. What you choose will depend on your desired look and season.
- Water – For soaking the vines to make them more pliable.
Tools:
- Pruners or Scissors – For cutting the vines to your desired length.
- Water basin or bathtub – To soak the vines.
- Floral Wire (Optional) – If needed, you can use floral wire to secure the decorations or stubborn vines.
- Hot Glue Gun (Optional) – To attach more delicate decorations to the wreath.
Step by Step Instructions
Learn how to make a DIY grapevine wreath with step-by-step instructions, from preparing vines to decorating for seasonal themes. Perfect for any occasion!
Step 1: Gather and Prepare the Vines
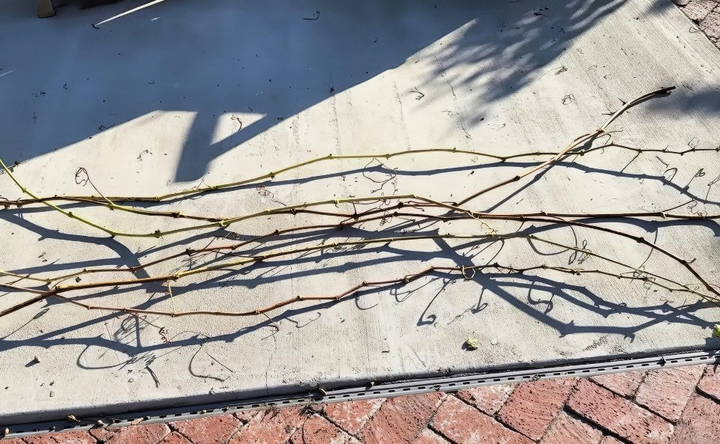
If you're using fresh vines from your garden, prune long pieces of vine, ideally between 6 to 10 feet in length. The longer the vines, the easier it will be to work with them in one continuous motion. Grapevines, for example, often grow long and tangled, making them a perfect candidate for wreaths. Other vines like honeysuckle or wisteria can also work beautifully.
If the vines have already dried out or if you're working with older cuttings, it's essential to soak them. Soaking the vines in water for several hours (or overnight) helps to soften them, making them easier to manipulate and less prone to breaking while shaping.
Step 2: Clean the Vines
After soaking, remove any leaves, smaller twigs, or other debris. However, feel free to leave small curly tendrils as they add a charming, natural texture to the wreath. If some of the vines are too thick or stiff, soaking them longer might help.
Step 3: Start Shaping the Wreath
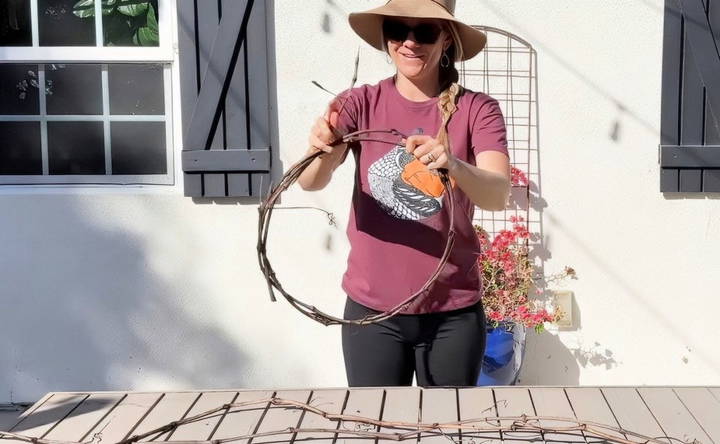
Take the thickest part of one vine and make the initial loop by bending it into a circle. This will serve as the foundation for your wreath. You can choose the size of the circle based on your preference; wreaths typically range from 8 inches to 24 inches in diameter.
Once you have formed the loop, secure the shape by tucking the thinner end of the vine back into itself, much like tying a knot. The goal is to secure the loop without using any additional materials like wire or string.
Step 4: Weave the Vines
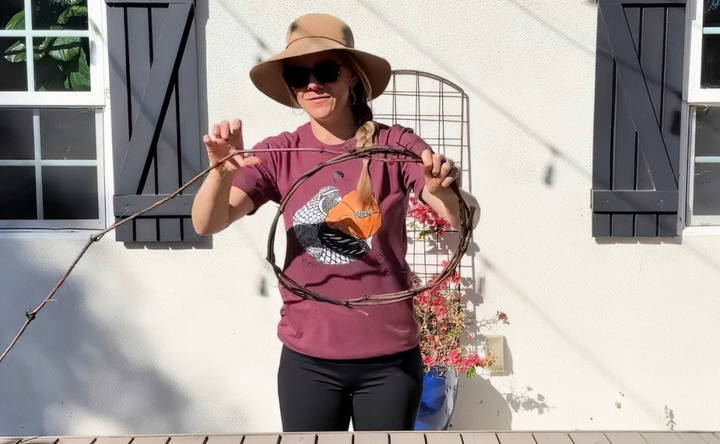
After securing the first loop, continue wrapping the remaining part of the vine around the loop, tucking the ends into any available gaps. This process builds up the thickness of the wreath.
If you run out of vine before you've reached your desired thickness, grab another piece of vine, and weave it through the structure. Continue weaving and tucking until you are satisfied with the fullness of the wreath. Remember, the more vines you add, the sturdier and fuller your wreath will become.
- Pro Tip: If the vines crack slightly during the process, don't worry. As long as they don't break completely, you can continue weaving them. If a vine does break entirely, simply tuck the broken end into the wreath and continue with a new vine.
Step 5: Adjust the Shape
Once you've reached the desired thickness, take a step back and examine your wreath. It's not uncommon for the wreath to look slightly uneven or misshapen after all the weaving. If it does, gently press down on the areas that are uneven to reshape it into a more uniform circle. Be careful not to press too hard, as the vines can break.
Decorating Your Grapevine Wreath
Now comes the fun part—decorating your wreath! You can keep it simple and rustic or dress it up depending on the occasion or season. Here are some ideas for decorations:
Seasonal Themes:
- Fall: Incorporate dried leaves, mini pumpkins, pinecones, and rustic burlap ribbons.
- Winter: Use pine branches, holly berries, and red ribbons for a festive holiday look.
- Spring: Decorate with pastel-colored flowers, such as tulips or daffodils, and soft greenery.
- Summer: Opt for bright blooms, seashells, or even dried citrus slices for a sunny, cheerful wreath.
Decorative Elements:
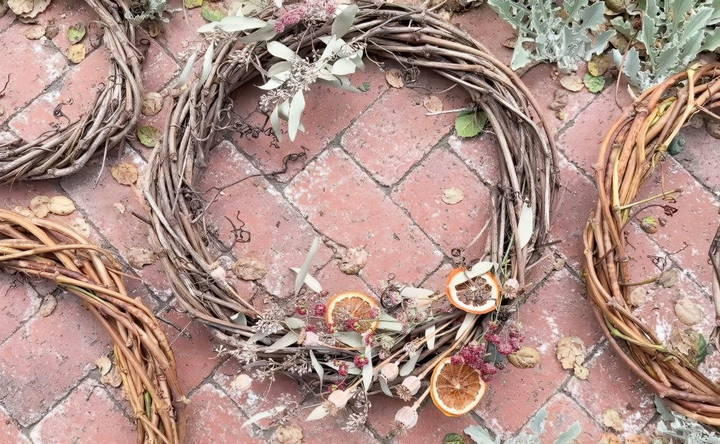
- Dried Flowers and Foliage: Add a natural touch with dried hydrangeas, lavender, or eucalyptus.
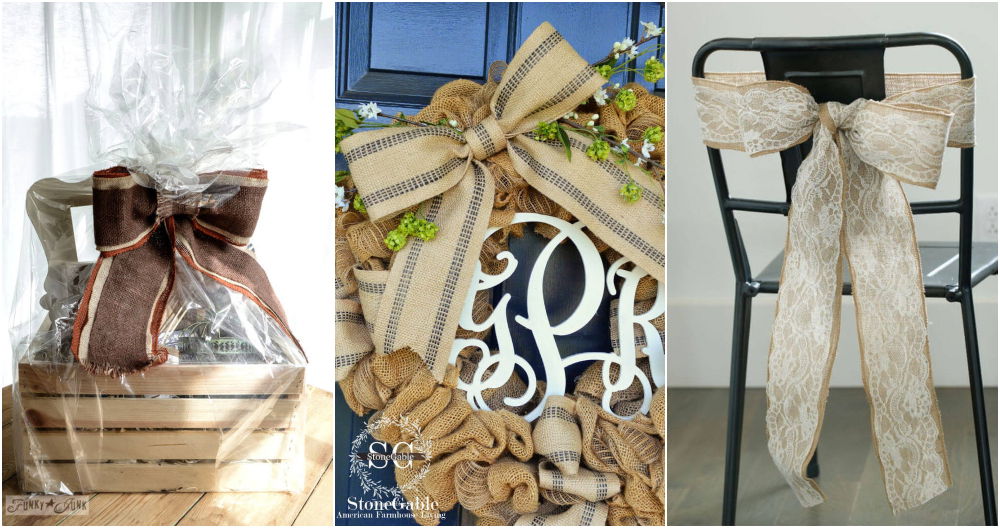
- Ribbons and Bows: Add pops of color with seasonal ribbons, burlap, or lace.
- Pinecones and Acorns: For a fall or winter wreath, these natural items enhance the rustic look.
- Citrus Slices or Berries: Dried fruits and berries can add color and texture to the wreath.
- Beeswax Items: Incorporate handmade beeswax ornaments for an organic and unique decoration.
Tips for Long-Lasting Wreaths
- Use Dried Decorations: If you want your wreath to last for months, stick to dried flowers, leaves, and natural materials that won't wilt or decay quickly.
- Indoor Display: Wreaths made with natural materials will last longer indoors, away from direct sunlight or rain, which can cause fading or decomposition.
- Storage: If you plan to reuse your wreath for different occasions, store it in a cool, dry place, and cover it to prevent dust accumulation.
Final Thoughts
Making your own grapevine wreath is a rewarding and creative way to bring a natural, handmade touch to your home decor. With a few basic materials and some imagination, you can design a wreath that reflects your personal style and fits any season or occasion. Whether you gather fresh vines from your garden or repurpose pruned cuttings from a neighbor, this eco-friendly project is an excellent way to recycle nature's beauty into a timeless decoration. So, why not give it a try and add some rustic charm to your home?
FAQs About DIY Grapevine Wreaths
Discover everything you need to know about DIY grapevine wreaths with our comprehensive FAQs , tips, and step-by-step guidance.
Yes, you can! Besides grapevines, you can use honeysuckle, wisteria, Virginia creeper, willow, clematis, wild grapes, or muscadine vines. As long as the vines are pliable and dry hard, they should work for wreath making.
To avoid breakage, soak the vines in water for a few hours or overnight. This makes them more flexible and easier to work with. If a vine cracks slightly, you can still continue weaving it into the wreath.
Ideally, use vines that are 6 to 10 feet long. Shorter vines (around 4 feet) can be used, but longer vines allow for continuous wrapping and fewer interruptions during weaving.
Yes, both fresh and dried vines can be used. If you’re using dried vines, soaking them in water before use is essential to make them flexible enough to weave.
No, using wire isn’t necessary. The vines are woven and tucked into themselves, which naturally holds the wreath together. If desired, you can use wire for additional support, but it’s usually not required.
If your wreath looks uneven, don't worry! You can gently push down on any uneven sections to reshape it into a more circular form. Be careful not to apply too much pressure to avoid breaking the vines.
This depends on your personal preference. You can make your wreath thin by using fewer vines or thick by adding more layers of vines. Adjust the thickness according to the look you want to achieve.
Yes, vines pruned the previous year work well, as long as you soak them before weaving to make them flexible again.
You can decorate your wreath with dried flowers, leaves, citrus slices, pinecones, beeswax ornaments, and seasonal items like ribbons. Customize the design to fit any season or occasion.


