Making a greeting card in Microsoft Word is not only simple but also a fun way to personalize messages for birthdays, holidays, or any other special occasion. Word comes equipped with a variety of tools that allow you to design a card that's perfect for your needs. Whether you're an experienced designer or a beginner trying to whip up a last-minute card, Microsoft Word has everything you need.
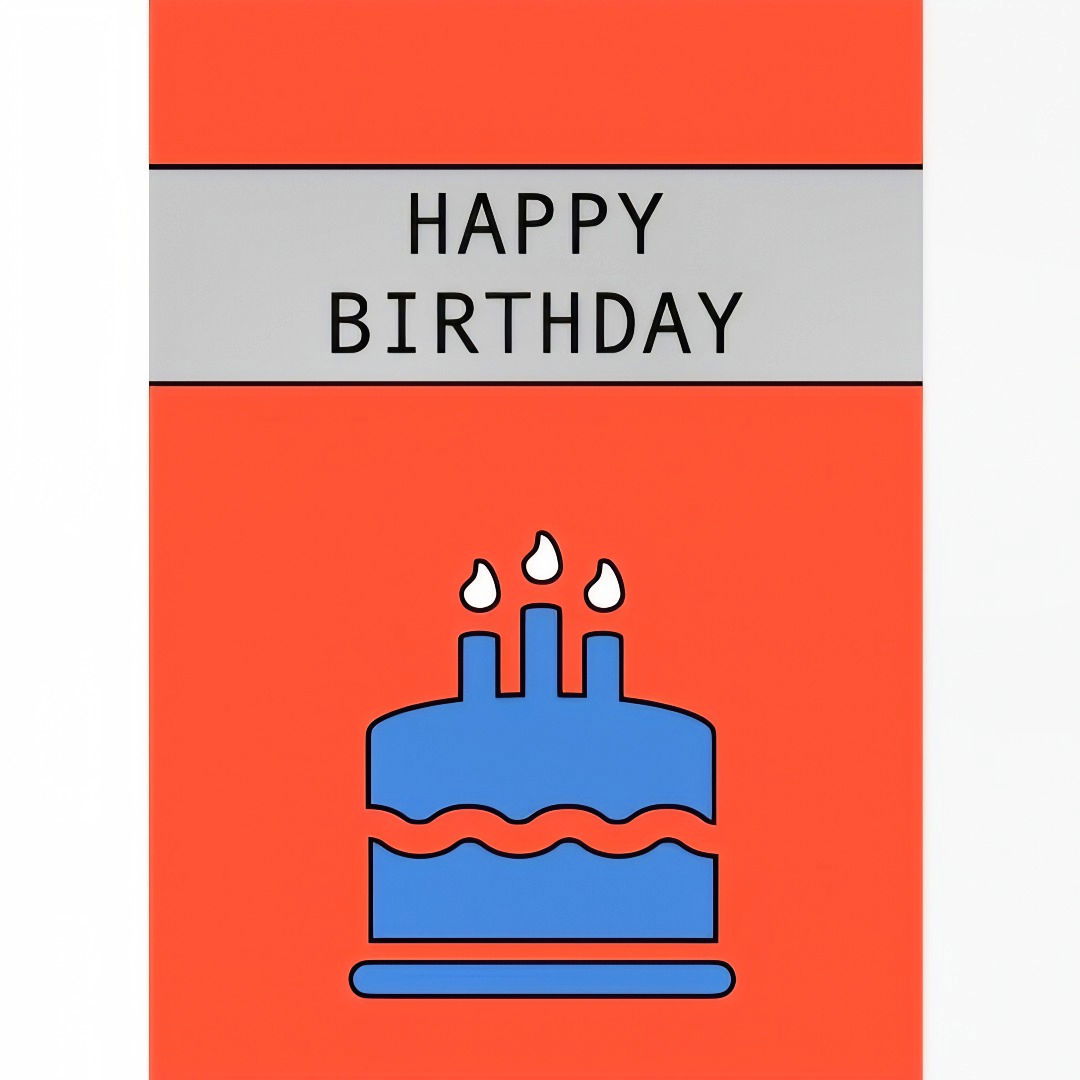
In this guide, we'll go step by step through the process of making a greeting card in Word, covering everything from formatting the document to adding custom graphics and text. By the end, you'll be ready to print a card that reflects your unique style.
Step by Step Instructions
Learn how to make a greeting card in Word with our step-by-step guide. Customize design elements, text, and layout for a professional finish.
Step 1 - Set Up Your Document
Before you dive into designing, the first step is to prepare the page layout. Since most greeting cards are folded in half, we'll need to format the page to reflect that.
Changing Page Orientation
- Open a Blank Document: Launch Microsoft Word and open a new blank document.
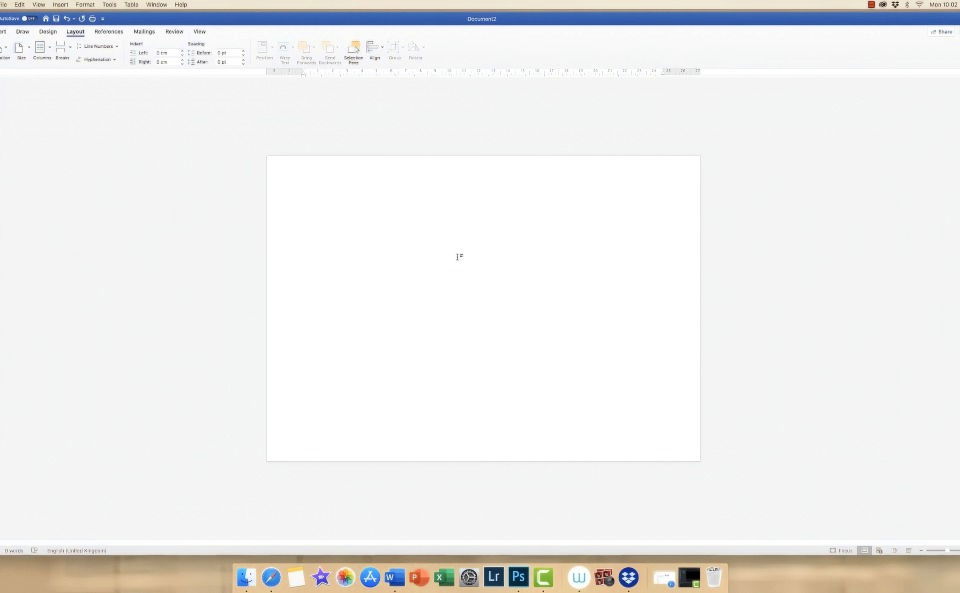
- Go to the Layout Tab: On the toolbar at the top of the screen, find the “Layout” tab.
- Switch to Landscape Mode: Click on “Orientation” and choose “Landscape.” This will rotate your page to be wider, which is perfect for a card that will fold in the middle.
Adjusting Page Size
Word defaults to A4 size paper, which is common for most home printers, but you may want to adjust the page size depending on your preferences.
- Click on Size: Still in the Layout tab, click on the “Size” option. You'll see a list of paper sizes.
- Choose the Appropriate Paper Size: For standard greeting cards, A4 or Letter sizes work well. Select one from the dropdown menu. If you want a custom size, you can define it here.
Set Margins and Columns
Now that the page orientation and size are set, you'll want to establish margins and divide the page into two sections for folding.
- Go to Margins: In the Layout tab, click “Margins” and choose “Custom Margins.”
- Set Margins to 0.5 Inches: For a neat and balanced card, set all margins (top, bottom, left, and right) to 0.5 inches. This ensures you have space to add your design elements without crowding the edges.
- Add Columns: Since most greeting cards fold in half, you need to divide your page into two equal sections. Go to “Columns” and choose “Two.” Then, click on “More Columns” to increase the spacing between the two columns, so the fold in the center has more space.
Step 2 - Add Design Elements
Now that your document is formatted, it's time to start designing the card. You'll want to add a combination of colors, shapes, and images to make a visually appealing design.
Insert a Line for the Fold
While designing, it can be helpful to visualize where the fold in the card will be. You can insert a line down the middle of the page to represent this fold.
- Go to Insert: Click on the “Insert” tab and select “Shapes.” Choose the straight line shape.
- Draw the Line: Click and drag to draw a vertical line down the center of the page. Hold the Shift key while dragging to ensure the line is perfectly vertical.
- Adjust the Line's Placement: Once the line is drawn, adjust it using the arrow keys to ensure it's positioned exactly in the center of the page.
Change Background Color
Adding color to the background can make your card more vibrant. You may choose to color just the front side of the card to save ink.
- Go to the Design Tab: Select the “Design” tab at the top of the screen.
- Choose a Background Color: Click on “Page Color” and choose your desired color from the dropdown. This will apply the color to the entire page.
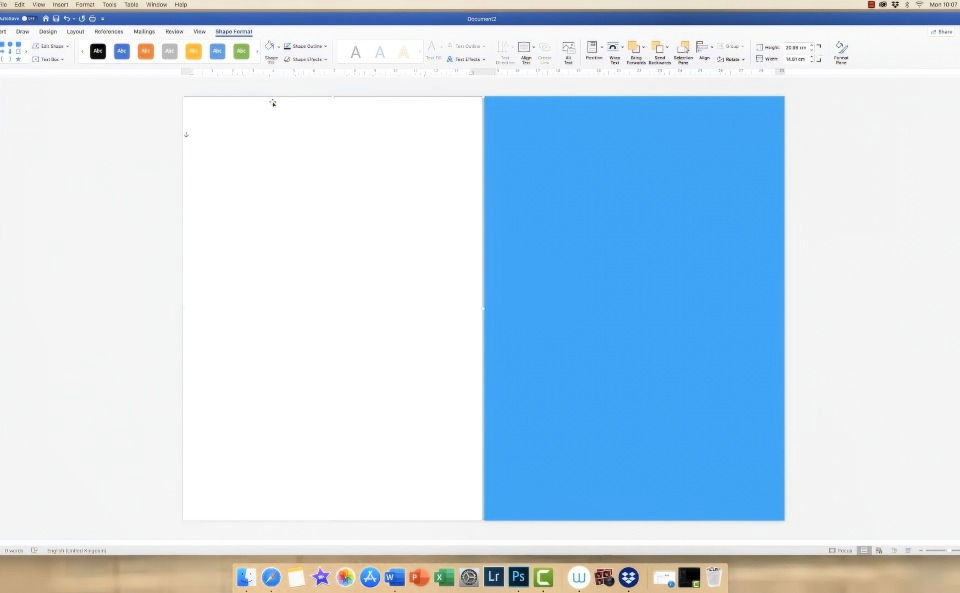
- Insert a Shape for the Back: To keep the back of the card white or another color, insert a rectangle shape by going to “Insert” and selecting “Shapes,” then “Rectangle.” Place it on the back side of the card and adjust its size. Right-click the shape, choose “Format Shape,” and select “White” (or your preferred color) under “Fill.”
Add Images or Icons
Word comes with a wide range of customizable icons that you can use for your greeting card.
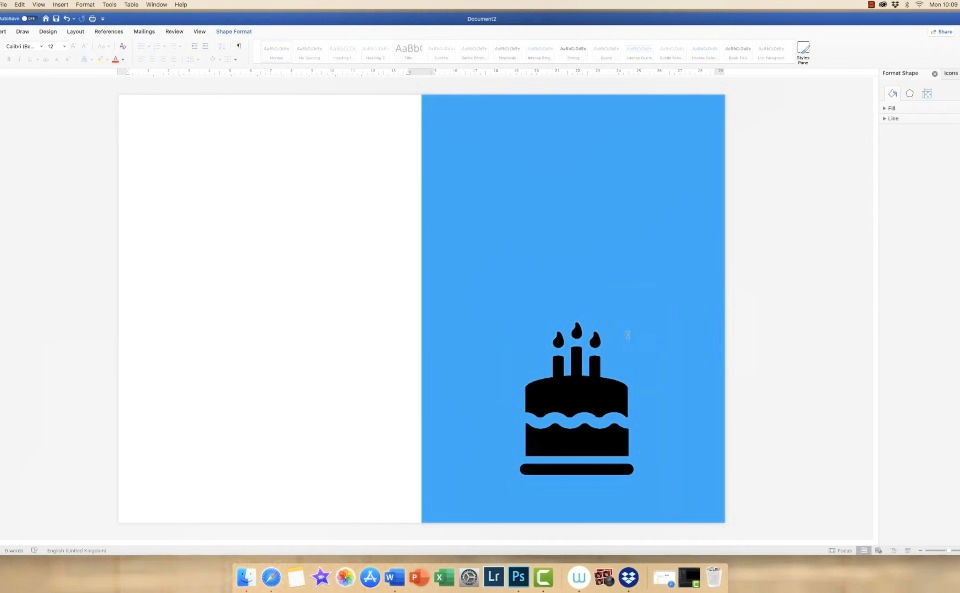
- Insert Icons: Go to “Insert,” then select “Icons.” From there, you can browse through different categories like celebrations, animals, or shapes.
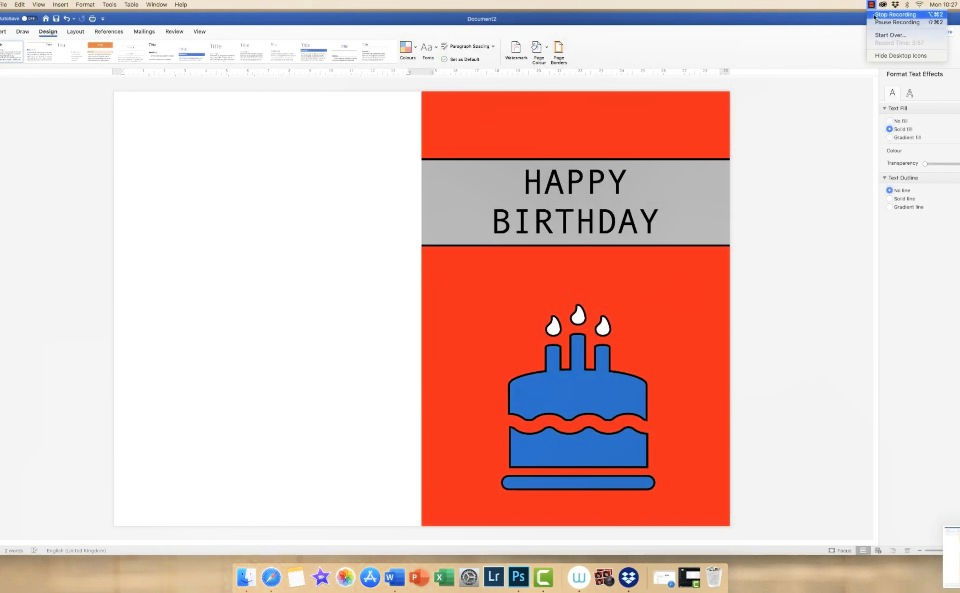
- Choose an Icon: Select an icon that fits the theme of your card. For example, if you're making a birthday card, a cake icon would be a great choice.
- Resize and Position: After inserting the icon, click and drag to resize and position it where you want it to appear on the card. To adjust the positioning further, use the “Wrap Text” feature and choose “In Front of Text.”
Customize the Icon
Icons in Word are made up of different parts that can be individually edited.
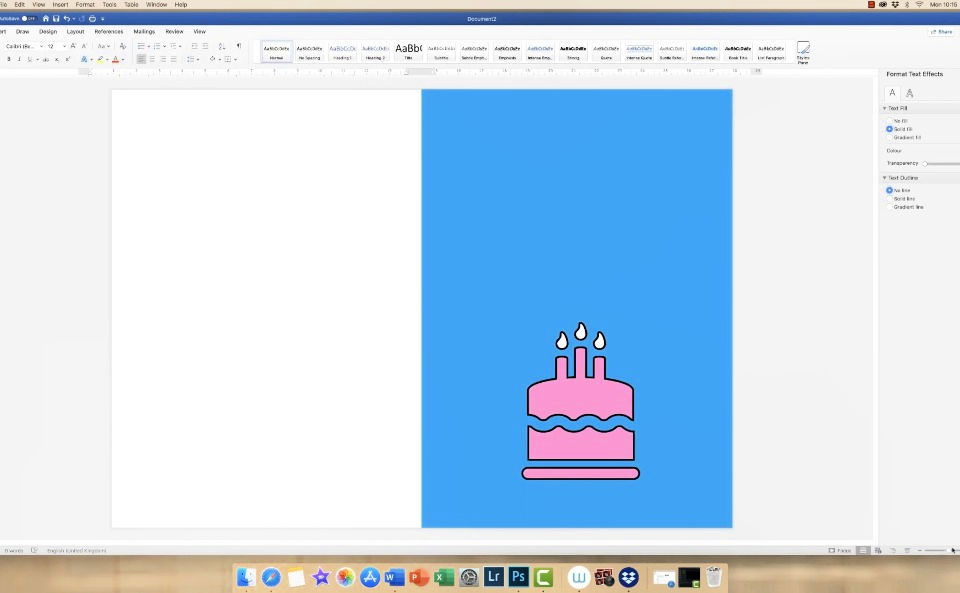
- Convert Icon to Shape: Once your icon is selected, go to “Graphic Format” and click on “Convert to Shape.” This allows you to edit each part of the icon separately.
- Change Colors: Click on individual parts of the icon and use the “Shape Fill” and “Shape Outline” options to change their colors. For example, you could turn a cake icon's layers pink while keeping the candles white.
- Add a Border: If you want your icon or shapes to have a border, click “Shape Outline” and choose a color. You can also adjust the thickness of the outline to match your design preference.
Step 3 - Add and Customize Text
With the visuals in place, the next step is to add your greeting message.
Insert a Text Box
- Go to Insert Tab: Click on “Insert,” and then choose “Text Box.”
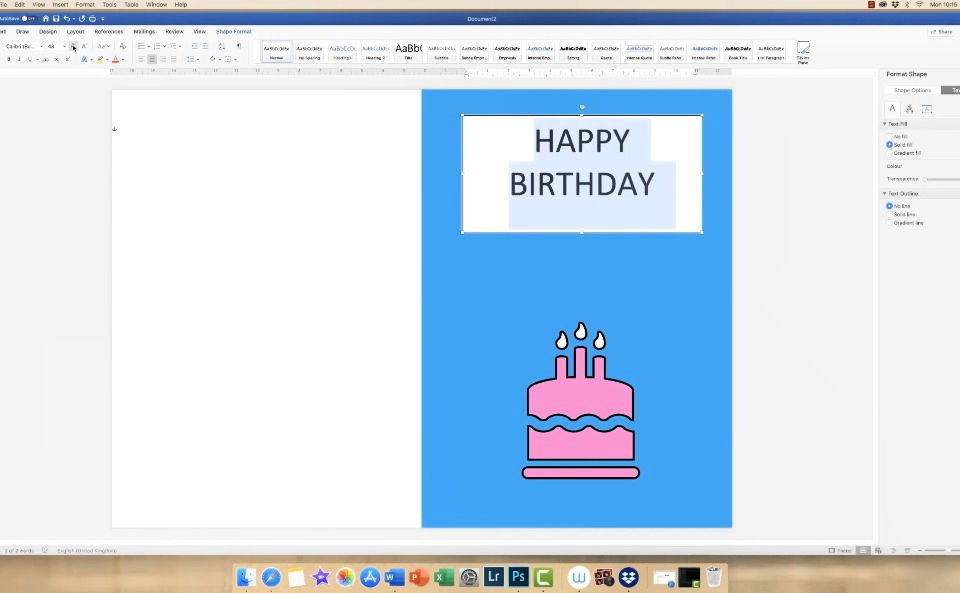
- Draw the Text Box: Drag to draw a box where you want to add your text. Typically, the front side of the card will have a short message like “Happy Birthday,” while the inside can carry a longer message.
- Type Your Text: Once your text box is placed, click inside and type your message.
Style the Text
After you've typed your message, you can customize the font style, size, and color to match the theme of your card.
- Highlight Text: Click and drag to select the text you've typed.
- Choose a Font: In the Home tab, pick a font style that matches the tone of your card. For instance, playful fonts like “Comic Sans” are great for birthday cards, while more elegant fonts like “Times New Roman” work well for formal occasions.
- Change Text Color: Use the “Font Color” dropdown to choose a color that complements your card's design.
- Center Your Text: For a clean look, highlight the text and click the “Center” button in the Home tab.
Remove Text Box Borders
If you don't want the borders of the text box to be visible:
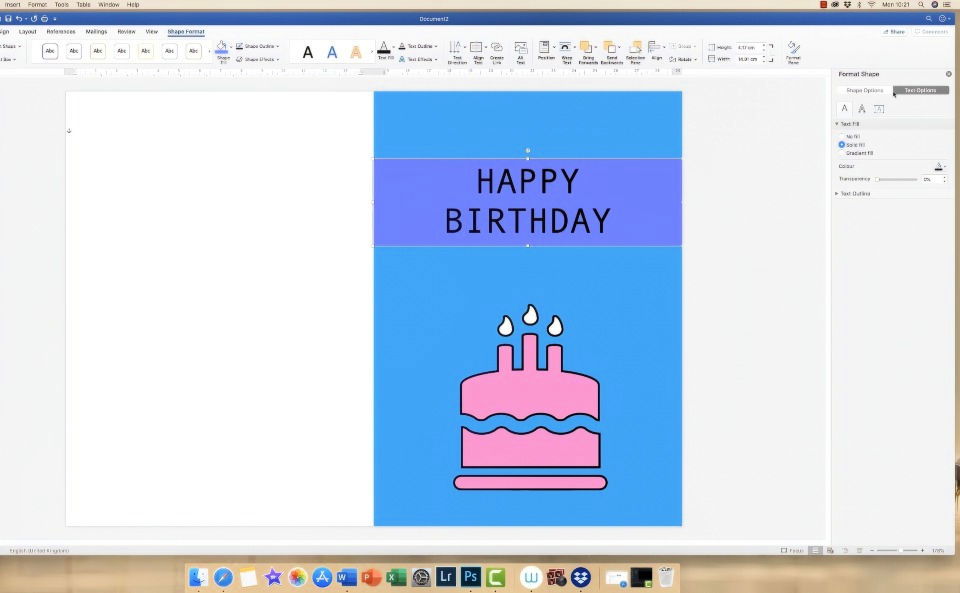
- Select the Text Box: Click on the border of the text box.
- Go to Shape Format: In the “Shape Format” tab, choose “Shape Outline” and click “No Outline.” This will remove any visible borders around the text.
Step 4 - Fine-Tuning and Final Touches
Now that you've got the basic design, it's time to finalize the card.
Align and Organize Elements
Ensure that all elements—icons, text, and shapes—are properly aligned and balanced on the page.
- Use Align Tools: Go to the “Layout” tab, click on “Align,” and choose the alignment that best fits your card. You can align elements to the center, left, or right.
- Adjust Layering: If one element overlaps another in an undesirable way, you can reorder them. Select the element, go to “Shape Format,” and use the “Bring Forward” or “Send Backward” options to adjust the layers.
Save Your Work
Before printing, save the file to ensure you don't lose any progress. Go to “File” > “Save As,” and choose a name and location for your card.
Preview and Print
- Preview the Design: It's always a good idea to preview the card before printing. Go to “File” and click on “Print Preview.” Ensure everything looks correct, and no elements are out of place.
- Print the Card: When you're ready, load your printer with the appropriate paper (such as cardstock) and click “Print.”
FAQs About How to Make a Greeting Card in Word
Learn how to make a greeting card in Word with this FAQ guide. Find tips, steps, and solutions to make custom cards easily.
To add content to the inside of the card, finish designing the front first. Then, print the front, flip the paper, and insert it back into the printer. Edit your document by adding the desired content on the new side. Ensure that the text or images align correctly by previewing the print.
If your background isn't printing, ensure that you select "Print background colors and images" under the Word print settings. Additionally, check that you inserted a shape for the background color, as simply changing the background color in the "Design" tab may not print.
Borderless printing depends on your printer settings, not Word. Look into your printer's setup options to enable borderless printing. Not all printers support this feature, so ensure that your printer is compatible.
You can easily import text by copying and pasting it into a text box in Word. This allows you to move the text around freely and customize the font, color, and size to match your card design.
If the “Shapes” option doesn’t appear, ensure you are using a compatible version of Word. Older or limited versions might not have all the features. If necessary, update Word or check the "Insert" tab for alternative tools.
Use the "Print Preview" option to check your alignment before printing. For manual two-sided printing, ensure the paper is placed correctly in the printer for the second pass, and adjust the page layout as necessary to align text and graphics.
Yes, you can! Under the "Layout" tab, go to "Size" and select "More Paper Sizes." Enter your custom dimensions. Keep in mind that printing may vary depending on your printer's paper size capabilities.
For a professional finish, use heavier paper such as cardstock. Ensure your printer can handle thicker paper, as not all printers are compatible with cardstock. Standard printer paper works for lighter, everyday cards.
Conclusion
Making a greeting card in Microsoft Word is a great way to produce personalized, professional-looking designs from the comfort of your home. With Word's wide range of customizable icons, shapes, and text formatting tools, you can make cards for any occasion. By following the steps outlined in this guide, you'll be able to design and print greeting cards that leave a lasting impression.


