Making a DIY heater at home can be simple and useful. First, gather a metal can, tea lights, and a terracotta pot. Light the candles and place them inside the can. Then, put the terracotta pot upside down over the can. This setup captures and radiates heat.
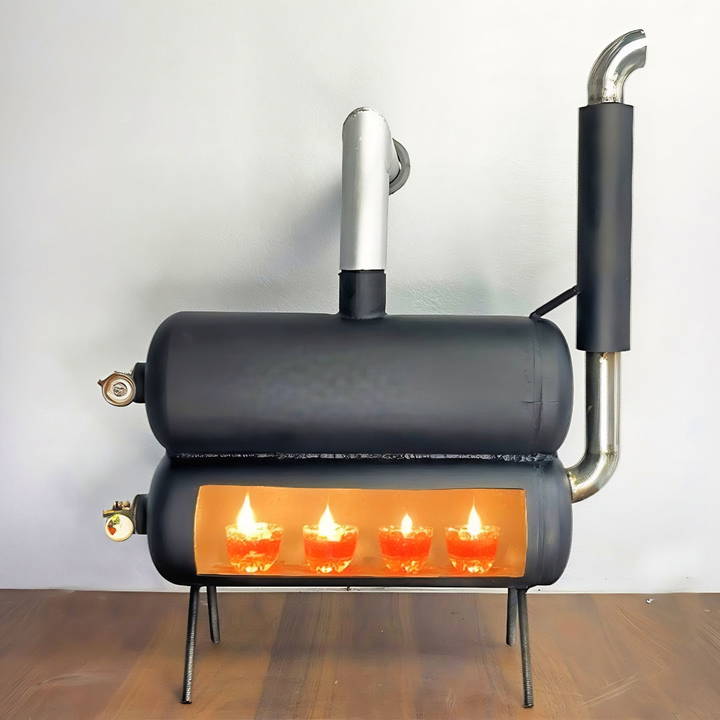
Making a DIY indoor heater is both affordable and efficient. Remember to position it in a safe spot, away from flammable items. With this guide, you stay warm using materials often found at home. This might help you keep cozy without high energy bills.
Give this guide a try and see how these easy steps can maintain a comfortable home environment.
Understanding the Basics of DIY Heaters
Building a DIY heater can be a rewarding project that not only warms your space but also ignites your passion for crafting and sustainability. Let's dive into the essentials of building your own heater, focusing on simplicity and safety.
What is a DIY Heater?
A DIY heater is a homemade device designed to provide warmth. It's typically made from accessible materials and can be crafted to suit individual needs and preferences.
Types of DIY Heaters
- Induction Heaters: These use electromagnetic fields to heat metal objects without direct contact.
- Solar Air Heaters: They harness the power of the sun to warm air that's then circulated into a room.
- Terracotta Pot Heaters: A popular choice, these use candles or lamps to heat a series of nested pots, radiating warmth.
Safety First
Safety is paramount when dealing with any heating element. Here are some key tips:
- Always place heaters on a stable, non-flammable surface.
- Keep combustible materials, like paper or fabric, away from the heat source.
- Ensure proper ventilation to prevent carbon monoxide buildup, which is especially important with terracotta pot heaters.
Building Your Heater
- Gather all materials and tools before you start.
- Follow instructions carefully, step by step.
- If using electrical components, ensure they're properly insulated and rated for the intended use.
Efficiency Matters
The goal of a DIY heater is not just to provide warmth but to do so efficiently. Consider the following:
- Insulate your space to retain heat better.
- Use reflective surfaces behind solar heaters to maximize their output.
- Regularly maintain your heater to ensure it operates at peak efficiency.
By understanding these basics, you're well on your way to making a DIY heater that's both effective and safe.
Step by Step Instructions
Learn how to make a room heater at home with our step-by-step instructions. Easy DIY guide to keep your space warm and cozy.
Step 1: Understanding the Concept
First, it's essential to grasp the science behind sand batteries. Sand batteries leverage the thermal storage capacity of sand, a natural and abundant material, to store and release energy. When heated, sand can retain warmth for an extended period, releasing it slowly. This principle is central to our DIY Mini Heater project.
Materials Needed:
- Sand: Acts as the core component for thermal energy storage.
- Metal Container: Houses the sand and the heating element. It should be durable to withstand high temperatures.
- Heating Element: Can be a simple resistor or a more sophisticated element designed for high temperatures.
- Thermostat: For regulating the temperature and ensuring safety.
- Miscellaneous: Wiring, insulation material, and a fan for heat distribution.
Each material plays a pivotal role. The sand acts as the battery, the metal container as the durable housing, the heating element to introduce thermal energy, and the thermostat ensures the system operates within safe temperature ranges.
Step 2: Assembling Your Mini Heater
- Prepare the Container: I chose a metal container approximately the size of a small paint can, perfect for my room size.
- Add the Sand: Fill it with clean, dry sand, leaving some space at the top for the heating element and insulation.
- Install the Heating Element: Securely place the heating element in the center of the sand. Ensure it does not touch the metal directly to prevent any safety hazards.
- Wiring and Thermostat Installation: Carefully connect the heating element to the power source through the thermostat. This setup is crucial for regulating the heater's temperature.
- Insulation: Add insulation material around the inner walls of the container (above the sand level) to enhance heat retention.
- Final Touches: Attach a small fan near the top to help distribute the warm air more evenly throughout the room.
Step 3: Testing and Safety Precautions
Before enjoying the warmth of your new heater, it's critical to test it:
- Place the heater in a safe, open area for its first run.
- Monitor the heater closely, checking for any unusual smells or sounds.
- Make sure the thermostat correctly turns the heater off once it reaches the set temperature.
The DIY mini heater worked great, spreading cozy warmth. It proved that sand as a sustainable, free energy source can cut my carbon footprint and lower electricity costs.
Troubleshooting Common Issues
Building a DIY heater can have challenges. Don't worry; it's part of learning. Here's a guide to help troubleshoot common issues for smooth and safe operation.
Heater Not Producing Enough Heat
- Check the Insulation: Make sure your room is well-insulated. Poor insulation can lead to significant heat loss.
- Verify Airflow: For solar air heaters, confirm that the air can flow freely through the system. Obstructions can reduce efficiency.
- Examine Fuel Source: For terracotta pot heaters, ensure the candles or lamps are burning correctly and are of the right size.
Heater Producing Too Much Smoke
- Ventilation: Increase ventilation to allow smoke to escape, especially important for indoor heaters.
- Candle Quality: Use high-quality, smokeless candles for terracotta pot heaters to minimize smoke production.
Overheating
- Monitor Temperature: Keep a thermometer nearby to monitor the heater's temperature.
- Regulate Heat Source: Adjust the heat source as needed. For example, use fewer candles or a lower wattage bulb.
Electrical Components Malfunctioning
- Check Connections: Ensure all electrical connections are secure and not exposed.
- Inspect for Damage: Look for any signs of wear or damage to electrical components and replace them if necessary.
Heater Not Turning On
- Power Supply: Confirm that the power supply is connected and functioning.
- Switches and Controls: Check all switches and controls to make sure they are in the correct positions.
Preventative Measures
- Regular Maintenance: Regularly check and maintain your heater to prevent issues before they start.
- Quality Materials: Use quality materials and components to build your heater for longevity and reliability.
By addressing these common issues, you can ensure your DIY heater remains a reliable source of warmth.
FAQs About DIY Heater
Explore answers to common questions about DIY heater projects, including safety tips, materials, and step-by-step instructions.
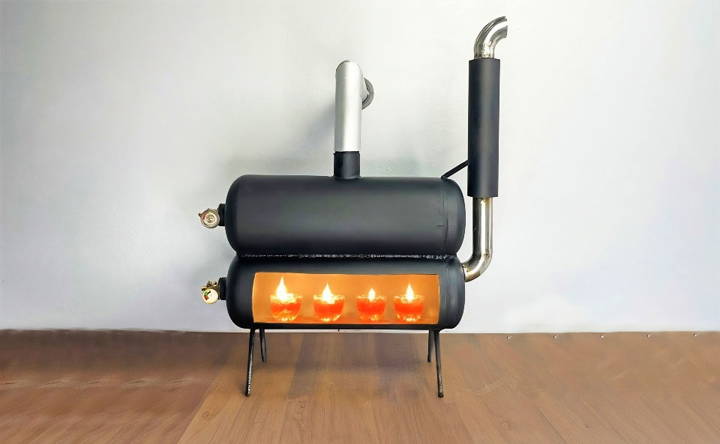
A DIY heater is a homemade device designed to provide warmth, typically constructed from everyday materials. It operates by converting energy from a source, such as electricity or burning candles, into heat. For example, a simple DIY heater can be made using a flower pot and tea lights.
Yes, you can make a safe DIY heater by following proper guidelines and using the right materials. It’s important to ensure adequate ventilation and to never leave a DIY heater unattended. Always use non-flammable materials and keep the heater away from combustible items.
Yes, DIY heaters can have environmental benefits, particularly if they utilize sustainable energy sources like solar power. Additionally, repurposing materials like aluminum cans for a solar can heater reduces waste and promotes recycling.
Regular maintenance of your DIY heater is crucial for its efficiency and longevity. For candle-based heaters, replace the candles as needed and keep the area free of debris. For electric heaters, check the wiring and components periodically for wear and tear. Always ensure that any fans or moving parts are clean and unobstructed.
If your DIY heater isn't providing enough heat, consider the following steps:
Check if the heat source is functioning properly and replace it if necessary.
Ensure that the heater is placed in an optimal location where heat can circulate effectively.
Inspect for any blockages or issues that may prevent heat from being distributed.
If you're using a solar heater, make sure it's receiving adequate sunlight.
Consider adding more units or combining different types of DIY heaters for better results.
Conclusion:
Wrapping up, making a DIY room heater at home offers a practical and fun DIY project. By following the steps outlined in this guide on how to make a heater, you can make an efficient solution for warming up your space. Use these DIY indoor heater tips to stay cozy while saving money.


