To transform the provided conversation into an informative, step-by-step tutorial on how to make a mosaic, I'll walk you through the key aspects of the process. I'll share personal insights based on experience, ensure it's accessible to beginners, and integrate clear instructions. Here's the tutorial, focusing on how to dive into mosaics as a beginner, step by step.
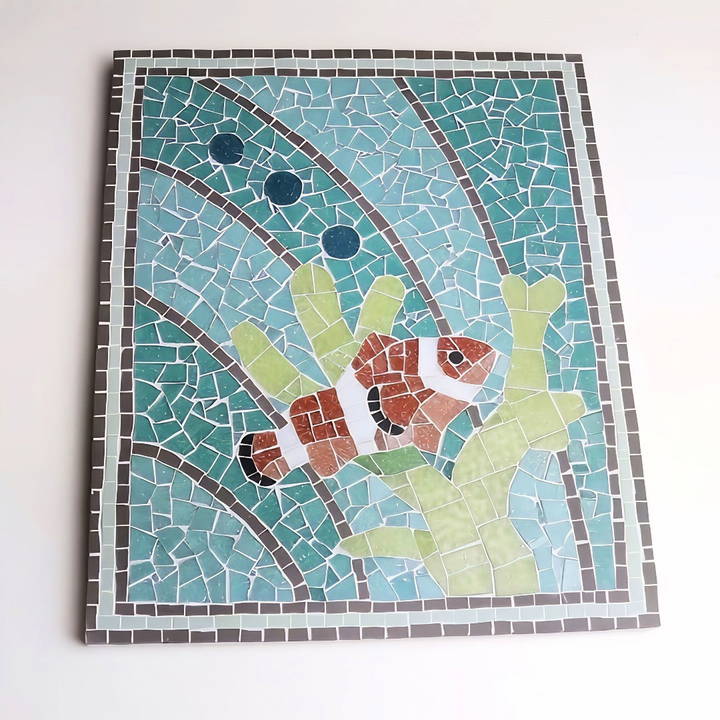
Step by Step Instructions
Learn how to make beautiful mosaics with our step-by-step DIY instructions covering essential tools, tile types, and grouting tips. Ideal for all skill levels!
Starting with Mosaics: The Essential Tools and Materials
Mosaics are an enjoyable and artistic way to transform everyday objects into stunning works of art. When I first started with mosaics, I felt a bit overwhelmed by all the tools and materials out there. But once I got my hands on the basics, it became much easier to dive in. In this guide, I'll share my personal journey with mosaics, outlining the essential tools and materials that made the process enjoyable and beginner-friendly.
Choosing the Right Cutting Tools
One of the first things I learned when starting mosaics is that cutting tiles is often a must. Depending on the material you're working with, the tool you'll need can vary. The two primary cutting tools are wheel nippers and standard nippers.
Wheel Nippers for Glass Tiles
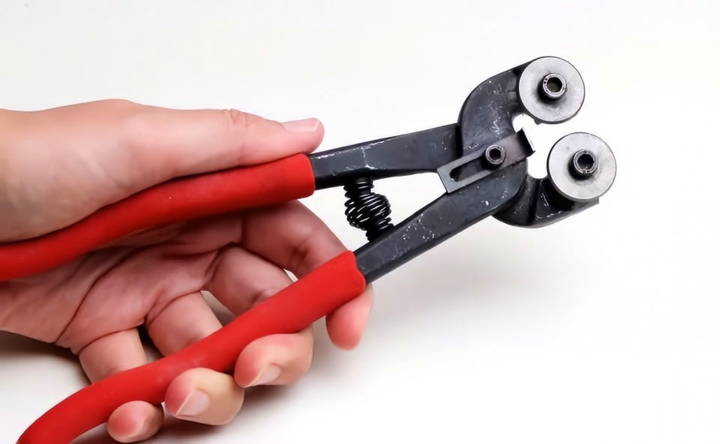
Wheel nippers became my go-to tool when working with glass tiles. The circular blades apply pressure in such a way that it slices through the glass without shattering it. I found that this tool was perfect for making detailed cuts, especially for small, intricate designs.
Standard Nippers for Ceramic Tiles
On the other hand, if you're working with ceramic tiles, standard nippers are the way to go. These tools are specifically designed to handle ceramic without causing the tiles to splinter. When I started working with natural ceramic, these nippers allowed me to shape my tiles just right.
No Cutting is Needed for Beginners
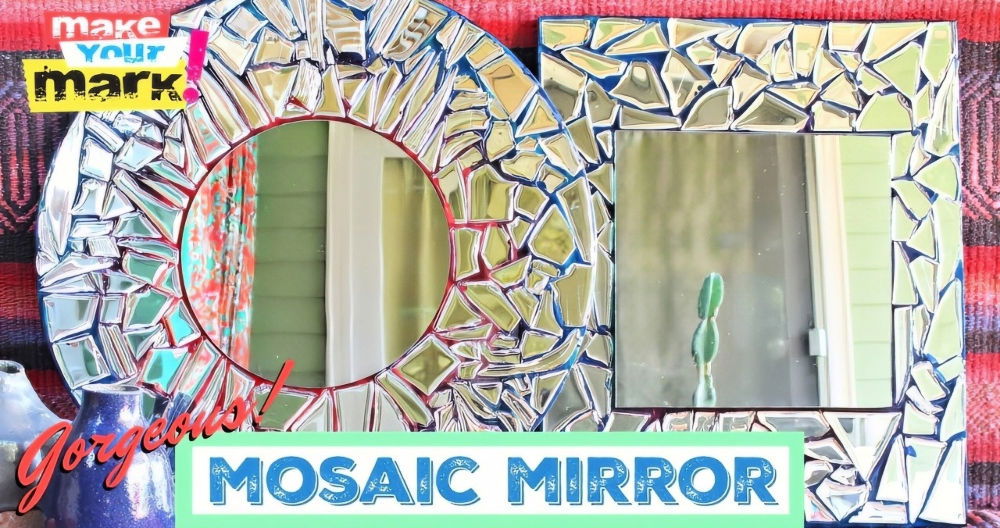
When I first began, I didn't jump straight into cutting tiles. Projects like mirrors or coasters can be done without cutting any tiles at all. This is perfect for beginners who are just trying to get a feel for mosaic work. If your design style leans towards "crazy paving" or irregular patterns, cutting tiles will eventually become essential, but it's not something you need to worry about on day one.
Selecting Mosaic Tiles: Types and Textures
Tiles come in an endless variety of shapes, sizes, colors, and materials, which can be exciting but also a bit overwhelming. When I first browsed through options, I had no idea where to start, so I broke it down step by step.
Glass Tiles: Bright and Shiny
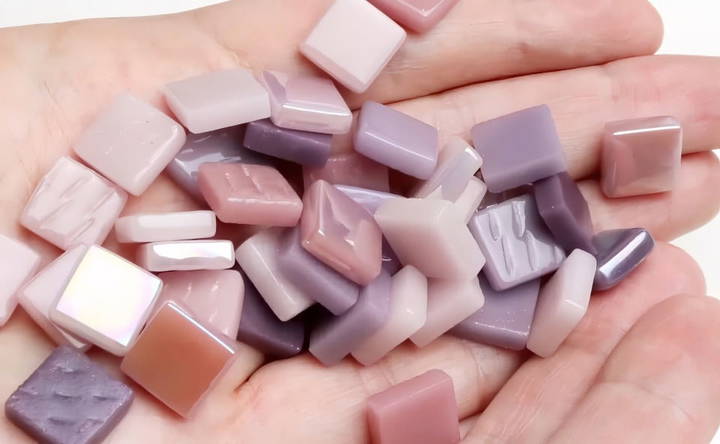
Glass tiles offer vibrant colors and a shiny finish. They're easy to use, but as I mentioned earlier, if you plan to cut them, you'll need wheel nippers. The brightness of glass can make any project stand out, which is why I always recommend them to those looking to make eye-catching designs.
Ceramic Tiles: Natural and Soft Hues
Ceramic tiles, by contrast, offer a more muted and natural appearance. These tiles tend to be easier to work with, especially for beginners who aren't ready to cut tiles. They provide a classic and traditional look.
Mixed Media: Experimenting with Both
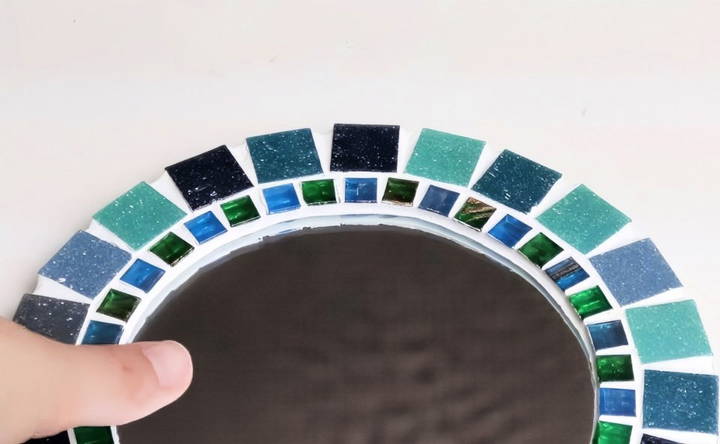
Once you've gained some confidence, you might find yourself drawn to both materials. Mixed media mosaics allow for creative freedom. When I first combined glass and ceramic tiles, it was exciting to see how different textures and colors played off each other. Just remember, different materials may require different cutting tools and techniques.
Understanding Glues and Adhesives
The type of adhesive you use depends on the surface you're working on. This was something I learned quickly when my early mosaic projects didn't stick as well as I hoped.
PVA Glue for Flat Surfaces
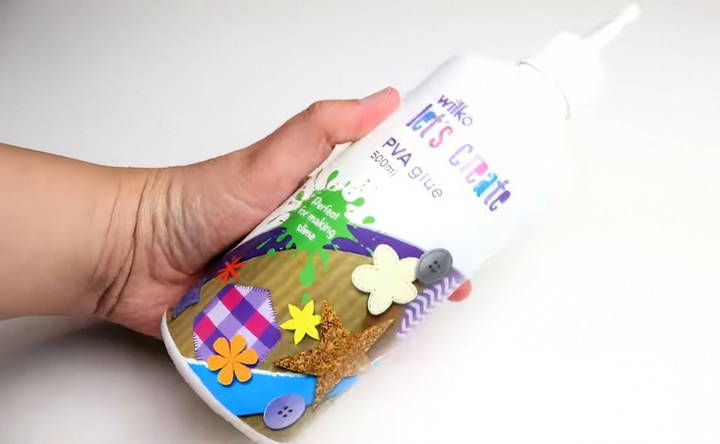
PVA glue, a common household adhesive, works great for flat projects like mirrors, coasters, or picture frames. The key advantage of PVA is its drying time, which gives you the flexibility to adjust your tiles if needed. I found that this was a real lifesaver during my first projects when I was still getting the hang of tile placement.
Fabric Glue for Curved Surfaces
When I moved on to decorating curved surfaces, like plant pots, I switched to fabric glue. It dries quicker and provides a stronger bond, ensuring your tiles don't slide out of place. It's thicker than standard PVA glue, making it easier to work with on curved surfaces.
Using Grout as an Adhesive
This was a revelation for me—using adhesive tile grout to stick the tiles in place. This method not only simplifies the process but also makes it easier when working with kids or when making freestyle projects. It's a bit more challenging to reposition tiles with this method, but it's ideal for rock or garden decorations.
The Role of Grout in Mosaic Art
Grout serves a dual purpose: it strengthens your design and adds aesthetic value. The color of the grout can drastically change the overall appearance of your mosaic.
White Grout for Tile Emphasis
White grout is the easiest choice for beginners because it highlights the colors of the tiles. I often use white grout when I want each tile to stand out and display its full vibrancy.
Gray Grout for a Blended Look
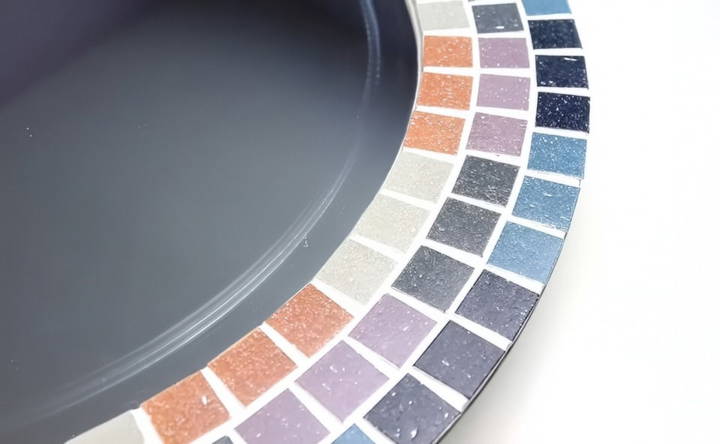
On the other hand, gray grout makes a subtler finish. It blends into the background, allowing the tiles to be seen as a whole rather than as individual pieces. I recommend trying gray grout if you want your work to have a more unified look.
Dark Grout for Contrast
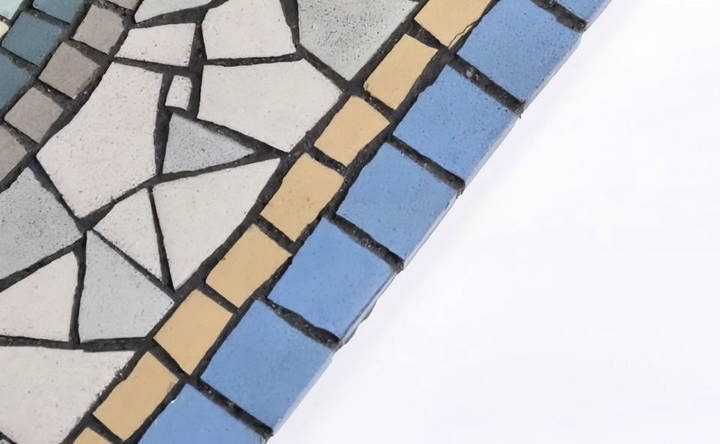
Black or dark grout is bold and can become a focal point of your project. It adds contrast, but there's a downside: it can stain lighter ceramic tiles. When I tried using dark grout with ceramic tiles, I had to be very careful, as some tiles ended up stained, and it was hard to remove.
Picking the Right Base for Your Mosaic
When I first started mosaics, I didn't realize how important the base was. The rule of thumb is to use something sturdy, as the mosaic could break if the base is too flimsy.
Wood: Ideal for Indoor Projects
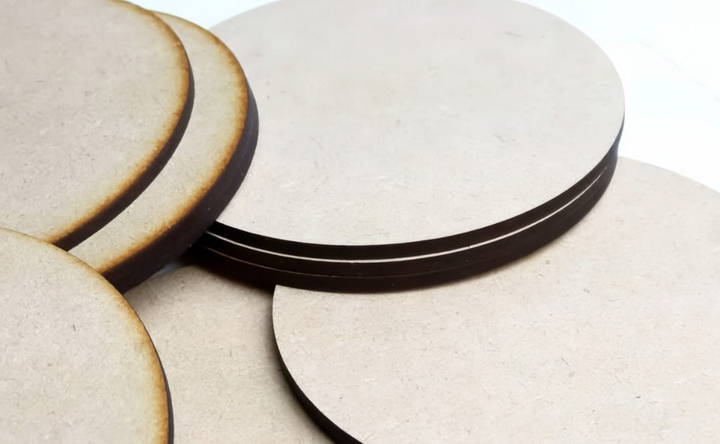
Wood is versatile and affordable. I used it for many indoor projects, especially wall art. It's easy to attach hooks to the back, and it doesn't weigh too much.
Other Surfaces: Get Creative
Don't be afraid to experiment with other surfaces like old coasters, trays, or even furniture. You can also use larger tiles as a base, which are ideal for outdoor projects like plant holders. My first plant holder mosaic was made this way, and it still holds up after years of exposure to the elements.
Protecting Yourself and Your Work
Safety is crucial, especially when cutting tiles or handling grout.
Goggles: Essential for Cutting
I learned early on that goggles are non-negotiable when cutting tiles. Tiny shards can fly off, and you don't want them near your eyes. A lightweight pair with good coverage is perfect.
Gloves: For Grouting
Although I prefer working without gloves when placing tiles, grouting is a different story. Grout can dry out your skin and stain your fingers. Using rubber gloves keeps your hands protected, and it makes the cleanup much easier.
Advanced Techniques
Master mosaic artistry with advanced techniques, tips, and tricks on complex designs, cutting tiles, shading, texture creation, grouting, and finishing.
Complex Designs
Making intricate mosaic designs can be both challenging and rewarding. Start by choosing a detailed pattern or image. Use tracing paper to transfer your design onto the base. This helps in maintaining accuracy. For complex designs, consider using smaller tiles or tesserae. This allows for more detail and precision.
Cutting Tiles
For advanced mosaics, precise tile cutting is crucial. Use a wheeled glass cutter for straight cuts and nippers for curved cuts. Always wear safety goggles to protect your eyes. Practice on spare tiles to get comfortable with the tools. Remember, patience is key. Take your time to ensure each piece fits perfectly.
Shading and Gradation
To add depth and dimension to your mosaic, use shading and gradation techniques. Select tiles in varying shades of the same color. Place darker tiles in areas that should appear shadowed and lighter tiles where light hits. This technique can make your mosaic look more realistic and dynamic.
Making Texture
Incorporate different textures to make your mosaic stand out. Use a mix of smooth and rough tiles. You can also add materials like beads, shells, or stones. This adds a tactile element to your artwork. Experiment with different textures to see what works best for your design.
Grouting Techniques
Grouting can significantly affect the final look of your mosaic. For a seamless finish, use a grout color that matches your tiles. For a more dramatic effect, choose a contrasting grout color. Apply the grout with a rubber float, pressing it into the gaps. Wipe off excess grout with a damp sponge. Allow it to dry, then polish the tiles with a soft cloth.
Sealing and Finishing
Sealing your mosaic protects it from damage and enhances its appearance. Use a clear sealant suitable for your tile material. Apply it evenly with a brush and let it dry completely. This step is especially important for outdoor mosaics, as it helps them withstand the elements.
Tips and Tricks
- Plan Ahead: Sketch your design and plan your color scheme before starting.
- Stay Organized: Keep your tiles sorted by color and size for easy access.
- Work in Sections: Focus on small sections at a time to maintain precision.
- Take Breaks: Step back and view your work from a distance to ensure everything looks right.
By mastering these advanced techniques, you can make stunning and intricate mosaic artworks. Practice makes perfect. Keep experimenting and refining your skills.
Maintenance and Care
Discover essential maintenance and care tips for your mosaic, including cleaning, sealing, damage prevention, repairs, inspections, and seasonal care.
Cleaning Tips
Keeping your mosaic clean is essential for maintaining its beauty. Use a soft, damp cloth to wipe the surface regularly. For deeper cleaning, mix a mild detergent with water. Avoid using harsh chemicals or abrasive cleaners, as they can damage the tiles and grout. Gently scrub the mosaic with a soft brush, then rinse with clean water and dry with a soft cloth.
Sealing the Mosaic
Sealing your mosaic helps protect it from moisture and stains. Choose a sealant that is appropriate for your tile material. Apply the sealant evenly with a brush, making sure to cover all the grout lines. Allow it to dry completely before using the mosaic. Reapply the sealant every few years, or as needed, to keep your mosaic in top condition.
Preventing Damage
To prevent damage, place your mosaic in a location where it won't be exposed to extreme temperatures or heavy impact. If your mosaic is outdoors, ensure it is in a sheltered area to protect it from the elements. Use felt pads or rubber feet under mosaic pieces that are placed on furniture to prevent scratching.
Repairing Damages
If your mosaic gets damaged, don't worry. Small chips or cracks can be repaired easily. For minor chips, use a matching tile adhesive to fill in the gaps. For larger cracks or missing tiles, carefully remove the damaged pieces and replace them with new ones. Apply grout to secure the new tiles in place and seal the area once it is dry.
Regular Inspections
Regularly inspect your mosaic for any signs of wear or damage. Check the grout lines for cracks or discoloration. If you notice any issues, address them promptly to prevent further damage. Keeping an eye on your mosaic will help you maintain its appearance and longevity.
Seasonal Care
If your mosaic is outdoors, take extra care during seasonal changes. In winter, protect it from freezing temperatures by covering it or moving it indoors if possible. In summer, ensure it is not exposed to direct sunlight for extended periods, as this can cause fading and damage.
Tips and Tricks
- Use Coasters: Place coasters under drinks to prevent water rings on mosaic tabletops.
- Avoid Heavy Loads: Do not place heavy objects on mosaic surfaces to avoid cracking.
- Gentle Handling: Handle mosaic pieces with care to prevent accidental damage.
Keep your mosaic vibrant for years with regular cleaning, sealing, and timely repairs. Maintain its stunning look in your home or garden.
FAQs About DIY Mosaic
Explore the top FAQs about DIY mosaics to master techniques, find materials, and elevate your craft with essential tips and tricks.
For most projects, use a tile adhesive or PVA glue. For outdoor projects, ensure the adhesive is water-resistant.
Once the adhesive is dry, spread grout over the tiles using a spatula. Fill all gaps and remove excess grout with a damp sponge. Let it dry completely.
Yes, you can make mosaics on vertical surfaces like walls. Use a strong adhesive to ensure the tiles stay in place. Start from the bottom and work your way up to prevent tiles from slipping.
To prevent tiles from shifting, work in small sections. Apply the adhesive and place the tiles, then let it dry before moving to the next section. You can also use tile spacers to keep tiles in place.
Clean the tiles with a damp cloth to remove any dust or debris. Ensure they are completely dry before applying grout to avoid weakening the adhesive.
Final Thoughts: Enjoy the Process
Mosaics can be as simple or as complex as you want them to be. For me, it was a journey that started with basic tools and small projects, and over time, I grew more confident and adventurous in my designs. Whether you're just starting with a mirror or coaster or moving on to larger, more complex pieces, the key is to enjoy the process. Don't be afraid to experiment with different materials, colors, and styles. The more you practice, the more your skills will grow.
Now, grab your tools, pick a project, and dive into the world of mosaics!


