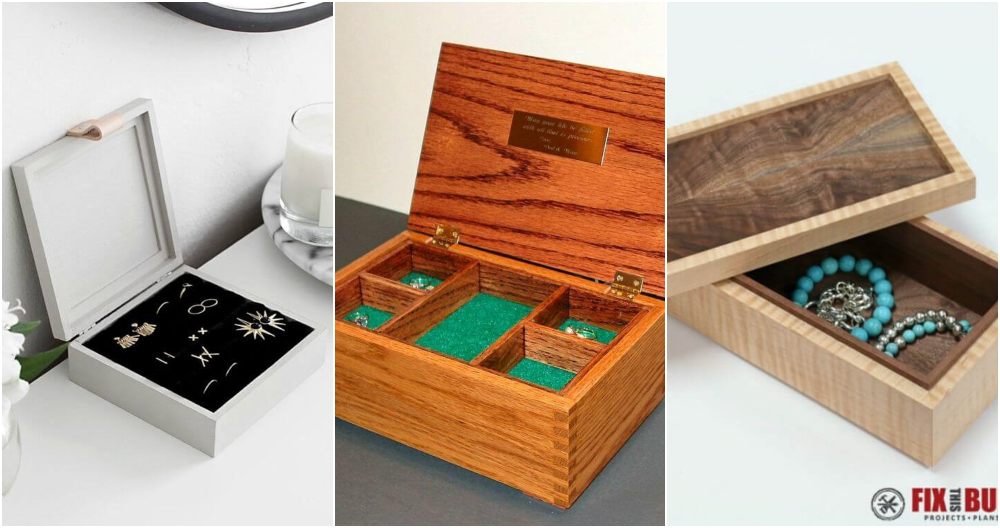
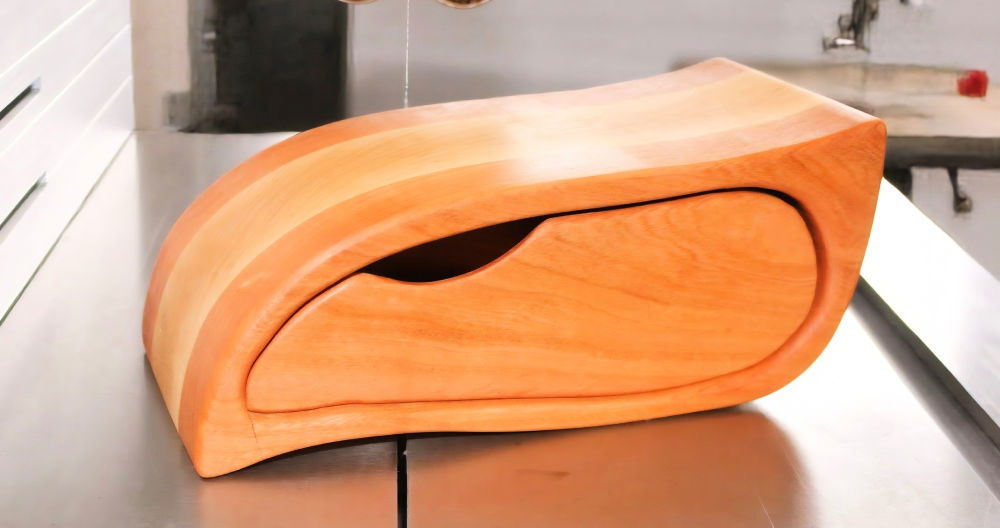
Making a music box was an exciting project that I decided to undertake during a rainy weekend. Building a DIY music box from scratch seemed daunting at first, but I soon realized it could be both simple and fun. I found a small wooden box, a music box mechanism, and paper strips for the notes. These items were easily available in any craft store.
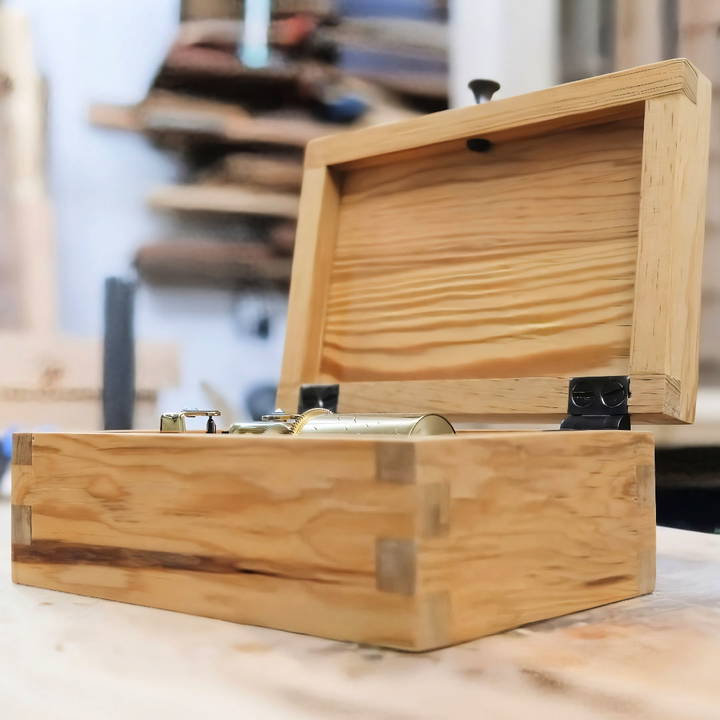
Personalizing the tunes was the best part. I carefully punched holes in the paper strips to build my melody. Twisting the handle and hearing my own tune play was truly satisfying. This guide will show you how to make your own music box with ease.
I am certain that the process and result will be rewarding. DIY music box projects can be both educational and entertaining.
Understanding the Mechanics
Music boxes are fascinating creations that bring together art and engineering. To appreciate their charm, it's essential to grasp the basics of how they work. This section will explain the mechanics of music boxes in a straightforward manner, making it accessible to everyone.
The Heart of the Music Box
The Cylinder and the Comb At the core of every music box is the cylinder, or in some cases, a disc. This cylinder has tiny pins strategically placed on its surface. As it rotates, these pins pluck the teeth of a metal comb. Each tooth of the comb is a different length, corresponding to a different musical note. When a pin strikes a tooth, it vibrates, producing a sound. The sequence of pins builds the melody.
Types of Musical Mechanisms
There are mainly two types of mechanisms in music boxes:
- Cylinder Mechanism: The traditional type, where pins on a rotating cylinder pluck the comb.
- Disc Mechanism: A more modern variation, where a disc with holes rotates over a bed of nails, making the tune.
Building the Melody
The melody is programmed by the placement of the pins on the cylinder or the holes in the disc. Skilled artisans can build complex and lengthy tunes by carefully arranging these pins or holes. The length and thickness of the comb's teeth also play a crucial role in the quality and tone of the sound.
The Magic of the Spring
Music boxes are powered by a wound spring inside the mechanism. When you wind up a music box, you're tightening the spring. As it unwinds, it releases energy, causing the cylinder or disc to rotate and the melody to play.
Why Does It Matter?
Understanding the mechanics of music boxes is not just about knowing how they work. It's about appreciating the craftsmanship and ingenuity that go into making each piece. It connects us to a tradition of mechanical artistry that has been passed down through the ages.
Understanding music boxes deepens your appreciation for their music and stories. Whether a collector, hobbyist, or fan, this knowledge enriches your connection to these timeless treasures.
Gathering Materials
Discover the essential materials required for gatherings, and understand why each one is crucial for success. Perfect guide for event preparations!
Why Each Material Was Needed:
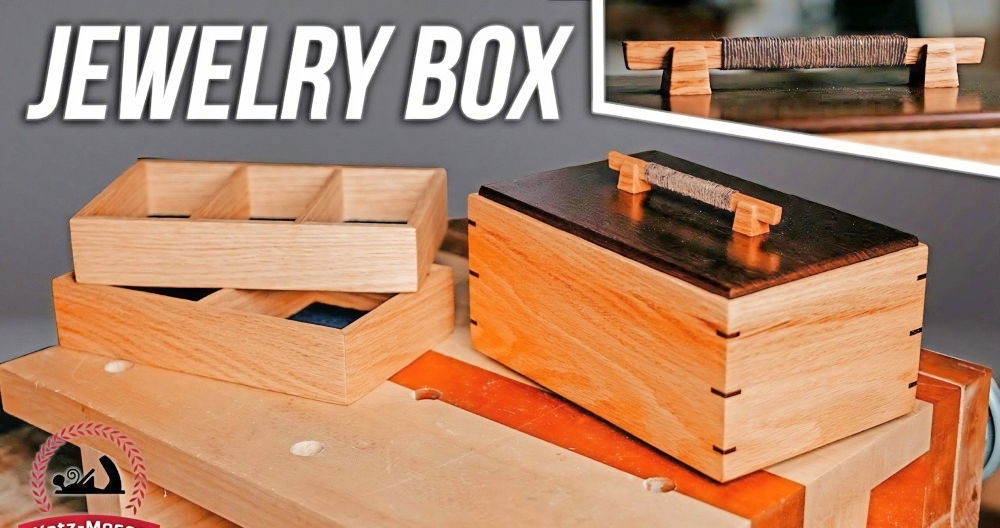
- Dade County Pine Boards: To capture a piece of our wedding day and for the main structure of the box.
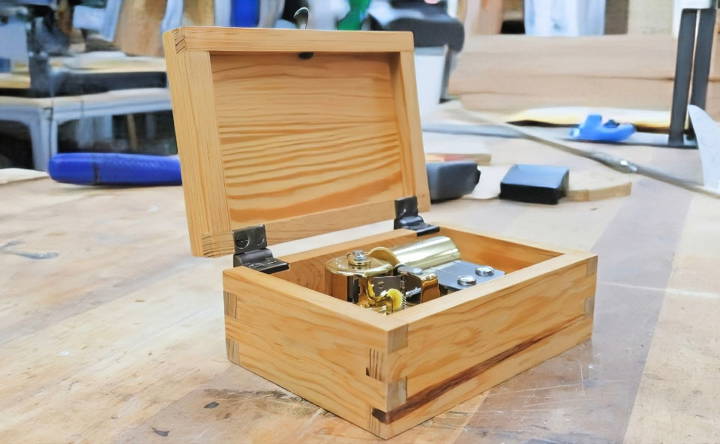
- Finger Joint Setup: For aesthetic and strong corners of the music box.
- Groove Cutting Tools: To fit the top and bottom panels into the frame.
- Music Box Mechanism: To breathe life into the box with a melody.
- Shellac and Sandpaper: For a smooth finish that protects the wood.
- Hinges and Knob: To add functionality to the music box's lid.
Step by Step Instructions
Learn how to make a music box with our step-by-step guide. From preparing pine boards to installing the mechanism, follow our easy instructions.
Step 1: Preparing the Pine Boards
Having saved a few boards from our wedding venue, I cleaned most of them a few years back. I started with three boards, each about two and a half inches wide and 13 inches long. This was enough to build the frame and the lid of the music box.
Step 2: Milling the Boards and Building Finger Joints
The boards were milled down to 3/8 of an inch thick, fitting the specifications of the hinges I planned to use. Using a finger joint jig, I cut square finger joints for a harmonious look. This process requires precision but results in a strong and visually pleasant joint.
Step 3: Routing Grooves for the Top and Bottom
With a spiral bit, I routed grooves within the inner walls of the frame to sit the top and bottom panels. This step requires attention to detail, as the grooves need to be perfectly aligned for the panels to fit seamlessly.
Step 4: Salvaging and Preparing the Music Box Mechanism
Unfortunately, the specific mechanism I wanted came housed in a walnut box. Dismantling it felt wrong but necessary for my project. I used the base as a template for drilling holes in my box to secure the mechanism.
Step 5: Pre-gluing Sanding and Shellac
Sanding inside the box after assembly would be challenging, so I pre-sanded the interior parts. Then, I applied several coats of shellac for protection, ensuring the glue surfaces were masked to not interfere with adhesion.
Step 6: Assembly and Gluing
Gluing required patience. I meticulously applied glue to the finger joints, avoiding excess near the box's interior. After fitting the top and bottom panels, I used clamps to secure the assembly, ensuring a tight fit.
Step 7: Separating the Lid and Finishing Touches
Using a table saw, I cut the lid from the base. This step always needs some post-cut sanding to smooth out any imperfections. After installing the hinges and ensuring the lid's perfect fit, the box was almost complete.
Step 8: Installing the Mechanism
The final step was securing the music mechanism inside the box and attaching a knob for winding. Choosing a melody that held personal significance was crucial; for us, it was Adele's "Make You Feel My Love," our first dance song.
The Emotional Impact
Seeing the project come together was immensely satisfying. But the true reward was my wife's reaction—it was a mix of surprise, joy, and nostalgia. This music box wasn't just a gift; it was a physical manifestation of our memories, a celebration of our journey together.
Decorative Techniques
Decorative techniques are creative ways to enhance the visual appeal and texture of various materials, such as fabric, walls, or everyday objects. These methods range from traditional handcrafts to modern applications, allowing for personal expression and customization. Here, we'll explore some popular decorative techniques that can transform ordinary items into unique works of art.
- Appliqué is a process where pieces of fabric are sewn onto a larger piece to build patterns or designs. This technique can be done by hand or machine and is often used to add intricate details to quilts and garments.
- Patchwork involves sewing together smaller pieces of fabric to form a larger, cohesive design. It's a great way to use fabric scraps and can result in colorful and eye-catching creations.
- Hand Embroidery is the art of decorating fabric with needle and thread. With various stitches, one can build detailed and personalized designs on clothing, home décor, and more.
- Beading involves attaching beads to fabric to add sparkle and texture. This can be done by hand or with a machine and is commonly used in fashion and accessories.
- Fabric Painting allows for the direct application of paint to fabric, making permanent designs. This technique can be used to make bold statements on clothing or to craft custom home textiles.
- Printing on Fabric is a method of applying patterns or images to fabric, typically through screen printing or digital printing techniques. This is a popular way to produce repeated patterns on a large scale.
- Couching is a decorative stitch where a cord or yarn is laid on the fabric surface and then stitched in place with a finer thread. It's a versatile technique that can add dimension and interest to textile projects.
Examples of decorative techniques offer unique creativity for personalizing wardrobes or homes, providing endless inspiration and enjoyment.
Customizing the Tune
Customizing the tune of your vehicle or musical instrument can significantly enhance performance and personal enjoyment. This section will guide you through the basics of tuning, ensuring the content is helpful, easy to understand, and reliable.
- Vehicle Tuning: For vehicles, tuning can improve engine performance and fuel efficiency. Using software, you can adjust parameters such as fueling, spark, and transmission settings. It's essential to have a basic understanding of your vehicle's mechanics and to use a wideband sensor for accurate adjustments. Always start with small changes and test your vehicle after each modification.
- Musical Instrument Tuning: When it comes to musical instruments like guitars, precise tuning is crucial for the best sound quality. Digital tuners are handy tools that can help you tune each string to the correct note. For a standard six-string guitar, the notes from the thickest to thinnest string are E, A, D, G, B, E. Clip-on digital chromatic tuners are popular as they are easy to use and can quickly tell you if the string is in tune.
- Customizing Footwear: In the fashion world, customizing the tune refers to personalizing the design of your shoes. For example, you can design your own footwear, choosing colors and materials to match your style. This allows for a unique expression of personal taste and creativity.
Customizing is about adjusting to your needs. Be it a car, guitar, or shoes, tweaking leads to better satisfaction. Proceed with caution on technical adjustments and get professional help if needed.
FAQs About How to Make a Music Box
Discover how to build a music box with our comprehensive faqs, covering materials, assembly, and customization tips for perfect melodies.
Select a music mechanism that fits the size of your box and plays the melody you desire. Music mechanisms come in various types, including wind-up versions and those that play custom tunes. Research online or visit a craft store to find the perfect mechanism for your music box.
Absolutely! You can paint the box, use stencils for designs, attach photographs, or add embellishments to the lid. The key is to ensure that decorations do not interfere with the mechanism inside the box.
First, secure the music mechanism at the bottom of the box using screws or an adhesive. If your mechanism has a winding key, you may need to drill a hole for it to fit through the box. Follow the instructions provided with your mechanism kit for the best results.
Test the mechanism before installing it to ensure it plays correctly.
Be gentle when handling the delicate parts of the mechanism.
If painting the box, allow all paint and glue to dry completely before assembling.
Regularly dust the box and occasionally check the mechanism for any loose parts.
To ensure the music mechanism operates smoothly:
Lubricate the moving parts of the mechanism if necessary, using a small amount of clock oil.
Avoid over-winding the mechanism to prevent damage.
Check for obstructions that might hinder the movement of the mechanism.
Place the box on a stable, level surface to allow for optimal sound and function.
Conclusion
Making your own DIY music box is not only enjoyable but also a great way to express creativity. Taking the time to make personalized tunes brings a unique charm to the project. By following these simple steps, you can build a memorable music box that plays your favorite melodies. Grab your materials, and let's start this fun DIY journey together!


