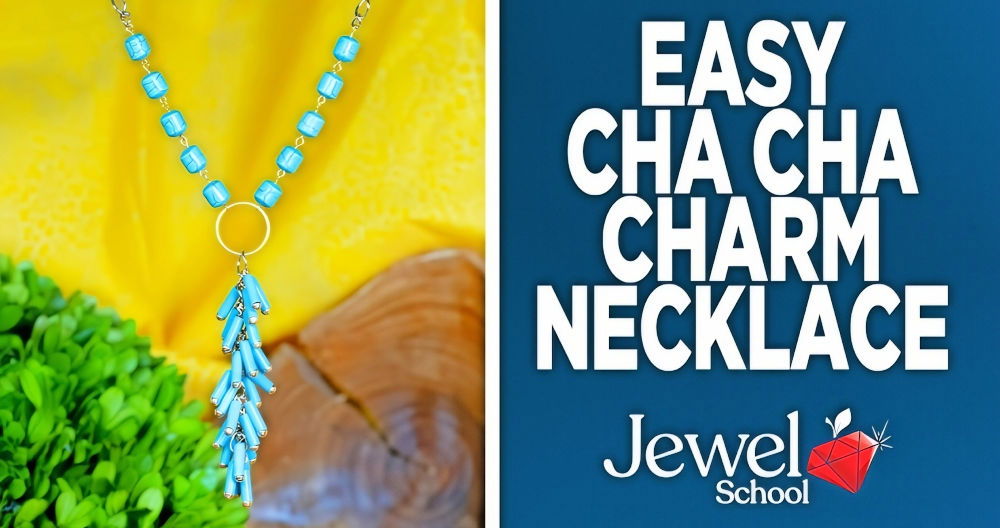
Making your own DIY necklace at home can be a fun and rewarding experience. This simple guide provides clear and concise instructions on how to make a necklace from start to finish. Whether it's a project for yourself or a heartfelt gift for someone special, these easy steps will lead you through the process of making a beautiful and personalized piece. Gather your materials and get ready to craft a stunning, handmade necklace.
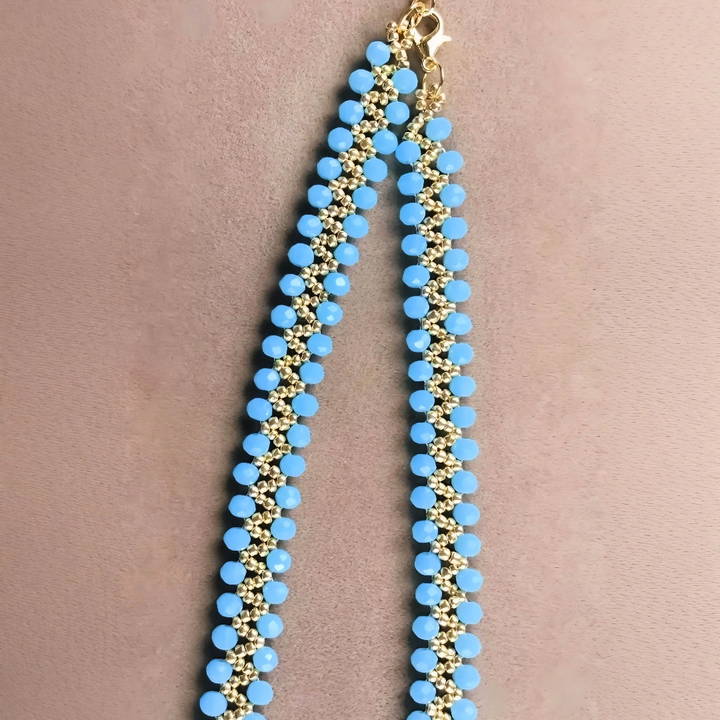
In this guide, you will find everything needed to dive into crafting a DIY necklace. From selecting the right beads and string to assembling and securing the clasp, each step is explained in detail to ensure success. The instructions are designed to be easy to follow, even if you have never tried jewelry-making before.
Get prepared to enjoy the satisfaction of wearing a piece you've maked with your own hands.
Materials You'll Need and Why
Before we start, let's talk about the materials you will need for this project. Understanding each component's role is crucial for a successful outcome.
- Seed Beads: These small beads are the main ingredient of our necklace. I chose them for their versatility and the delicate look they provide.
- Beading Thread: This is essential for stringing the beads together. A durable, thin thread is ideal for maintaining the necklace's subtle elegance.
- Needle: A beading needle will make threading the beads much easier, especially since seed beads are quite small.
- Clasp: This will serve as the closure for your necklace, ensuring it stays securely fastened around your neck.
- Scissors: You'll need a pair of scissors to cut the thread to the desired length.
- Bead Mat or Towel: Laying out your materials on a bead mat or towel will prevent beads from rolling away and make the process more manageable.
Step by Step Instructions
Discover easy DIY necklace instructions: from preparing your workspace to wearing your creation proudly. Perfect for beginners and craft lovers!
Step 1: Prepare Your Workspace
First, find a comfortable, well-lit workspace. Lay out your bead mat or a clean towel and arrange your materials. This preparation phase helps in making an organized environment that enhances focus and creativity.
Step 2: Designing Your Necklace
Before stringing any beads, decide on the length of your necklace and the pattern you'd like to make. Do you prefer a single, uniform color, or would you like to implement a multi-colored design? Sketching your idea can be helpful.
Step 3: Cutting the Thread
Measure and cut a length of beading thread. I recommend making it a bit longer than your intended necklace to allow for adjustments and the clasp to be attached.
Step 4: Threading the Needle and Adding the Clasp
Thread your needle with the beading thread. Then, tie one end of your thread to the clasp. This will be the starting point of your necklace. Ensure the knot is secure to prevent any beads from slipping off.
Step 5: Start Beading
Now comes the fun part! Start stringing your beads according to the pattern you've decided upon. Slide them down the thread, ensuring each one sits snugly against the next. This process can be quite meditative, so take your time and enjoy the journey.
Step 6: Finishing Your Necklace
Once you've reached the desired length, it's time to finish off your masterpiece. Attach the other half of the clasp to the open end of your necklace. Secure it with a strong knot, and carefully trim any excess thread with your scissors.
Step 7: Wear It Proudly
Congratulations! You've just maked a beautiful piece of jewelry with your own hands. Whether you're going out or simply want to elevate your everyday look, this handmade necklace is ready to adorn your neck and showcase your new skill.
Additional Tips for Success
- Patience is Key: Don't rush the process. Enjoy each step, and don't be afraid to undo and redo if necessary.
- Quality Materials: Using high-quality beads and thread can significantly affect the outcome and durability of your necklace.
- Practice Makes Perfect: Your first necklace might not be perfect, and that's okay! Keep practicing, and you'll see improvement with each project.
Troubleshooting Common Issues
When crafting your own DIY necklaces, you might encounter a few hiccups along the way. Here's a helpful guide to troubleshoot some common issues:
Beads Not Fitting the Wire or String
- Solution: Ensure you're using the correct size of wire or string for your beads. Bead holes vary in size, so check the specifications before purchasing your materials.
Clasp Won't Secure
- Solution: If your clasp isn't securing properly, it might be due to a weak crimp bead or improper closure technique. Use a crimping tool to ensure a tight seal and test the clasp before wearing.
Necklace Breaks Easily
- Solution: This could be due to thin or low-quality stringing material. Opt for a stronger material like nylon-coated stainless steel wire, and consider double-stranding for added durability.
Knots Forming in the String
- Solution: Prevent knots by using a bead board to lay out your design before stringing. If you do get a knot, gently use a pin to loosen it and untangle the string.
Pendant Flips Over
- Solution: Pendants can flip if they're not properly balanced or if the bail is too large. Use a smaller bail, or add a counterweight to the back of the pendant.
Uneven Lengths in Multi-Strand Necklaces
- Solution: Measure and cut all strands to the same length before starting. Use a clasp with multiple rings to ensure each strand is secured at the same point.
Difficulty Threading Needles
- Solution: Use a needle threader or flatten the end of the thread with pliers to make it easier to pass through the needle's eye.
Allergic Reactions to Materials
- Solution: Always use hypoallergenic materials like surgical steel or sterling silver, especially for parts that touch the skin, like clasps and earring hooks.
Patience and practice are key to perfecting DIY necklaces. If you face issues, reassess your approach. With time, you'll make beautiful, sturdy jewelry.
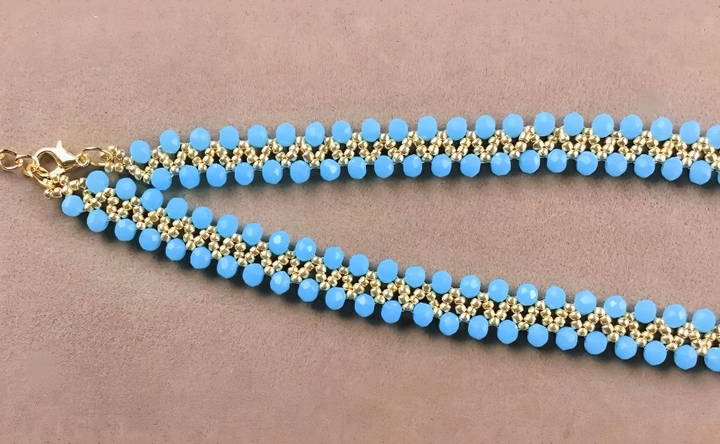
FAQs About DIY Necklace
Discover answers to common questions about DIY necklace making, from materials and tools to step-by-step guidance and creative tips.
Necklace length is a personal choice and can vary based on your outfit and style preferences. Here’s a quick guide:
14" is a choker length.
16" sits at the base of the neck.
18" is at the collarbone and common for pendants.
20-24" works well with lower necklines.
28" and longer can hang over clothing.
Absolutely! DIY necklaces are a great way to start crafting. There are many simple tutorials available that require minimal tools and materials. Start with a basic design and as you gain confidence, you can try more complex projects.
There are numerous styles to explore, such as:
Beaded necklaces with colorful patterns.
Pendant necklaces featuring a central focal piece.
Chokers for a close-fitting style.
Multi-strand necklaces for a layered look.
Many common necklace issues can be fixed with simple tools. For a snapped chain, you can use pliers to reconnect the links. If a clasp breaks, it can often be replaced with a new one. Loose beads can be re-strung or secured with a dab of glue.
To make sure your DIY necklace stands the test of time, follow these tips:
Use high-quality materials. Opt for durable stringing materials and sturdy clasps.
Double-check all knots and closures to ensure they're secure.
Consider using a bead stopper or tape at the ends while working to prevent beads from slipping off.
Store your necklace properly, hanging it or laying it flat to avoid tangles and damage.
In Conclusion
Wrapping up, learning how to make a necklace through these step by step instructions can be both fun and fulfilling. Crafting your own DIY necklace allows you to make personalized jewelry that reflects your unique style. Follow these simple steps to produce stunning necklaces you can wear proudly or gift to others. Happy crafting!


