Making a pop-up book is a delightful blend of art, craft, and storytelling. Whether you're making a personal gift, working on a school project, or simply exploring your creativity, pop-up books provide a unique and interactive way to bring your ideas to life. In this comprehensive guide, we'll take you step-by-step through the entire process—from gathering the necessary materials to assembling your book—and we'll introduce various techniques you can use to make stunning pop-up models.
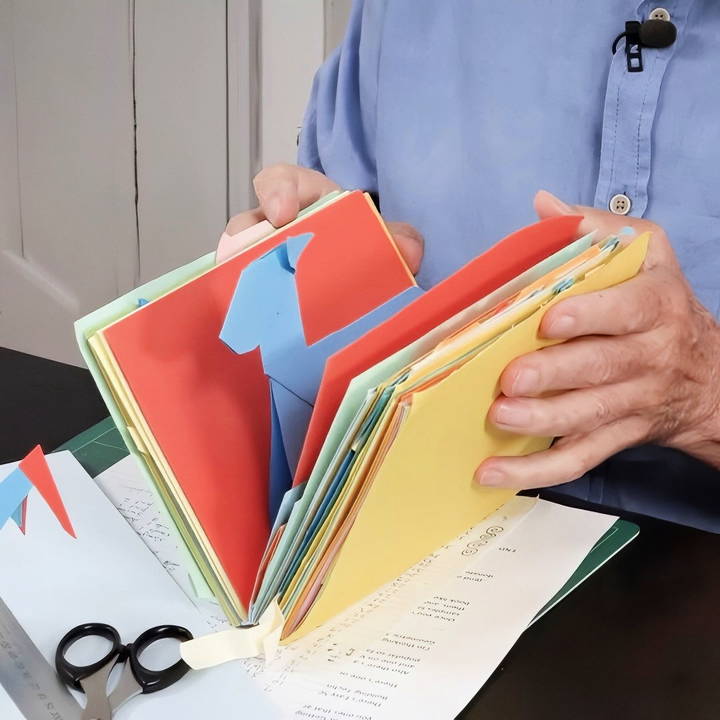
Materials Needed for Your Pop-Up Book
Before we dive into the process of designing and assembling your pop-up book, let's take a look at the essential materials you'll need:
Basic Supplies
- Cardstock or Heavy Paper: This will serve as the base for your pages. Cardstock is preferred due to its sturdiness.
- Scissors or Craft Knife: These tools will be used to cut shapes and mechanisms for your pop-ups.
- Ruler and Pencil: A ruler is necessary for measuring and making straight cuts, while a pencil allows you to plan your designs before cutting.
- Glue or Double-Sided Tape: You'll need adhesive to attach the pop-up mechanisms and the book's pages together.
- Markers, Colored Pencils, or Paint: These are optional but can be used to decorate your pop-ups and pages.
- Bone Folder or Smooth Edge Tool: To make crisp folds in your paper, a bone folder is highly recommended.
- Binding Materials: This could include staples, a hole punch and ribbon, or adhesive for gluing the pages together.
- Decorative Elements: You can add stickers, cut-outs, or embellishments to personalize your book.
Additional Craft Tools (Optional)
- X-Acto Knife: For precise cuts on intricate designs.
- Cutting Mat: To protect your work surface when using sharp tools.
- Pop-Up Templates: Pre-made templates can help get you started.
Step by Step Instructions
Learn how to make your own DIY pop-up book with easy step-by-step instructions, from designing pages to crafting mechanisms and final touches.
Step 1: Designing Your Pop-Up Pages
The first step in making your pop-up book is designing your individual pop-up pages. You can make each page a standalone scene or make a cohesive story that flows through the book. Here's how to get started with page design:
Choose a Theme or Storyline
Before jumping into crafting, it's helpful to decide on a theme or storyline for your book. Do you want a whimsical fairy tale, an adventurous journey, or perhaps an educational theme for kids? Once you've chosen your theme, sketch out the key scenes and decide where each will be placed in the book.
Plan Your Pop-Up Elements
Each pop-up element will bring a scene to life. There are various types of pop-ups you can incorporate:
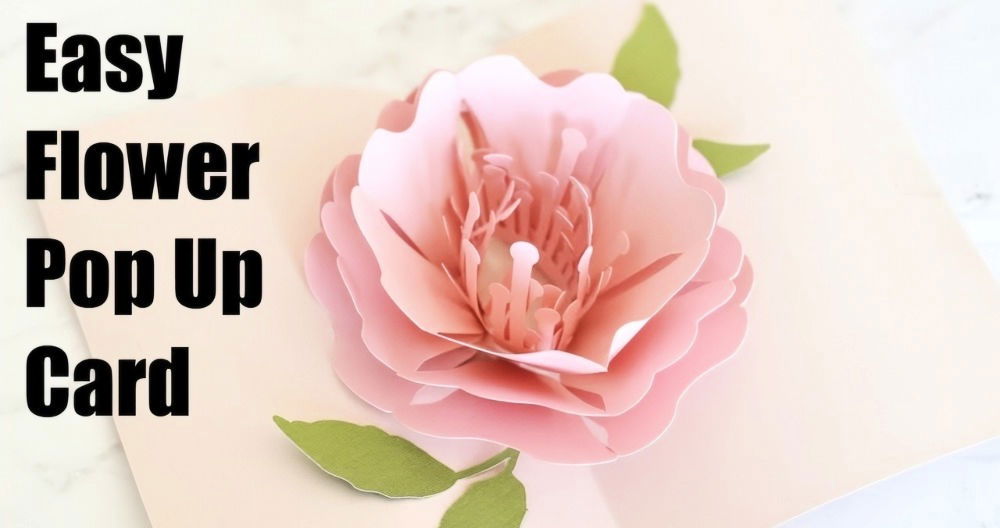
- Basic Pop-Ups: These include simple folds that make depth when the page is opened.
- V-Folds: A popular and fundamental technique where a folded piece of paper springs upward when the page is opened.
- Pull Tabs: Interactive elements that allow readers to pull on a tab to move parts of the pop-up.
- Asymmetric Mechanisms: These add unique movement, such as turning a wheel or opening flaps, giving dynamic action to your pop-ups.
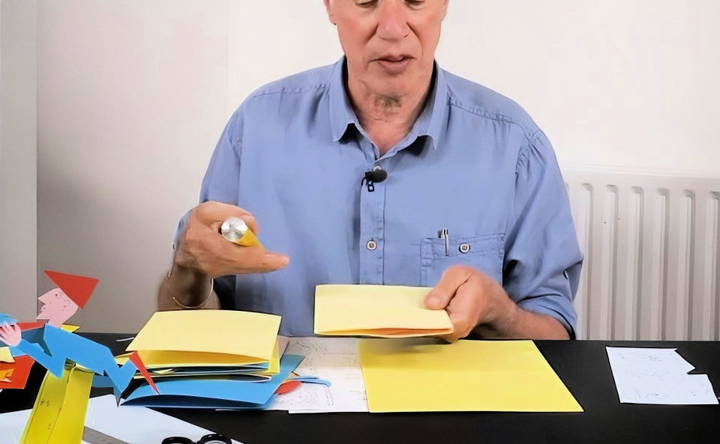
Start by sketching your pop-up designs on regular paper before transferring them to cardstock. This will help you visualize the final look and ensure your designs fit well on the pages.
Step 2: Crafting the Pop-Up Mechanisms
Once you have your designs ready, it's time to start crafting your pop-ups. Let's break down some common techniques used in pop-up books:
Basic V-Fold Pop-Up
The V-fold pop-up is one of the simplest and most effective mechanisms. Here's how to make it:
- Cut a Shape: Start by cutting a shape from cardstock. This could be an animal, character, or any object that fits your scene.
- Make a Fold: Fold the shape in half vertically. This is where the "V" mechanism will be.
- Attach to the Page: Apply glue to the bottom of the fold and attach it to the page, ensuring the fold aligns with the spine of the book. When the page is opened, the shape will pop up in a V formation.
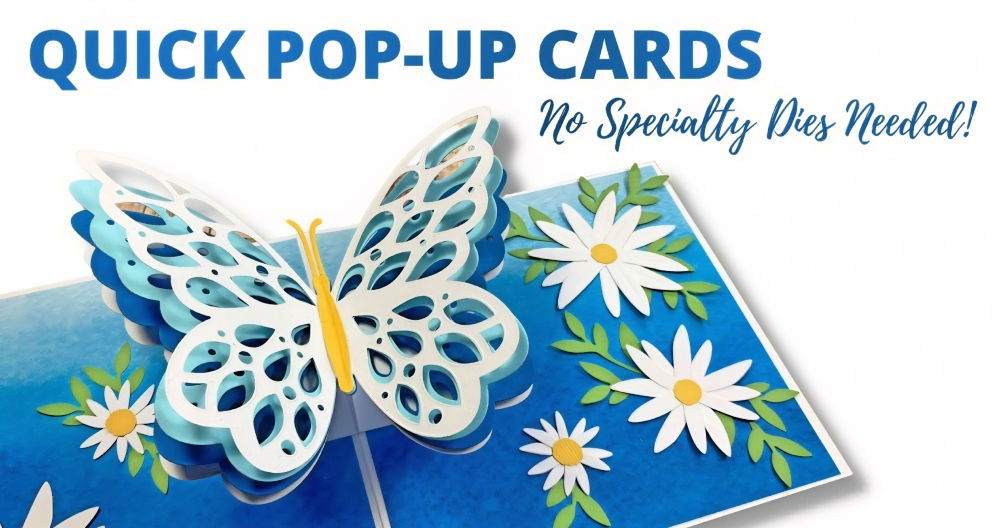
Layered Pop-Up
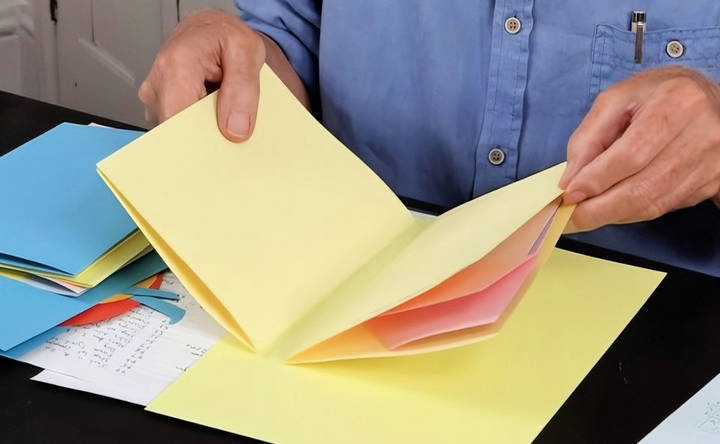
To add depth and complexity to your pop-up book, you can layer different elements on top of each other. Follow these steps:
- Make Multiple Layers: Cut several pieces of cardstock, each with a different element of the scene (e.g., background, midground, and foreground).
- Attach Layers with Spacers: Use folded strips of cardstock as spacers between each layer. This gives the illusion of depth when the book is opened.
Pull Tab Mechanisms
For interactive elements, pull tabs are a fun addition. These allow readers to control part of the pop-up, making it move:
- Design a Moving Element: Cut out a shape that you want to move across the page, like a car or an animal.
- Make a Slot: Cut a horizontal slot in the page where the tab will move.
- Assemble the Tab: Attach the moving element to a strip of cardstock, which will serve as the pull tab. Feed the tab through the slot, and secure it with adhesive on the opposite side of the page.
Step 3: Assembling Your Pop-Up Book
Once your pop-up pages are complete, it's time to bind them into a cohesive book. Here's how to put everything together:
Binding Your Pages
When you have several pages with pop-ups, it's important to bind them in a way that preserves the integrity of the designs. Follow these steps:
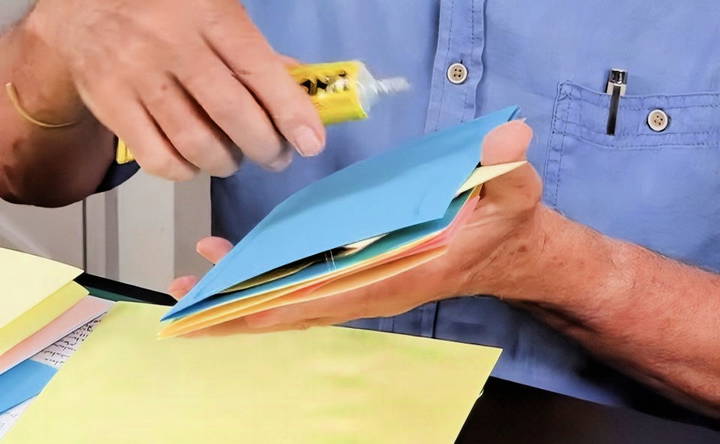
- Line Up the Pages: Stack your pages in order. Don't worry if some elements stick out beyond the edges.
- Apply Glue to the Spine: Run a thin bead of glue along the spine of the first page, about 1 centimeter from the edge.
- Attach the Next Page: Line up the spine of the next page with the first and press them together.
- Repeat: Continue this process until all pages are glued together.
Making Covers
To protect your book and make it look professional, add covers using full sheets of cardstock:
- Cut Cardstock to Size: The cover should be slightly larger than your pages. Trim the edges to make a clean, even border.
- Attach the Covers: Apply glue around the edge of the last page and attach the cardstock cover. Repeat for the front cover.
Adding a Binding
To reinforce the spine and make the book durable, you can add a binding:
- Staple Binding: Use a heavy-duty stapler to secure the spine, then cover it with decorative tape or cardstock.
- Ribbon Binding: Punch holes along the spine and thread ribbon through them, tying it in a neat bow.
Step 4: Decorating and Final Touches
Now that your pop-up book is assembled, you can add final decorative touches to make it truly unique. Here are a few ideas:
Embellishing the Pages
Use markers, paint, or colored pencils to decorate the pages further. You can also add stickers, washi tape, or other decorative elements to enhance the visual appeal of the book.
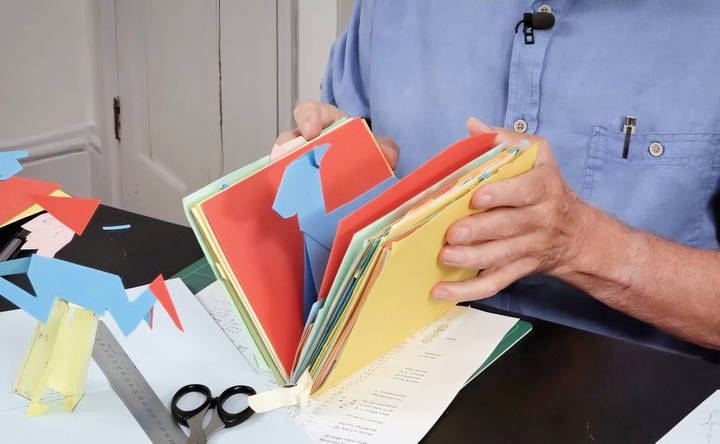
Personalizing the Cover
Decorate the cover with a title, illustrations, or even 3D elements that match the theme of your book. You can also write a dedication inside the front cover to personalize it.
Tips and Tricks for a Successful Pop-Up Book
Here are some expert tips to keep in mind as you make your pop-up book:
- Test Your Mechanisms: Before gluing anything down permanently, test your pop-up mechanisms to ensure they work properly.
- Don't Overload with Glue: Using too much glue can warp the paper and make the book difficult to open. A thin bead of glue around the edges is usually sufficient.
- Keep It Simple: While it's tempting to make intricate designs, simple pop-ups can often be just as effective and less likely to malfunction.
- Plan for Page Thickness: Pop-up elements add bulk to your pages, so make sure to leave enough room in the spine for the book to close properly.
- Use a Bone Folder: A bone folder helps you make precise, clean folds, which are essential for well-functioning pop-ups.
Conclusion
Making your own pop-up book is a rewarding and enjoyable craft project that allows you to combine your creativity with hands-on skills. By following the steps outlined in this guide, you'll be able to design, craft, and assemble a beautiful and functional pop-up book. Whether you're making a gift, teaching others, or simply experimenting with a new hobby, the possibilities with pop-up books are endless. So gather your materials, unleash your imagination, and start crafting your DIY pop-up book today!
FAQs About DIY Pop-Up Books
Discover everything about DIY pop-up books with these FAQs. Get tips, materials, and instructions to craft creative pop-up projects easily.
To preserve your pop-up models, glue them carefully and add a protective cover to your book. Line up the spines of the pages when gluing and add sturdy cardstock covers at both ends to protect the pages from wear and tear.
A simple PVA glue or a solvent-free option like UHU works best. Be mindful not to overuse glue, as too much can warp the paper. A thin bead along the edges of the paper is sufficient.
It depends on the notebook. The most important factor is that the base opens flat. If your notebook has flexible binding, it can work. Alternatively, you can create pop-ups separately and glue them into the notebook.
If some pieces stick out after assembling your pages, don’t worry. You can trim them down or create slightly larger covers to encase the entire pop-up model without damaging it.
For interactive elements like pull tabs, cut a slot in the page for the tab to slide through and attach the moving object to the end of the tab. This allows readers to manipulate the movement by pulling the tab.
Test your pop-up mechanisms before gluing them down permanently. Ensure all folds and creases are precise, and test that the pop-up element opens and closes without sticking or tearing.
If you're sensitive to typical glues like UHU or PVA, try using rice glue, though it may not last as long. Alternatively, search for other solvent-free adhesives for better durability.
To make more depth, you can layer elements using strips of cardstock as spacers. This will give your scenes a multi-dimensional feel, enhancing the visual effect.
Yes, avoid using too much glue, as it can cause the paper to warp. Also, ensure that your folds are crisp and properly aligned to prevent your pop-ups from malfunctioning when the book opens.
Use glue along the spine of each page to secure them together, ensuring that the spines align. After assembling the pages, add front and back covers made of sturdy cardstock for extra support.


