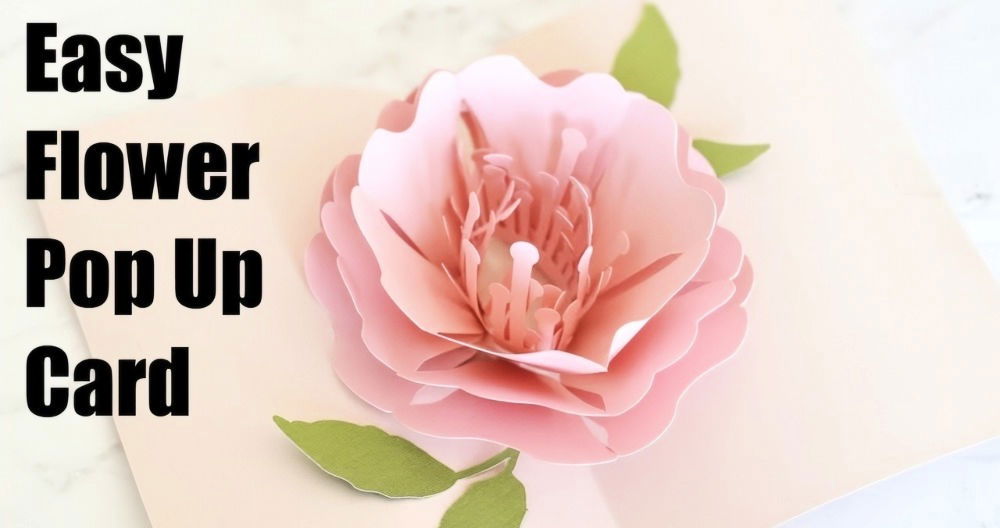
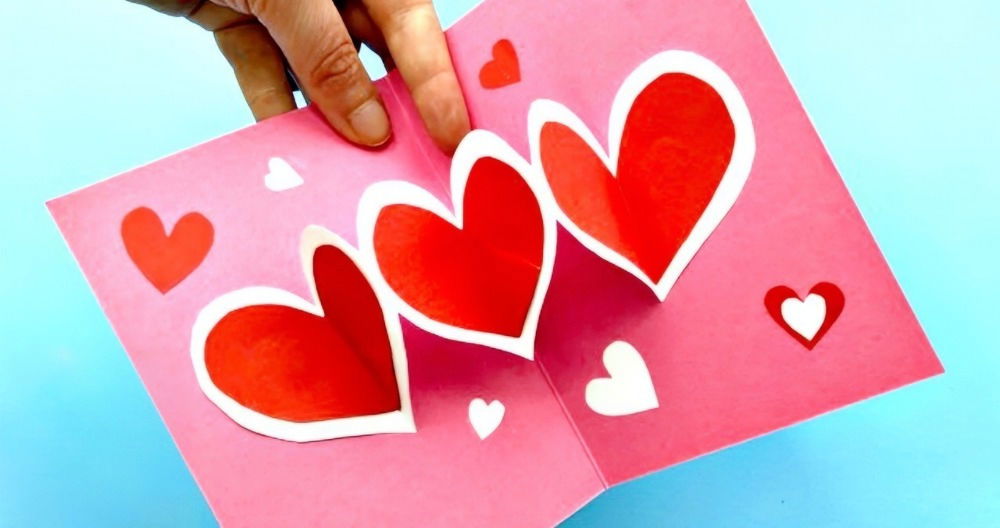
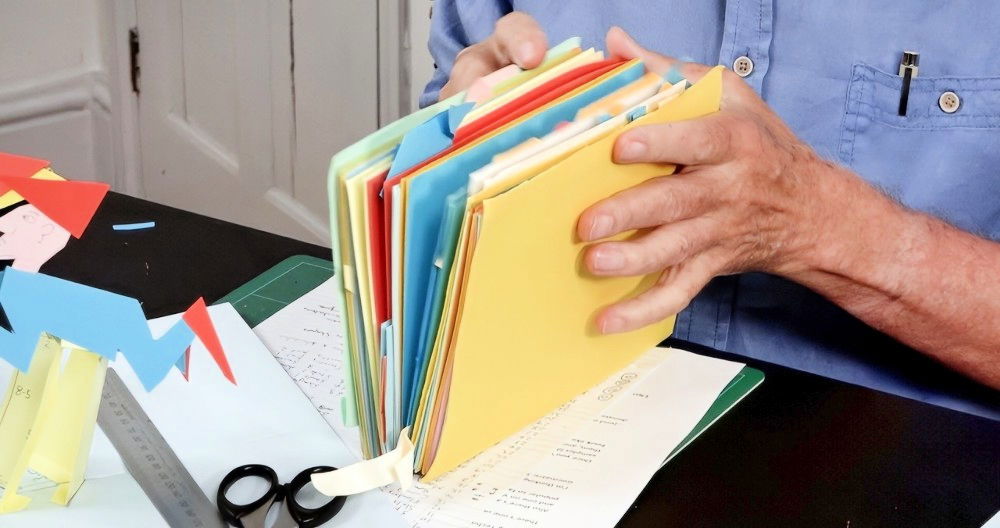
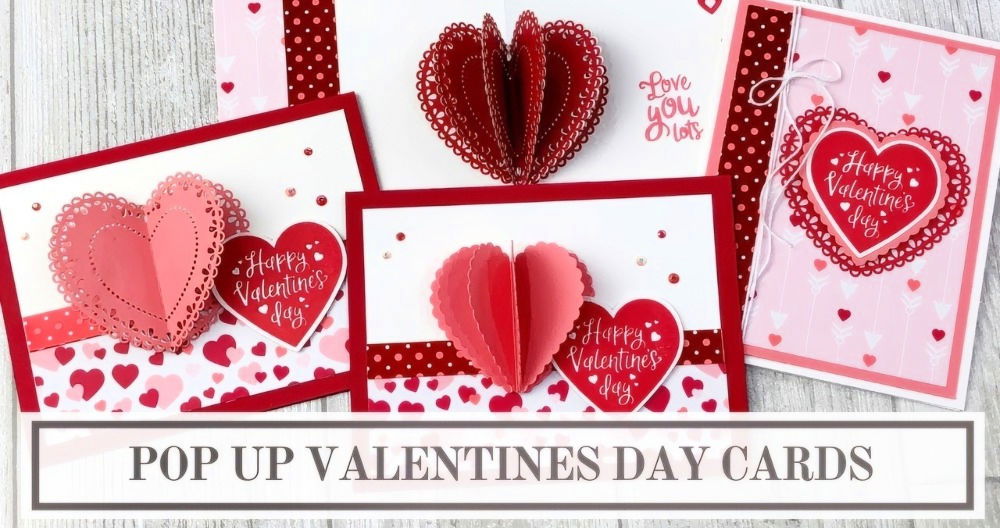
Pop-up cards are a fantastic way to surprise and delight the recipient with a design that literally pops off the page. Whether you're crafting for a special occasion or simply want to create a unique, memorable card, the process of making a DIY pop-up card can be both easy and fun. In this comprehensive guide, we'll walk you through each step to create a beautiful pop-up card using common materials and tools. Let's dive in!

Materials You'll Need
Before starting, gather the following materials:
- Cardstock: A sturdy base for your pop-up card.
- Dies: Use layering dies of your choice, such as butterflies, flowers, or any shape you desire. Dies are optional but can add great detail.
- Adhesive: Glue or double-sided tape works well.
- Scoring Tool: To create precise folds.
- Scissors: For cutting paper and dies.
- Decorative Elements: Stickers, pens, or Nuvo drops for extra embellishments.
Step by Step Instructions
Learn how to make a pop-up card with our easy step-by-step guide. Perfect for beginners! From preparing the card base to the final touches, get started now!
Step 1: Preparing the Card Base
Your card needs a sturdy base. For this guide, we'll be using a 6x6 card base, but you can adjust the size based on your preference.
- Cut Your Card Base: Start with a piece of cardstock measuring 12x6 inches. Score it down the center at the 6-inch mark, and fold it in half to create a 6x6 card base.
- Decorate the Base: You can decorate the outside and inside of the card using patterned paper. In this example, watercolor backgrounds work beautifully. Choose a design that complements your pop-up element, like shades of blue for a butterfly theme or floral patterns for a garden-inspired card.

Step 2: Making the Pop-Up Mechanism
To make the magic happen, you'll need to create a simple pop-up mechanism that allows the center element to stand up when the card is opened.
- Cut Strips for the Mechanism: Cut two strips of cardstock, each measuring 1 inch by 5.5 inches.
- Score the Strips: Along the 5.5-inch side, score the strips at 0.5 inches, 2 inches, 3 inches, and 4.5 inches. These score lines will allow you to fold and glue the strips together to create the mechanism.
- Fold and Glue: Fold along the score lines and burnish the folds. Add adhesive to the small 0.5-inch tab and fold the strip into a rectangle. Repeat this process for the second strip. These two rectangles will serve as the pop-up supports for your central element.
- Attach to the Card: Glue the two pop-up mechanisms inside the card. Be sure to center them along the card’s fold, so the mechanism opens evenly when the card is opened. This is key to making your pop-up stand out properly.

Step 3: Making the Pop-Up Element
Your pop-up element is the star of the show. In this guide, we’ll be using a layered butterfly as the main focus, but this technique can be applied to any shape you choose.
- Choose Your Dies: Select dies that create layers of your chosen design. For this project, butterfly dies with different sizes create a stunning layered effect.
- Cut the Pieces: Use a die-cutting machine to cut each layer of the butterfly from different colored cardstock. For example, cut the base layer in white, the medium layer in a bold color, and the smallest layer in a contrasting color. This gives a beautiful dimensional effect.
- Layer the Pieces: Once all your pieces are cut, layer them on top of each other, adding glue only to the center of each piece. This leaves the wings free and adds depth to the design. Optionally, you can add small foam dots between layers to create even more lift.
- Fold the Element: Fold the entire pop-up element (the butterfly in this case) down the center, so it can collapse when the card is closed and pop up when opened.

Step 4: Attaching the Pop-Up Element
Now that the pop-up element is ready, it's time to attach it to the pop-up mechanism inside your card.
- Attach the Pop-Up Element: Add glue to the two pop-up mechanisms you placed earlier, and carefully position the folded butterfly onto them. Ensure that the fold in the butterfly aligns with the center fold of the card. This ensures that it pops up evenly when the card is opened.
- Test the Pop-Up: Gently close and open the card to ensure the pop-up mechanism works smoothly and the butterfly or other element pops up as intended.

Step 5: Decorating the Card
Now that the pop-up element is in place, it’s time to add the finishing touches to your card.
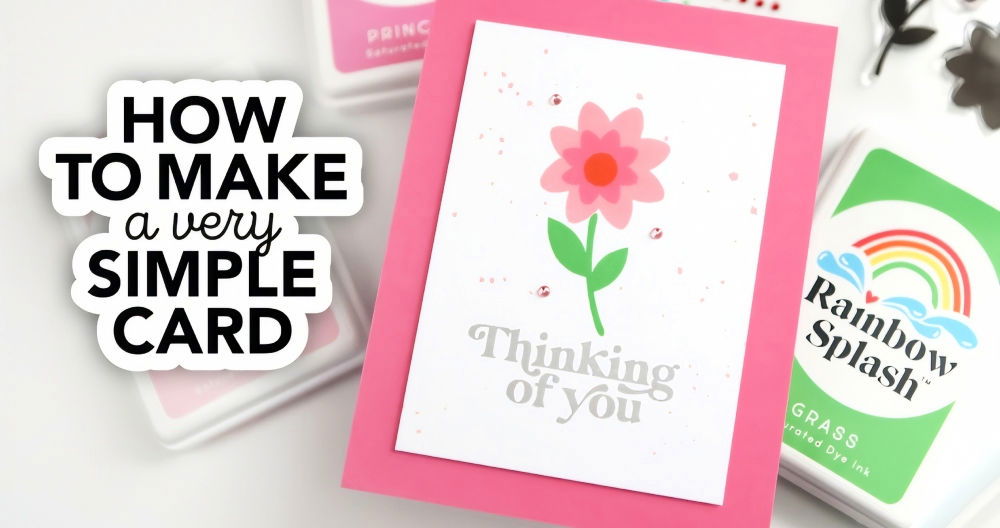
- Front of the Card: Add a decorative sentiment and any embellishments to the front of the card. You could use a half-butterfly design on the front to match the inside pop-up, along with a heartfelt sentiment such as "Thinking of You."
- Inside of the Card: If desired, you can add smaller embellishments around the pop-up element. In this example, small floral elements created using the funky floral die set can add an extra touch of beauty. You can also leave the inside without a sentiment to let the pop-up design shine.
- Back of the Card: For a final touch, add a sentiment or message on the back. A thoughtful quote or well wishes, like "May your pain ease with each passing day," adds a personal touch to the overall design.
Step 6: Adding Dimension and Texture
Pop-up cards can benefit from the use of various textures and layers, which make them even more interesting. Here are a few ideas to add more dimension and detail:
- Foam Dots: Add foam dots between layers of your pop-up element to give it more depth. Be careful not to add too much bulk, as it may affect how the card closes.
- Nuvo Drops: Add small Nuvo drops to the wings of the butterfly or to the centers of flowers. This adds a nice raised, glossy effect.
- Vellum or Mirror Cardstock: For a touch of elegance, you can cut additional layers of your pop-up element using vellum or mirror cardstock. These materials add a subtle sheen or transparency that can make your design more visually appealing.

Step 7: Final Touches and Assembly
Your pop-up card is almost complete! Here are the final steps to ensure it’s perfect:
- Dry Time: Allow the glue to dry completely before closing the card fully. This prevents any movement or misalignment in your pop-up mechanism.
- Envelope or Box: Due to the dimensional nature of pop-up cards, they are best suited for a bouncy envelope or a box envelope, which provides the necessary room for the pop-up element.
Conclusion
Pop-up cards are an excellent way to make a memorable and heartfelt greeting. By following these steps, you can create a beautiful, professional-looking pop-up card with just a few materials. Whether you choose butterflies, flowers, birds, or any other design, the technique is highly adaptable to suit any occasion.
Recall to get creative with your embellishments and layers, and most importantly, have fun with the process! Whether you're making one for a friend, family member, or a special event, your pop-up card is sure to bring a smile to the recipient's face.
FAQs About Pop-Up Cards
Discover answers to common questions about pop-up cards. Learn about designs, occasions, and how they bring joy. get all FAQs about pop-up cards here.
You don’t need specialty dies to create a pop-up card. Use any dies or cutouts you have in your crafting stash. For instance, butterflies, birds, or even book shapes work well. You can also hand-cut your designs using scissors for a fully customizable approach.
Make sure to properly align your mechanism with the center fold of the card. If it's “wonky” or doesn’t pop up smoothly, check that both ends of the mechanism are equally glued to the card base.
Yes, you can use any shape that has a center fold. Popular choices include butterflies, flowers, birds, or even text. Just make sure the shape can fold in half and is proportionate to your card size.
To make a smaller or shorter pop-up mechanism, adjust the height of the strips you use for the pop-up support. You can cut the strips to a shorter width (e.g., 3.5 inches instead of 5.5 inches) while keeping the fold lines proportionate.
Heavier cardstock (300 GSM) works well for layered or complex designs as it provides durability. For simpler designs or single layers, lighter cardstock (220 GSM) will suffice.
If your pop-up element isn’t opening completely, it may be due to improper alignment or excess bulk. Check if the mechanism and pop-up element are centered correctly, and ensure that your glue doesn’t restrict movement.
Yes, you can add dimension by using foam dots between layers of the pop-up element or incorporating vellum or mirror cardstock for an elegant look. Just be cautious of adding too much bulk, which may affect how the card closes.
Absolutely! Pop-up cards are versatile and can be used for any occasion, such as birthdays, condolences, anniversaries, or holidays. Customize your design based on the event by switching the pop-up element and decorative theme.
If the mechanism appears uneven, carefully remove and reattach it with more precise alignment. Ensure both sides are equally glued to the base so that it opens symmetrically.
If you want a pop-up card that doesn’t have too much bulk, use thinner layers and avoid foam dots. You can also opt for fewer layers or choose a simpler shape that folds easily.
Tips and Tricks for Making Pop-Up Cards
- Align Carefully: Ensure your pop-up mechanism and central element are aligned with the card’s center fold. This ensures smooth opening and closing.
- Use Sturdy Cardstock: Heavier cardstock (300 GSM) provides stability for layered designs. Lighter cardstock works for simpler pop-ups.
- Test the Mechanism: Before gluing, fold and test the pop-up mechanism to avoid misalignment. This helps ensure a smooth pop-up effect.
- Add Dimension Wisely: Use foam dots sparingly between layers to add depth without making the card too bulky.
- Customize with Any Dies: Get creative with different shapes like butterflies, flowers, or even text for a personalized touch. No specialty dies are required.
- Dry Thoroughly: Allow all glued elements to dry completely before testing the pop-up to prevent misalignment.
- Embellish Thoughtfully: Add subtle decorations like Nuvo drops, vellum, or mirror cardstock to enhance the design without overwhelming the pop-up.
- Keep It Flat: For a flatter pop-up, avoid using foam dots and opt for fewer layers, ensuring easier folding and mailing.
By following these tips, you can create smooth, professional-looking pop-up cards with ease!


