Making a DIY pumpkin wreath is a fun and rewarding project that can add a festive touch to your home. To start, gather materials like a foam wreath form, burlap ribbon, faux pumpkins, and hot glue. Follow a pumpkin wreath tutorial step-by-step for a guided experience. Wrap the wreath form with burlap, secure it with glue, and arrange your faux pumpkins creatively.
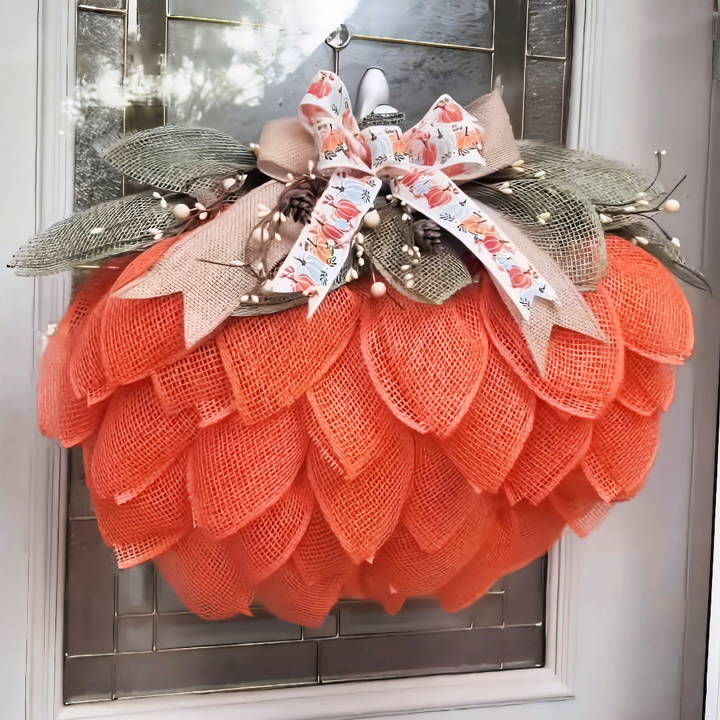
This DIY pumpkin wreath emphasizes simplicity and creativity, making it accessible for all. Decorating your wreath can be personalized with additional autumn elements like leaves and acorns to match your style. By focusing on essential steps and tips, this guide ensures a smooth crafting process.
Get ready to explore the next section for detailed instructions and pro tips to perfect your DIY pumpkin wreath.
Materials and Why Each Is Needed
- Dollar Tree Pumpkin Frame: This forms the base of the wreath. It's affordable and the perfect shape for our project.
- Poly Burlap Mesh: The texture and durability make it ideal for outdoor decor.
- Zip Ties: These will secure the poly burlap mesh to the frame firmly.
- Wood Burner or Scissors: A wood burner seals the edges of poly burlap mesh, preventing fraying. Scissors are an alternative for cutting.
- Decorative Ribbons and Garlands: Adds a festive touch and enhances the wreath's appearance.
- Pipe Cleaners (Optional): Can be used for additional decorations or as an alternative to zip ties.
- Glue Gun (Optional): For adding embellishments securely onto the wreath.
Step by Step Instructions
Learn how to make a pretty DIY pumpkin wreath with our step-by-step instructions. Perfect for fall decor, easy, and fun to make!
Step 1: Prepare the Pumpkin Frame
To kick off, I grabbed the Dollar Tree pumpkin frame. If you find the frame a bit flimsy, don't worry. You can double it up for extra strength or opt for a sturdier version from a craft store like Hobby Lobby. They're slightly more expensive but still affordable.
Step 2: Cutting the Poly Burlap Mesh
Using the wood burner on a glass cutting board, I cut my poly burlap mesh into pieces. Depending on the fullness you desire, you might need about 30 cuts, each measuring 10 inches. The wood burner is excellent for sealing edges, but please, remember to wear a mask for safety. If using scissors, you might want to apply a sealant to the edges to prevent fraying.
Step 3: Crafting the Petals
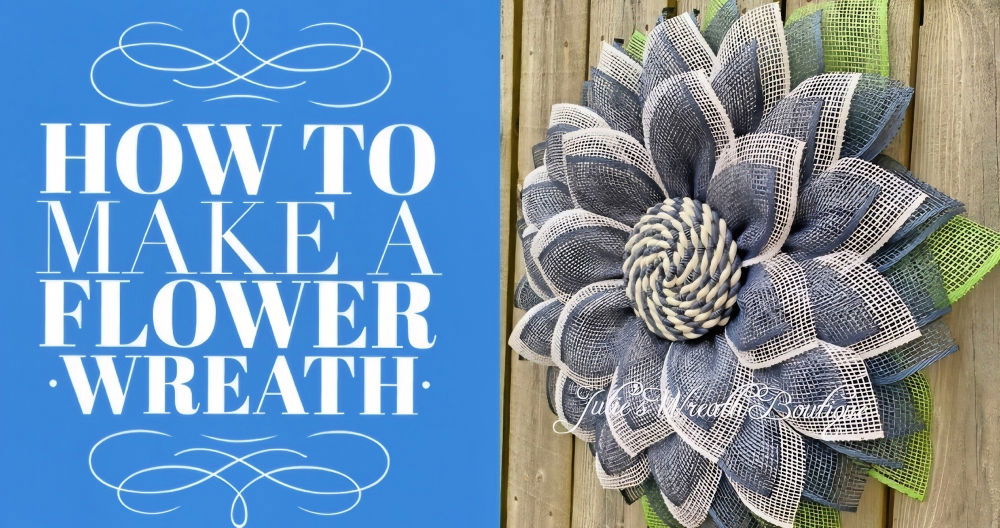
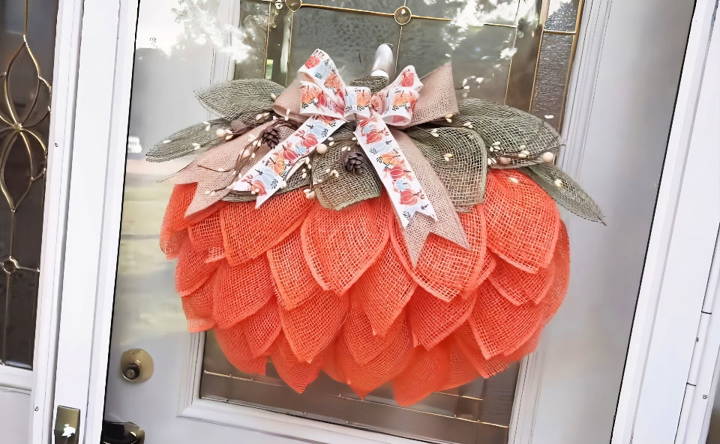
With the cut pieces, I started making the petals. Lay a piece flat, and then scrunch it from the middle to form a petal shape. The idea is to make a triangle by folding the mesh. Use zip ties to attach each petal to the pumpkin frame. Try to cover the frame evenly with these petals.
Step 4: Adding Details with Ribbons and Garlands
Once all the petals are attached, it's time to decorate. I chose autumn-themed ribbons and some garland pieces, mimicking leaves and vines for a fall vibe. To make a simple bow:
- Cut a ribbon length for the tail.
- Loop the ribbon back and forth to make loops, securing in the middle with a zip tie.
- Attach it to the wreath where you see fit, using another zip tie or some hot glue.
Step 5: Final Touches
For a more polished look, I decided to hide the frame's remnants and zip ties by layering over some green poly burlap leaves. I cut the mesh into leaf shapes and attached them with zip ties, covering any visible parts of the frame. Then, I wrapped the garland around the wreath, giving it a luscious, full appearance.
Design Variations for Your DIY Pumpkin Wreath
Making a pumpkin wreath is a delightful way to welcome the autumn season. With a few simple variations, you can design a wreath that's uniquely yours. Here's how to add personal touches to your DIY pumpkin wreath:
- Choose Your Base: Start with a sturdy base. A grapevine or foam wreath form works well. For a rustic look, use a grapevine. For a modern twist, foam is perfect as it's easy to pin decorations onto.
- Select Your Pumpkins: Mini pumpkins are the stars of your wreath. You can use real mini pumpkins for a natural look or faux pumpkins for lasting appeal. Consider painting the faux pumpkins in colors that match your home's decor.
- Add Foliage and Flowers: Tuck in some greenery and fall flowers like mums or marigolds around the pumpkins. This adds color and fullness to your wreath. Use wire to secure them to the base.
- Incorporate Seasonal Accents: Acorns, pinecones, and cinnamon sticks bring a touch of the season to your wreath. These natural elements can be glued or wired in place.
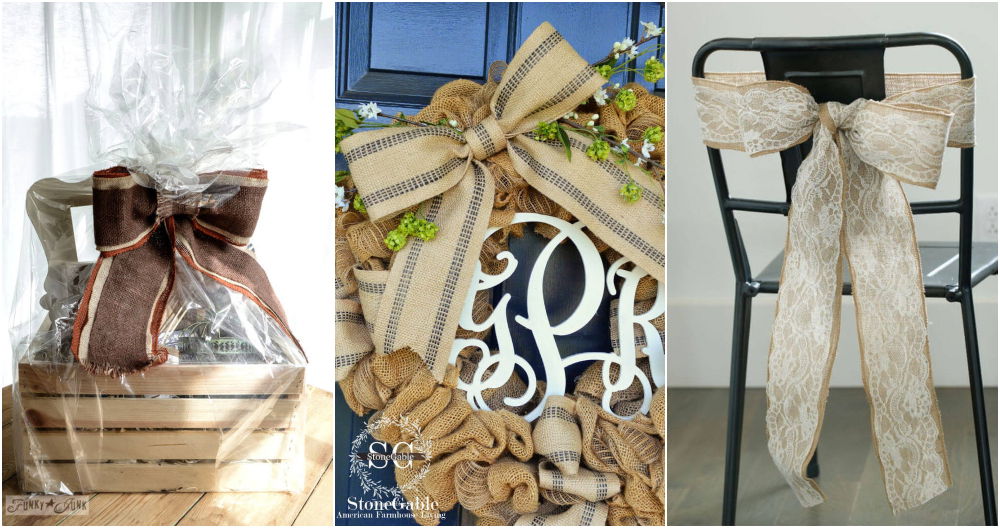
- Personalize with Ribbon: Choose a ribbon that complements your design. Burlap gives a country feel, while a glittery ribbon adds a bit of sparkle. Make a bow or use the ribbon to hang your wreath.
- Light It Up: For an evening glow, weave a string of battery-operated fairy lights through the wreath. This makes a warm, inviting ambiance.
- Hang with Care: Use a wreath hanger or strong adhesive hook to display your creation. Make sure it's secure, especially if you're hanging it on a door that opens and closes frequently.
There's no right or wrong way to make your wreath. The beauty lies in the variations that make it uniquely yours. Have fun and let your creativity shine!
Upcycling Ideas for Your DIY Pumpkin Wreath
Upcycling is a creative and eco-friendly way to repurpose items that you might otherwise throw away. When it comes to making a DIY pumpkin wreath, there are plenty of materials you can upcycle to add a unique touch. Here are some ideas:
- Old Clothes: Have any old orange shirts, scarves, or fabric? Cut them into strips to make faux pumpkins or to wrap around your wreath form for a pop of color.
- Book Pages: For a vintage feel, use pages from an old book to make paper pumpkins or leaves. This adds a literary charm to your wreath.
- Plastic Bags: Don't toss out those plastic grocery bags! They can be bunched up and covered with fabric or paint to make lightweight pumpkins that won't weigh down your wreath.
- Cardboard: Cardboard from shipping boxes can be cut into pumpkin shapes and painted. It's a sturdy material that will hold up well on your front door.
- Old Jewelry: Add some sparkle by decorating your wreath with beads or broken pieces of costume jewelry.
- Wine Corks: Gather wine corks to make mini pumpkins or to use as spacers between other elements on your wreath.
- Used Ribbon: Ribbons from gift wrapping can be reused to make bows or to hang your wreath.
- Natural Elements: Collect fallen leaves, twigs, and acorns during your next walk in the park. They're perfect for adding a natural and seasonal touch.
These upcycling ideas let you craft a unique pumpkin wreath while promoting sustainability.
Troubleshooting Common Issues
When crafting your DIY pumpkin wreath, you might encounter a few hiccups along the way. Here's how to solve some common issues with simple, clear solutions:
Pumpkins Keep Falling Off
- Solution: Make sure you're using a strong adhesive or floral wire to attach the pumpkins securely. Hot glue often works well for faux pumpkins, while real pumpkins may need wire for extra support.
Wreath Looks Sparse
- Solution: Add more foliage, such as artificial leaves or extra twigs, to fill in the gaps. Layering different textures and colors can also give your wreath a fuller appearance.
Color Fades Quickly
- Solution: If you're using real pumpkins, they will naturally fade over time. For faux pumpkins, apply a UV-resistant spray to help maintain vibrant colors.
Wreath Form is Visible
- Solution: Wrap the form in ribbon or burlap before you start decorating. This not only hides the form but also provides a better base for attaching decorations.
Decorations Look Cluttered
- Solution: Step back and evaluate your wreath from a distance. Remove or rearrange elements until you achieve a balanced look. Sometimes, less is more.
Wreath is Not Weather-Proof
- Solution: Use materials that can withstand outdoor conditions. Consider waterproofing sprays for added protection, especially if the wreath will be exposed to the elements.
Difficulty Hanging the Wreath
- Solution: Use a sturdy wreath hanger or an adjustable hook. Ensure it's rated for the weight of your wreath and fits the door properly without causing damage.
Anticipate issues and know how to address them to make a lasting DIY pumpkin wreath. Crafting involves learning and experimenting, so try different techniques to see what works best for you.
Maintenance Tips for Your DIY Pumpkin Wreath
Keeping your DIY pumpkin wreath looking fresh and vibrant throughout the season is important. Here are some maintenance tips to help you preserve your creation:
- Choose the Right Location: Hang your wreath in a spot that's protected from harsh weather. An overhang or covered porch is ideal to prevent exposure to rain and direct sunlight.
- Avoid Heat Sources: Keep the wreath away from heat sources like direct sunlight, heaters, or open flames. This helps prevent drying out and potential fire hazards.
- Dust Regularly: Use a soft brush or a hairdryer on a cool setting to gently remove dust. This keeps your wreath looking clean and new.
- Faux Pumpkin Care: If you're using faux pumpkins, wipe them down with a damp cloth if they get dirty. For real pumpkins, they may need to be replaced if they start to decay.
- Storage Solutions: When the season is over, store your wreath in a cool, dry place. A wreath storage bag or a large box can protect it from dust and damage.
- Refresh Annually: Before displaying your wreath each year, check for any wear and tear. Replace any faded or damaged elements to keep it looking its best.
- Keep It Dry: If your wreath does get wet, make sure to dry it thoroughly before hanging it back up. Moisture can lead to mold and damage.
By following these simple maintenance tips, you can enjoy your beautiful pumpkin wreath year after year.
FAQs About DIY Pumpkin Wreath
Discover the top faqs about DIY pumpkin wreaths and get tips and answers for making your perfect autumn decoration.
Absolutely! Feel free to spray paint your pumpkins and gourds in any color that suits your fall decor. White, gold, and copper are popular choices for a chic look. Metallic paints can also be used to add a touch of bling to your wreath.
The time it takes can vary, but generally, you can make a simple pumpkin wreath in about an hour. If you’re painting elements of your wreath, factor in additional time for drying.
To achieve a full look, make sure to push the wrapped material (whether it’s burlap ribbon or loop yarn) close together so the wreath form is completely covered. Fluff out the material and arrange your decorations evenly around the wreath to give it a balanced, professional appearance.
To attach your pumpkins and gourds, apply a generous amount of hot glue to the base of each item and press it firmly onto the wreath form. Hold it in place for a few seconds to ensure a strong bond. For a secure hold, consider attaching the items at multiple points.
For hanging your wreath, you can use a wreath hanger that fits over your door or a command hook for a damage-free option. If your wreath form has a hollow center, you can also thread a piece of burlap ribbon through it, tie a knot for a loop, and hang it on a nail or hook.
Conclusion
Wrapping up, learning how to make a DIY pumpkin wreath is a simple and creative way to add a personal touch to your fall decor. By following the steps outlined in this guide, you'll be able to craft a beautiful pumpkin wreath that will impress your guests and bring a cozy autumn feel to your home.


