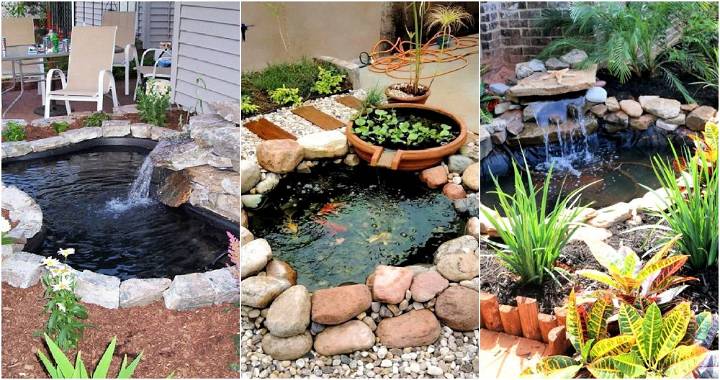
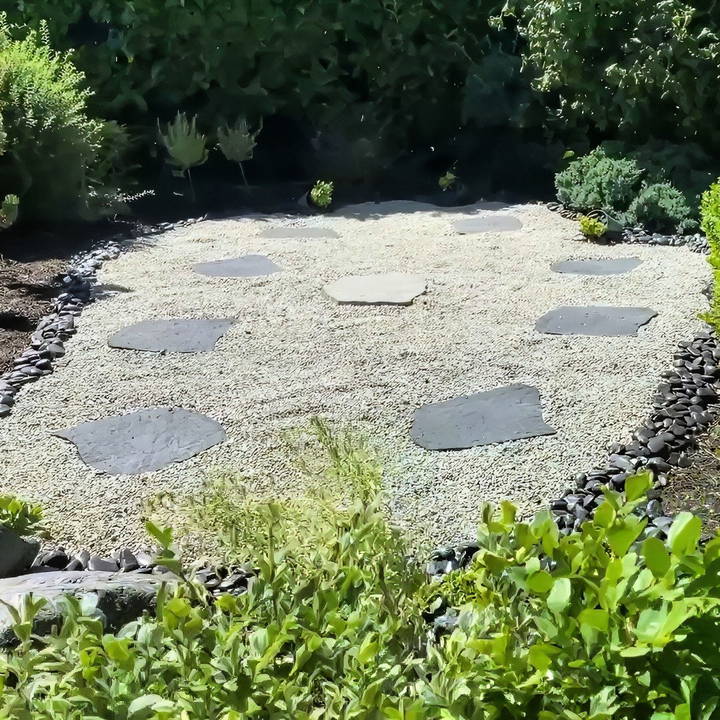
Transforming your outdoor space into a low-maintenance, aesthetically pleasing rock garden is an excellent way to breathe new life into a burnt-out or weed-filled lawn. This guide will help you make a stunning DIY rock garden on a budget, ensuring a charming and sustainable outdoor makeover.
Why Choose a Rock Garden?
Rock gardens are an ideal solution for those seeking a low-maintenance and cost-effective landscaping option. Here are some of the benefits:
- Low Maintenance: Once established, rock gardens require minimal upkeep.
- Drought-Resistant: Ideal for areas with water restrictions or dry climates.
- Budget-Friendly: Reusing materials and choosing cost-effective plants can significantly reduce costs.
- Visually Appealing: Rocks, combined with hardy plants like succulents and lavender, build a clean and modern look.
Step by Step Instructions
Learn how to make a DIY rock garden with step-by-step guidance, including planning, plant placement, and budget-friendly tips.
1. Evaluate Your Space
- Choose the Right Location: Identify a spot in your yard that could use a transformation. A front yard with burnt-out grass or a neglected corner works perfectly.
- Measure and Plan: Sketch out your desired layout, considering paths, plant placement, and decorative features.
2. Gather Materials
- Landscaping Fabric: Prevents weed growth and stabilizes the ground.
- Rocks: Opt for pea gravel, beach pebbles, or even rubber rock alternatives for a unique texture.
- Plants: Choose hardy, low-maintenance plants like succulents, lavender, or drought-resistant grasses.
- Fabric Staples: To secure the landscaping fabric in place.
- Tools: Basic gardening tools like a spade, rake, and scissors.
3. Prepare the Ground
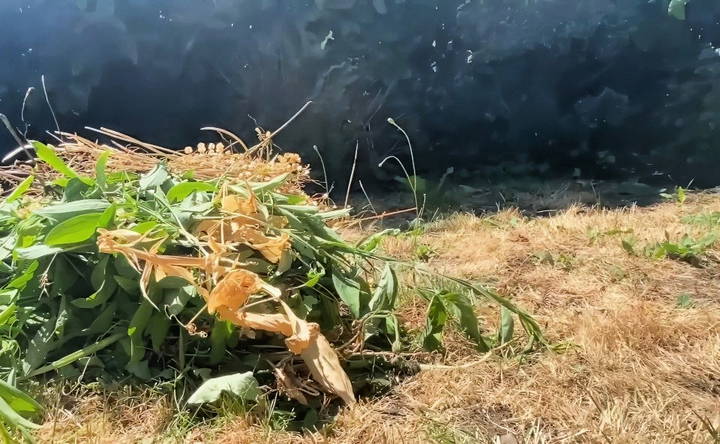
- Clear the Area: Remove existing grass, weeds, and debris from the chosen spot.
- Level the Surface: Use a rake to smooth out the soil, ensuring a flat foundation for your rock garden.
4. Lay Landscaping Fabric
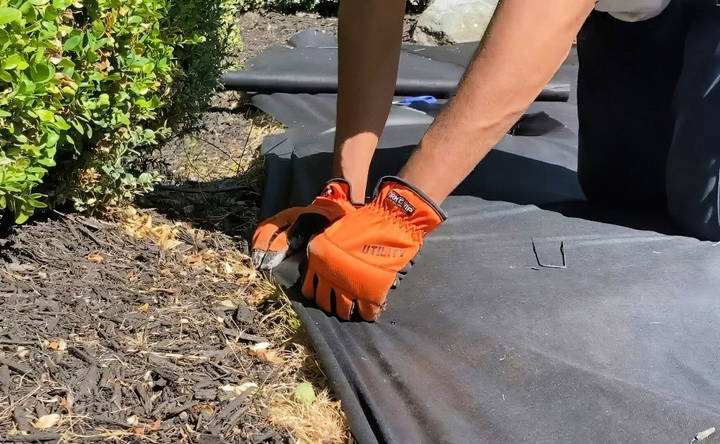
- Cut and Fit: Spread the landscaping fabric over the prepared ground, cutting it to fit your design.
- Secure the Edges: Use fabric staples to keep the fabric firmly in place, especially at the corners and edges.
5. Add Rocks and Stones
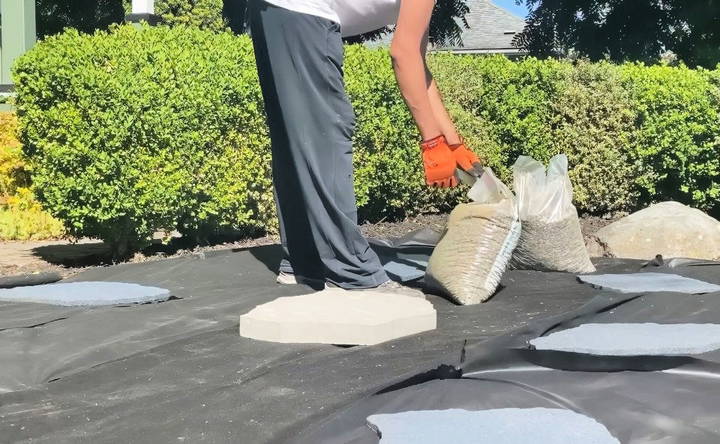
- Start with a Base Layer: Spread pea gravel or similar small rocks evenly across the landscaping fabric.
- Make Borders: Use larger stones or rubber rock mats to define the edges and add depth to the design.
6. Plant Selection and Placement
- Choose Budget-Friendly Options: Look for plants on clearance or shop mid-season for discounts.
- Plan the Layout: Group plants based on size and color for visual harmony.
- Plant in Soil Pockets: Cut small holes in the fabric, dig a hole, and plant your chosen greenery. Fill the area with soil and secure with additional rocks.
7. Finishing Touches
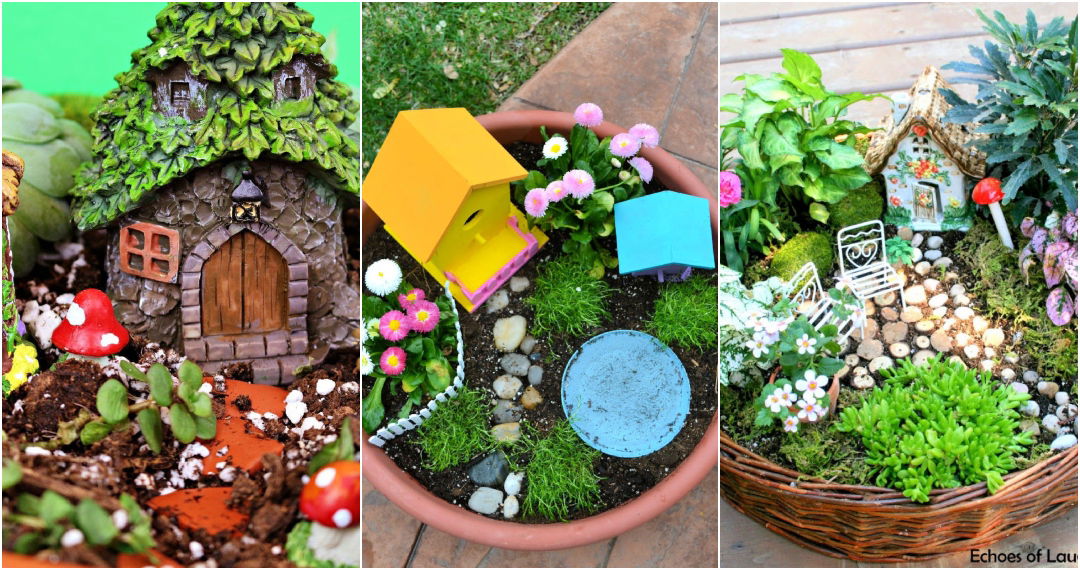
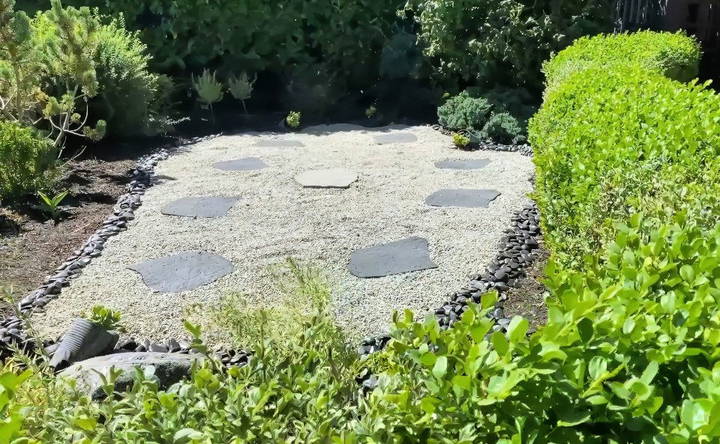
- Decorative Elements: Incorporate tipped-over pots, small statues, or stepping stones for added charm.
- Lighting: Add solar lights to enhance the garden's appeal at night.
- Mulching (Optional): Use decorative mulch to add texture and retain soil moisture.
Cost-Saving Tips for Your DIY Rock Garden
- Repurpose Materials: Use leftover rocks, bricks, or pots from previous projects.
- Shop Smart: Purchase plants during seasonal sales or from clearance sections.
- DIY Decorative Features: Craft your own garden ornaments from recycled materials.
- Utilize Local Resources: Collect rocks from nearby areas (if permitted by local regulations).
Maintaining Your Rock Garden
A well-designed rock garden requires minimal effort to maintain. Here's how to keep it looking its best:
- Weed Control: Regularly check for weeds that may grow through gaps in the fabric.
- Plant Care: Water plants sparingly, focusing on drought-resistant varieties.
- Rock Maintenance: Rinse rocks occasionally to remove dirt and debris.
- Seasonal Updates: Refresh plants and rearrange elements as needed to match seasonal changes.
Before and After: Transforming Your Yard
A DIY rock garden not only enhances the curb appeal of your home but also provides a relaxing outdoor retreat. Here's what you can expect:
- Before: A patchy, weed-filled lawn lacking character.
- After: A cohesive, stylish rock garden with clean lines, vibrant plants, and a polished finish.
Example: Burnt-Out Grass Makeover
One project involved replacing a neglected front lawn with a rock garden featuring succulents, lavender bushes, and pea gravel. The transformation was completed within a weekend and cost a fraction of traditional landscaping methods.
Conclusion
Building a DIY rock garden is a fulfilling project that combines practicality with aesthetics. With minimal costs and effort, you can transform any outdoor space into a low-maintenance sanctuary. Whether it's for your front yard, backyard, or even a small patio corner, this guide equips you with everything needed to achieve a stunning result. So gather your materials, roll up your sleeves, and bring your rock garden vision to life!
FAQs About DIY Rock Garden
Find answers to common questions about making your own DIY rock garden, from design tips to plant choices and maintenance.
You can use old sheets, tarps, or cardboard as a cost-effective alternative to prevent weed growth. Ensure the material is porous enough for water drainage but durable enough to block sunlight.
Choose drought-resistant plants like succulents and lavender. Add a light mulch layer around plant bases to retain moisture. Water early in the morning or late evening to prevent evaporation.
Yes, rubber rocks are durable and withstand various weather conditions, including extreme sun and freezing temperatures. They are a lightweight, sustainable option made from recycled materials.
Succulents, lavender, and ornamental grasses thrive in rock gardens due to their drought resistance and minimal care requirements. Native plants are also an excellent choice for sustainability.
Yes, consider adding elements like fountains, solar lights, or tipped-over pots filled with soil and succulents. These additions enhance visual appeal and build focal points.
Use a garden hose to rinse off dirt and debris periodically. For stubborn stains, scrub lightly with water and a soft brush. Avoid using harsh chemicals to protect surrounding plants.
Use extras for small side projects like making a rock pathway, edging garden beds, or filling potted plant bases for added drainage and decoration.
Plan spacing carefully when planting. Leave adequate room for plants to grow without overshadowing each other. Regular trimming helps maintain their shape and size.
Yes, rock gardens are generally pet-friendly. However, avoid sharp-edged rocks and ensure plants are non-toxic to animals. Consult pet-safe plant lists to choose wisely.
Yes, wildflowers can complement the rugged look of a rock garden. Choose low-maintenance, regionally native species for the best results and environmental benefits.


