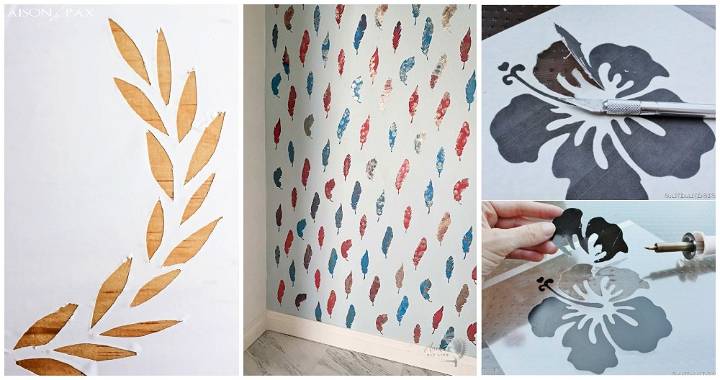
Making a DIY stencil is something I enjoy because it's a simple yet effective way to personalize projects. I remember my first attempt at making one, and I was surprised by how easy it was to get started.
By following the right steps, you can make your own stencils at home, saving time and money. It's rewarding to see how a simple project can add a unique touch to walls, fabrics, or even craft items. I'm here to help with this process, and I'm confident that these tips will make it easier for you to begin your stencil project.
What You'll Need
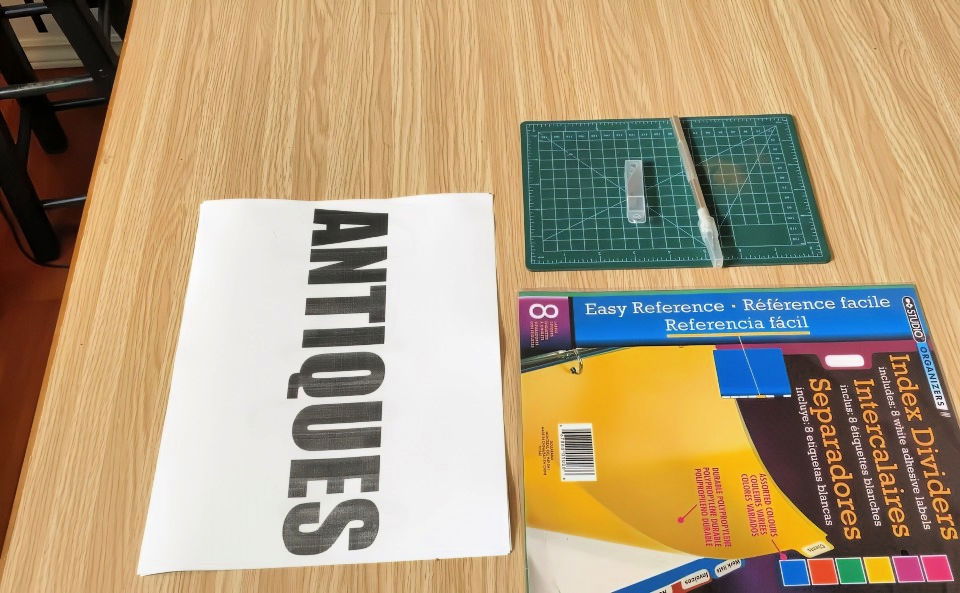
Before we dive into the details, here's what you'll need for the project:
- Graphics or images: Choose a design that you want to turn into a stencil. This could be text, simple shapes, or more complex designs depending on your skill level.
- Laser or inkjet printer: Print your selected graphics onto regular computer paper.
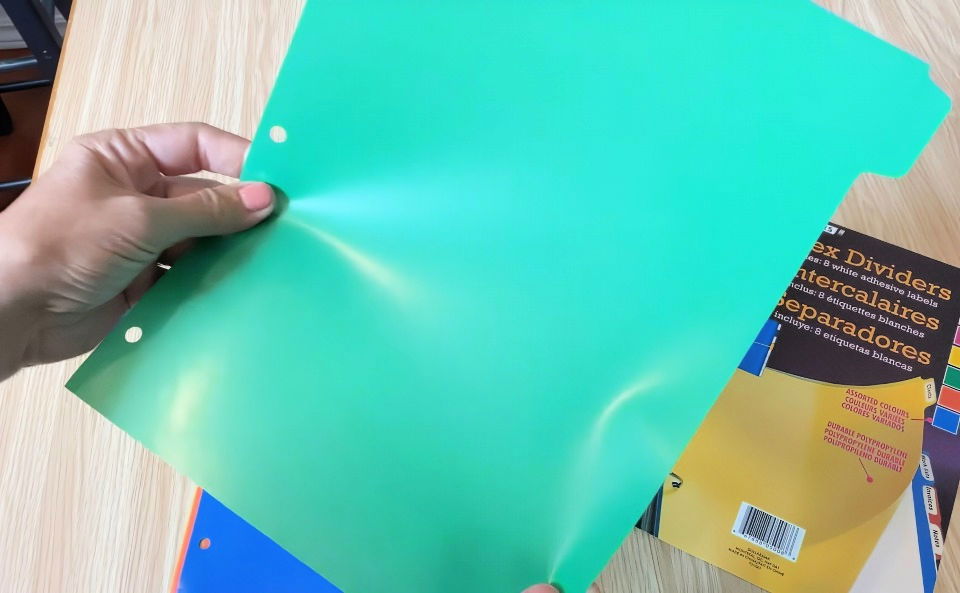
- Plastic dividers: These are easily available in the stationery section of most dollar stores. The transparency allows you to see through them for easy cutting.
- X-Acto knife with a sharp blade: A sharp blade is essential for clean, crisp cuts.
- Cutting board: You'll need a cutting surface to protect your table and make precise cuts.
- Packing tape: Used to hold your printed graphic in place on the plastic divider.
- Spray adhesive: This helps the stencil adhere to your working surface when you're ready to paint.
Step by Step Instructions
Learn how to make DIY stencils with our step-by-step guide. From preparing your graphic to painting the design, get detailed instructions and tips.
Step 1: Preparing Your Graphic
I started by selecting a graphic that fit the style I wanted for my stencil. You can go with simple text or a more intricate design. For beginners, I recommend starting with larger, bolder shapes and letters until you get the hang of it.
Once I had my design, I printed it out on standard printer paper using my laser jet printer. It's fine to use an inkjet printer too. The printout is just a guide for cutting the stencil, so the quality of the paper doesn't matter much at this stage.
Step 2: Choosing the Right Plastic Divider
For this project, I used plastic dividers that I picked up from my local dollar store. These dividers are perfect because they're transparent and sturdy enough to hold up as a stencil, but flexible enough to cut with a sharp knife. Look for ones that aren't too thick, as they'll be harder to cut through, but also avoid overly flimsy ones that might warp or tear during the process.
The transparency is key here because it allows you to see the design you've printed underneath, making it easier to cut accurately.
Step 3: Securing the Graphic
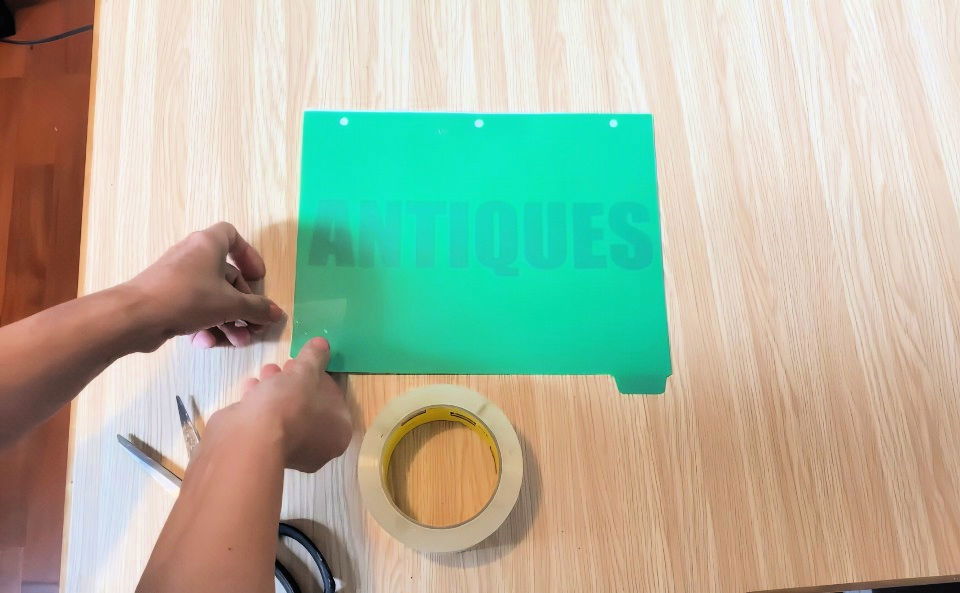
To keep the graphic from moving around while I cut, I used a few pieces of packing tape to secure it to the plastic divider. This ensures that everything stays in place and the stencil is cut with precision. It may seem like a small step, but trust me, it makes the process much smoother.
Step 4: Cutting the Stencil
This step requires patience and a sharp X-Acto knife. I replaced the dull blade in my knife before starting and I suggest you do the same. A sharp blade will make cleaner cuts and reduce the chances of making mistakes.
As I cut through both the paper and the plastic, I found it helpful to apply a firm, consistent pressure. This ensures that I'm cutting all the way through without having to go back and re-cut areas, which can sometimes result in jagged edges.
A cutting board is essential here. I used a small one that I could rotate easily while cutting. This helped me maneuver around tricky curves or detailed areas without having to awkwardly twist my hand or reposition the material.
One key tip: don't rush. Taking your time is worth it, especially if your design is intricate. For my first stencil, I chose something simple, but as I gained confidence, I experimented with more complex designs.

Step 5: Keeping Small Details in Place
Some designs, especially ones with letters, may have small internal pieces (like the center of an "O" or "A") that need to stay intact when you're painting. To make sure I didn't lose these pieces, I saved them as I cut and placed them on a piece of packing tape. Later, when I applied my stencil to the wood, these pieces could be reattached easily.
Step 6: Applying the Stencil
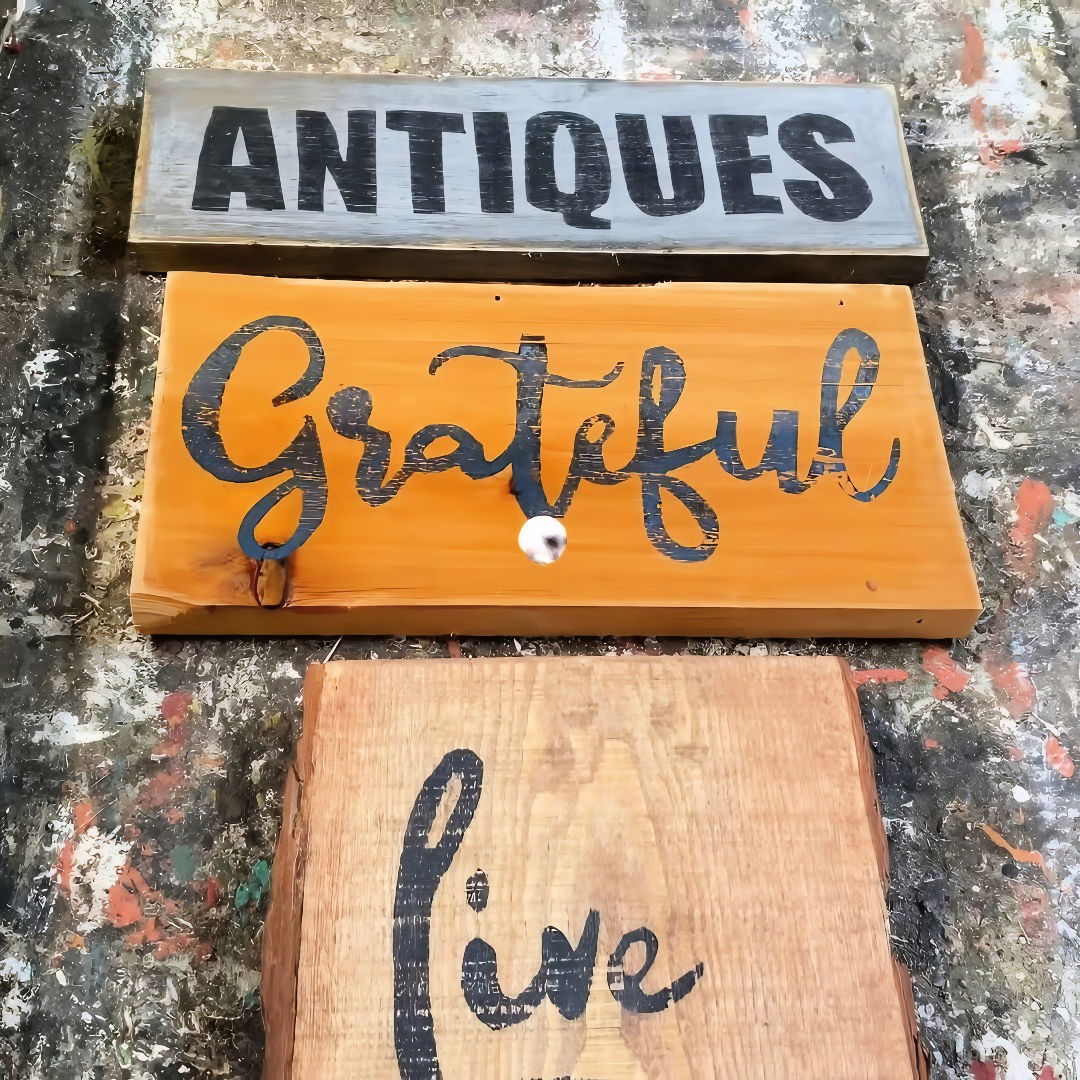
Once the stencil was fully cut out, it was time to apply it to my project surface. In this case, I was working with pieces of wood. You can use any surface—canvas, paper, walls, fabric—as long as the material is suitable for painting.
I sprayed a light coat of adhesive on the back of the stencil to help it stick to the wood without moving. This step is crucial because if the stencil shifts while you're painting, you could end up with blurred edges or uneven lines. The adhesive also helps prevent the paint from bleeding under the stencil.
Step 7: Painting the Design
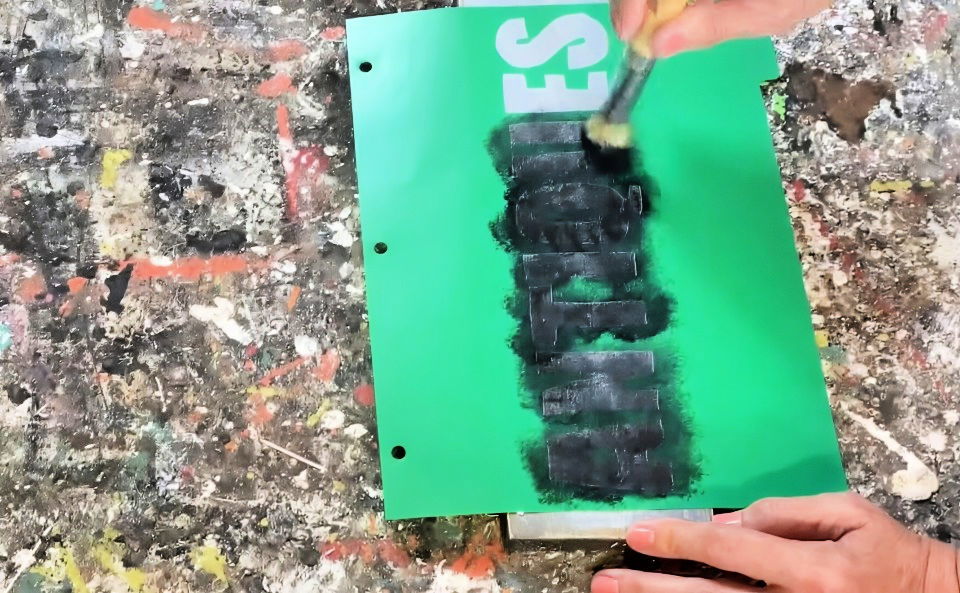
For the paint, I used acrylic, but chalk paint also works well. A round stencil brush gave me the control I needed to dab the paint on evenly. The key here is not to overload the brush with too much paint. Less is more. I used a dry brushing technique, which helps keep the paint from seeping under the stencil edges.
I applied two thin coats of paint, allowing each coat to dry slightly before moving on to the next. Once the second coat was on, I carefully peeled the stencil away while the paint was still slightly wet to avoid any pulling or cracking.
Step 8: Sanding and Finishing
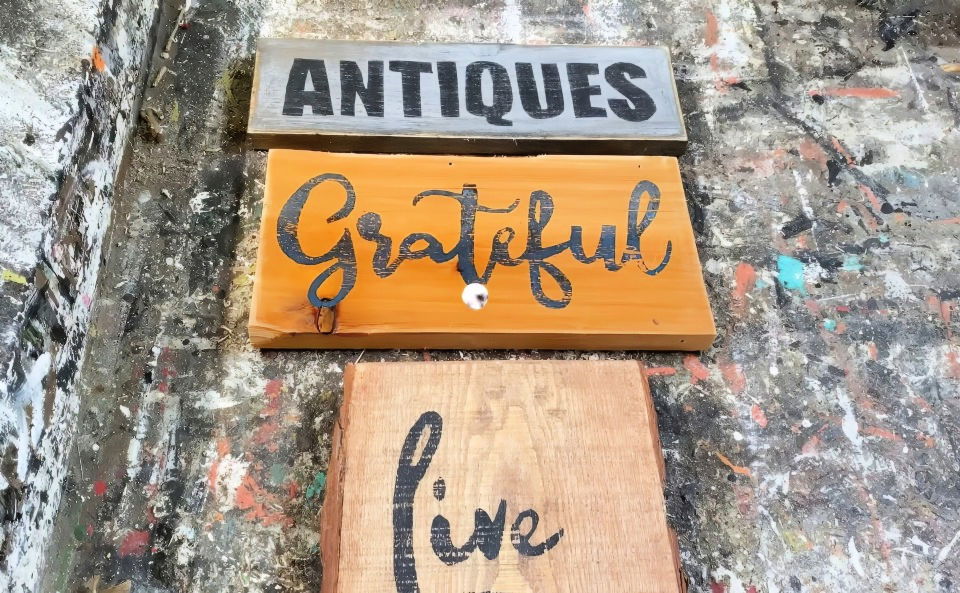
Once the paint was dry, I wanted to give my wood pieces a slightly distressed look. I used 220-grit sandpaper to gently sand the surface, softening the sharpness of the paint and giving it a more antique feel. You can skip this step if you prefer a more polished, modern look.
To protect the finished stencil, I applied a clear wax over the paint. This helps seal the design and adds a smooth, protective finish to the wood.
Advanced Techniques
Learn advanced techniques for layering stencils, using stencil brushes, making multi-color designs, and maintaining stencils for perfect DIY projects.
Layering Stencils
Layering stencils can add depth and complexity to your designs. Start with a simple base layer and gradually add more intricate details. Ensure each layer is dry before applying the next to avoid smudging. Use registration marks to align each layer accurately.
Using Stencil Brushes and Rollers
Different tools can build various effects. Stencil brushes are great for small, detailed areas. Use a dabbing motion to apply paint evenly. Rollers are ideal for larger surfaces. Apply paint lightly to avoid bleeding under the stencil. Always remove excess paint from the brush or roller before applying.
Building Multi-Color Designs
For multi-color designs, use painter's tape to mask off areas you don't want to paint. Apply one color at a time, allowing each to dry before moving to the next. This technique ensures clean, sharp edges between colors.
Stencil Maintenance
Proper care extends the life of your stencils. Clean them immediately after use with warm, soapy water. For stubborn paint, use a gentle brush. Dry stencils flat to prevent warping. Store them in a flat, dry place to maintain their shape.
Using Adhesive Sprays
Adhesive sprays can help keep your stencil in place, reducing the risk of paint bleeding. Lightly spray the back of the stencil and let it become tacky before applying. This method is especially useful for intricate designs and curved surfaces.
Experimenting with Different Mediums
Stencils aren't just for paint. Experiment with other mediums like ink, chalk, or even etching cream for glass. Each medium offers unique effects and can be used on various surfaces, expanding your creative possibilities.
Troubleshooting Common Issues
- Paint Bleed: Use less paint and ensure your stencil is secure.
- Uneven Edges: Apply paint in thin layers and use a stencil brush for better control.
- Stencil Movement: Use adhesive sprays or painter's tape to keep the stencil in place.
By mastering these advanced techniques, you can elevate your stenciling projects to a professional level.
FAQs About DIY Stencils
Learn everything about DIY stencils! Discover how to build designs, best tools, and tips to perfect your stencil projects with our comprehensive FAQ guide.
Yes, you can reuse your DIY stencil multiple times. After each use, clean it with warm, soapy water to remove any paint residue. Dry it flat to prevent warping. Store your stencil in a flat, dry place to keep it in good condition for future projects.
To prevent paint bleed, ensure your stencil is securely attached to the surface. Use painter's tape or adhesive spray to hold it in place. Apply paint in thin layers using a stencil brush or roller. Dab off excess paint before applying to avoid overloading the stencil. Removing the stencil while the paint is still wet can also help achieve clean edges.
Yes, stencils can be used on fabric. Choose fabric paint or ink for the best results. Secure the fabric on a flat surface and place a piece of cardboard underneath to prevent bleed-through. Use a stencil brush or sponge to apply the paint. Allow the paint to dry completely before removing the stencil. Heat-set the paint with an iron if required by the paint manufacturer.
Clean your stencils immediately after use to prevent paint from drying on them. Use warm, soapy water and a soft brush to remove paint residue. For stubborn paint, soak the stencil in water for a few minutes before scrubbing. Dry the stencil flat to prevent warping. Proper cleaning and storage will extend the life of your stencils.
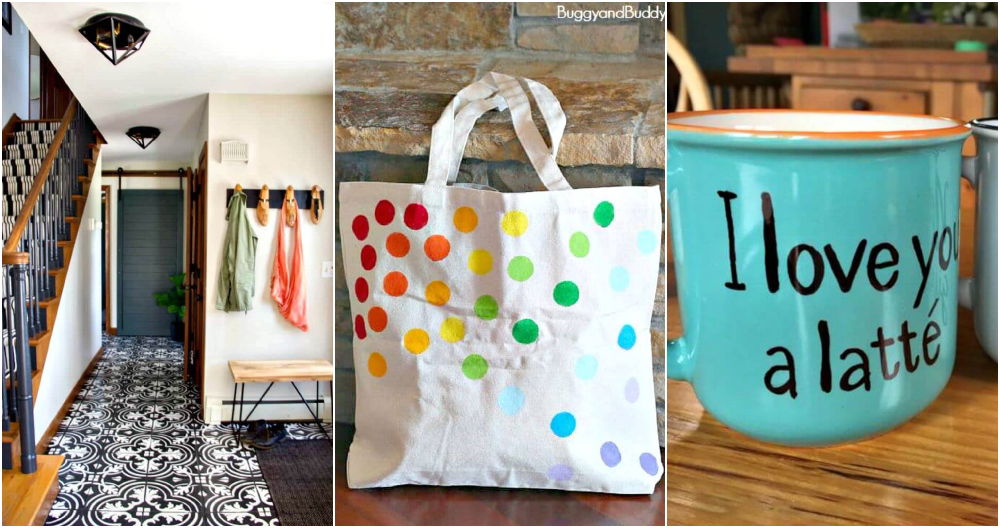
Stencils are versatile tools that can be used for various creative projects. Use them to decorate walls, furniture, and home decor items. They are great for personalizing clothing, bags, and other fabric items. Stencils can also be used in scrapbooking, card making, and other paper crafts. Experiment with different surfaces and mediums to explore the full potential of stencils.
Final Thoughts
Making stencils is an enjoyable way to add a personal touch to your projects without the need to buy expensive, pre-made stencils. It gives you full control over the design and size, so you can build exactly what you envision. This DIY method is affordable, simple, and once you get the hang of it, the possibilities are endless. You can make custom signs, decorate walls, personalize gifts, and more.
The best part? Each project teaches you something new. For instance, when I first started, I wasn't firm enough with the knife, and my cuts were jagged. But after a bit of practice, I learned how much pressure to apply and how to maneuver the blade around tight curves. My advice: start simple, practice, and gradually take on more detailed designs.
Good luck, and happy crafting!


