Making your own stylus can be both fun and practical. This guide provides clear, step-by-step instructions on how to make a stylus easily with household materials. Begin by gathering necessary supplies like a pen, aluminum foil, cotton swab, and some tape. Each step is simple and broken down, ensuring you can follow along without any hassle.
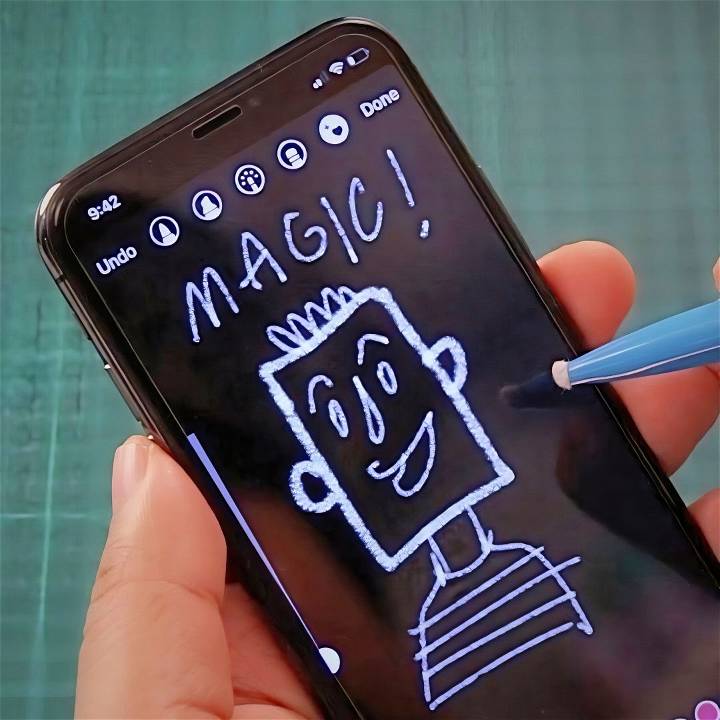
A DIY stylus saves money and offers a personalized touch for your touch screens. The process takes only a few minutes, making it a perfect quick project. Following these steps ensures compatibility with most touch devices.
Introduction to Touchscreen Technology
Touchscreen technology has become an integral part of our daily lives, found in everything from smartphones to self-service kiosks. At its core, a touchscreen is an input device that allows users to interact with a digital display by touching the screen directly with one or more fingers or a stylus.
There are two main types of touchscreen technologies: capacitive and resistive.
Capacitive touchscreens
are commonly used in modern smartphones and tablets. They work by sensing the electrical properties of the human body. When a finger touches the screen, it disrupts the screen’s electrostatic field, which is then processed by the device to register the touch. These screens support multi-touch gestures, like pinching and swiping, and are known for their clarity and responsiveness.
Resistive touchscreens,
On the other hand, it consists of two conductive layers separated by a small gap. When pressure is applied to the screen, the layers connect, signaling a touch. These screens can be operated with a finger, a stylus, or any other object, making them versatile. However, they generally support only single-touch inputs and are less sensitive than capacitive screens.
Materials You'll Need and Why
- Any Pen or Pencil: The base of your stylus. Pens are preferable due to their weight and grip, but pencils work, too.
- A Piece of Conductive Wire: This will transfer the electrical charge from your hand to the stylus tip. Copper wire is excellent for this purpose.
- Cotton or a Q-tip: To make the tip of the stylus. Cotton or the cotton end of a Q-tip is soft and will not scratch your screen. They also hold moisture well, which is crucial for conductivity.
- Scissors: To cut the wire and cotton to the appropriate sizes.
- Tape and Aluminum Foil (for the pencil method): If you're using a pencil, these materials will help conduct electricity from your hand to the cotton tip.
- Water: A little bit of water will make the cotton tip conductive.
Step by Step Instructions
Learn how to make a stylus using the pen or pencil method with our step-by-step instructions. Perfect for DIY enthusiasts!
Making Your Stylus: The Pen Method
Learn how to make a DIY stylus using a pen with our easy steps: prepare the pen, install the conductive wire, add the cotton tip, and test your stylus.
Step 1: Prepare the Pen
Remove the ink from the pen to use its body as the stylus shell. This ensures that you won't accidentally mark your device or anything else.
Step 2: Install the Conductive Wire
Cut a small piece of conductive wire. Carefully loop one end of the wire around the tip area of the pen and extend the other end along the length of the pen, securing it at the opposite end to ensure your hand always remains in contact with it. The wire makes the pen's body capable of transferring your body's static electricity to the screen.
Step 3: Add the Cotton Tip
Roll a small piece of cotton into a tip shape, dampen it slightly with water (not too wet), and insert it into the pen's tip. This moist cotton tip will act as the point of contact with your device's screen.
Step 4: Test Your Stylus
Now that your stylus is assembled, it’s time to test it out. Remember, your hand must stay in contact with the conductive wire while using the stylus. Launch a drawing app or something similar on your device and give it a try.
The Pencil Method: An Alternative Approach
Discover the pencil method: an alternative approach. Follow steps to make a pencil stylus: attach q-tip, apply conductive material, moisten the tip, and test.
Step 1: Attaching the Q-tip
For those using a pencil, cut a Q-tip to size and attach it securely to one end of the pencil. This serves as your stylus tip.
Step 2: Apply the Conductive Material
Wrap the pencil (starting from the tip with the cotton) in aluminum foil, ensuring that part of the foil makes direct contact with the cotton. Secure everything with tape. The aluminum foil serves the same purpose as the wire in the pen method, conducting electricity from your hand to the tip.
Step 3: Moistening the Tip
Dampen the cotton tip slightly with water to ensure it conducts your body’s static electricity efficiently.
Step 4: Testing the Pencil Stylus
With your hand touching the aluminum foil, use the stylus on your device. It should work similarly to the pen stylus, allowing you precise control for drawing or writing.
Customization Ideas
When it comes to personalizing your DIY stylus, the possibilities are as limitless as your imagination. Customizing your stylus not only makes it unique but can also enhance its functionality. Here are some ideas to get you started:
- Choose Your Material: Start with the body of the stylus. Common household items like pens, pencils, or even chopsticks can serve as the base. For a more durable option, consider using a metal pen casing.
- Tip Material: The tip is the most crucial part as it interacts with the screen. For capacitive screens, materials that conduct electricity, like anti-static socks or conductive foam, work best. For resistive screens, any non-scratch material like felt or rubber will do.
- Grip Enhancement: Comfort is key when using a stylus for extended periods. Wrap the holding area with soft tape or silicone grips to prevent slipping and reduce hand fatigue.
- Decorative Elements: Add a personal touch with paint, stickers, or washi tape. Not only do these elements look great, but they also make your stylus easily identifiable.
- Weight and Balance: Adjust the weight by adding beads or clay inside the stylus body for a more pen-like feel. A well-balanced stylus improves control and precision.
- Replaceable Tips: Design your stylus with interchangeable tips for different uses, such as a finer tip for drawing or a broader one for general navigation.
- Eco-Friendly Options: Consider using recycled materials to reduce waste. Old electronic cables can be repurposed for their conductive wires, and used pens can find new life as a stylus body.
- Accessibility Features: If you’re designing for accessibility, make a stylus with a larger grip or extended length to accommodate those with limited mobility or grip strength.
By incorporating these customization ideas, you’ll not only have a stylus that reflects your personal style but also one that caters to your specific needs. The best DIY projects are those that combine creativity with functionality.
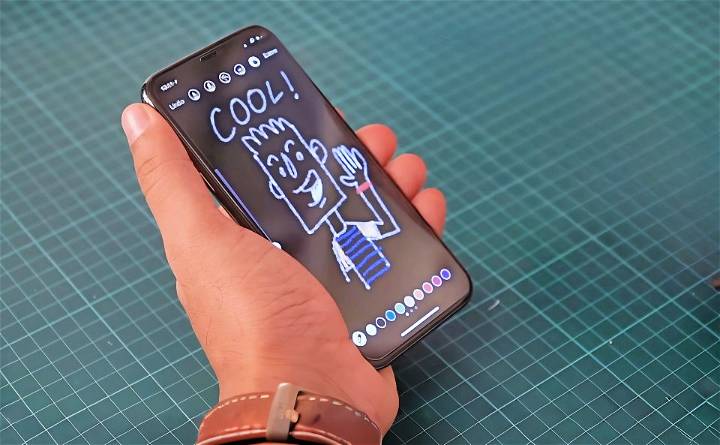
Troubleshooting Common Issues
Making a DIY stylus is a fun and practical project, but sometimes, you might encounter a few hiccups along the way. Here’s a helpful guide to troubleshoot common issues you may face:
- Stylus Not Working: If your stylus isn’t working, check if the tip is made from a conductive material. Materials like foil or conductive foam are necessary for capacitive screens. Ensure there’s enough contact surface between the tip and the screen.
- Poor Responsiveness: If the stylus is not responsive, it might be due to a lack of conductivity or pressure. Make sure the tip is firmly attached, and there’s no air gap. For resistive screens, apply a bit more pressure.
- Scratching the Screen: To avoid scratching, never use hard or abrasive materials for the tip. Stick to soft, smooth materials like microfiber cloth or sponge. Always test your stylus on a small screen area first.
- Stylus Feels Uncomfortable: If the stylus is uncomfortable to hold, it might be too thin or too thick for your hand. Adjust the grip by adding layers of tape or foam until it feels right.
- Tip Wears Out Quickly: If the tip wears out, consider using more durable materials like thick rubber or silicone. Also, having a replaceable tip design can save you from making a new stylus each time.
- Stylus Too Light or Heavy: The weight of the stylus affects its balance and ease of use. If it’s too light, add some weight by inserting small metal washers or beads inside the body. If it’s too heavy, try using lighter materials for the body.
- Intermittent Connectivity: If the stylus works intermittently, check for loose connections in the tip or body. Secure all parts with tape or glue to ensure consistent performance.
By addressing these common issues, you can ensure your DIY stylus is both functional and enjoyable to use. The best DIY solutions are those that combine simplicity with effectiveness.
Maintenance and Care Tips
Taking care of your DIY stylus is essential to ensure it continues to work effectively and lasts a long time. Here are some straightforward maintenance and care tips:
- Regular Cleaning: Keep the tip of your stylus clean to maintain good contact with the screen. Gently wipe it with a damp microfiber cloth to remove any dirt or grease. Avoid using harsh chemicals that could damage the tip material.
- Tip Inspection: Check the tip regularly for signs of wear and tear. If you notice it’s getting worn out, replace it if possible. This is especially important for styluses with soft tips like sponge or cloth.
- Storage: When not in use, store your stylus in a safe place to avoid damage. A pencil case or a dedicated slot in a bag can protect it from scratches and keep it clean.
- Avoid Extreme Temperatures: Don’t leave your stylus in very hot or cold environments, like a car in summer or winter. Extreme temperatures can affect the materials and adhesive used in your stylus.
- Handle with Care: Even though it’s a DIY project, treat your stylus with the same care you would a store-bought one. Avoid dropping it or applying too much pressure during use.
- Regular Updates: Stay informed about new materials and methods for DIY styluses. This can help you make improvements to your current stylus or give you ideas for your next project.
By following these simple tips, you can ensure that your DIY stylus remains a reliable tool for your touchscreen devices. Regular maintenance not only extends the life of your stylus but also keeps it performing at its best.
FAQs About DIY Stylus
Discover answers to common questions about DIY stylus creation, including materials, steps, and tips for making your own stylus at home.
It is important to use a pen with a metallic body because it conducts the electrical charge from your hand, which is necessary for the stylus to work on a capacitive touchscreen.
To maintain your DIY stylus:
Keep spare cotton balls on hand to refill the stylus if needed.
If you’re using aluminum foil, ensure it’s always securely wrapped to prevent scratches.
Store the stylus properly to avoid damage to the tip.
Yes, you can use any type of cotton. A cotton swab can be a quick alternative. Just cut the tip off and insert it into the pen tip. Make sure the cotton is damp to improve conductivity.
Wrapping the pen in aluminum foil can enhance the stylus’s conductivity. Ensure the foil covers the gap between the pen and the cotton without leaving any sharp edges exposed.
To protect your screen, make sure the cotton tip is soft and clean. If you’re using aluminum foil, ensure it’s smooth and securely wrapped to prevent scratches. Regularly inspect the stylus for any loose materials that could damage the screen.
Final Thoughts
In conclusion, learning how to make a stylus is a fun and useful project for anyone. By following the step-by-step instructions, you can make your own DIY stylus easily. This practical guide ensures you have the essential tools and methods at your fingertips. Enjoy the process and the satisfaction of making your own stylus!


