A T-shirt quilt is a wonderful way to preserve memories in a practical, cozy, and personalized way. Whether you're a beginner or an experienced crafter, making a DIY T-shirt quilt can be an exciting project that lets you showcase sentimental shirts from events, sports teams, family trips, or even a loved one's wardrobe. This guide will cover every step, from sourcing materials to completing the layout, and includes crucial tips to make your quilt both functional and meaningful.
Why Make a T-Shirt Quilt?
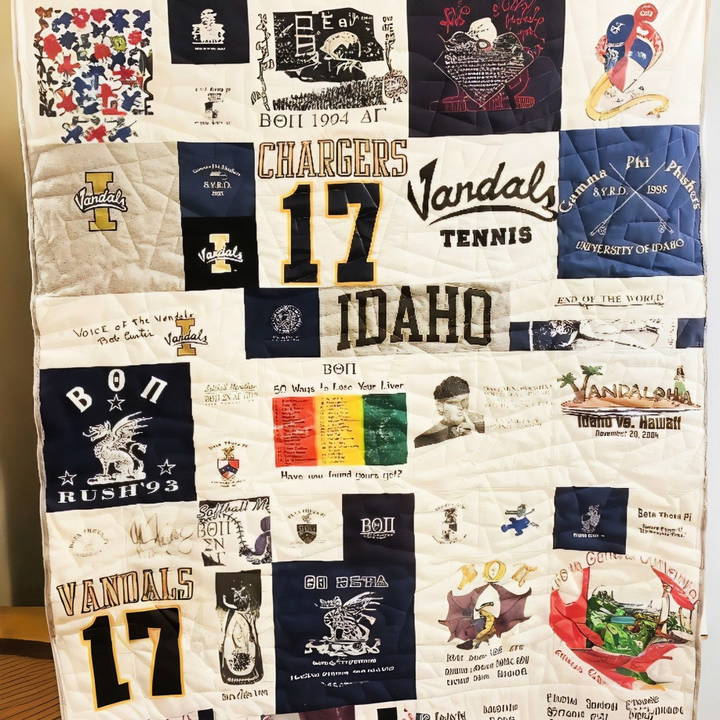
T-shirt quilts serve as a cherished keepsake. They can commemorate milestones, memories, or honor a loved one. With each square, you're sewing together memories and stories, making it a perfect gift for someone special or a way to preserve personal memorabilia.
Materials You'll Need for Your DIY T-Shirt Quilt
Before you dive into the quilt-making process, gather the following essential materials:
- Stabilizer: For most T-shirt quilts, a lightweight stabilizer such as the Helon Shapeflex 101 works best. Stabilizers add structure to stretchy T-shirt fabric, preventing distortion and making sewing easier. Avoid heavy stabilizers to keep the quilt soft and comfortable.
- Cutting Tools: A 12.5-inch square grid and a 6.5-inch square grid are ideal for measuring your blocks. A good pair of fabric shears is essential for cutting T-shirts, while a rotary cutter may also help with precise cuts.
- Markers and Chalk: Use a chalk marker or fabric pen to outline your cut areas. The chalk will wash away easily and doesn't leave any permanent marks.
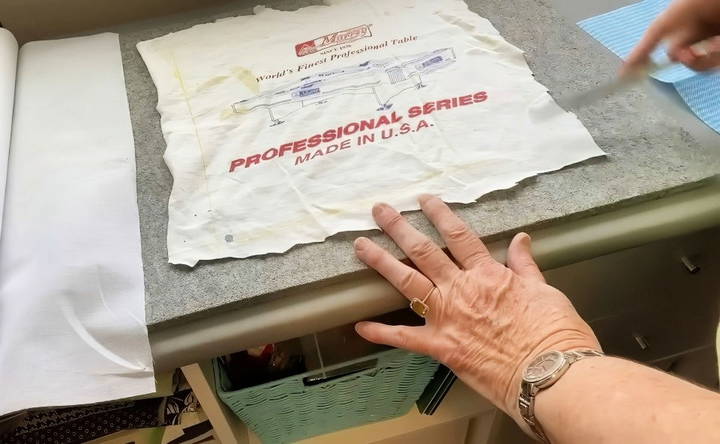
- Pressing Cloth: A pressing cloth is crucial, especially for delicate or printed fabrics. A Clorox wipe or similar thin cloth works well and prevents smearing or melting screen-printed designs.
- T-shirts: Of course, the star of the quilt – gather the T-shirts that you want to use. Depending on the quilt size, you may need anywhere from 12 to 30 T-shirts.
- Optional Sashing and Backing Fabric: If you want to add sashing (the strips of fabric between quilt blocks) or a different fabric for the backing, pick materials that match your T-shirts and the overall quilt design.
Step by Step Instructions
Learn how to make a DIY t-shirt quilt with step-by-step instructions from preparing shirts to binding edges. Perfect for beginners and up!
1. Preparing the T-Shirts
- Sort and Select Shirts: Begin by choosing the shirts that mean the most to you. Look for those with interesting graphics or significant memories.
- Wash and Iron: Clean the T-shirts to ensure they are free of stains and odors. Iron each shirt flat, paying attention to screen-printed areas that might not withstand high heat.
2. Applying Stabilizer to Each T-Shirt
- Decide Which Areas Need Stabilizer: Not all parts of the T-shirt may need stabilizing. For instance: Use stabilizers on stretchy fabrics like leggings or thin T-shirts.
- Avoid stabilizer on thick, stable fabrics like sweatshirts or beefy T-shirts.
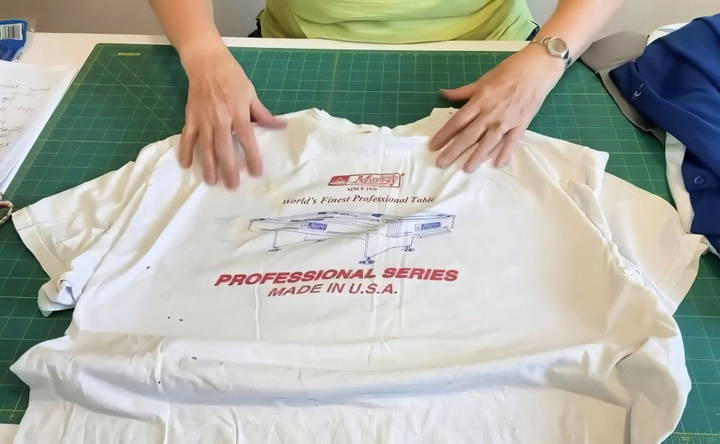
- Cut the Stabilizer to Size: Cut a piece of stabilizer slightly larger than your planned quilt block. Place the stabilizer on the back of each T-shirt square with the glue side facing the fabric.
- Iron the Stabilizer: Lay a pressing cloth over the T-shirt to protect the fabric, especially if it has a printed design. Apply gentle, even heat with an iron to secure the stabilizer. Remember to press rather than slide the iron to prevent shifting.
3. Cutting T-Shirt Squares
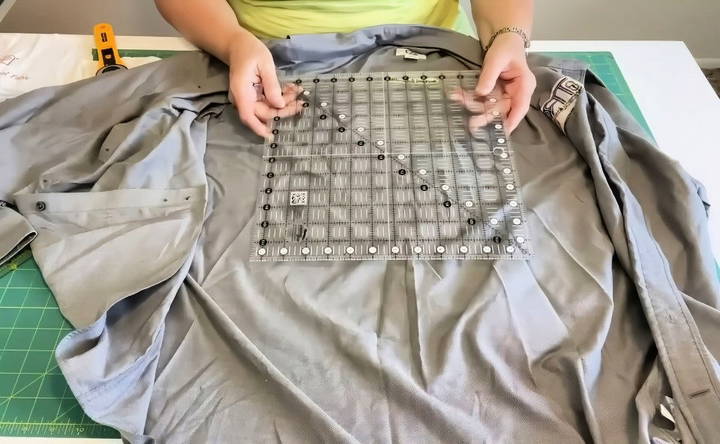
- Choose the Block Size: For a balanced look, a 12.5-inch square is a common size, but you can also use 6.5-inch squares or even combine the two for a unique look. For instance, smaller blocks can fill in gaps, add design interest, or help accommodate smaller graphics.
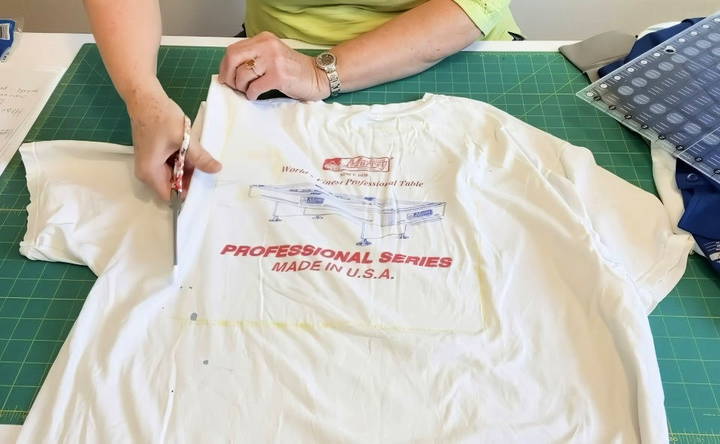
- Outline and Cut: Use a fabric pen or chalk to mark the block outline, ensuring any design is centered. Then, cut out the square with fabric scissors, leaving a slight margin around the outline if desired. Trim the fabric once the stabilizer is applied and secure.
4. Planning the Quilt Layout
- Design Layout Options: Before sewing, play with the layout of your blocks. You can use different sizes and orientations of blocks for a dynamic look:
- Grid Layout: The classic style with uniform 12.5-inch blocks arranged in rows and columns.
- Mixed Layout: Incorporate both 12.5-inch and 6.5-inch blocks for variety, ideal if some shirts only have small graphics.
- Experiment with Placement: Consider the color, design, and theme of each T-shirt. Try to balance bright colors with neutrals and keep similar designs or colors separated.
5. Adding Sashing and Borders (Optional)
Sashing refers to the strips of fabric between each quilt block. Adding sashing can enhance the overall look by making visual separation between each T-shirt block. It can be useful for a quilt with mixed block sizes.
- Choosing Fabric: Use a high-quality quilting fabric for sashing, ideally in a neutral color that complements your T-shirts.
- Attaching Sashing: Sew sashing strips between each block, first sewing in horizontal rows and then joining the rows with vertical sashing.
6. Assembling the Quilt Top
Once you're satisfied with the layout, it's time to sew the blocks together. Here's a simple approach:
- Sewing Blocks Together: Start by joining each row horizontally, stitching the blocks edge-to-edge with a 1/4-inch seam allowance. Press each seam open before moving on to the next row.
- Connecting Rows: Once all rows are assembled, join them vertically, aligning the seams carefully to maintain a clean look.
7. Adding a Quilt Backing
The backing adds durability and covers the underside of the quilt. You can choose any fabric for the backing, but cotton or flannel are common choices for comfort.
- Measure and Cut: Lay the quilt top on the backing fabric and cut the backing to the same size, leaving a small margin.
- Layering and Basting: To secure the layers before sewing, spread the quilt backing on a flat surface, place batting on top, then add the quilt top. Use quilting pins or a temporary fabric adhesive to keep the layers together.
Quilting and Finishing Touches
Quilting secures the layers of your quilt, enhancing durability and adding a beautiful texture. You have several quilting options:
- Stitching in the Ditch: Sew along the seams between each block, keeping the focus on the T-shirt designs. This method is simple and works well for beginners.
- Free Motion Quilting: If you have experience, try free-motion quilting to add intricate patterns around the blocks. This adds personality but requires a bit more skill and a sewing machine with a free-motion foot.
- Tying the Quilt: For a simpler option, tie knots at intervals across the quilt to hold the layers together. This is faster and gives the quilt a cozy, handmade look.
Binding the Quilt Edges
The binding finishes off the edges of your quilt for a polished look. Here's how:
- Make or Buy Binding: Choose a fabric that complements your quilt top. You can make binding strips by cutting long pieces of fabric, or buy pre-made binding for convenience.
- Sew the Binding: Fold the binding in half and align the raw edges with the edge of the quilt. Sew the binding onto the quilt, mitering the corners for a neat finish. Once done, fold the binding over to the back and hand-stitch it down for a clean edge.
Special Tips and Tricks
- Use a Pressing Cloth for Printing: T-shirts with screen-printed designs may melt under direct heat. Always use a pressing cloth when ironing these areas to avoid damage.
- Plan Ahead for Variation in T-Shirt Types: Some T-shirts may be thicker (like sweatshirts) or thinner (like lightweight jerseys). Adjust your stabilizer and sewing technique as needed.
- Incorporate Small Details: Don't hesitate to use smaller shirt details, like logos from pockets or sleeves. These can make great additions to fill gaps or add interest in your quilt layout.
- Consider the Quilt's Purpose: If you're making this as a wall hanging, you may want to use more stabilizer to make the quilt stiff. For a cozy bedspread, use less stabilizer for softness.
- Practice Patience with the Layout: The layout stage can be time-consuming but is essential for a balanced, visually pleasing design.
Final Thoughts: Making Your T-Shirt Quilt a Personal Masterpiece
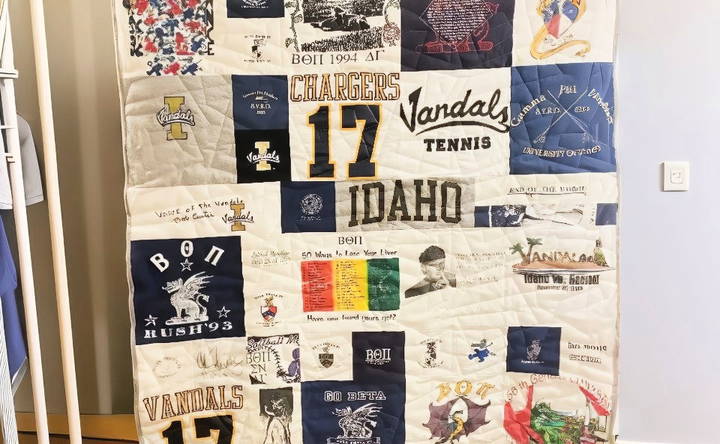
Making a T-shirt quilt is a labor of love that transforms fabric memories into a cherished keepsake. This project allows you to preserve sentimental items in a practical way, bringing past moments into your everyday life. Whether it's a gift for someone special or a personal project, each T-shirt quilt is unique, capturing individual stories in every stitch.
By following these steps, using quality materials, and planning carefully, you'll make a quilt that's as meaningful as it is functional.
FAQs About DIY T-Shirt Quilts
Discover answers to FAQs about DIY t-shirt quilts, including materials, techniques, and tips for making your own unique quilt.
It's natural to feel hesitant, especially when the shirts have sentimental value. Start with an old shirt you don’t mind practicing on to ease the process. If you’re not ready to cut them yet, you can also fold and store them until you feel comfortable.
For stretchy fabrics, such as leggings, apply a lightweight stabilizer to avoid distortion. Thick fabrics like sweatshirts may not need stabilizer, as they’re less likely to stretch. Always use a pressing cloth to prevent damage when ironing these fabrics.
Not every T-shirt square requires stabilizer. Thinner, stretchy fabrics benefit most from stabilizer to prevent distortion, while sturdier fabrics like sweatshirts or thicker tees often do fine without it. Use your judgment based on the fabric’s weight and stretchiness.
A standard 1/4-inch seam allowance is recommended for sewing T-shirt quilt blocks. Press seams open to keep the quilt flat and avoid adding extra thickness from the seams.
Use larger blocks for big designs and smaller 6.5-inch blocks for smaller logos or pocket designs. Combining different sizes can make the quilt visually interesting. You can add borders to smaller squares if needed to keep everything consistent.
Sashing is optional and can help make visual separation between T-shirt blocks, especially when blocks are varied in size or color. If using sashing, choose a sturdy quilting fabric that complements your shirts. Lightweight fabrics may cause issues during quilting.
Measure the quilt top, and cut the batting and backing about 4 inches larger on all sides. Layer them, with the backing on the bottom, then batting, and the quilt top. Pin or baste the layers before quilting to keep everything aligned.
You don't need a special machine, but using a walking foot or a machine capable of free-motion quilting can make the process easier, especially for larger quilts. Some quilters use long-arm machines if available.
Machine wash your T-shirt quilt on a gentle cycle with cold water, and air dry or tumble dry on low to avoid shrinkage and fabric distortion. This keeps the fabrics and stabilizer in good shape over time.


