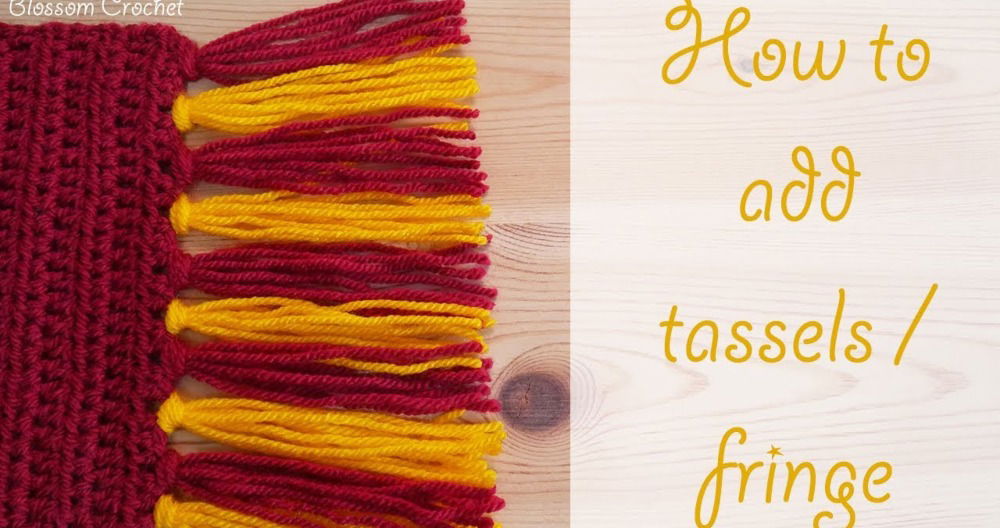
Making tassels can add a fun and stylish touch to your crafts. This guide offers clear, step-by-step instructions on how to make a tassel. Tassels are versatile and can be used for various projects, from decorating throws to enhancing the design of accessories. You'll learn how to make tassels using materials easily found at home.
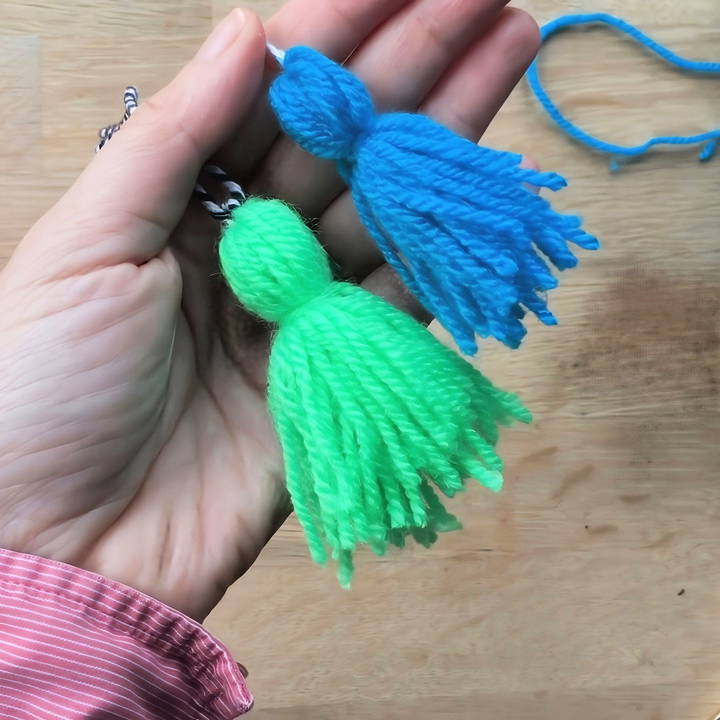
By following this DIY tassel guide, you'll master the basics of tassel-making. The process is simple and enjoyable, making it accessible for everyone. With detailed steps, you'll soon be making lovely tassels for any project.
Explore the next section to start your tassel-making journey and add these decorative pieces to your crafts.
Materials You'll Need
Get started with crafting! You'll need yarn, string or thread, scissors, and optional cardboard. Easy-to-follow guide for all your DIY projects.
1. Yarn
Yarn is the main material for your tassel. Choose a color and texture that fits your project. You can use wool or embroidery thread, depending on the finish you want.
2. String or Thread
This will be the hanger for your tassel. I prefer using a strong material so it doesn't rip. Thick embroidery thread or durable string works well.
3. Scissors
You'll need a sharp pair of scissors. This will make it easier to cut through the yarn cleanly.
4. A Piece of Cardboard (Optional)
If your hands are small or you want a larger tassel, a piece of cardboard will be handy. Cut it to the desired length of your tassel.
Step by Step Instructions
Learn how to make a tassel with our step-by-step instructions. From gathering materials to final trimming, make beautiful tassels easily.
Step 1: Gather Your Materials
Gather all the materials listed above. Having everything ready at the start will make the process smoother.
Step 2: Prepare Your Hanger Thread
Cut a piece of string or strong thread. This will be used to hang your tassel. I usually cut about 8 inches of string to give me enough length to work with. Fold it in half and place it between your fingers or over a piece of cardboard.
Step 3: Wrap the Yarn
Learn how to wrap the yarn easily: step-by-step using your fingers or cardboard. Perfect for DIY projects and crafts.
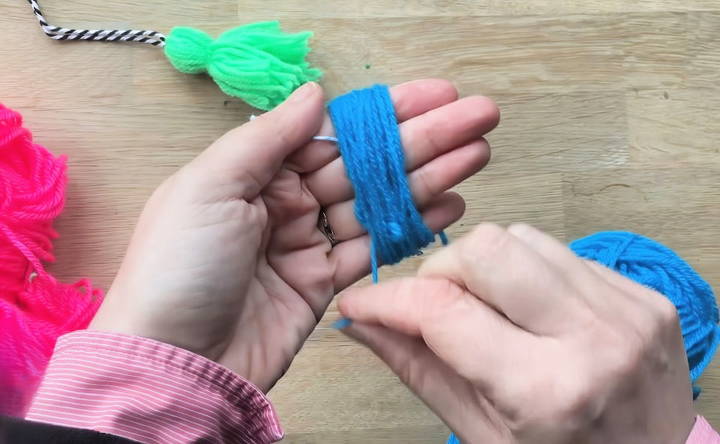
Using Your Fingers
- Position the String: Place the folded hanger string across your fingers, leaving enough room at the top to tie it later.
- Start Wrapping: Begin wrapping the yarn around your fingers. The more you wrap, the fluffier your tassel will be. I wrapped mine around about 30-40 times, but you can adjust it based on your preference.
Using Cardboard
- Cut the Cardboard: If you're using cardboard, cut a piece that's as long as you want your tassel to be.
- Wrap the Yarn: Wrap the yarn around the cardboard, ensuring that it's even and tight. Again, around 30-40 wraps should do.
Step 4: Tie Off the Top
Once you've wrapped the yarn to your satisfaction, carefully remove it from your fingers or the cardboard. Use the string hanging in the middle to tie a tight knot at the top of your tassel. This secures all the loops in place.
Step 5: Make the Tassel Head
Cut another piece of yarn, about 10 inches long.
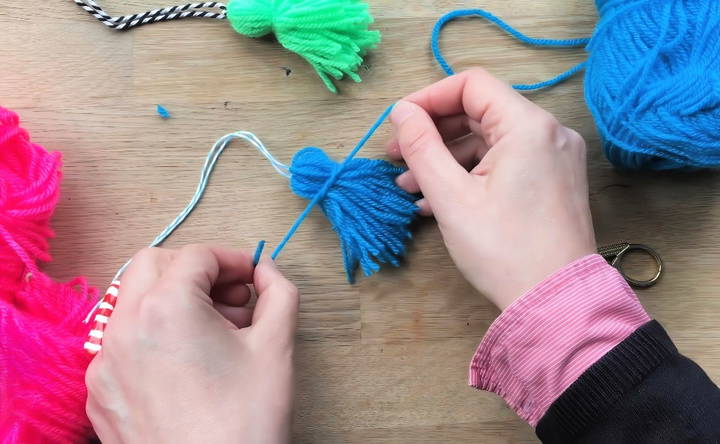
- Shape the Head: Place the tassel loops flat and wrap this new piece of yarn around them about 1 inch down from the top.
- Tie It: Secure it with a tight knot. This makes the distinctive “head” of your tassel.
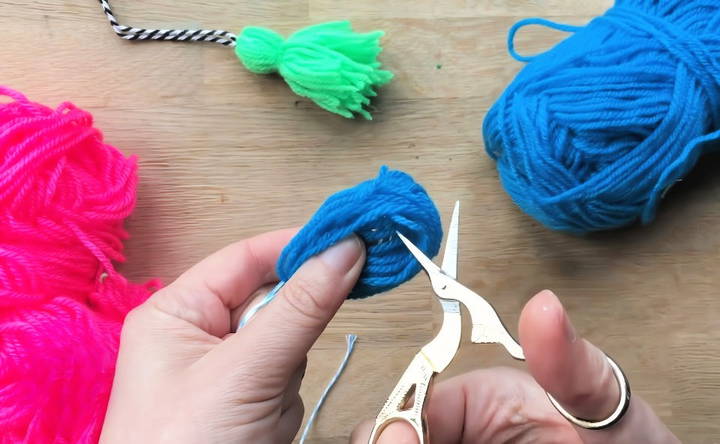
Step 6: Cut the Loops
Now, it's time to turn our yarn loops into a tassel. Find the loops at the bottom and cut through them. Make sure to cut as evenly as possible to keep your tassel looking neat.
Step 7: Final Trimming
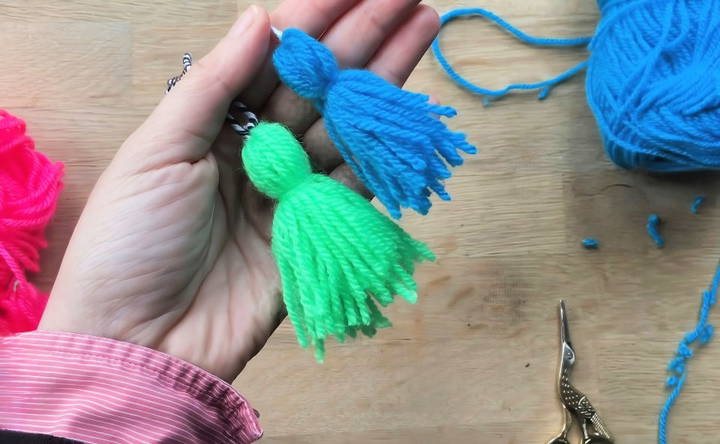
Even out the ends of your tassel by giving it a final trim. Make sure all strands are the same length. This step is all about making your tassel look tidy and well-finished.
Extra Tips and Tricks
- Varying Thickness: Experiment with wrapping a thicker or thinner yarn or using more or fewer wraps to give your tassel different looks.
- Multiple Colors: Combine different colored yarns for a more vibrant tassel.
- Adding Beads: You can slide beads onto your hanger string before tying it, adding an extra decorative touch.
Customization Ideas for Tassels
When it comes to personalizing tassels, the possibilities are endless. Here are some creative ideas to customize your tassels, making them unique and tailored to your style or project needs:
Choose Your Colors
Selecting the right color combination can transform the look of your tassel. Consider the following tips:
- Match or Contrast: Choose colors that match your decor or contrast with it for a pop of color.
- Color Themes: Use color themes from nature, like ocean blues or sunset oranges, for inspiration.
- Seasonal Colors: Pick seasonal colors to make your tassels timely and festive.
Incorporate Beads and Charms
Beads and charms can add a touch of elegance or playfulness to your tassels:
- Glass Beads: Use glass beads for a sophisticated look.
- Wooden Beads: Opt for wooden beads for a rustic or bohemian vibe.
- Charms: Attach charms that represent personal interests or milestones.
Experiment with Materials
Different materials can give your tassels a distinct texture and appearance:
- Silk Threads: Silk threads offer a shiny, luxurious feel.
- Cotton Yarn: Cotton yarn is great for a soft, casual look.
- Leather Strips: Leather strips can make a bold, edgy aesthetic.
Vary the Length and Thickness
The dimensions of your tassel can significantly affect its style:
- Long Tassels: Long tassels are dramatic and can make a statement on bags or as curtain tiebacks.
- Short Tassels: Short tassels are cute and work well on jewelry or as zipper pulls.
- Thick Tassels: Thick tassels are plush and can add a sense of luxury.
Add Layers and Textures
Layers and textures can enhance the visual interest of your tassels:
- Multiple Strands: Use multiple strands of thread or yarn for a fuller look.
- Mixed Textures: Combine different textures, like smooth and twisted threads, for complexity.
Personalize with Embroidery
Embroidery can be used to personalize your tassels further:
- Initials: Embroider your initials or those of a gift recipient for a personalized touch.
- Patterns: Add embroidered patterns or designs to the head of the tassel.
Use these customization ideas to make tassels that reflect your style or the space's ambiance. Let your creativity flow and enjoy the process!
Troubleshooting Common Issues with Tassel Making
Making tassels can be a fun and rewarding DIY project, but sometimes you might encounter a few hiccups along the way. Here's a helpful guide to troubleshoot common issues, ensuring your tassels turn out beautifully every time.
Tassel Isn't Full Enough
If your tassel looks sparse or thin:
- Add More Strands: Simply add more threads or yarn to the tassel head before securing it.
- Use Thicker Material: Switch to a thicker yarn or thread for a fuller appearance.
Tassel Wrinkles or Twists
To prevent or fix a wrinkled or twisted tassel:
- Straighten Before Cutting: Lay out your threads flat and comb them before cutting.
- Wet and Dry: Dampen the tassel and hang it to dry straight.
Uneven Tassel Lengths
For tassels with uneven lengths:
- Trim Carefully: Use sharp scissors to trim the ends evenly.
- Measure First: Use a cardboard template to measure and cut your threads uniformly.
Knots and Tangles
To avoid knots and tangles in your tassel:
- Comb Through: Gently comb through the strands with a fine-tooth comb.
- Work Slowly: Take your time when handling the threads to prevent tangling.
Color Bleeding
If you're worried about colors bleeding:
- Test Wash: Wash a small piece of the colored thread to test for colorfastness.
- Use Quality Material: Invest in high-quality, colorfast threads or yarns.
Attachment Issues
When attaching tassels to items:
- Secure Knots: Make sure your knots are tight and secure.
- Reinforce with Glue: For extra security, add a dab of fabric glue to the knot.
Follow these tips to perfect your tassels. Practice is key, so don't get discouraged. Keep at it, and you'll make perfect tassels soon!
FAQs About How to Make a Tassel
Discover answers to faqs about how to make a tassel, from materials needed to step-by-step instructions, perfect for crafting enthusiasts.
Trim the ends: Once you’ve cut the loops, lay the tassel flat and trim the ends to make them even.
Make the head: Wrap yarn around the small piece of cardboard to create a thick bundle. Slide this off and tie it around the top part of the tassel, then fold the ends down to form the head.
Final trim: Give your tassel a final trim if needed to ensure all the strands are even.
Absolutely! You can:
Beads: Thread beads onto the string you used to tie the top of the tassel.
Ribbons: Weave ribbons through the strands of the tassel for a decorative touch.
Jump rings: Attach a jump ring to the top if you’re using the tassel as a charm or pendant.
To attach your tassel:
Sewing: If it’s fabric, you can sew the top string of the tassel directly onto the material.
Gluing: For paper or hard surfaces, use a strong adhesive to glue the tassel in place.
Looping: Make a loop with the top string for easy attachment to things like keychains.
To make a tassel with multiple colors, follow these steps:
Choose colors: Select two or more colors of yarn that complement each other.
Wrap separately: Wrap each color around the cardboard separately, making distinct sections.
Tie and cut: Follow the same steps as a single-color tassel, tying the top and cutting the bottom.
Mix the strands: After cutting, mix the strands together before you make the head of the tassel to blend the colors.
Maintaining your tassels is important, especially if they're attached to frequently used items. Here's how:
Comb out tangles: Use a fine-tooth comb to gently comb out any tangles.
Wash carefully: If they get dirty, hand wash them gently with mild soap and warm water.
Dry properly: Lay them flat to dry to prevent the strands from stretching out of shape.
Conclusion
In conclusion, making a tassel can be a satisfying and enjoyable DIY project. With this step-by-step guide on how to make a tassel, you can make beautiful and unique accents for your projects. Remember, DIY tassels are not only easy to make but also offer endless customization possibilities. So grab your materials and start crafting your very own tassels today!


