Torches have been used for centuries as a primary source of light and protection in the wilderness. While we have modern alternatives like flashlights, a torch remains an essential tool in any survivalist's kit due to its simplicity, reliability, and ability to ward off wild animals. Whether you're camping, trekking, or facing an emergency situation in the wild, knowing how to make a torch can be invaluable.
This guide will provide the materials needed, step-by-step instructions, and tips for making a durable and effective torch. This easy-to-follow method uses simple materials that you can find in your surroundings or bring along on your adventure.
Why Make a Torch?
Torches are more than just a primitive lighting tool. In many outdoor or survival situations, they can serve a variety of purposes:
- Light Source: While flashlights are great, batteries can run out. A torch, on the other hand, uses materials you can often gather from nature.
- Animal Deterrent: Wild animals are generally afraid of fire. This makes torches an excellent tool for keeping predators like bears and wolves at bay.
- Campfire Starter: If you're struggling to get a fire going in damp conditions, a torch can help ignite kindling more effectively.
- Signal for Help: The light from a torch can be used to signal rescuers in case of an emergency.
Materials You Will Need
To build a long-lasting and effective torch, you'll need the following materials:
- Wooden Stick (Torch Handle): Choose a sturdy, hardwood stick (about 2-3 feet long) that won't easily burn through. Beechwood is an excellent choice because it withstands heat well.
- Fabric (Torch Wick): Use an old rag, t-shirt, or wool sock. Any fabric will work, but natural fibers burn better. If you're in the wild and don't have fabric, grass or leaves can be a substitute.
- Wire or Twine: Wire is ideal because it doesn't burn and helps secure the fabric. You can often find old wire near fences or other structures. If wire isn't available, use strong twine, though it may need replacement after extended use.
- Pine Resin: Pine resin is highly flammable and makes an excellent fuel for the torch. Collect resin from pine trees. The sticky, amber substance is usually found oozing from cracks or wounds on the tree bark.
- Fire Source: A lighter or matches will be needed to ignite the torch.
Step by Step Instructions
Learn how to make a torch with step-by-step instructions, ensuring safe lighting and practical outdoor use. craft and light your own torch easily!
Step 1: Prepare the Wooden Stick
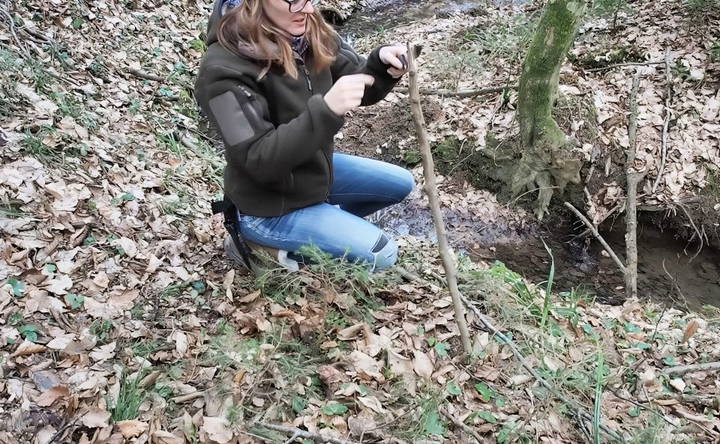
Select a dry, sturdy stick to serve as the base of your torch. The stick should be around 2-3 feet long so that it's easy to hold and will keep the fire at a safe distance from your hand. If the stick is too damp, it will be harder to light and will burn inefficiently.
- Tip: Choose hardwood like beech or oak because they are more heat resistant. Softwoods like pine can burn too quickly and leave you without a handle for your torch.
Step 2: Gather and Prepare the Fabric
Next, you'll need to prepare your fabric. This fabric will act as the wick of the torch and hold the pine resin fuel.
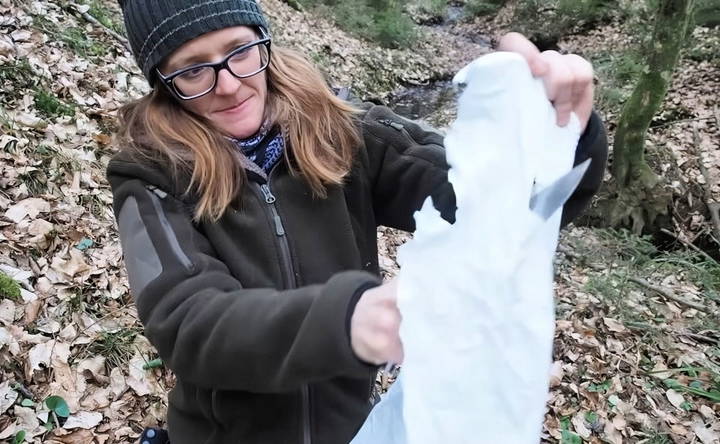
- Cut the Fabric into Strips: Use an old t-shirt, wool socks, or any other fabric you have on hand. Cut the material into long strips. The strips should be around 1 to 2 inches wide and long enough to wrap multiple times around the top of your stick.
- Alternative: If you don't have fabric, dried grass, leaves, or even bark strips can work in a pinch, but fabric is preferred for a longer burn time.
Step 3: Secure the Fabric to the Stick
Wrap the fabric strips tightly around the top of your stick. Once wrapped, use the wire or twine to secure the fabric in place. The wire is ideal because it won't burn, but twine can work temporarily. Make sure the fabric is tight and won't come loose once it's soaked with resin.
- Pro Tip: If your stick is thick enough, try splitting the top part of it with a knife and squeezing the fabric into the split. This method can give additional stability to your torch.
Step 4: Add Pine Resin
Now comes the fuel. Pine resin is essential for keeping the torch burning for a longer time. Without resin, the torch will burn out quickly.
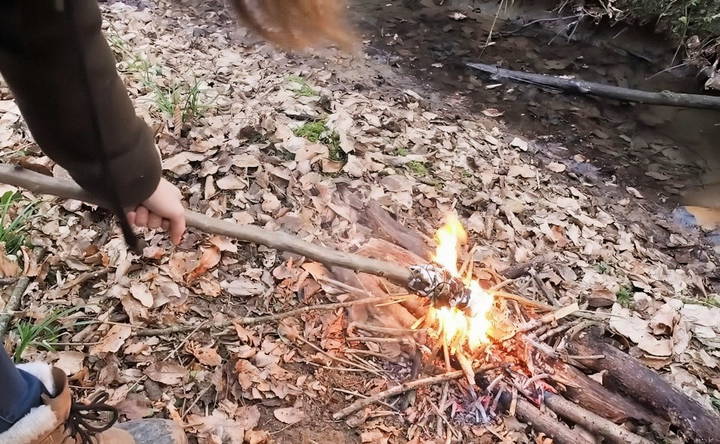
- Melt the Resin: If you have the ability to start a small fire or have a heat source available, melt the pine resin slightly. This makes it easier to spread over the fabric.
- Apply the Resin: Drip or smear the melted pine resin generously over the fabric on the torch. Be sure to cover as much of the fabric as possible to ensure a steady, long burn.
- Alternative Fuel Sources: If pine resin is unavailable, you can use beeswax or even animal fat. These materials aren't as flammable as resin but will extend the burning time of the torch.
Step 5: Light the Torch
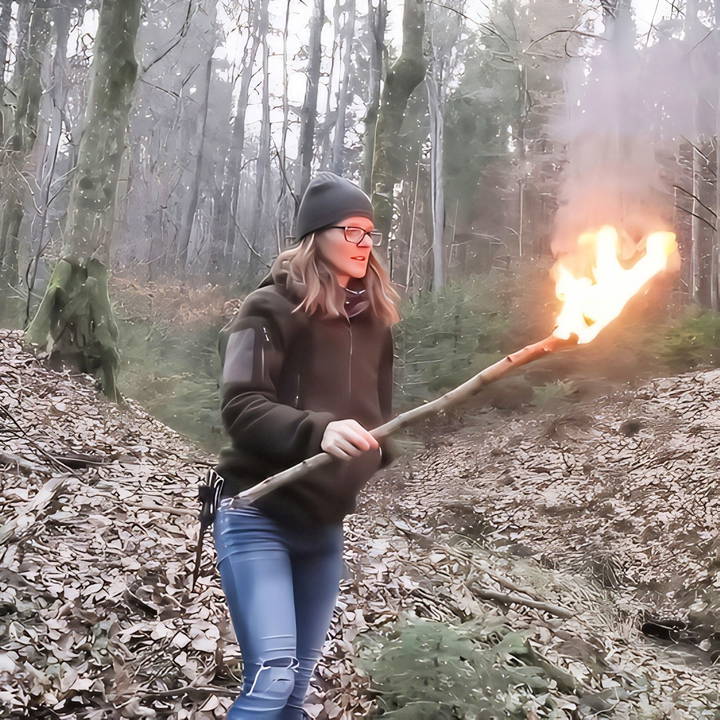
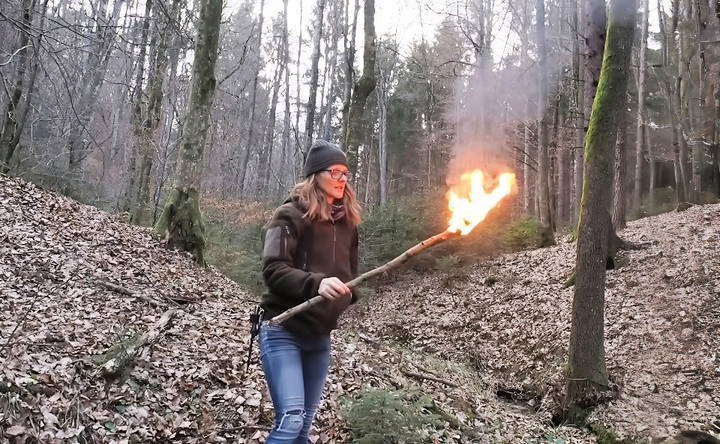
Once your torch is wrapped and coated with pine resin, it's ready to light. Use matches or a lighter to ignite the fabric. The pine resin should catch fire easily, and your torch will be burning brightly in no time.
- Safety Tip: When lighting the torch, ensure you're in an open space, away from low-hanging branches or flammable materials.
How Long Will a Torch Burn?
The burn time of your torch will depend on the materials used and how well it was constructed. In general:
- A well-made torch can burn for around 10 minutes before it needs to be refreshed or replaced.
- Pine resin significantly extends the torch's burning time and helps it burn brighter. Without resin, the fabric will likely burn out in just a few minutes.
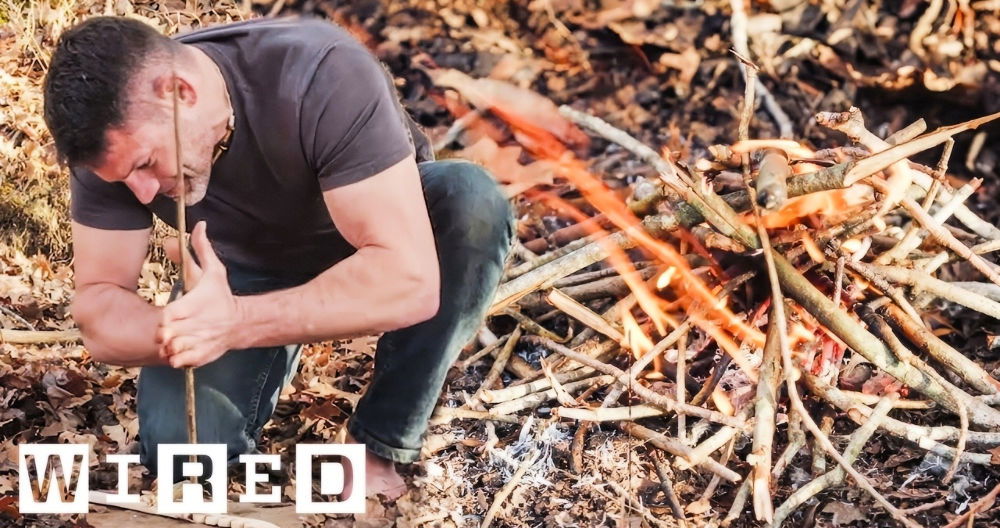
In a test torch made with fabric and pine resin, it burned for over ten minutes, with a bright flame and consistent heat.
Uses for a Torch in the Wild
While flashlights are convenient, torches still have many practical uses in outdoor settings, particularly for survival situations:
- Warding Off Predators: Animals like bears or wolves are more likely to be deterred by fire than by artificial light like flashlights. Carrying a torch can help keep dangerous wildlife at bay.
- Starting Fires: If you're in a damp area, using a torch to ignite kindling is much easier than starting a small fire with matches alone.
- Navigating in the Dark: A torch casts a wider area of light, which can make navigating a dark forest or rough terrain much easier.
- Signal for Help: A brightly burning torch can be used as a visual signal to rescuers in case of emergency.
Tips for Torch Safety
While torches are useful, they also come with safety risks. Here are some key safety tips to keep in mind:
- Keep a Safe Distance: Always keep the flame at a safe distance from your body and face.
- Monitor the Flame: Never leave a torch unattended, and be sure to extinguish it fully when you're done using it.
- Control the Flame: Ensure the torch is stable and not too heavy to control easily.
- Proper Extinguishing: If the torch hasn't burned out fully, extinguish it by smothering the flame in dirt or by dipping it in water.
Conclusion
Building a torch is a valuable skill for any survivalist or outdoor enthusiast. With just a few simple materials like a stick, fabric, wire, and pine resin, you can make an effective torch that provides light, protection, and versatility. While flashlights are common, they aren't a complete replacement for a well-made torch when it comes to wilderness survival.
By following the steps above, you'll be able to build a sturdy torch that burns long and bright, keeping you safe and illuminated on your next outdoor adventure.
FAQs About Enhancing Your Torch-Making Experience
Discover expert answers to FAQs about enhancing your torch-making experience. Improve skills and make better torches today!
If you don’t have wire, you can use natural twine, tightly bound bark strips, or vines. Some users also suggest using bicycle cables as a sturdy alternative. Just ensure it’s something that won't burn easily.
Yes, pine resin is commonly used, but spruce resin or even eucalyptus resin can work just as well. Any tree sap that is sticky and flammable will do the job.
Yes, you can substitute fabric with dried grass, bark, or even moss, although these materials may not burn as long as fabric. Make sure to bind them tightly for a more controlled burn.
Increasing the amount of pine resin will extend the burn time, and using thicker or more layers of fabric can also help. Some people dip the entire torch in melted resin to coat it thoroughly for a longer-lasting flame.
No, synthetic fabrics like polyester produce harmful fumes when burned. Stick to natural fibers like cotton, wool, or linen, as they are safer and burn more predictably.
Using too much resin can cause it to drip. To avoid this, apply it in layers and ensure the fabric absorbs the resin properly. Wrapping the torch more tightly and letting the resin melt slowly can also help.
It's risky to use torches in dry conditions due to the potential for starting wildfires. Always make sure the ground is damp or clear of flammable debris when using a torch outdoors.
A brighter torch can be achieved by using more pine resin or other flammable substances like beeswax or animal fat. Be cautious, as a brighter flame might burn through your materials faster.
Avoid using softwoods like pine as they tend to catch fire easily. Instead, use hardwoods like beech or oak, which burn slower and provide better durability.
Fire emits heat, light, and an unpredictable movement that animals instinctively associate with danger. Flashlights, on the other hand, lack the sensory cues—like heat and smell—that signal danger to wildlife.


