Building a DIY wooden box is a rewarding project that anyone can enjoy. Using basic tools and materials, you can build a functional and customizable box. This guide explains how to make a wooden box step by step, ensuring you have the information you need for success. It covers everything from choosing the right wood to assembling the parts. Building a wooden box at home can be both fun and practical.
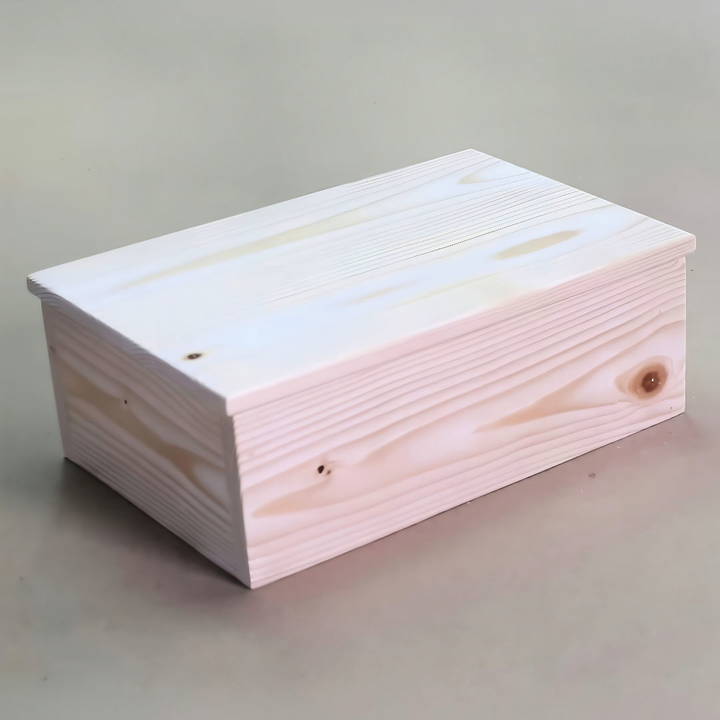
Learning how to make a DIY wooden box not only develops your craftsmanship but also provides you with a useful item. The steps include selecting the best wood, using accurate measurements, and applying a finish. This project is ideal for improving your woodworking skills and producing a product you can take pride in.
Read on to explore each step in detail and get started on your own DIY wooden box project.
Why Start with a Box?
A box might seem mundane at first glance, but it's the cornerstone of woodworking. Almost everything, from cabinets to desks, is a variation of a box. Mastering a box means building a solid foundation for more complex projects. Additionally, it's an excellent way to get familiar with woodworking tools and techniques without overwhelming complexity.
Selecting the Right Material
My first step was to pick the right material. I opted for regular three-quarter inch lumber available at any Home Center, a recommendation I found invaluable. Smaller boxes might benefit from thinner lumber, but at my beginner's stage, simplicity was key.
Step by Step Instructions
Learn how to make a wooden box with step-by-step instructions. Perfect for woodworking beginners, from cutting pieces to crafting the lid.
Cutting the Pieces to Size
I began by cutting the four sides to their lengths, followed by the lid pieces. Using a regular saw, I made sure each piece was cut precisely, following the dimensions provided in the free plans I found online. This step required a steady hand and an eye for detail, ensuring each piece matched perfectly to avoid gaps and misalignment later on.
The Art of Rabbet Joints
The rabbet joint method, known for its simplicity yet strong bond, was my choice for joining the pieces together. It's perfect for beginners, providing square corners without complexity. I learned to cut rabbets using a single blade and multiple passes - a safer option than others, especially for someone just starting.
I set up a sacrificial fence on my table saw to make this task safer and more accurate. Adjusting the blade to half the thickness of my boards, I meticulously cut the rabbets on the ends of the longer pieces. This process took patience and precision, ensuring the short pieces would fit snugly within the rabbet, making a seamless join.
Assembling the Box
Gluing the pieces together was surprisingly enjoyable, almost therapeutic. I learned the importance of not clamping too tight to avoid buckling and ensuring a small bead of glue indicated just the right amount of adhesive. The rabbet joints provided ample surface area for the glue, offering a sturdy construction once dry.
The bottom panel, cut precisely to fit the assembled sides, added stability and squareness to the box. This part underscored the necessity of dry fitting and measuring directly rather than relying on potentially inaccurate tape measurements.
Crafting the Lid
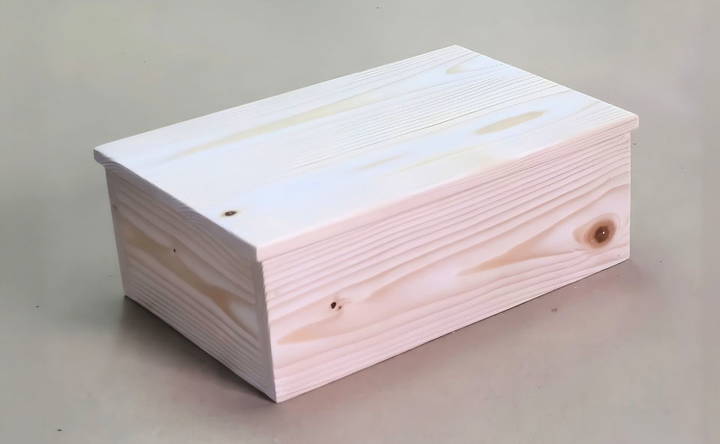
The lid assembly commenced with edge joining, requiring a lighter clamp touch to avoid warping. After ensuring straightness with packing tape-covered cauls, I marvelled at the simplicity yet effectiveness of this method. Sanding down any resultant ridges left by the saw blade, my box's lid gradually took shape - a testament to the user-friendly nature of rabbet joints even for a beginner.
Design Variations
Crafting a wooden box offers endless design options for all skill levels. This guide covers variations to make your wooden box both functional and appealing.
For Beginners: The Basic Box
- Simple Rectangular Shape: Start with a straightforward rectangular box. It's easy to measure, cut, and assemble.
- Butt Joints: Use butt joints for the corners. They are simple to make and don't require advanced tools.
- Screw or Nail Assembly: Fasten the pieces together with screws or nails for a sturdy build without complex joinery.
Intermediate Projects: Adding Complexity
- Rabbet Joints: Upgrade to rabbet joints for a more polished look and stronger corners.
- Sliding or Hinged Lid: Introduce a sliding or hinged lid for easy access and a touch of sophistication.
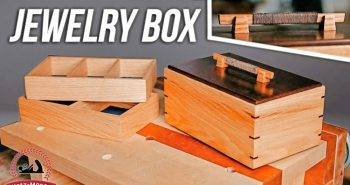
- Partitioned Compartments: Build compartments within the box for organizing contents, perfect for jewelry or toolboxes.
Advanced Designs: Artistic and Functional
- Dovetail Joints: Master the dovetail joint for an elegant and extremely strong connection.
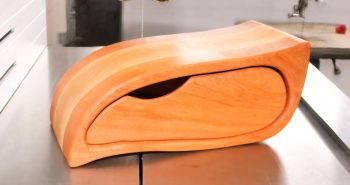
- Curved Sides: Incorporate curved sides for a modern twist on the classic box shape.
- Intricate Lids: Experiment with intricate lid designs, such as those with inlaid wood patterns or glass panels.
Customization for Specific Uses
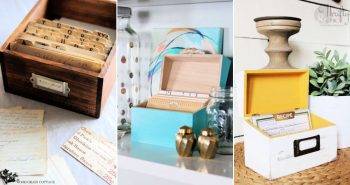
- Memory Box: Add felt lining and a nameplate to build a personalized memory box.
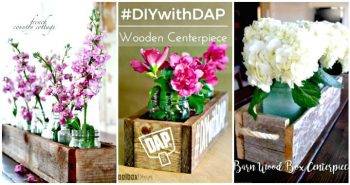
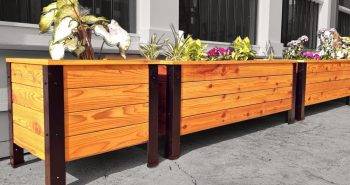
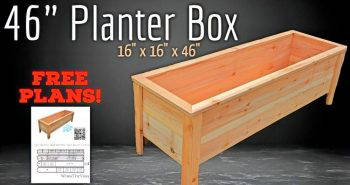
- Planter Box: Modify dimensions and include drainage holes to transform your box into a rustic planter.
- Music Box: Incorporate a musical mechanism for a charming music box that plays a tune when opened.
Explore different designs to customize your wooden box project and express creativity. Enjoy the process from raw material to finished product.
Advanced Customization
Once you've mastered basic box-making, advanced customization can turn your wooden box into a functional work of art. Here's how to elevate your project with advanced techniques.
Incorporating Inlays
- Selecting Materials: Choose contrasting woods or materials like mother-of-pearl for a striking effect.
- Designing Patterns: Plan your design on paper first, considering the grain and color of the inlay material.
- Routing Techniques: Use a router to build precise recesses in the wood for your inlays.
Engravings and Carvings
- Tools for Detail: Invest in quality chisels and engraving tools for intricate work.
- Sketch Before Carving: Draw your design directly onto the wood or use transfer paper.
- Practice Makes Perfect: Try your hand on scrap wood before moving to your box.
Adding Hardware
- Hinges and Clasps: Select hardware that complements the style of your box and provides functionality.
- Installing Locks: For added security, consider adding a small lock. Precision is key for proper alignment.
- Decorative Handles: Choose handles that are not only decorative but also comfortable to grip.
Electronic Integrations
- LED Lighting: Install LED strips inside the box for a modern look and practicality.
- Sound Modules: Embed a sound module to play a message or music when the box is opened.
- Charging Ports: For a tech-savvy box, include a hidden charging port for electronic devices.
Personalization
- Monograms and Names: Use a wood burner or laser cutter to add a monogram or full name.
- Photograph Transfers: Transfer a special photograph onto the wood for a sentimental touch.
- Custom Linings: Line the interior with velvet or leather for a luxurious feel.
Advanced customization lets you design a box that reflects personalities. It can be a home statement, a beloved gift, or a joyful practical item.
Finishing Techniques
Finishing your wooden box is not just about making it look good; it's about protecting it and enhancing the wood's natural beauty. Here are some finishing techniques that are both effective and straightforward, ensuring your wooden box stands the test of time.
Sanding for Smoothness
- Start with Coarse Grit: Begin with a coarse-grit sandpaper to remove any rough spots.
- Progress to Fine Grit: Gradually move to finer grits for a smooth-to-the-touch finish.
- Sand in the Direction of the Grain: Always sand in the direction of the wood grain to avoid scratches.
Staining for Color
- Choose Your Stain: Pick a stain that complements the wood's natural color or achieves the hue you desire.
- Test on Scrap Wood: Apply the stain to a piece of scrap wood to ensure it's the color you want.
- Apply Evenly: Use a brush or cloth to apply the stain evenly, wiping away excess for a uniform look.
Sealing for Protection
- Select a Sealant: Choose between polyurethane, lacquer, or shellac based on the desired finish and durability.
- Thin Coats: Apply thin coats to avoid drips and build up a strong protective layer.
- Allow Proper Drying Time: Let each coat dry completely before applying the next.
Oil Finishes for a Natural Look
- Natural Oils: Consider natural oils like linseed or tung oil for a finish that enhances the wood's character.
- Rub in the Oil: Apply the oil with a cloth, rubbing it into the wood in a circular motion.
- Buff for Shine: After the oil has dried, buff the surface with a clean cloth for a subtle shine.
Wax for a Soft Sheen
- Choose Quality Wax: Use a high-quality furniture wax for a soft, natural sheen.
- Apply with a Cloth: Work the wax into the wood with a soft cloth, using circular motions.
- Buff to a Shine: Once the wax has set, buff it to the desired level of shine with a clean cloth.
Use these techniques to protect and enhance your wooden box, showcasing your craftsmanship. Take your time to choose the best finish for your project.
Troubleshooting Common Issues
When crafting a wooden box, you might encounter a few hiccups along the way. Here's a helpful guide to troubleshooting common issues, ensuring your project stays on track.
Warping or Twisting Wood
- Cause: Wood can warp due to moisture changes or uneven drying.
- Solution: Store wood in a dry, stable environment before use. If warping occurs, try clamping and gently heating the wood to reshape it.
Splitting When Nailing or Screwing
- Cause: Fasteners can cause the wood to split, especially near the ends.
- Solution: Pre-drill holes for nails or screws to prevent splitting. Choose the correct size of fasteners for the wood thickness.
Rough Edges After Cutting
- Cause: Dull blades or improper sawing technique can leave rough edges.
- Solution: Use sharp blades and follow proper cutting techniques. Sand the edges with fine-grit sandpaper for a smooth finish.
Stain Not Absorbing Evenly
- Cause: Uneven wood surface or previous finishes can affect stain absorption.
- Solution: Sand the wood thoroughly and apply a pre-stain conditioner to ensure even stain absorption.
Glue Joints Not Holding
- Cause: Insufficient glue, improper clamping, or dirty joint surfaces.
- Solution: Apply enough glue, ensure surfaces are clean and dry, and clamp joints securely until the glue sets.
Difficulty in Fitting Lid
- Cause: Inaccurate measurements or warping can lead to a poor fit.
- Solution: Measure twice before cutting, and consider making the lid slightly larger, then sanding down for a perfect fit.
Anticipate and address common issues to handle woodworking challenges better. Patience and detail are key.
FAQs About How to Make a Wooden Box
Discover the faqs about how to make a wooden box, including tips, tools, and step-by-step instructions to build the perfect DIY project.
First, decide on the dimensions of your box. Use a ruler to measure and mark the cutting lines on your wood boards. Cut the boards according to these measurements, ensuring you have four sides, a bottom, and a lid. Remember to measure twice and cut once for accuracy.
After cutting the wood, assemble the sides using a butt joint or rabbets for a cleaner look. Apply wood glue between the joints for strength, then secure them with nails or screws. Use clamps to hold the pieces in place while the glue dries. Attach the bottom piece similarly, and for the lid, you can use hinges or design it to slide or sit on top.
Once assembled, sand the box thoroughly with sandpaper to smooth out any rough edges or surfaces. Start with a coarser grit and move to a finer grit for a polished finish. If you’re painting or staining the box, do it after sanding and before attaching the lid.
Absolutely! Personalize your wooden box by painting, staining, or carving designs into the wood. You can also add handles, clasps, or decorative hardware. For a unique touch, consider using different wood types or adding inlays for visual interest.
For a hinged lid, first, ensure your box is sanded and the edges are smooth. Then, position the hinges on the back edge of the lid and mark the screw holes. Drill pilot holes for the screws, attach the hinges to the lid, and then to the back panel of the box. For a sliding or lift-off lid, build a groove along the inside edges of the box's sides for the lid to slide into or rest on top. Always check that the lid moves freely and fits snugly.
Final Thoughts
Wrapping up, making a DIY wooden box is both rewarding and achievable. By following the steps outlined in this guide, you can craft a beautiful and functional piece. Whether you're crafting a personal keepsake or a gift, learning how to make a wooden box is a valuable skill. Remember to take your time and enjoy the process.


