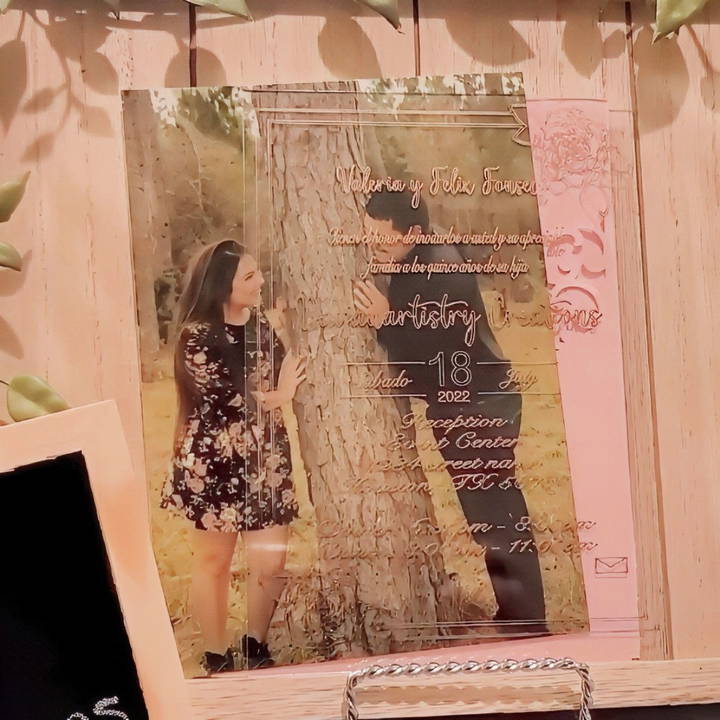
Acrylic invitations are a stunning and modern way to invite guests to your event. With their sleek design and customizable options, they can elevate any occasion from weddings to birthdays. This guide will take you through the entire process, from materials to execution, so you can make beautiful acrylic invitations on your own.
Materials Needed
Before starting, gather all the necessary materials. Each tool plays a crucial role in ensuring a high-quality finished product.
- Acrylic Sheets: 5x7 inches is a popular size for invitations.
- Foil: Choose a color that complements your event theme. Rose gold and silver are popular choices.
- Exacto Knife: For trimming foil and tape.
- Masking Tape: Used to hold down the foil securely.
- Cricut Machine: A Cricut Maker or similar cutting machine is required to etch designs onto acrylic.
- Foiling Tools: From We R Memory Keepers, the pink tool (fine point) and the blue tool (for broader strokes) are essential for adding foil designs.
- Cricut Strong Grip Mat: Keeps the acrylic sheet steady during the foiling process.
Having these materials on hand will streamline the crafting process and prevent interruptions.
Step by Step Instructions
Learn how to make acrylic invitations with step-by-step guidance. From workspace prep to foiling, get tips for perfect DIY invites today!
1. Preparing Your Workspace
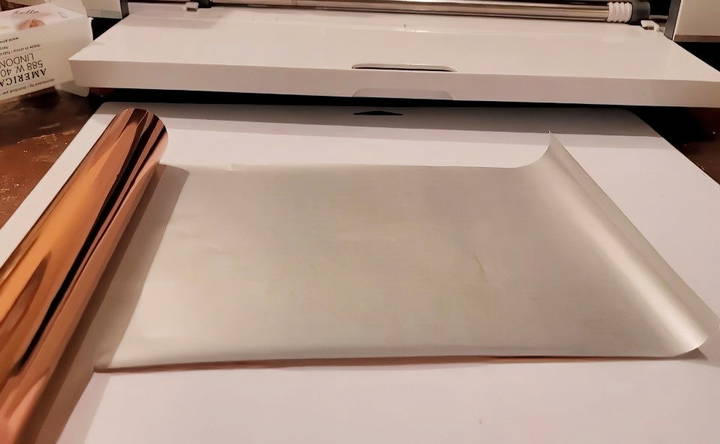
Set up a clean, flat workspace with enough lighting. Since you'll be handling delicate tools and materials, ensure there is enough room to manage each part of the project without overlapping.
- Clean the Acrylic Sheets: Each acrylic sheet comes with a protective film on both sides. Remove this protective layer carefully, ensuring no residue is left.
- Organize Your Tools: Arrange your tools for easy access, as you'll switch between the foiling tools and exacto knife frequently.
- Power up the Cricut Machine: Ensure the Cricut machine is plugged in and ready. If you're using a model like the Cricut Maker, it has a USB port for easy connectivity with the foiling tools.
2. Designing the Invitation Template
Making a visually pleasing template is essential. This template will serve as the outline for your foiling and design work.
- Open Design Software: Programs like Cricut Design Space are great for making invitation templates.
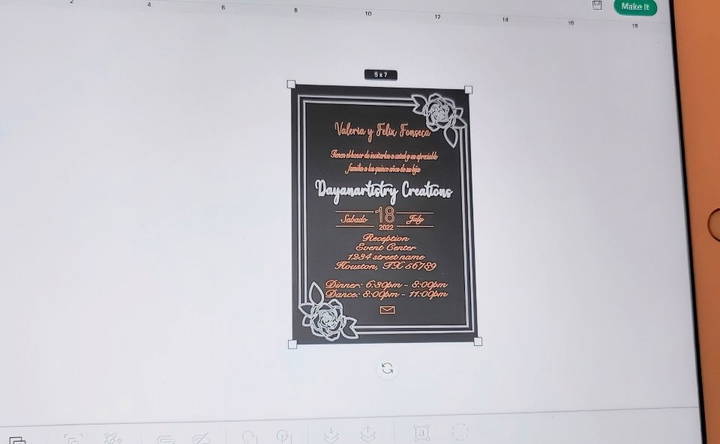
- Select Invitation Dimensions: A standard 5x7 rectangle is common for invitations. In Cricut Design Space, select a 5x7 frame as a guide.
- Choose Fonts and Elements: Select elegant fonts that reflect the occasion's theme. For instance, a wedding invitation might feature cursive fonts, while a birthday could use a more playful style.
- Add Color Variations: Assign different colors to parts of the design for contrast. For example, the name could be foiled in rose gold and the event details in silver.
- Save the Design: Once you're satisfied, save the template and prepare it for cutting and foiling.
3. Setting Up the Cricut Machine
After designing, it's time to set up your Cricut machine for foiling.
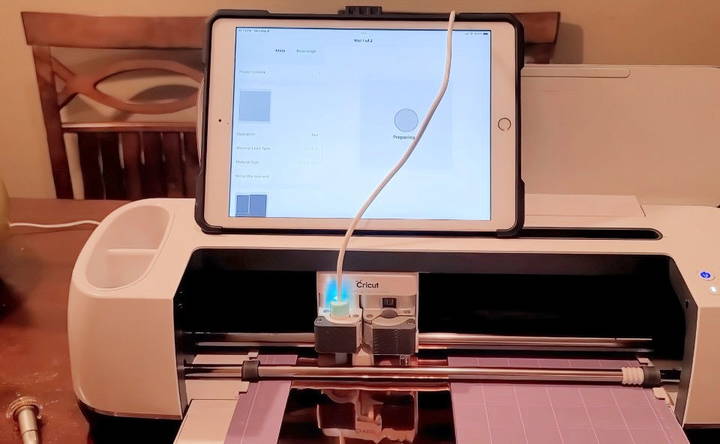
- Load the Template: Import your design into Cricut Design Space and set the material to "Acrylic Sheet."
- Attach the Foiling Tool: Plug in the pink foiling tool (fine point) to the Cricut machine. This will handle the detailed parts of your design.
- Position the Acrylic on the Strong Grip Mat: Place the acrylic sheet securely on the mat. Use masking tape to hold down all edges to prevent movement.
- Select Material Type: In the Cricut settings, choose "Heavy Cardstock (100 lb)" to ensure the foiling process applies the correct pressure.
4. Foiling the Acrylic Invitations
Foiling is a key step that transforms the plain acrylic sheet into a beautiful invitation.
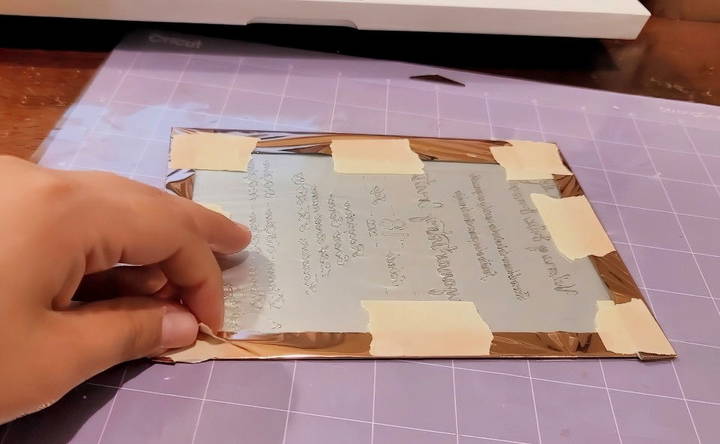
- Place the Foil on the Acrylic Sheet: Extend the foil over the acrylic sheet and tape it down along the edges. Ensure it's smooth and free of wrinkles, as any creases may affect the final design.
- Begin Foiling: Start the Cricut machine, and it will automatically begin applying the foiling pattern onto the acrylic sheet.
- Switch to the blue foiling tool for larger text or designs that need a thicker line. The blue tool is typically used with silver foil, while the pink is used for fine details.
- Monitor the Process: The Cricut machine will notify you when it's time to switch between the pink and blue foiling tools.
- Remove the Foil Carefully: Once the foiling is complete, gently remove the foil sheet. Lift slowly to avoid scratching or smudging the design.
5. Finishing Touches
With the main design in place, now it's time to add any final details to complete the invitation.
- Inspect for Inconsistencies: Sometimes, foil might not adhere perfectly. If you notice gaps, you can touch up with a foiling pen or small paintbrush.
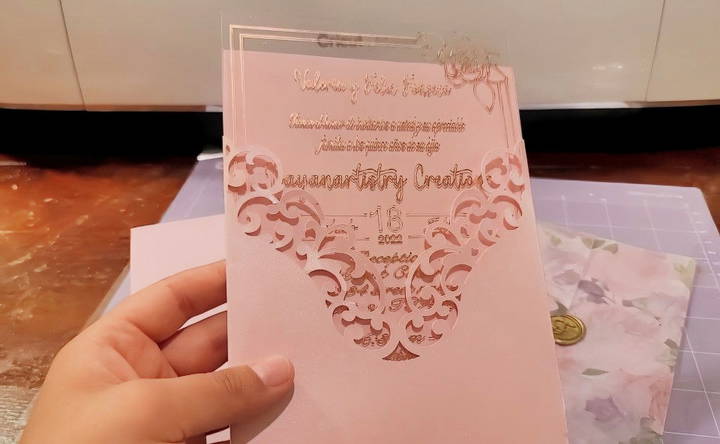
- Remove Protective Backing: If the acrylic sheet has a protective layer on the back, remove it carefully to reveal the transparent, glossy finish.
- Prepare the Envelopes: Consider pairing the invitation with a vellum envelope for an elegant, semi-transparent look. A wax seal can add a classic touch, making the invitation stand out.
- Add Additional Elements: You can also include embellishments such as small dried flowers or metallic confetti in the envelope for an extra pop.
6. Troubleshooting and Tips
Making acrylic invitations can be challenging. Here are some common issues and solutions to help you avoid setbacks.
- Foil Not Adhering Properly: Ensure that the foil is completely flat and secure with masking tape. Any wrinkles or loose areas may cause uneven foiling. Using a strong grip mat will also prevent shifting during the foiling process.
- Misaligned Design: Double-check the alignment of the acrylic sheet on the mat before starting. Cricut's preview feature can help you position the design accurately. Make sure to center the design and adjust any placements before starting the foiling.
- Foiling Tool Doesn't Work as Expected: Ensure that the correct foiling tool (pink or blue) is installed at each stage. Using the wrong tool for fine versus broad details can affect the design's clarity.
Additional Tips
- Test the Design on Cardstock First: Before working directly on acrylic, consider testing the design on cardstock. This can help you gauge sizing, alignment, and foil color without risking the acrylic sheet.
- Use High-Quality Foil: Cheap foil may flake or scratch easily, so invest in high-quality foil for the best results. Brands like "We R Memory Keepers" are reliable and work well with Cricut machines.
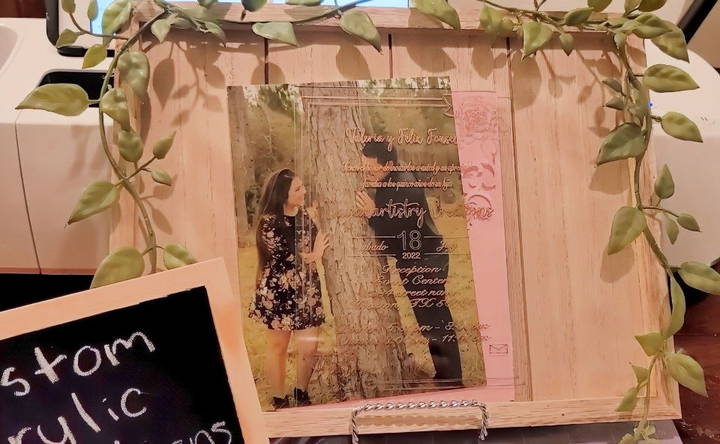
- Experiment with Different Colors and Styles: Acrylic invitations can be personalized in countless ways. Don't hesitate to experiment with different foil colors, font styles, and decorative elements to make each invitation unique.
Final Thoughts
Acrylic invitations are not only beautiful but also durable and customizable, making them an excellent choice for special events. With a bit of patience and practice, you can master the process and make stunning invitations that your guests will cherish. By following these steps, you'll ensure each invitation is crafted to perfection, bringing a professional, polished touch to your event.
Feel free to experiment with this process and make each invitation uniquely yours. With these tips and techniques, you're all set to make breathtaking acrylic invitations that will leave a lasting impression.
FAQs About Acrylic Invitations
Discover all you need to know about acrylic invitations with our comprehensive FAQs guide. Perfect for planning your unforgettable event.
For best results, use 1mm thick acrylic or plexiglass. This thickness works well with most Cricut machines and foil tools without causing alignment issues or machine errors.
If the foil tears, it may be taped too tightly. Loosen the tape slightly to allow the pen to move freely over the surface. Overly tight foil can hinder the machine's movement, leading to tearing.
Set the Cricut to "100 lb cardstock" for optimal pressure. Use the pink tool (0.4 fine point) for detailed lines and the blue tool (0.8) for thicker lines.
Yes, you can. However, you’ll need a USB port for the foiling pens, and the setup may require some adjustments compared to the Cricut Maker.
This can happen if the rollers are not adjusted. Move the Cricut rollers slightly to the side to prevent issues caused by the acrylic’s thickness.
Misalignment or smudging can occur if the design isn't firmly secured. Make sure the acrylic and foil are taped evenly, and align your design carefully on the Cricut mat.
Most users prefer Cricut Design Space, which provides easy templates and alignment tools specifically compatible with Cricut machines.
After about 20 to 25 invitations, give your Cricut a break to avoid design skipping or shifting, as the machine may overheat or misalign after extended use.
Yes, but set the Cricut to "vinyl" and use a regular cutting blade. Use transfer paper to apply the vinyl to the acrylic.


