Making beeswax candles at home has always been a rewarding experience for me. I remember the first time I melted the beeswax and saw it transform into something beautiful. The natural scent filled the room, and I felt a sense of accomplishment. Beeswax candles are not only easy to make but also a healthier, eco-friendly option compared to store-bought candles.
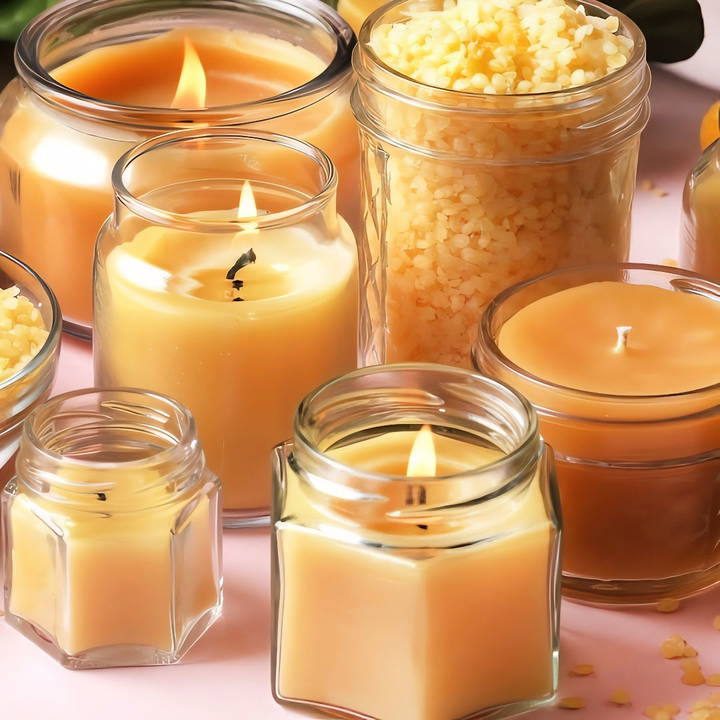
If you're someone who enjoys simple DIY crafts, making DIY beeswax candles is a great choice. You only need a few ingredients, and the process is fun. I'm sharing this guide to help you get started, and I'm confident that these steps will make it easy for you to make your own candles at home.
Why Beeswax?
Before we dive into the how-to, let's talk about why beeswax is my go-to for candle-making. Beeswax, a natural byproduct of honey farming, not only smells divine but also burns brighter and cleaner than most waxes. Its sustainable origins and aromatic qualities had me hooked from the start.
Getting Started: Materials You'll Need
- Beeswax: Choose between yellow and white beeswax. Yellow tends to have a more natural aroma.
- Candle Wicks: Opt for cotton or wood wicks, depending on your preference.
- Containers: Heat-safe containers are a must. Avoid tall, narrow ones as they pose challenges.
- Double Boiler: Essential for melting beeswax safely.
- Thermometer: To prevent the wax from overheating.
- Stirring Tool: A wooden stick or stainless steel spoon works best.
- Essential Oils (optional): For scenting your candles naturally.
Step by Step Instructions
Learn how to make beeswax candles with our step-by-step guide. From melting wax to cooling, follow these easy instructions for perfect candles every time.
Step 1: Preparing Your Workspace
Cover your work area with newspaper or a disposable cloth. Candle-making can get messy, and beeswax isn't the easiest to clean up once it's cooled and hardened.
Step 2: Melting the Beeswax
Set up your double boiler by filling the bottom pan with water and placing beeswax in the top container. Heat it slowly, stirring occasionally, until completely melted. This gentle approach prevents the wax from scorching. Keep an eye on the thermometer to ensure the wax stays below 200* °F.
Step 3: Prepping Your Wicks
While the beeswax melts, prepare your wicks. The length should match your container's height. Attach a wick sticker or a dab of melted wax to the bottom of the wick tab, and secure it in the center of your container. I've found that using a wick centering tool or a pencil to hold the wick in place makes this step easier.
Step 4: Adding Scent (Optional)
Once the beeswax is fully melted and slightly cooled (about 155-160* °F), you can add essential oils if desired. I recommend about 10-15 drops per pound of wax, but this can vary based on oil strength and personal preference.
Step 5: Pouring the Wax
Carefully pour the melted wax into your containers, ensuring not to dislodge the wicks. Fill the container, but leave a bit of room at the top.
Step 6: Cooling and Curing
Let your candles cool at room temperature away from drafts. This can take several hours. Once solidified, trim the wick to about * ¼ inch above the wax.
Step 7: Cleaning Up
Cleaning your tools is easier if done while the wax is still warm. Wipe excess wax with paper towels before washing everything in hot, soapy water.
Common Hiccups and Tips
- Cracking or Sinkholes: If your candle cools too quickly, it might crack or develop a sinkhole. To fix this, you can carefully reheat the surface with a heat gun or blow dryer and add a bit of melted wax to fill in the gaps.
- Tunneling: This occurs when the wick is too small, causing the candle to burn down the middle without melting the edges. Ensure you choose the correct wick size for your container's diameter.
- Frosting: This is common with natural waxes and is purely cosmetic. To minimize frosting, cool your candles slowly and evenly.
Decorative Techniques for Beeswax Candles
Crafting beeswax candles is a delightful hobby that lets you add a personal touch. We'll explore simple, elegant decoration techniques to make your candles extraordinary.
Embedding Natural Elements:
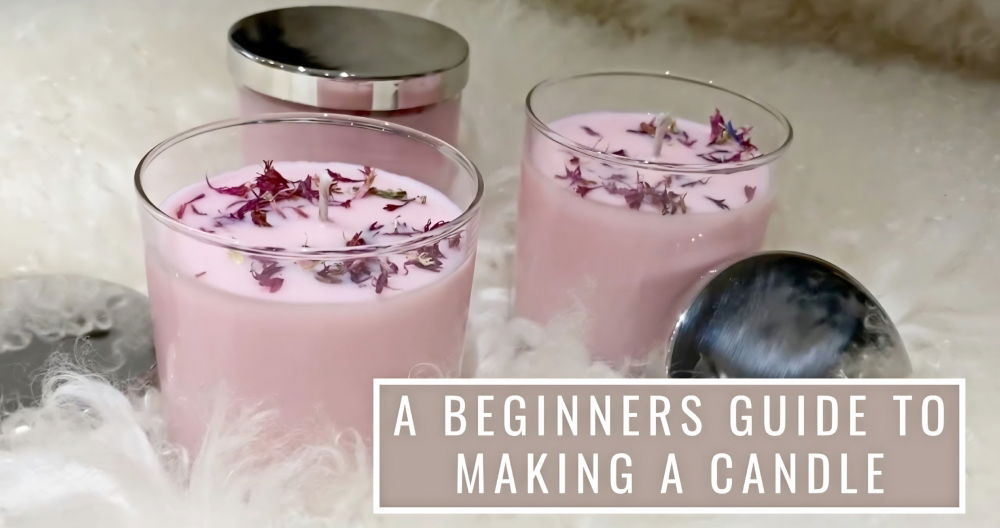
One of the most charming ways to decorate beeswax candles is by embedding natural elements into the wax. As you pour the melted beeswax into the mold, gently place dried flowers, leaves, or thin slices of citrus fruits along the sides. Not only do these add a beautiful visual element, but they can also impart a subtle fragrance. Ensure that these items are completely dry to prevent moisture from affecting the burn quality.
Layering Colors:
Beeswax naturally has a warm, honey-like color. However, you can make visually striking candles by adding layers of colored beeswax. Use natural dyes derived from plants or minerals to maintain the eco-friendly aspect of your candles. Pour the first layer and let it set slightly before adding the next, making a lovely gradient or distinct stripes of color.
Carving Designs:
Once your candle has set but is still slightly warm, you can carve designs into the surface. This could be as simple as etching lines and patterns or as intricate as making images or words. The key is to work with a steady hand and use tools that won't break the wax, such as a toothpick or a small stylus.
Texturing the Surface:
For a rustic look, consider texturing the surface of your candles. This can be done by pressing a textured material, like lace or burlap, against the candle as it sets. You can also use a fork or comb to make patterns in the wax. This technique adds a tactile dimension to your candles and catches the light beautifully when lit.
Personalizing with Wax Seals:
Add a touch of elegance by affixing a wax seal to your candle. You can use a stamp with an initial, symbol, or any design that holds meaning for you. Simply pour a small amount of melted wax onto the candle's surface and press your seal into it. This not only personalizes your candle but also makes it a perfect gift.
Beeswax candles' beauty is in their simplicity; decorations should complement, not overshadow. These techniques will help you make candles that are both useful and artistic, reflecting your style.
Candle Care and Maintenance
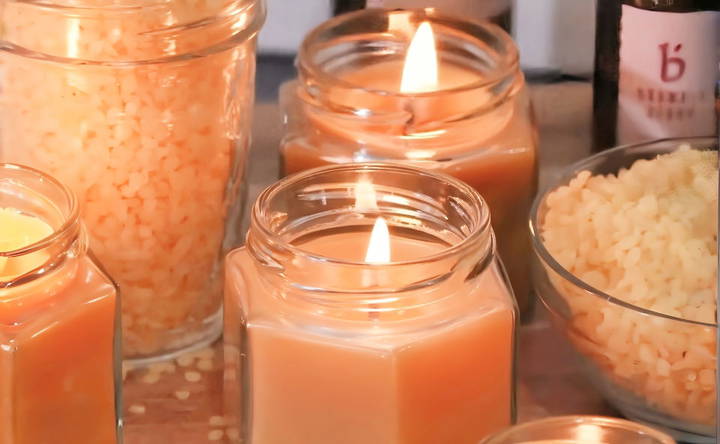
Taking care of your beeswax candles is essential for ensuring they burn beautifully and last longer. Here's a straightforward guide to help you get the most out of your candles.
- Trim the Wick: Before lighting your candle, always trim the wick to about 1/4 inch. This helps prevent a large flame, which can cause sooting and uneven burning. Use a wick trimmer or a pair of scissors for a clean cut.
- Let It Burn: When you light your candle for the first time, allow it to burn long enough so the wax pool reaches the edges of the container. This process called a ‘full melt pool,' prevents tunneling and ensures an even burn in future uses.
- Avoid Drafts: Place your candle in a spot away from drafts, vents, or air currents. This will help prevent rapid burning, dripping, or smoking. A stable flame will give you a cleaner burn and better scent throw.
- Storage Matters: Store your beeswax candles in a cool, dark place to preserve their color and shape. Avoid leaving them in direct sunlight or near heat sources, as beeswax can soften and lose its form.
- Cleaning Your Candle: If your candle gets dusty, gently wipe it with a soft, dry cloth. For any wax spills, let the wax harden, then scrape it off gently with a plastic card or spatula.
- Reuse and Recycle: Beeswax candles are natural and biodegradable. When you're down to the last bit of wax, consider repurposing the leftover wax for new candles or use it as a natural lubricant for drawers and windows.
By following these simple care tips, you'll enhance your candle-burning experience and enjoy the natural beauty and ambiance of your beeswax candles for many cozy evenings to come.
FAQs About How to Make Beeswax Candles
Making your own beeswax candles is a rewarding and enjoyable craft. Here's a simple guide to help you get started, presented in an easy-to-understand format.
If your beeswax is raw, you'll need to clean it first. Remove any debris like dirt or honey. Then, melt the beeswax using your chosen heating vessel. Be careful to avoid any water getting into the wax.
Attach the wick sticker to the bottom of the wick tab. Then, place it firmly at the center of your mold or jar. Ensure the wick stands straight for an even burn.
Once the beeswax is melted, carefully pour it into the prepared mold or jar, avoiding spills. Keep the wick centered and upright as the wax begins to set.
Allow the beeswax to cool and solidify completely. This may take several hours. Once set, trim the wick to about half an inch above the wax surface for optimal burning.
To ensure your beeswax candles burn smoothly:
Trim the Wick: Keep the wick trimmed to about 1/4 inch before each burn.
Initial Burn: Allow the candle to burn long enough so the wax pool reaches the edge of the container to prevent tunneling.
Avoid Drafts: Place your candle in an area free from drafts to avoid uneven burning and dripping.
Storage: Store your candles in a cool, dark place to preserve the fragrance and color.
Conclusion
In conclusion, learning how to make beeswax candles at home is a rewarding and eco-friendly way to enjoy handcrafted candles. With a few simple steps, you can make beautiful, natural candles that burn longer and cleaner than traditional options. By using beeswax, you also reduce toxins in your environment, making it a healthier choice for your home. Enjoy the process of crafting your own candles and the warm, cozy atmosphere they bring!


