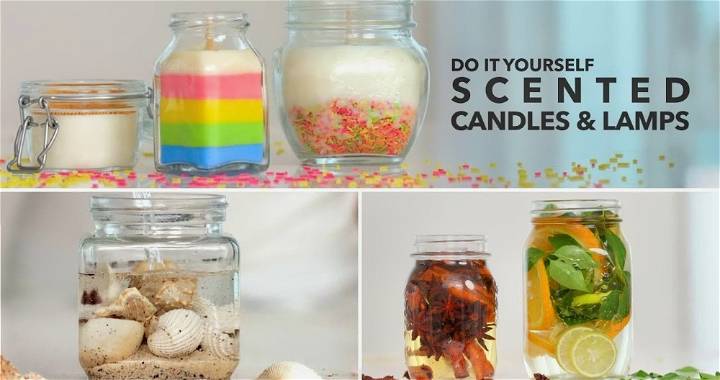
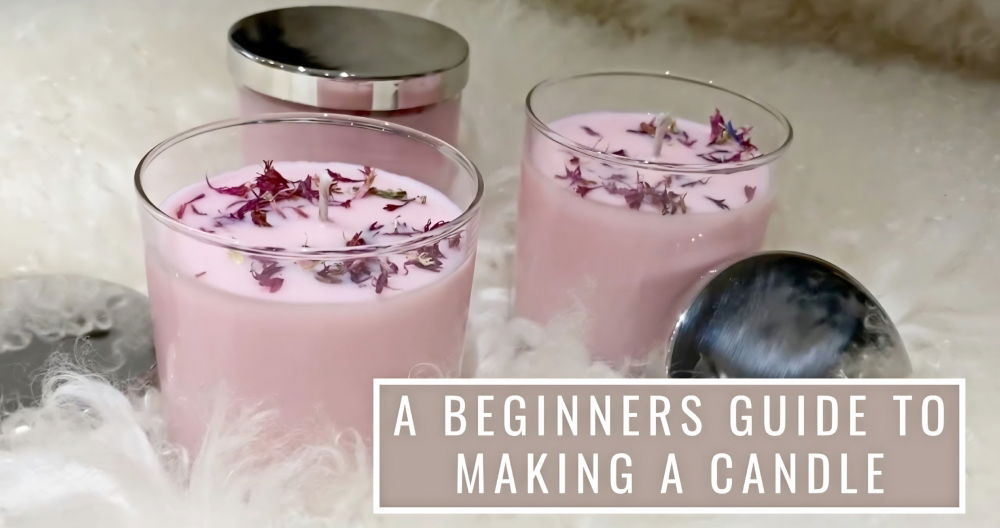
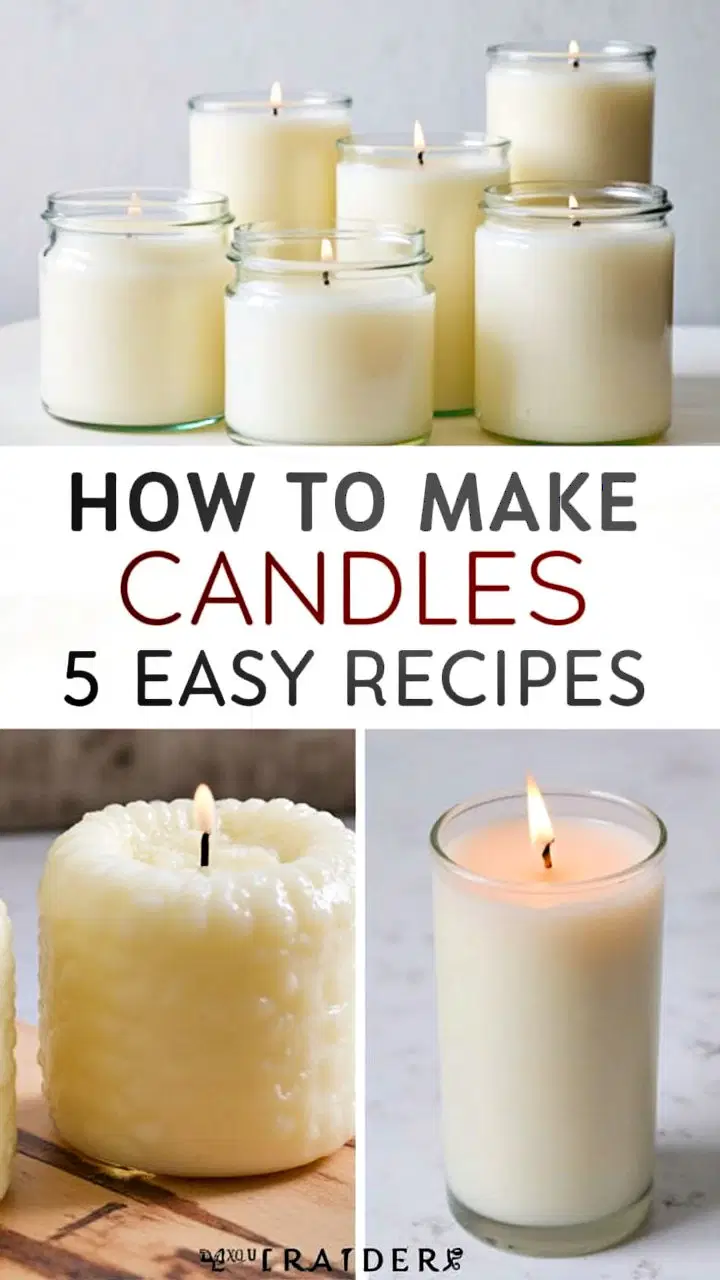
Making candles at home is not only a fun and rewarding DIY project but also a great way to add a personal touch to your home or make thoughtful gifts. I'll walk you through five easy recipes to make homemade candles using various ingredients and techniques, each bringing its own unique twist to candle-making. These recipes cater to different preferences, from all-natural beeswax to aromatic essential oils. Let's dive in and explore how you can make your own beautiful candles at home!
Understanding the Basics of Candle Making
Before we jump into the recipes, it's essential to understand the basic elements of candle-making. At its core, candle-making involves three key components: wax, wicks, and fragrance. Here's a quick rundown:
- Wax: Different types of wax can be used, such as soy wax, beeswax, and paraffin wax. Soy and beeswax are preferred for their natural properties and cleaner burn.
- Wicks: Wicks come in various materials, including cotton, hemp, and wood. The thickness and type of wick affect how well your candle burns.
- Fragrance: Adding fragrance is optional, but many prefer using essential oils or fragrance oils to give candles a pleasant aroma.
Choosing Your Wax
Choosing the right wax for your candles is crucial. Here are some popular options:
- Soy Wax: A natural option that burns slowly and evenly, making it ideal for container candles. It is also budget-friendly and holds fragrance well.
- Beeswax: Known for its natural, subtle honey scent and clean burn. Beeswax is a great option for those who prefer all-natural candles.
- Paraffin Wax: The most common and inexpensive option but can release toxins when burned. Not recommended for those seeking a healthier alternative.
Essential Tools and Materials
For each candle-making recipe, you'll need a few essential tools:
- Melting pot and double boiler setup
- Candle wicks
- Containers (like mason jars or tin cans)
- A thermometer to monitor wax temperature
- Stirring stick (wooden or metal)
- Essential oils (optional for fragrance)
Now, let's get into the step-by-step guides for making five different types of candles at home.
Recipe 1: Simple Soy Candles
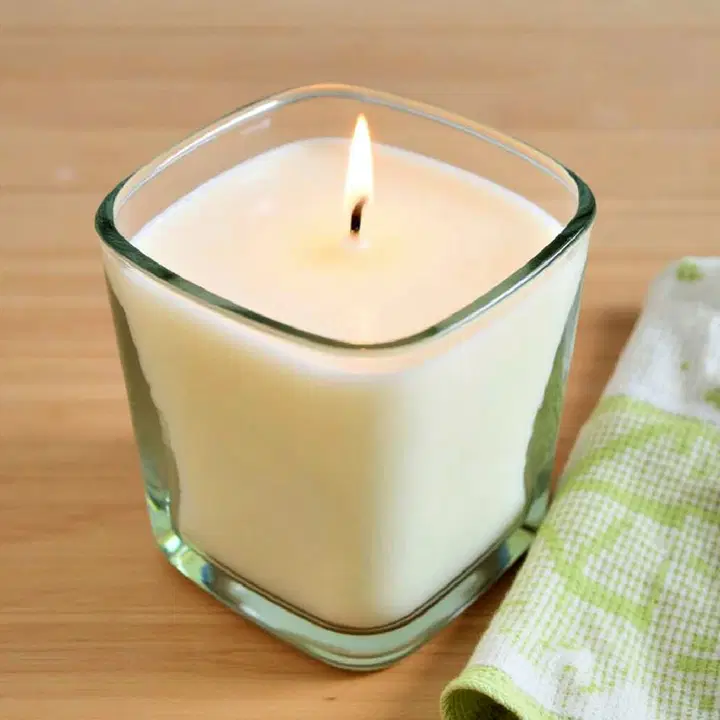
Soy candles are an excellent choice for beginners due to their simplicity and clean-burning properties. This recipe uses soy wax flakes, which are easy to work with and readily available.
Ingredients and Tools:
- 9 cups of soy wax flakes
- 6 cotton wicks
- Essential oils (50 drops per 8-ounce jar)
- 6, 8-ounce amber jars with lids
- Medium-sized pot, glass mason jar, and canning ring for the double boiler
- Clothespins to hold the wicks in place
Instructions:
- Set Up a Double Boiler: Place two inches of water in a medium-sized pot. Place a canning jar ring in the center and set a glass mason jar on top.
- Melt the Wax: Add 1.5 cups of soy wax flakes to the mason jar. Bring the water to a boil, then reduce to medium-low heat until the wax melts.
- Add Fragrance: Remove from heat and add 50 drops of your chosen essential oil to the melted wax. Stir with a popsicle stick.
- Prepare the Containers: Glue the wick to the bottom of each jar and thread it through a clothespin to keep it centered.
- Pour the Wax: Carefully pour the melted wax into the prepared jars, leaving about an inch of space at the top. Adjust the wick if needed.
- Cool and Trim the Wicks: Let the candles cool and harden for 1-2 hours. Trim the wick to about 1/2 inch before burning.
This recipe makes six 8-ounce candles that cost about $3.50 each if you reuse the jars.
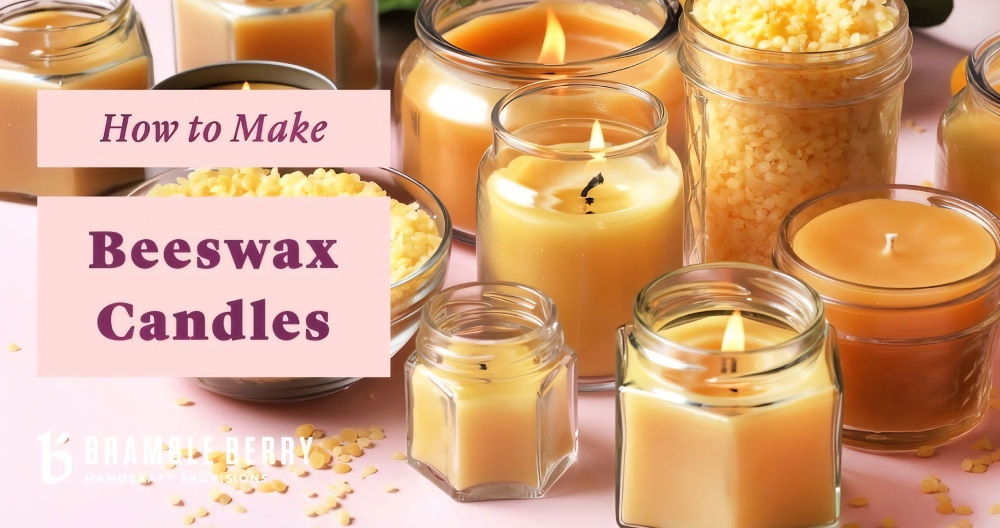
Recipe 2: Beeswax Candles with Essential Oils
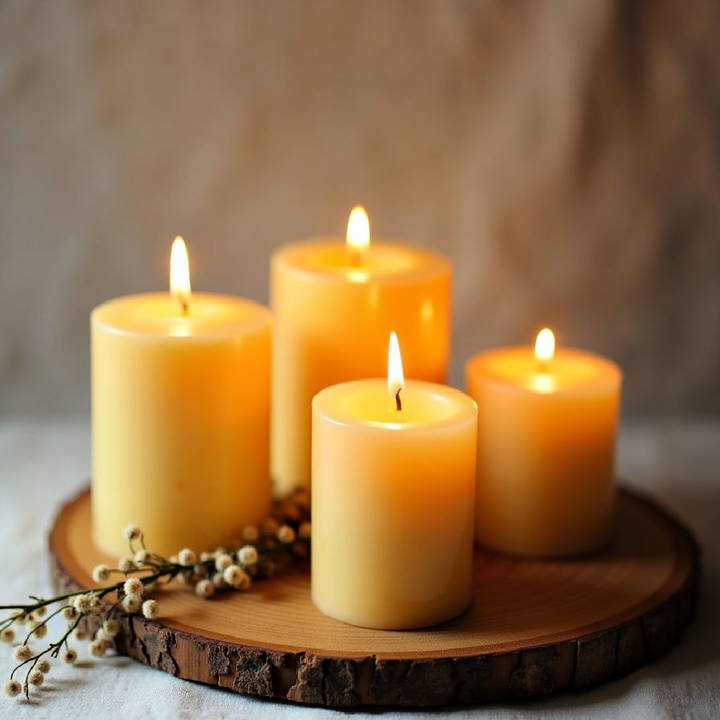
Beeswax candles offer a natural, sweet scent and burn cleanly, making them a popular choice for eco-conscious individuals. This recipe adds essential oils for extra fragrance.
Ingredients and Tools:
- 1 pound of beeswax pellets
- 6 cotton or hemp wicks
- 1 tablespoon of essential oils (such as lavender or rosemary)
- 6, 4-ounce glass jars
- Double boiler setup and dedicated candle-making pitcher
- Skewers or pencils for holding the wicks in place
Instructions:
- Melt the Beeswax: Set up a double boiler and melt the beeswax pellets in a candle-making pitcher over medium heat until fully melted (about 10-15 minutes).
- Add Essential Oils: Stir in 1 tablespoon of essential oils with a wooden skewer.
- Anchor the Wicks: Thread each wick through a sustainer tab, place it in the jar, and hold it in place with a pencil or clothespin.
- Pour the Wax: Carefully pour the melted wax into the jars, leaving some space at the top.
- Cool and Refill (If Needed): Let the candles cool. If the wax sinks around the wick, reheat the remaining wax and fill the gaps. Trim the wick to the desired length before using.
These candles make lovely gifts and can be customized with different essential oils.
Recipe 3: Essential Oil Aromatherapy Candles
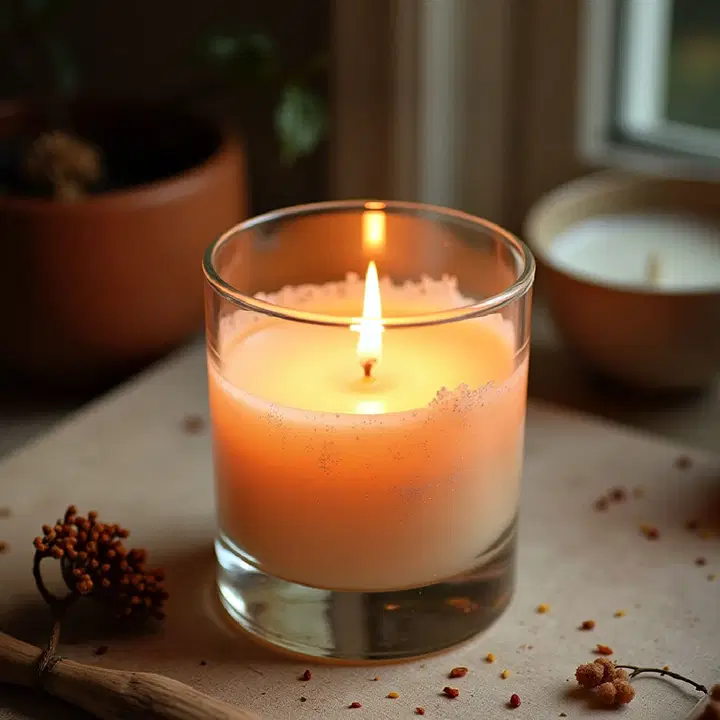
These candles are perfect for relaxation, using essential oils to make a calming atmosphere. Aromatherapy candles are great for gifts or personal use, especially when made with natural waxes.
Ingredients and Tools:
- 6 cups of soy wax flakes
- Natural hemp wicks
- 80-120 drops of essential oils (lavender, eucalyptus, or grapefruit)
- 8-ounce mason jars or other glass containers
- Chopsticks or pencils for securing wicks
Instructions:
- Melt the Wax: Melt the soy wax flakes in a pot over low-medium heat until fully melted. A double boiler is optional to prevent wax from sticking to the pot.
- Add Essential Oils: Once melted, add the essential oils directly into the pot. Stir well to ensure an even distribution.
- Anchor and Pour: Anchor the wicks to the bottom of the mason jars using a bit of wax. Tape the wick upright to a chopstick, then pour the wax into the jars.
- Cool and Trim: Let the candles set for about an hour. Trim the wick to the desired length before burning.
These candles have a strong scent throw, perfect for making a relaxing environment at home.
Recipe 4: Molded Candles
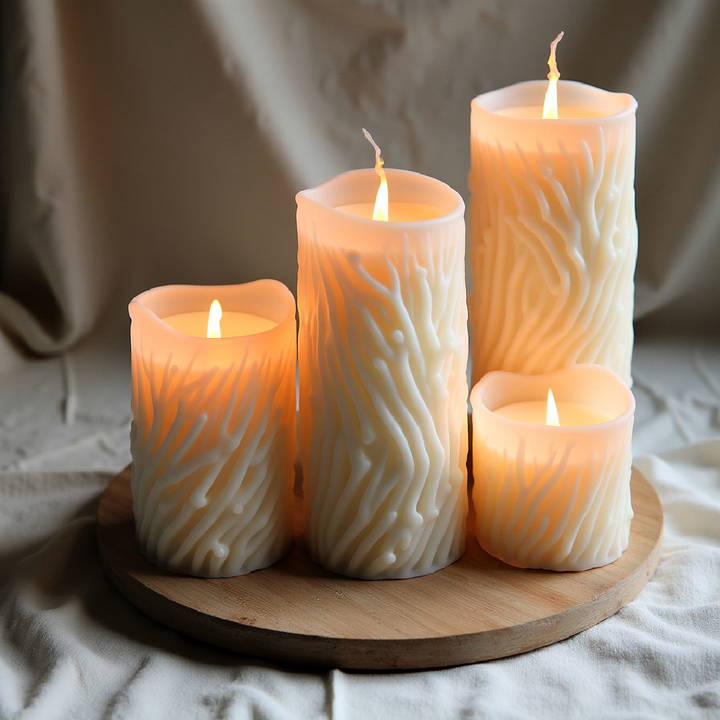
Molded candles offer a unique shape and aesthetic that can be used for decoration or special occasions. This recipe is slightly different because it doesn't require containers.
Ingredients and Tools:
- 1 pound of beeswax or paraffin wax
- ECO wicks or wooden wicks
- Candle molds (such as bubble molds or geometric molds)
- Kitchen thermometer
- Melting pot and double boiler setup
Instructions:
- Prepare the Mold: Clean and prepare your mold by lightly coating it with a mold release spray.
- Melt the Wax: Melt the wax in a double boiler, heating it to around 185°F. Use a thermometer to check the temperature.
- Add Fragrance (Optional): If desired, add fragrance oils and mix well.
- Pour the Wax: Slowly pour the melted wax into the mold. Ensure the wick is centered.
- Set and Unmold: Let the wax cool completely before removing it from the mold. Trim the wick to 1/4 inch.
These candles can be made in various shapes and sizes, making them a great decorative element.
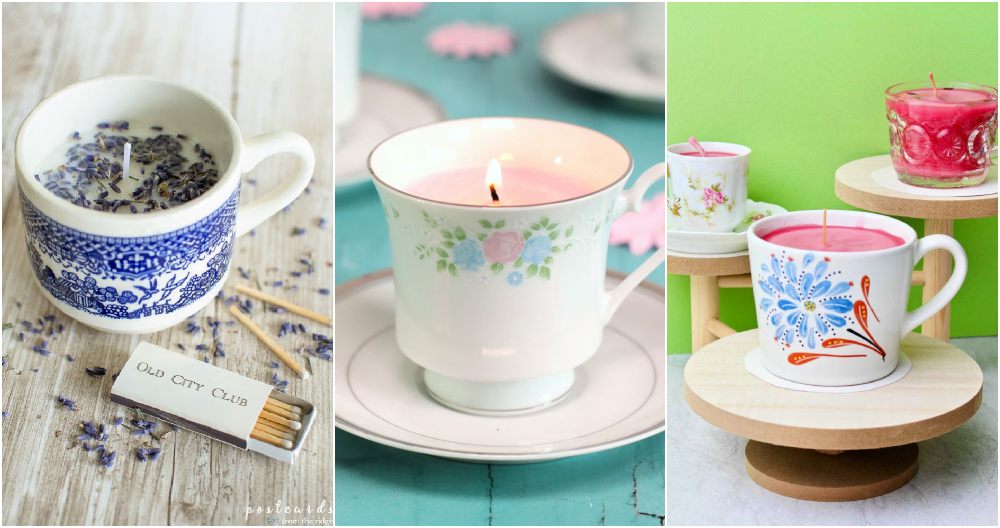
Recipe 5: Upcycled Jar Candles
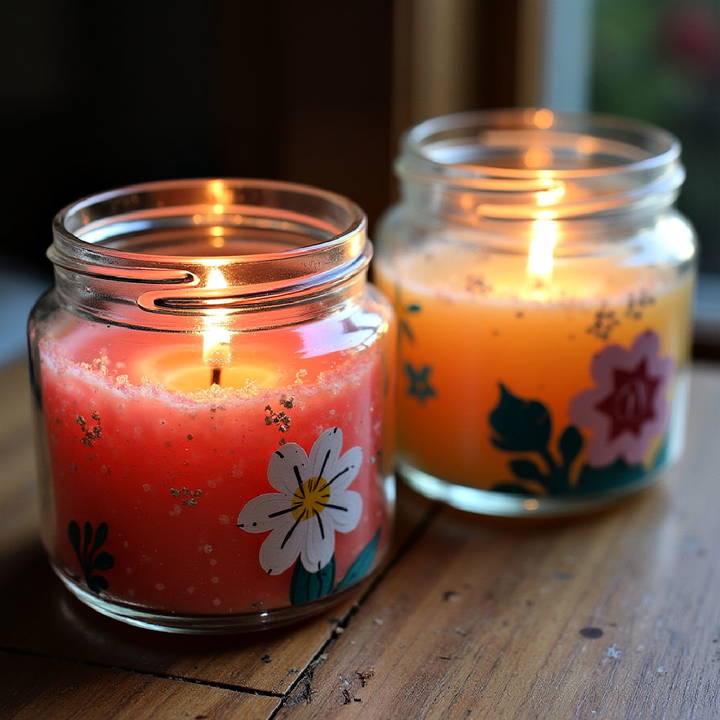
This recipe focuses on sustainability by using upcycled jars or containers, giving old glassware a new life as a candle.
Ingredients and Tools:
- 1 pound of soy or beeswax
- Wicks and wick stickers
- Upcycled jars (pickle jars, jelly jars, etc.)
- Essential oils (optional for fragrance)
- Melting pot and stirring stick
Instructions:
- Prepare the Jars: Clean and dry the upcycled jars thoroughly.
- Melt the Wax: Use a double boiler to melt the wax completely.
- Add Fragrance: Stir in essential oils if desired.
- Fix the Wick: Attach the wick to the bottom of each jar with wick stickers or hot glue.
- Pour and Cool: Pour the melted wax into the jars. Let them cool and harden for a few hours. Trim the wicks before lighting.
This eco-friendly recipe is perfect for those who want to make candles while minimizing waste.
Conclusion
Making candles at home can be a fulfilling and creative process that allows for endless customization. Whether you prefer the natural scent of beeswax, the vibrant aroma of essential oils, or the fun of molded shapes, there's a recipe here to suit your style. Plus, these homemade candles make fantastic gifts and are a great way to repurpose old jars or containers. So gather your materials, choose your favorite recipe, and start making your own beautiful candles at home today!
FAQs About Candle Making
Discover answers to common questions about candle making, from materials and techniques to safety tips and troubleshooting.
Cracked candle surfaces are often caused by cooling too quickly. To prevent this, let the candles cool at room temperature, away from drafts or sudden temperature changes. If cracks appear, reheat and pour a small amount of additional wax over the top to fill in the gaps and create a smooth surface.
Yes, you can add color to candles using natural dyes, such as herbs (like turmeric for yellow or spirulina for green) or food-grade colorants. Add them to the melted wax and stir well. Avoid using crayons, as they can clog the wick and affect burning quality.
Uneven burning, or "tunneling," occurs when the wick is too small or the first burn was too short. Allow the candle to burn long enough to melt the wax across the entire surface each time. If tunneling has started, wrap aluminum foil around the top to help melt the wax evenly.
To clean containers, place them in an oven at 200°F on a parchment-lined baking sheet until the wax melts. Carefully wipe away the wax with a paper towel. Avoid pouring wax down the drain as it can cause blockages.
A strong scent throw depends on the wax type, fragrance load, and curing time. Use 1 ounce of fragrance oil per pound of wax and let candles cure for at least 48 hours. Soy and paraffin waxes generally hold scents better than beeswax.
No, only use heat-resistant containers like mason jars, metal tins, or glass. Avoid plastic or easily breakable materials. Ensure containers are sturdy and have a flat bottom to secure the wick properly and prevent tipping or cracking.
Wooden wicks make a crackling sound and provide a unique aesthetic. They are often thicker and require proper trimming to ensure an even burn. They may need a longer time to ignite but offer a longer burn time and different visual appeal.
Black smoke indicates the wick is too long or the candle is in a drafty area. Trim the wick to about 1/4 inch before each use and keep candles away from vents or open windows to prevent soot and smoke buildup.
Always use a double boiler to melt wax to prevent direct heat contact. Keep a thermometer handy to avoid overheating, and work in a well-ventilated area. Ensure flammable materials are kept away from the workspace, and never leave melting wax unattended.


