Car fresheners, often called "car freshies," are a fantastic way to keep your vehicle smelling great while adding a personalized touch to its décor. These fresheners can be customized to suit your preferences, whether you enjoy floral, fruity, or musky scents. In this complete guide, I'll walk you through how to make car freshies from scratch, including the tools and materials you'll need, step-by-step instructions, and tips to ensure your freshies turn out perfect every time.
What Are Car Freshies?
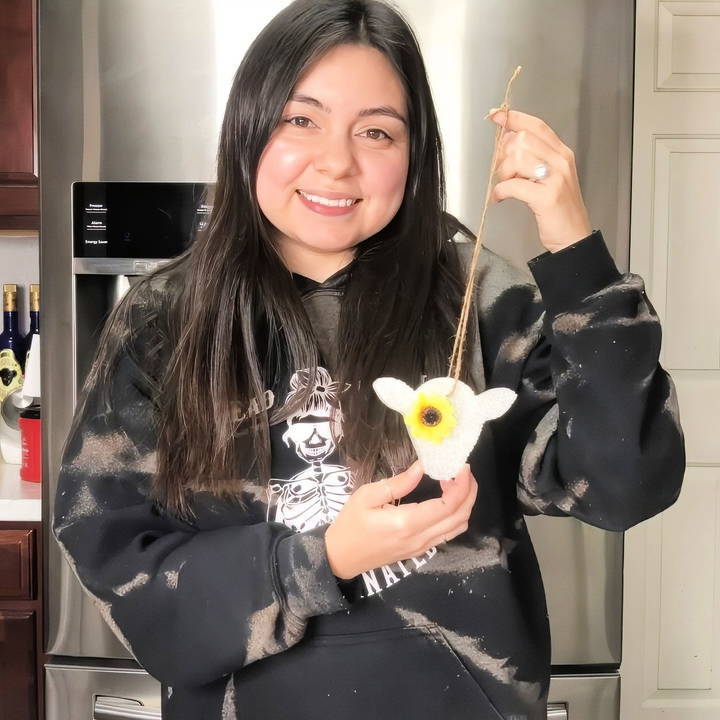
Car freshies are essentially scented decorations that hang in your car, adding a pleasing aroma while doubling as a cute accessory. They are typically made from aroma beads, which are small plastic beads that absorb fragrance oils. Once scented, these beads are baked into various shapes using cookie cutters, and voila, you have a car freshie!
Making car freshies at home is not only fun but can also save you money in the long run. Plus, they make perfect gifts for family and friends. Let's dive into the step-by-step process to help you make your own!
Materials Needed for DIY Car Freshies
Before starting, it's essential to gather all the necessary supplies. Here is a comprehensive list of everything you will need:
- Aroma Beads: These are small, plastic beads designed to absorb fragrance oil. You can find these in craft stores or online.
- Fragrance Oil: Choose your preferred scent; the type and strength of the fragrance are entirely up to you.
- Mica Powder or Candle Dye: To add color to your freshies, you can use mica powder or candle dye. Mica powder provides a nice shimmer, while candle dye offers solid color.
- Mason Jar: This will be used for mixing the beads with fragrance oil.
- Cookie Cutter: You can choose any shape you like. Popular options include hearts, stars, or themed shapes like cacti or cars.
- Twine or String: This is for hanging your freshie in your car.
- Nail: To make a hole in the freshie for the string.
- Digital Scale: To weigh out the aroma beads and fragrance oil accurately.
- Baking Sheet or Non-Stick Pan: A baking sheet or pan is necessary for baking the freshies.
- Scent-Proof Bags: These help preserve the fragrance in your freshie until you're ready to use it.
Optional:
- Hot Glue Gun and Decorations: You can decorate your freshies with embellishments like flowers, jewels, or other small trinkets to give them a personalized touch.
Step by Step Instructions
Learn how to make DIY car freshies with step-by-step instructions, from preparing aroma beads to storing them, for a long-lasting fresh scent.
Step 1: Preparing the Aroma Beads
The first and most crucial step is preparing your aroma beads.
- Weighing Your Materials: Start by turning on your digital scale and placing the mason jar on it. Make sure to zero out the weight of the jar before adding the beads and oil. The ideal ratio is 4 ounces of beads for every 1 ounce of fragrance oil. For a standard batch, you can use 12 ounces of aroma beads and 3 ounces of fragrance oil.
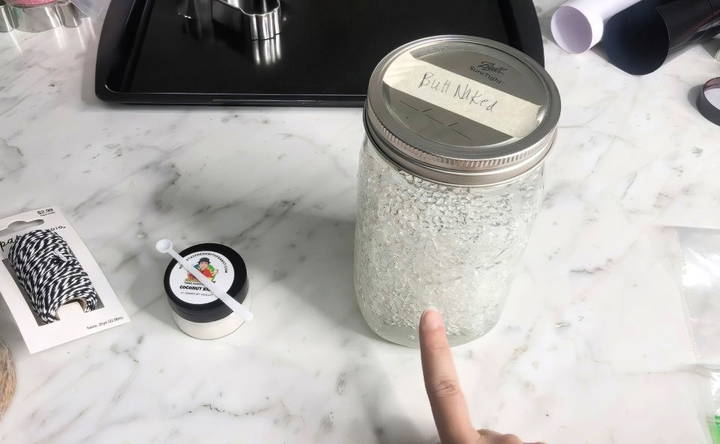
- Mixing the Beads and Oil: Once you've measured out your fragrance oil and beads, pour the oil into the jar with the beads. Place the lid on the mason jar and shake it thoroughly. You want to make sure that the fragrance oil is evenly distributed across all the beads. The mixture will look wet at first, but that's completely normal.
- Let the Beads Absorb the Oil: The beads need to absorb the oil completely before you can move on to the next step. This can take anywhere from 1 to 5 days, depending on the type of fragrance oil you use. Every few hours, give the jar a good shake to ensure the oil is evenly absorbed by the beads. The beads are ready when they feel dry to the touch and no longer stick to the sides of the jar.
Step 2: Coloring the Beads
Once your beads have absorbed the fragrance oil and are fully dry, it's time to color them.
- Choosing Your Color: Whether you choose mica powder or candle dye, keep in mind that a little goes a long way. Start with a small amount, about a pinch of mica powder or a few drops of candle dye, and add it to the mason jar.
- Shaking the Beads: Place the lid back on the jar and shake it again until the beads are uniformly colored. If needed, you can add a little more color, but be careful not to overdo it, as too much colorant can affect the texture of the freshie.
Step 3: Baking the Freshies
Now that your beads are scented and colored, it's time to mold and bake your freshies.
- Preheat Your Oven: Set your oven to 350°F (175°C) and let it preheat while you prepare the beads.
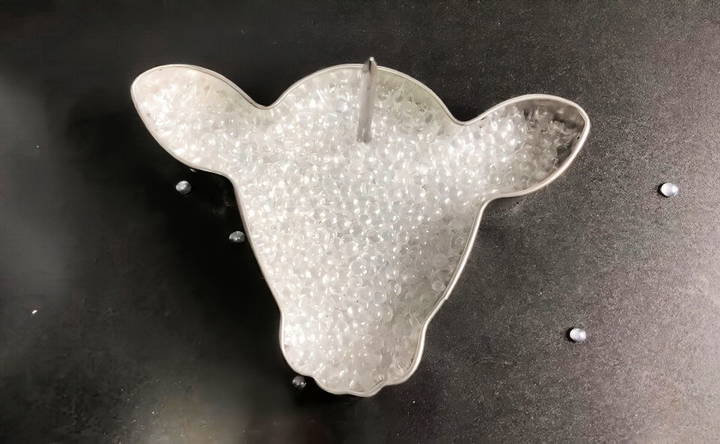
- Filling the Cookie Cutter: Place your chosen cookie cutter on a non-stick baking sheet or pan. Fill the cookie cutter with your colored and scented beads. You can use your fingers or a small tool to spread the beads evenly throughout the cutter, ensuring an even thickness. Be careful not to overfill the cutter; a thick freshie might not bake properly.
- Inserting a Hole for the String: Use a nail to make a small hole where the string will go once your freshie is baked. Place the nail in the spot where you want the hole, usually near the top of the freshie.
- Bake the Freshie: Place the tray in the oven and let the freshie bake for 8-10 minutes. Keep an eye on it to ensure it doesn't overcook. Once the beads have melted together and the freshie holds its shape, remove it from the oven.
- Let It Cool: Let the freshie cool for 5-10 minutes before removing it from the cookie cutter. While it's still slightly warm, carefully push the freshie out of the cookie cutter. You can use the nail to gently poke out the hole.
Step 4: Decorating and Final Touches
Now that your freshie is baked and cooled, you can add some final touches to personalize it.
- Trimming the Edges: If you notice any rough edges, you can use scissors to trim them for a smoother finish. This step is optional but can give your freshie a cleaner look.
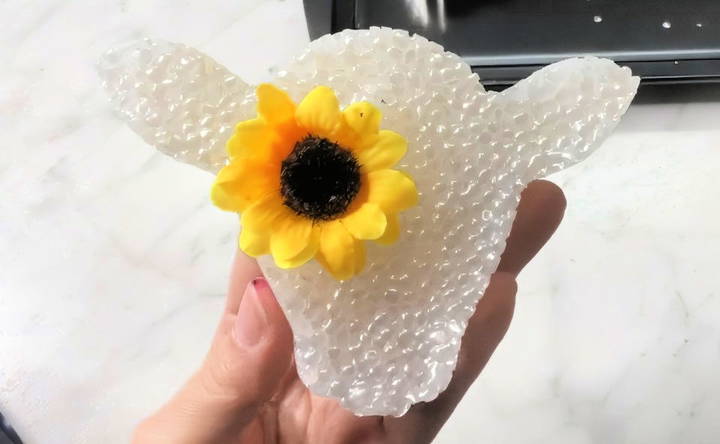
- Adding Decorations: If you want to get creative, you can glue on small decorations using a hot glue gun. For example, you can add small plastic flowers, gems, or other embellishments to give your freshie a unique look.
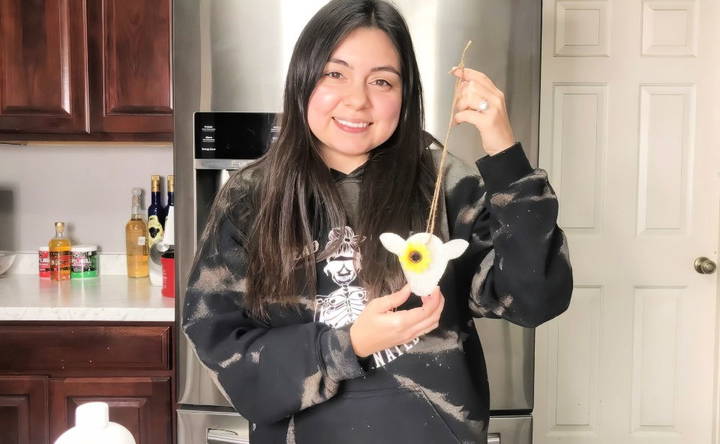
- Attaching the String: Thread a piece of twine or string through the hole you maked earlier. You can make the string as long or short as you like, depending on how you want to hang the freshie in your car.
Step 5: Storing and Preserving the Freshies
Once your freshie is complete, it's important to store it properly to preserve its fragrance.
- Scent-Proof Bags: Store your freshies in scent-proof bags to ensure the fragrance lasts until you're ready to use them. These bags prevent the scent from leaking out, allowing the freshie to stay potent for weeks or even months.
Tips for Success
- Use a Digital Scale: Always use a scale to measure your beads and oil. Using too much oil can prevent the beads from drying properly, leading to a sticky mess.
- Shake Regularly: Be sure to shake the jar regularly while the beads are absorbing the oil to ensure even distribution.
- Watch Your Freshies While Baking: Each oven is different, so make sure to keep an eye on your freshies while they're in the oven to prevent over-baking or burning.
- Experiment with Shapes and Scents: Don't be afraid to experiment with different cookie cutter shapes and fragrance combinations to make freshies that reflect your personality or suit the recipient of a gift.
Conclusion
Making your own car freshies is a simple yet creative way to keep your car smelling great. By following the steps above, you'll be able to make customized freshies that are both functional and fun. Not only are they easy to make, but they also make fantastic gifts or even a small business venture. Enjoy the process of making unique designs and scents, and don't hesitate to get creative with decorations and colors!
FAQs About DIY Car Freshies
Get answers to all your questions about DIY car freshies. Learn how to make, use, and customize your own air fresheners for your car.
Typically, the scent from a car freshie will last 4-6 weeks if made properly. Storing them in scent-proof bags can help preserve the fragrance until they are ready to be used.
Yes, you can use silicone molds to make car freshies, but be aware that they might require a longer baking time compared to metal cookie cutters.
If your beads are still wet after several days, you might have used too much fragrance oil. Try splitting the beads into another jar and adding more dry beads to balance the mixture.
No, making car freshies doesn’t leave a lingering scent in the oven. There is no need to buy a separate oven for freshie making.
While most fragrance oils work, it’s best to use high-quality, oil-based scents made for candles or aroma beads to ensure better absorption and longevity.
If your freshies are crumbling, it could be due to using too much mica powder or not baking them long enough. Ensuring the beads are fully dried before baking can also prevent this.
You can add glitter to your freshies, but it should be done carefully to avoid affecting how the beads bake. Overloading with glitter may cause them to fall apart.
Using non-stick cookie cutters or applying parchment paper can help prevent sticking. Removing the freshie while it's still warm can also make the process easier.
No, once the beads are baked, they can no longer absorb additional fragrance oil. Be sure to get the fragrance right during the initial mixing stage.
Freshies are designed to withstand heat, but adding decorations with a hot glue gun may cause the glue to melt in extreme temperatures. Consider using a stronger adhesive like E6000 for added durability.


