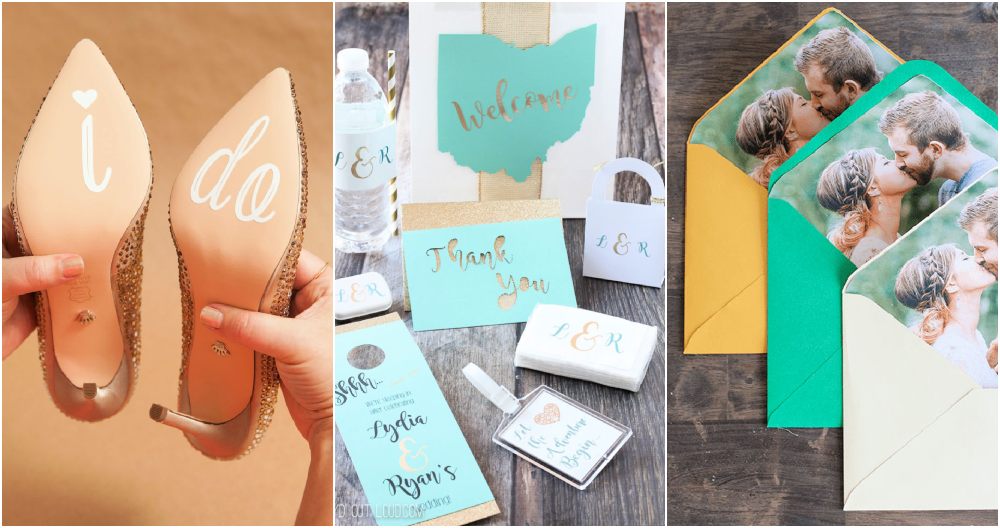
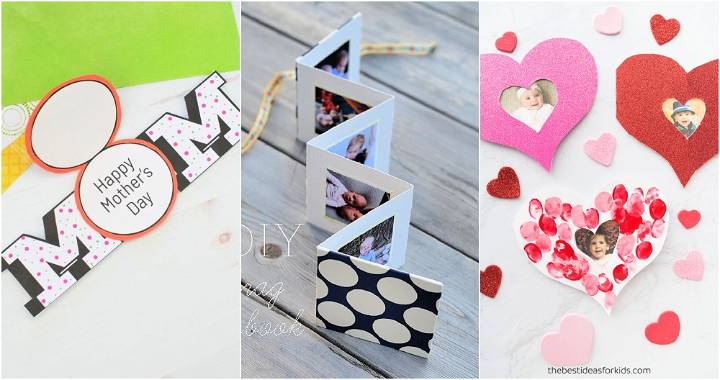
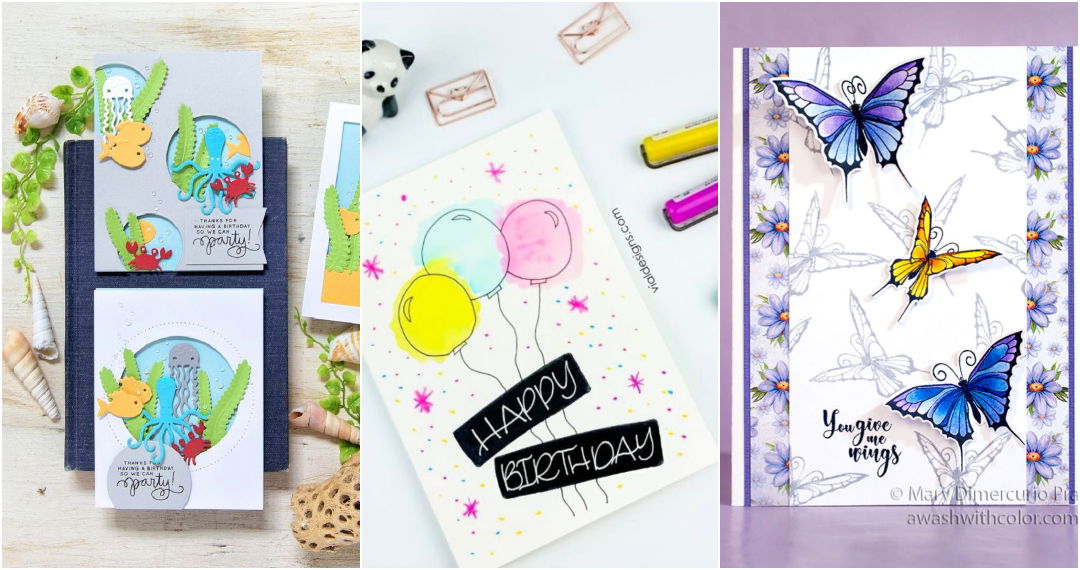
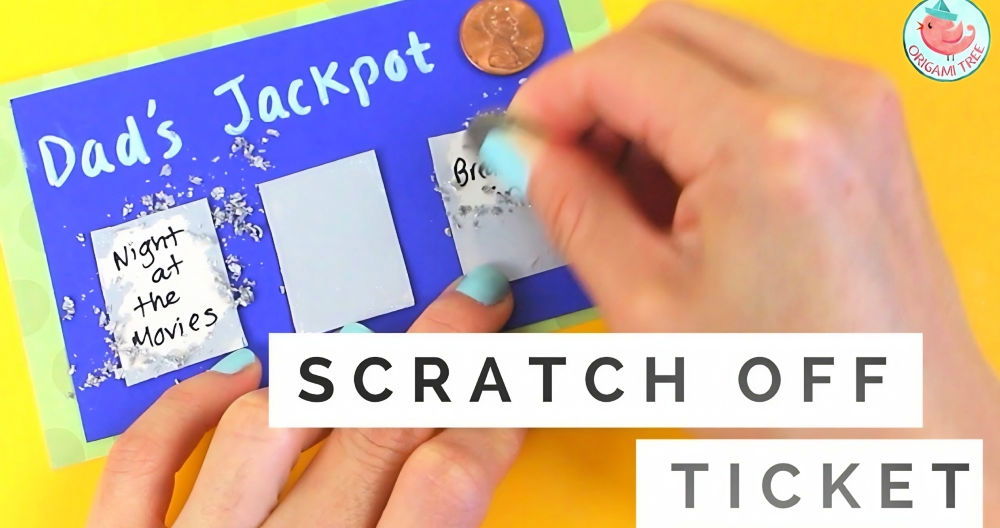
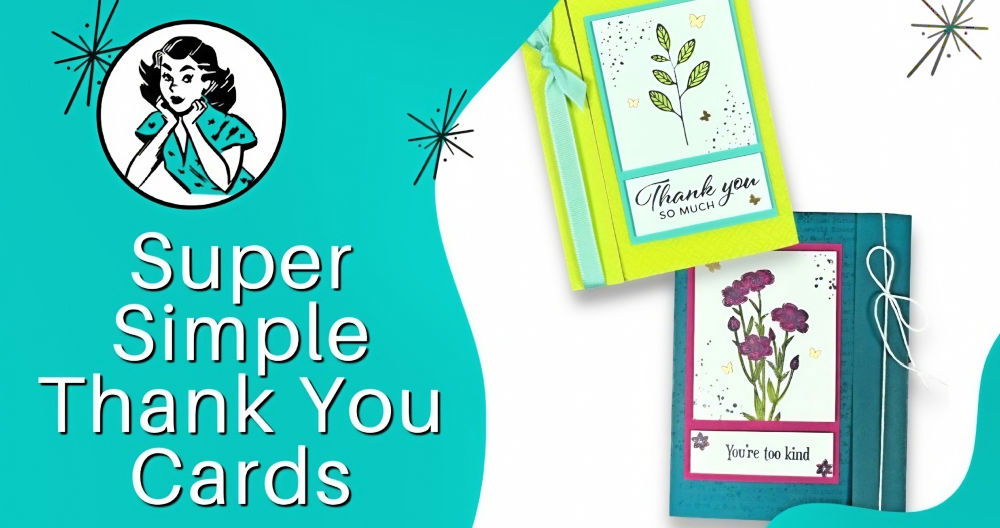
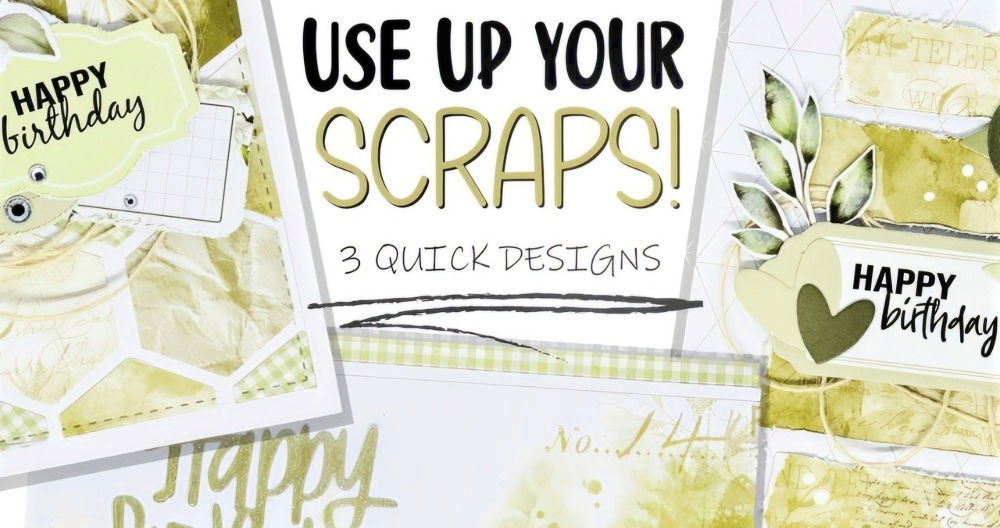
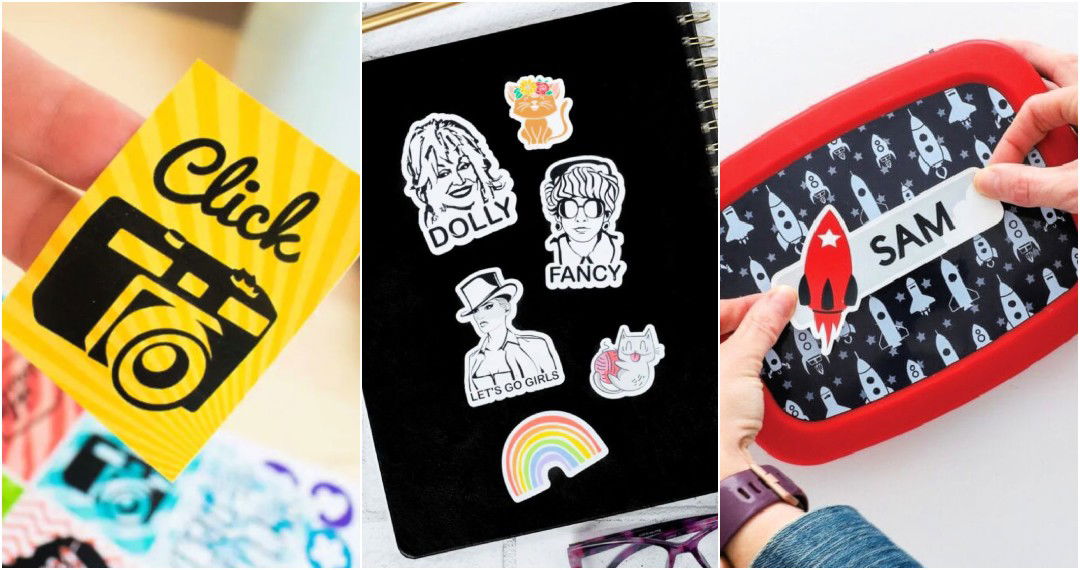
Making handmade cards with a Cricut machine can be a fun and rewarding activity. Whether you're making a custom birthday card or a heartfelt thank-you note, the Cricut is a versatile tool that allows you to make intricate designs effortlessly. This guide, with a step-by-step process of making a card with your Cricut machine, focusing on both design techniques and practical advice. This guide is perfect for beginners, even if you've just unboxed your Cricut machine.
Why Make Cards with Cricut?
Before diving into the "how," let's talk about the "why." Card making with a Cricut offers several benefits:
- Customization: You can design cards tailored to any occasion.
- Ease of Use: Cricut machines are user-friendly, making them ideal for beginners.
- Professional Quality: The precision of a Cricut machine ensures a professional look, even if you're just starting out.
With a few materials and some basic understanding of Cricut's software, you'll be making beautiful cards in no time.
Step by Step Instructions
Learn how to make stunning cards with Cricut step-by-step, from setting up Design Space to mastering advanced techniques for beautiful creations.
Getting Started: Supplies You'll Need
To make your first Cricut card, you'll need the following supplies:
- Cardstock: Choose a few colors and patterns. A heavier cardstock (like 110 lb) works best for the card base. You'll also need accent pieces.
- Cricut Machine: This guide applies to most models, like the Cricut Maker or Cricut Explore Air.
- Cricut Design Space: The free software where you'll make your card design.
- Cricut Pen: For writing or drawing on the card. A 0.4 tip black pen is a great versatile choice.
- Scoring Tool or Scoring Stylus: Helps make neat and precise folds on your cards.
- LightGrip Cutting Mat: The blue mat designed for paper crafting, ensuring the material stays in place without damage.
- Adhesive: A dry adhesive like an advanced tape glider (ATG) gun is highly recommended for quick assembly.
These materials form the foundation of your card-making journey and ensure you have everything you need for a smooth project.
Setting Up in Cricut Design Space
Once you have your supplies ready, it's time to move to Cricut Design Space, where you'll make your card layout. The good news is that even if you're new to the software, Cricut Design Space is intuitive and packed with features that make card design easy.
Step 1: Make the Card Base
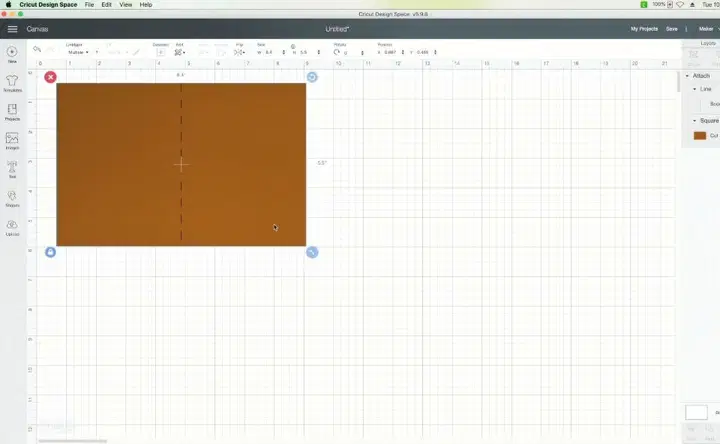
- Start with a Square: In the left-hand menu of Design Space, click "Shapes" and select a square. This will act as the base of your card.
- Unlock the Proportions: In the bottom left corner of the square, you'll see a lock icon. Click it to unlock the proportions, allowing you to change the width and height independently.
- Size Your Card: Adjust the size of the rectangle to match your desired card dimensions. For a typical folded card, enter 8.4 inches wide by 5.5 inches high. Once folded, this will give you a standard 4.2 x 5.5-inch card.
- Add a Score Line: To ensure your card folds neatly, add a score line. In the "Shapes" menu, select "Score Line" and adjust its height to match the height of your card (5.5 inches). Place it in the center of the card by selecting both the score line and card base, then choosing "Align" and "Center" from the toolbar.
- Attach the Score Line: Be sure to attach the score line to the card base by selecting both elements and clicking "Attach." This ensures the score line stays in place during cutting.
Step 2: Make the Card's Front Design
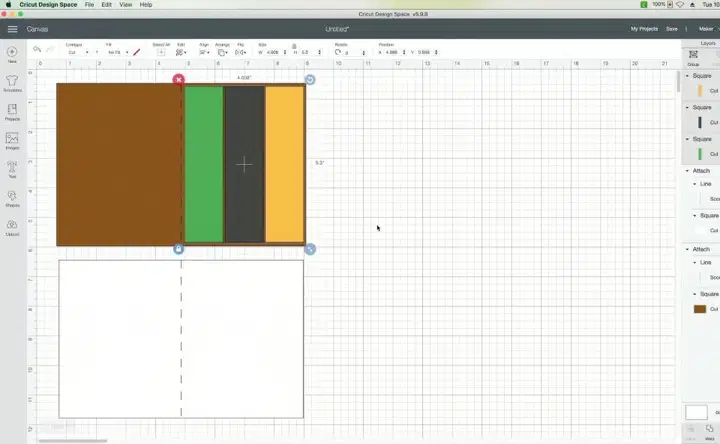
For the front design, you can customize it based on the occasion or your aesthetic preferences. Here's a simple approach:
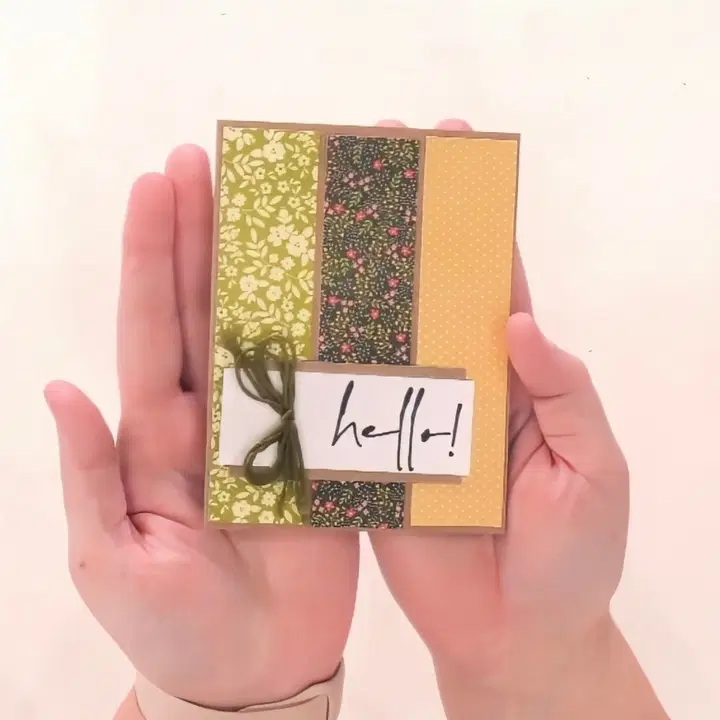
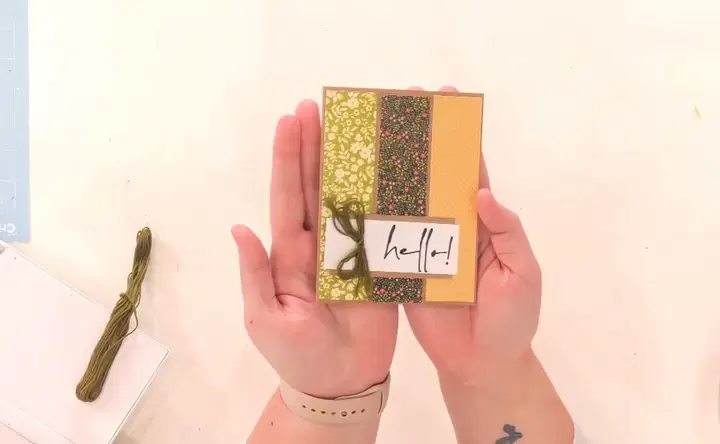
- Add Accent Rectangles: Go back to "Shapes" and add a few smaller rectangles. These will be used to decorate the front of the card. Size them to your preference and place them in a pleasing arrangement. For a balanced look, use three rectangles of different colors.
- Use Basic Shapes for More Designs: You can also add circles, stars, or other shapes to enhance the design. Just click on the “Shapes” button in the toolbar and experiment with different layouts.
- Changing Colors: You can change the colors of the shapes for visual purposes. This won't affect how the Cricut cuts them but helps you visualize how your final card will look. To do this, click on the shape and change its color using the "Fill" option.
Step 3: Add Text
Personalizing your card with text is where Cricut truly shines. You can either use pre-installed fonts or explore fonts available through the Cricut library. Here's how:
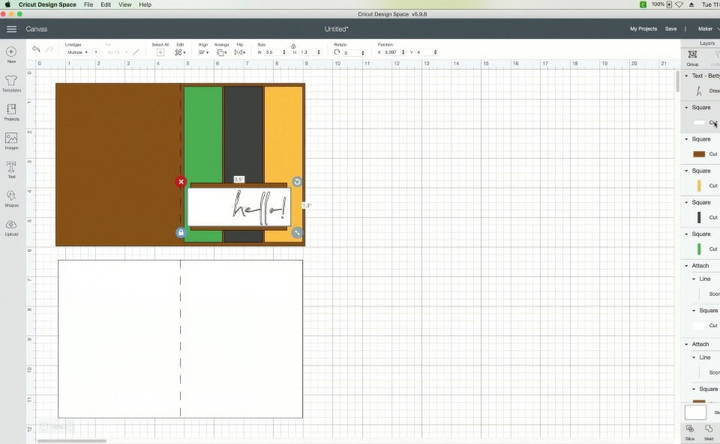
- Add a Text Box: On the left panel, click "Text" and type in your message, like "Hello" or "Happy Birthday."
- Choose a Font: Cricut offers a variety of fonts to choose from. If you have access to additional fonts, like those available through subscription services (e.g., Makers Gonna Learn), make sure to select one that fits the theme of your card.
- Adjust Font Size and Spacing: After selecting your font, use the font size and letter spacing tools in the top panel to adjust your text. Make sure it fits neatly onto your card.
- Convert Text to Draw: If you want your Cricut machine to draw the text with a pen instead of cutting it out, go to the "Line Type" menu at the top of the Design Space and select "Draw." This tells your machine to use the Cricut pen instead of the cutting blade.
Assembling Your Card
Now that your design is ready, it's time to cut and assemble your card.
Step 1: Cutting the Card Elements
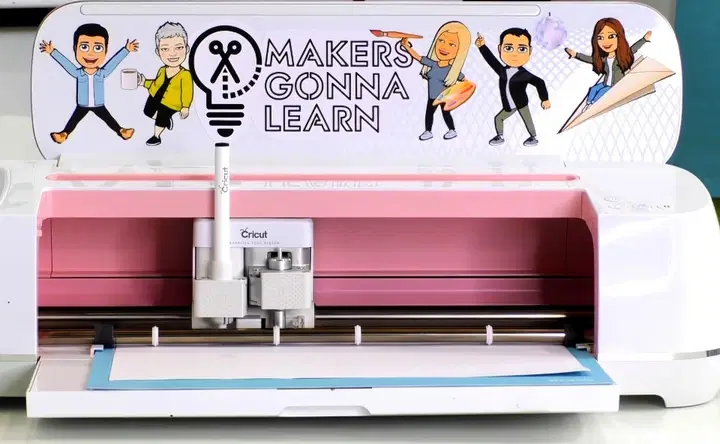
- Prepare Your Mat: Place your chosen cardstock on the LightGrip mat, ensuring it's aligned correctly. Make sure to press down gently so that it adheres but doesn't damage the paper when removed.
- Load the Mat: Load the mat into your Cricut machine by pressing the load button.
- Select Material: In Design Space, choose the appropriate material (in this case, heavy cardstock) from the material settings menu.
- Start Cutting: Press the “Go” button, and your Cricut machine will cut out the card pieces. It will also draw any text you've added using the pen.
Step 2: Scoring and Folding the Card Base
Once your card base is cut and the score line is added, remove it from the mat carefully to avoid bending the paper. Use a bone folder (or a credit card, in a pinch) to fold along the score line, making a crisp and professional fold.
Step 3: Attaching Layers
To assemble the card:
- Apply Adhesive: Use your ATG gun to apply dry adhesive to the back of your accent pieces. Dry adhesive is preferred for paper crafting because it sets instantly without any mess.
- Align the Pieces: Carefully place the accent pieces on the card, ensuring they're evenly spaced.
- Add the Liner: If you've added an internal liner (where you write your message), glue it down as well. Fold the card to make sure everything lines up.
Adding Final Touches
Now that your card is mostly assembled, there are a few more details to complete your creation.
Step 1: Adding a Bow or Other Embellishments
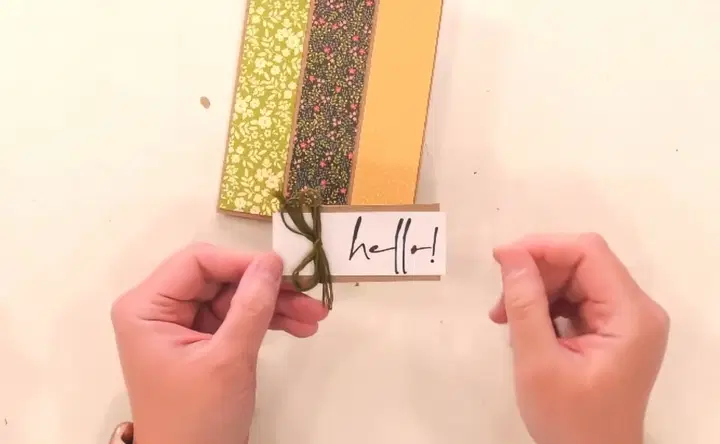
For added flair, you can tie a simple bow using embroidery floss or ribbon. Here's how:
- Cut the Floss: Take a piece of embroidery floss long enough to wrap around the card.
- Tie the Bow: Wrap it around the card and tie a neat bow. You can secure it with a little adhesive on the back to make sure it stays in place.
Step 2: Writing Your Message
If you opted for a blank liner, use a pen to write your personalized message inside the card. If you want a more finished look, consider having the Cricut write the message for you with a Cricut pen. You would need to set this up before cutting by adding text to the inside of your card in Design Space and attaching it to the card liner.
Advanced Techniques for Card Making with Cricut
Now that you've mastered the basic steps for making cards with your Cricut, it's time to dive deeper into advanced techniques that will make your cards stand out even more. In this section, we'll cover adding intricate designs, incorporating print and cut elements, using vinyl, and applying extra embellishments like foil. These techniques will elevate your handmade cards to a professional level.
Step 1: Adding Intricate Designs
Cricut allows you to add more complex and detailed designs to your cards using the various shapes, patterns, and even imported images. Here's how you can take your card-making to the next level:
- Use the Contour Tool: The Contour Tool in Design Space is perfect for modifying existing shapes or designs. You can use this feature to hide or reveal parts of an image to make custom cut-outs. For example, if you're using a flower shape, you can use the contour tool to remove or modify some petals for a unique look.
- Import Custom Designs: You can find thousands of designs online to import into Cricut Design Space. SVG (Scalable Vector Graphics) files are especially useful for this because they can be resized without losing quality. If you're making a themed card (such as a wedding or birthday card), you can search for SVGs that match the occasion.
- Layered Cut Designs: Make depth by layering different shapes or designs on top of each other. For example, you could cut out a background pattern from cardstock and layer a more intricate cut-out (like lace or filigree) over it. The contrast between the two layers will make your card look sophisticated and visually appealing.
- Use Fine Point Blades for Intricate Cuts: If your design includes delicate or detailed cuts, make sure to use the Cricut Fine Point Blade. This blade allows for precision cuts on intricate patterns, making it ideal for more complex designs like lace borders or mandala patterns.
Step 2: Incorporating Print Then Cut Elements
Cricut's Print Then Cut feature is an amazing tool that allows you to print custom images or text and then cut them out perfectly with your machine. This feature is great for adding more personalized touches to your cards, such as custom illustrations, photos, or multicolor designs.
- Design Your Image: In Cricut Design Space, make or import the image you want to print. This could be anything from a personal photo to a graphic that you've designed in another program.
- Select Print Then Cut: When your image is ready, select the "Print Then Cut" feature in the settings. Design Space will add a border around your image to help the Cricut machine cut it accurately.
- Print Your Design: Once you've set up the image, send it to your printer. Use high-quality cardstock or sticker paper for the best results.
- Cut It Out: Place the printed sheet on your cutting mat and load it into your Cricut. The machine will use sensors to detect the printed border and cut your design perfectly.
Print Then Cut allows you to add intricate, multicolored designs without the hassle of layering cardstock. It's also perfect for adding photographs or custom illustrations to your cards.
Step 3: Using Vinyl on Your Cards
Vinyl isn't just for home decor projects—it's also a fantastic material to use in card making! You can make beautiful text, intricate designs, and even patterned shapes using vinyl. Here's how to incorporate vinyl into your card-making process:
- Choose the Right Vinyl: Permanent vinyl works well for designs that won't need to be removed, while removable vinyl is great if you're adding temporary elements to the card. Glitter or patterned vinyl can add an eye-catching effect.
- Design and Cut the Vinyl: In Design Space, make or import your design and size it according to your card layout. Once ready, select the vinyl setting from the materials list and let your Cricut cut the design.
- Weed the Vinyl: After cutting, use a weeding tool to remove the excess vinyl from around your design. Be careful to leave the part of the design you want to transfer intact.
- Transfer the Design: Use transfer tape to lift the vinyl design off its backing and place it onto your card. Smooth it out gently, then carefully peel back the transfer tape, leaving the vinyl design perfectly placed on your card.
Vinyl adds a sleek, professional touch to cards and can be used for intricate shapes, elegant typography, or even as a decorative border.
Embellishing Your Cards with Foil, Glitter, and Embossing
To add an extra wow factor to your cards, consider using embellishments like foil, glitter, or embossing. These techniques give your cards a luxurious, polished finish and make them stand out from typical store-bought cards.
Step 1: Adding Foil with the Cricut Foil Transfer Kit
The Cricut Foil Transfer Kit is a fun way to add metallic accents to your cards without needing any heat or mess. Here's how to use it:
- Attach the Foil Tip: First, attach the Cricut foil transfer tip into Clamp B of your Cricut machine. The foil kit comes with fine, medium, and bold tips, so choose the one that best suits your design.
- Secure the Foil: Place the foil transfer sheet (shiny side up) over the area of cardstock where you want the foil to appear. Use the provided tape to hold the foil in place.
- Cut and Transfer: In Design Space, select your design and set the operation to “Foil” rather than “Cut.” Run the Cricut as you normally would, and the machine will apply pressure to transfer the foil onto your cardstock.
- Reveal the Design: Once done, carefully remove the foil sheet to reveal your shiny, metallic design.
Foil transfers are perfect for adding luxurious accents to wedding invitations, thank-you cards, or holiday greetings.
Step 2: Using Glitter
Glitter can turn a basic card into a dazzling creation. There are two main ways to incorporate glitter into your Cricut projects:
- Glitter Cardstock: You can use pre-glittered cardstock for your shapes or card bases. Simply cut the design as you would any other cardstock, but be sure to use a Deep Point Blade if the cardstock is thick.
- DIY Glitter Accents: Apply glue to specific parts of your card (such as the edges or text), then sprinkle loose glitter over it. Shake off the excess glitter, and you'll be left with a sparkly accent.
Step 3: Embossing
Embossing makes raised, textured designs on your cards, which add a touch of elegance and sophistication. While Cricut doesn't have a dedicated embossing tool, you can use third-party embossing folders and a manual embossing machine to achieve this effect.
- Cut Your Design: Use your Cricut to cut out the shapes or text that you want to emboss.
- Place in Embossing Folder: Insert the cut-out design into an embossing folder and run it through a manual embossing machine, such as a Sizzix Big Shot.
- Assemble the Card: Once embossed, adhere the embossed design to your card for a stunning, raised effect.
Troubleshooting Common Cricut Card-Making Issues
Even with the best planning, you may encounter a few challenges while making cards with your Cricut. Here are some solutions to common problems:
Cardstock Tearing During Cutting
If your cardstock tears during cutting, it's likely that your material settings are too aggressive or your blade is too dull. Here's how to fix it:
- Check Your Material Settings: Double-check that you've selected the correct material setting in Design Space. If you're using lightweight cardstock, choosing a heavier material may cause tears.
- Inspect Your Blade: If you've been using your Cricut for a while, the blade might be dull. Try replacing the blade with a new one to see if that solves the issue.
Vinyl Not Sticking to Cardstock
Vinyl sometimes has trouble adhering to cardstock, especially if the paper is textured or porous. To solve this issue:
- Use Transfer Tape: Make sure to use transfer tape to lift the vinyl from the backing and place it on the cardstock.
- Apply Pressure: Use a scraper tool to apply firm pressure on the vinyl once it's on the cardstock to ensure it adheres properly.
- Try Different Vinyl: If regular vinyl isn't working, try using adhesive vinyl designed specifically for paper projects.
Score Lines Not Crisp Enough
If your score lines aren't folding cleanly, it could be due to improper settings or materials. Here's what to do:
- Use the Right Tool: Make sure you're using a scoring stylus or wheel, not just a cutting blade. These tools are designed to make precise score lines.
- Increase Pressure: In Design Space, you can adjust the pressure settings to make deeper score lines, which will result in cleaner folds.
FAQs About How to Make Cards on Cricut
Discover expert answers to FAQs about how to make cards on cricut and start crafting beautiful, personalized cards with ease.
Yes, you can use regular scrapbook cardstock, but make sure it's compatible with your Cricut machine. Heavier cardstock, such as 80-110 lb, is typically better for sturdy cards. Lighter-weight paper may tear during cutting.
For the card base, a heavier cardstock between 80-110 lb is recommended. This gives the card a professional feel and ensures it stands up without flopping over.
Yes, the Cricut Explore Air 2 can perform all the tasks shown in this tutorial, including cutting cardstock, scoring, and using a pen for drawing or writing.
The scoring tool creates fold lines on your cardstock, making it easier to fold the card evenly and cleanly without cracking the paper.
If you don’t have a scoring stylus, you can fold the card manually using a ruler or a bone folder to create a crisp edge. Alternatively, some users opt for a butter knife or a credit card.
This issue happens if the score line isn’t attached to the base layer. Make sure to select both layers (score line and base) and click “Attach” in Design Space to keep them together during cutting.
Yes, you can use the Cricut pen to write messages on the card by choosing the "Draw" option for your text in Design Space. Make sure to attach the text to the layer it will be drawn on.
Yes, you can use double-sided tape, glue sticks, or any adhesive that dries clear and works well with paper. For a repositionable option, consider using low-tack adhesive dots or spray adhesives.
Your blade might be too dull, or the cut settings too high. Try using a Fine Point Blade and adjust the material settings in Design Space to match the cardstock weight you're using.
Yes, you can make custom envelopes using Cricut Design Space by selecting or designing an envelope template that fits the size of your card.
Select the text box and go to the “Operation” menu (previously called "Line Type"). Choose "Draw" from the drop-down menu to change the cut lines to drawn lines.
A dry adhesive like an ATG (Advanced Tape Glider) gun works best for securing embellishments like embroidery floss. It’s strong, quick, and doesn’t warp the paper.
Yes, the green StandardGrip mat can be used for cardstock, but the blue LightGrip mat is recommended to prevent tearing or curling when removing the paper.
Double-check your settings in Design Space. Make sure you've selected "Score" rather than "Cut" when adding the score line.
Conclusion
Making cards with Cricut is a delightful way to explore your creativity and produce professional-quality, personalized cards for any occasion. From simple, beginner-friendly designs to more intricate techniques involving vinyl, foil, and embossing, the possibilities are endless. By following this comprehensive guide, you now have the knowledge to make stunning cards that will impress your friends and family.
Don't be afraid to experiment with different designs, materials, and embellishments.


