As an avid reader and a DIY enthusiast, I've always been on the lookout for creative ways to organize my ever-growing collection of books. Inspired by several ideas I stumbled upon, I decided to embark on a project to build my own unique bookends. Through trial and error, I've gathered a wealth of knowledge on crafting DIY bookends that are not only functional but also add a personal touch to any bookshelf. In this guide, I'll share my journey and tips on how you can make your own.
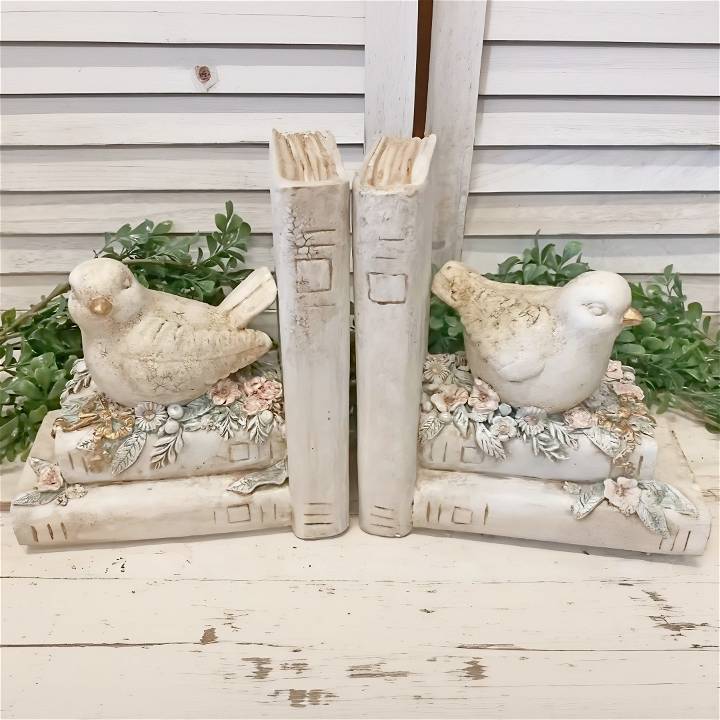
Materials You'll Need and Why
Discover the essential materials for making your own DIY bookends. Learn why these items are crucial for a successful project.
- Two Solid Objects: These will serve as the base of your bookends. I've used everything from vintage bricks to old teapots. Choose objects with weight for stability.
- Paint (Optional): If you're upcycling or repurposing items, a fresh coat of paint can transform them into matching pieces.
- Adhesive Felt Pads: To protect your bookshelf from scratches, stick these to the bottom of your objects.
- Decorative Elements: This could be anything from figurines to faux flowers. It's your chance to get creative and give your bookends a personal twist.
- Strong Glue: If your design involves attaching decorative elements to your base objects, you'll need a glue that bonds well.
Step by Step Instructions
Make DIY bookends with our step-by-step guide. Learn how to select a base, customize the look, add protective pads, embellish, and arrange on your bookshelf for a personal touch.
Step 1: Selecting Your Base
The first step is choosing a solid base for your bookends. The key here is weight and stability. After several experiments, I found that re-purposed bricks and large, heavy jars provided the best support for books. The choice of base also greatly influences the theme and aesthetic of your bookends, so select something that speaks to you personally.
Step 2: Customizing the Look
For those who, like me, decided to paint their bases, this step adds a lot of fun and personal flair to the project. I opted for a matte black paint for a minimalist look, applying two coats to ensure an even finish. Remember to let the paint dry completely before moving to the next step.
Step 3: Adding Protective Pads
To avoid scratching my shelves, I attached adhesive felt pads to the bottom of my base objects. This small step is crucial, especially if you're using repurposed materials that might have rough edges.
Step 4: Embellishing Your Bookends
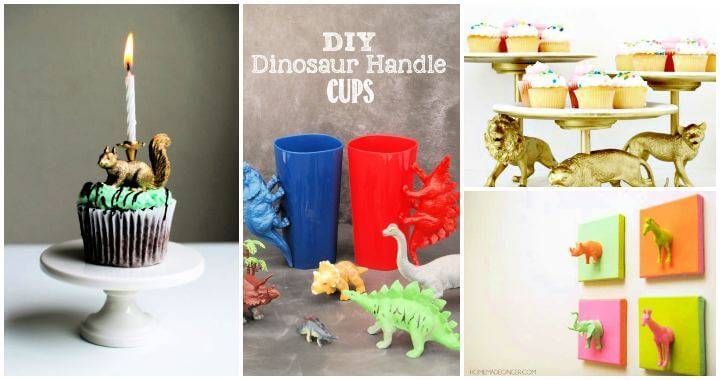
Here's where creativity takes center stage. I glued vintage figurines to each of my bases, making a whimsical theme. This step is your chance to make the bookends truly your own. Just ensure the glue you use is strong enough to hold your chosen decorations in place.
Step 5: Arranging on Your Bookshelf
Once the glue has dried and your bookends are ready, it's time to place them on your shelf and arrange your books in between. This final step felt incredibly rewarding, as I saw my vision come to life and my books neatly supported by bookends that carried a piece of my personality.
Additional Tips for Success
- Weight is Key: Ensure your base objects are heavy enough to support the number of books you intend to place between them.
- Theme: Consider a theme for your bookends that complements your room or book collection.
- Durability: Choose materials and adhesives that will last, ensuring your bookends remain functional and beautiful over time.
Making DIY bookends was a fulfilling project that solved my book organization issue and let me show my creativity. Hopefully, this guide motivates you to make bookends that suit your style. Enjoy the process and appreciate the end result.
Styling Tips for Bookends
When it comes to styling bookends, a little thoughtfulness can go a long way in elevating your home decor. Whether you're an interior design enthusiast or a casual decorator, consider these practical and creative tips to make your bookends seamlessly blend into your space:
1. Color Coordination Matters
- Keep It Harmonious: Choose bookends that complement the color scheme of your room. If your decor leans toward neutral tones, opt for bookends in similar shades. For vibrant rooms, consider bookends with pops of color that match accent pieces.
- Contrast Strategically: Sometimes, contrast can be your best friend. If your bookshelves or tabletops feature light-colored books, go for darker bookends (and vice versa). This builds visual interest and prevents monotony.
2. Texture Matching
- Mix and Match Textures: Variety adds depth to your decor. Pair smooth bookends (like marble or glass) with rougher textures (such as wood or stone). The interplay of textures adds visual intrigue.
- Consider Surrounding Materials: Look at the materials around your bookends. If your shelves are wooden, wooden bookends will seamlessly blend in. If you have metal accents, consider metal bookends.
3. Size and Proportion
- Scale It Right: Bookends should be proportionate to the books they support. Oversized bookends can overwhelm smaller books, while tiny bookends may not hold up larger volumes. Aim for balance.
- Height Matters: Consider the height of your bookshelves. Taller bookshelves can accommodate taller bookends, while shorter shelves may require more compact options.
4. Theme and Style
- Match the Theme: If your room has a specific theme (e.g., coastal, vintage, industrial), choose bookends that align with it. For a beachy vibe, seashell or driftwood bookends work wonders.
- Embrace Eclectic Pairings: Don't shy away from mixing styles. Eclectic pairings—like combining modern bookends with antique books—can build delightful contrasts.
5. Functional Aesthetics
- Dual Purpose: Bookends needn't be purely decorative. Opt for bookends that serve additional functions. Some come with built-in planters, pen holders, or small storage compartments.
- Bookends as Art: Treat bookends as mini sculptures. Select unique shapes or intricate designs that double as art pieces.
6. Placement and Symmetry
- Symmetry: For a classic look, place identical bookends on either end of a row of books. Symmetry brings order and balance.
- Off-Center Charm: Alternatively, offset bookends slightly for a more relaxed, asymmetrical feel. This works well in casual or bohemian spaces.
Remember, bookends aren't just functional—they're opportunities to express your style and personality. Experiment, have fun, and let your bookends tell a story on your shelves!
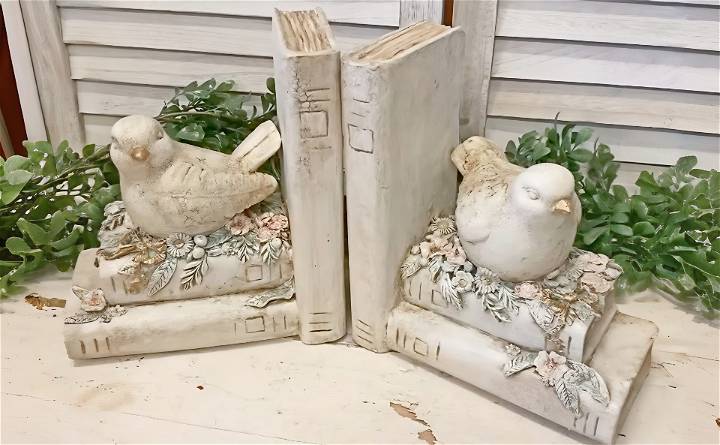
Customization Ideas for Your Bookends
Customizing your bookends not only adds a personal touch but also ensures they perfectly complement your space. Let's explore some creative ideas to make your bookends uniquely yours:
Paint and Patterns
- Color Splash: Transform plain bookends with a fresh coat of paint. Choose colors that resonate with your room's palette. Pastels, metallics, or bold hues—let your imagination run wild.
- Geometric Designs: Use painter's tape to build geometric patterns. Triangles, chevrons, or even polka dots can add visual interest.
Decoupage Magic
- Vintage Maps: Cut out maps from old atlases or travel magazines. Decoupage them onto wooden bookends for a worldly vibe.
- Floral Delight: Floral decoupage paper or pressed flowers can turn bookends into garden-inspired decor.
Personalization
- Initials or Monograms: Stencil your initials or monogram onto bookends. It's a subtle yet elegant touch.
- Quotes and Sayings: Transfer favorite quotes or affirmations onto bookends using transfer paper or vinyl decals.
Texture Play
- Fabric Wraps: Wrap bookends in fabric—think burlap, linen, or patterned textiles. Secure with glue or twine.
- Rope and Twine: Glue thick jute rope or twine around bookends for a rustic, coastal look.
Nature-Inspired
- Pebble Mosaic: Arrange small pebbles or beach stones on bookends. Seal with clear epoxy for a natural, textured finish.
- Wood Slices: Attach thin wood slices to bookends for an earthy touch. Sand them smooth and seal with varnish.
Whimsical Shapes
- Animal Silhouettes: Cut out animal shapes (like elephants, birds, or cats) from plywood. Paint and attach them to bookends.
- Minimalist Silhouettes: Make sleek, minimalist bookends by cutting out basic shapes (circles, triangles) from wood or metal.
Vintage Bookends
- Repurpose Old Items: Vintage toys, antique tools, or salvaged architectural elements can become charming bookends.
- Old Vinyl Records: Stack old records vertically and glue them together. Instantly cool bookends!
Remember, customization allows you to infuse your personality into everyday objects. Whether you're aiming for elegance, quirkiness, or simplicity, let your bookends reflect your style.
FAQs About DIY Bookends
Learn everything you need to know about DIY bookends with this comprehensive guide. Find answers to all your questions in one place.
1. How Do I Ensure Stability for My Bookends?
- Weight Distribution: Make sure the weight is evenly distributed on both sides.
- Base Surface: Place bookends on a stable surface (like a flat shelf or table).
- Anti-Slip Pads: Attach rubber pads to the bottom to prevent slipping.
2. Can I Personalize Bookends?
Absolutely! Here are some ideas:
- Painting: Add a pop of color.
- Decoupage: Use maps, fabric, or pressed flowers.
- Monograms or Quotes: Stencil initials or favorite sayings.
3. What's the Ideal Size for Bookends?
Consider:
- Book Size: Proportionate to the books they hold.
- Shelf Height: Taller shelves can accommodate taller bookends.
4. How Can I Style Bookends in My Home?
- Color Coordination: Match bookends to your room's color scheme.
- Texture Play: Mix smooth and rough textures.
- Theme Alignment: Choose bookends that fit your room's theme.
5. Can Bookends Be Functional Beyond Books?
Definitely! They can hold:
- Magazines
- Tablets
- Notebooks
- Plants
Remember, bookends aren't just practical—they're an opportunity to express your style!
Conclusion:
Wrapping up, DIY bookends are a fun and creative way to add a personal touch to your book collection. With endless design possibilities, you can easily customize your bookends to fit any style or theme. Start crafting your unique bookends today!


