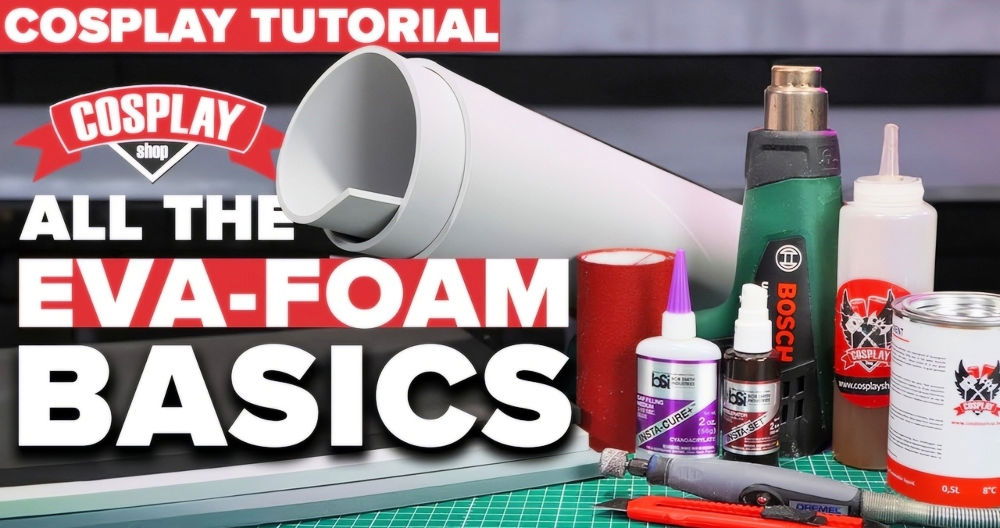
Foam clay is a versatile material often used in cosplay, crafting, and model-making. Its lightweight nature and moldability make it a go-to choice for making intricate designs. However, store-bought foam clay can be expensive, and for those who love DIY projects, making your own version at home offers both an affordable and rewarding alternative. In this tutorial, you will find steps for making your very own DIY foam clay with ingredients that are easy to find and safe to use. Whether you're a seasoned crafter or a curious beginner, this guide will help you explore new possibilities with homemade foam clay.
What is Foam Clay?
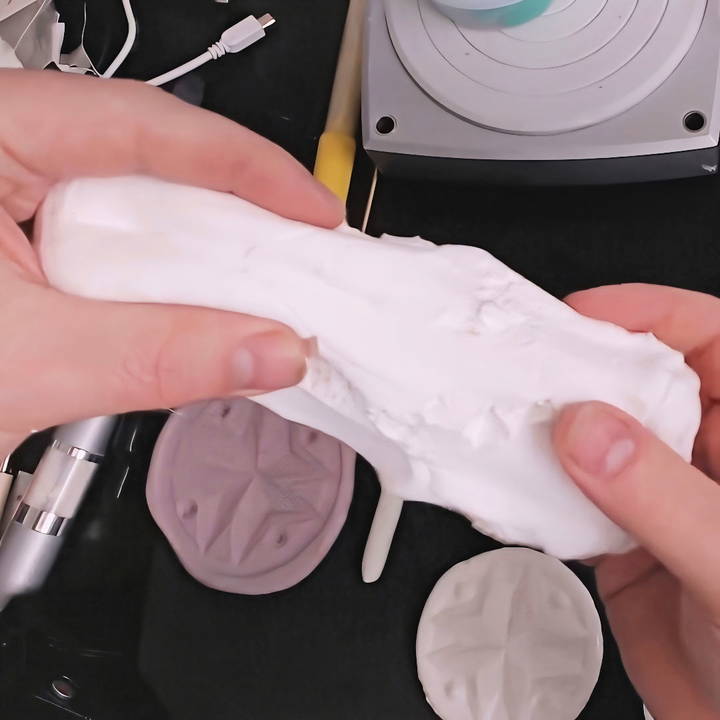
Foam clay is a type of air-drying modeling clay that is soft, flexible, and easy to shape. Once it dries, it retains its shape, hardens, and can be painted or sanded. Its foam-like texture is due to its lightweight composition, making it ideal for making detailed shapes for costumes, masks, and props.
Traditionally, foam clay is purchased from craft stores, but it can also be made at home using readily available materials. The DIY version may not be an exact replacement but serves as a cost-effective alternative for various crafting projects.
Ingredients You'll Need
To make foam clay at home, you'll need the following materials. Many of these items are likely already in your home or can be bought at any local store:
- 2-3 cups of foaming shaving cream: The cheaper, the better. Brands available at dollar stores work perfectly.
- 2/3 - 1 cup of PVA glue (white glue): This acts as the base for your foam clay. Flex Bond glue is a good option as it dries flexible, but standard PVA glue works fine.
- 1 tablespoon of baking soda: Helps activate and thicken the mixture.
- 1-1.5 tablespoons of eye drops (or contact lens solution): This works as an activator, but make sure it contains boric acid and sodium borate.
- 2 cups of fumed silica (Cabosil): A key ingredient that adds body to the foam clay and helps it hold its shape. Other options can include wood flour or cornstarch as substitutes.
Safety Tip
Before you dive into making the foam clay, remember that some of the ingredients—especially Cabosil—can be hazardous if inhaled. When working with fumed silica, it's crucial to wear a mask or respirator to avoid inhaling the tiny particles, which can cause respiratory issues.
Step by Step Instructions
Learn to make foam clay with our step-by-step guide. From making the foam base to finishing touches, get tips, alternative thickeners, storage solutions & more!
Step 1: Make the Foam Base
Start by making the slime base, which will form the foundation for your foam clay.
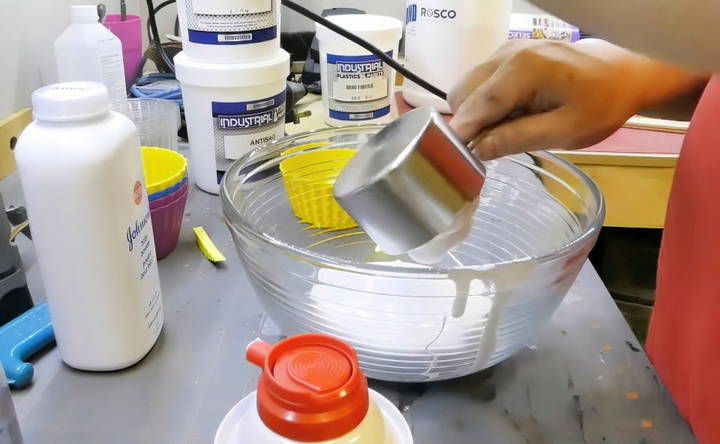
- Mix the shaving cream and glue: In a large mixing bowl, combine 2 to 3 cups of foaming shaving cream with 2/3 to 1 cup of PVA glue. The shaving cream adds the fluffiness that gives foam clay its characteristic texture, while the glue binds everything together.
- Add baking soda: Stir in 1 tablespoon of baking soda. This will help thicken the mixture, giving it a more moldable texture. Make sure to mix thoroughly until everything is well combined.
Step 2: Activate the Foam
Now it's time to activate the mixture, turning it into a more solid form.
- Add eye drops: Slowly mix in 1 to 1.5 tablespoons of eye drops or contact lens solution. Be sure to choose a solution that contains boric acid and sodium borate, as these chemicals are crucial for activating the foam. If your mixture starts clumping together and pulling away from the sides of the bowl, you're on the right track.
- Knead the mixture: As the foam starts to firm up, use your hands to knead the mixture. At this point, it should have a texture similar to slime—stretchy but cohesive.
Step 3: Thicken the Foam Clay with a Thixotropic Agent
The next step is to add a thickening agent. This step transforms your slime into foam clay by helping it maintain its shape as it dries.
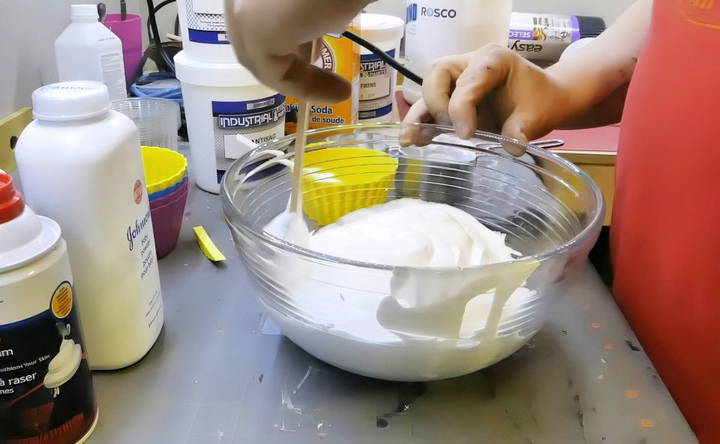
- Add fumed silica (Cabosil): Slowly add 2 cups of fumed silica into the slime mixture. Be very careful with this step, as fumed silica is a fine powder that can easily become airborne. Wear a mask or respirator to protect yourself from inhaling it.
- Mix until thickened: Stir the fumed silica into the slime mixture until it forms a thick, dough-like consistency. The mixture should now be firm enough to hold its shape. If it's still too runny, add more fumed silica in small increments until you reach the desired consistency.
Step 4: Mold and Shape
Now that you've maked your DIY foam clay, you can start shaping it into whatever forms you need for your project.
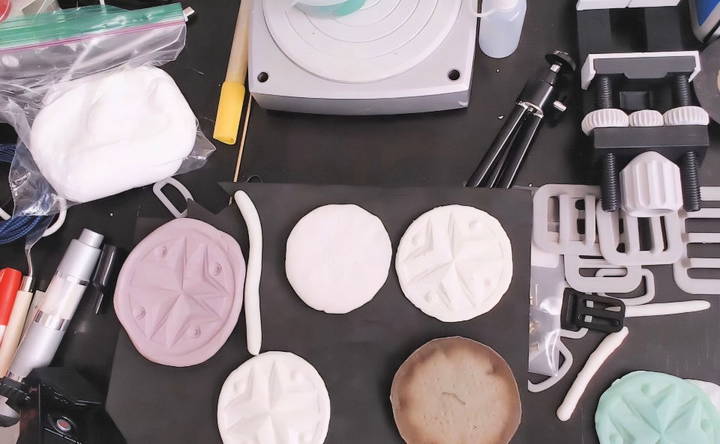
- Press into molds: Foam clay can easily be pressed into molds to make detailed shapes and textures. It's a great material for costume armor pieces, props, or masks. If you don't have molds, you can also hand-sculpt shapes with your fingers.
- Let it dry: Once you've shaped your foam clay, leave it to dry for at least 24 hours. The clay will start to harden as it dries, retaining the shape you maked.
Step 5: Finishing Touches
After your foam clay has dried, it will have a firm surface that's ready for finishing.
- Sanding: Once the foam clay is fully hardened, you can sand it to smooth out rough edges. However, note that DIY foam clay doesn't sand as well as store-bought varieties, so be gentle to avoid damaging your creation.
- Painting: Foam clay is very easy to paint. Acrylic paints work best, but you can use any type of paint suitable for porous surfaces. You may want to apply a primer first to help the paint adhere better.
- Sealing: After painting, it's a good idea to apply a clear sealer to protect your finished project and give it a longer lifespan.
Alternative Thickeners for Foam Clay
While fumed silica (Cabosil) is the most effective thickening agent, it's not always easy to find. If you're unable to get your hands on it, there are other materials you can experiment with.
- Cornstarch: Cornstarch is a readily available alternative, but it may react with the glue, causing your foam clay to droop over time. It's not as stable as Cabosil but works in a pinch.
- Wood Flour: Another interesting option is wood flour, which is essentially finely ground sawdust. You can often get this from woodworking shops or purchase it online. Wood flour adds texture and a natural color to the clay but may make it more fragile once dry.
- Other powders: You can also experiment with other powders like talcum powder, flour, or even fine sand. These will all alter the final texture and durability of your foam clay, so it's best to test small batches before committing to a large project.
Common Issues and Solutions
While making foam clay is fairly straightforward, there are a couple of common problems you might encounter along the way. Here's how to troubleshoot them:
- Lumpy clay: If your foam clay mixture is too lumpy, it's likely that the ingredients haven't been properly combined. Add a little more PVA glue and knead the mixture until it smooths out.
- Runny clay: If the foam clay is too runny and won't hold its shape, it may need more activator (eye drops) or thickening agent (Cabosil). Add small amounts of either ingredient until you reach the desired consistency.
How to Store DIY Foam Clay
One downside to DIY foam clay is its relatively short shelf life. Once mixed, it starts to lose its foaminess and can become too thick to work with after a day or two. To get the most out of your foam clay:
- Use it immediately: Ideally, you should start using your foam clay as soon as it's made.
- Store in an airtight container: If you have leftovers, store them in an airtight container to help preserve the texture. However, be aware that it will likely lose some of its original consistency after 24 hours.
Conclusion: Experiment and Enjoy!
DIY foam clay is a fun, cost-effective alternative to store-bought varieties. While it may not have the exact same properties, it's versatile and durable enough for a wide range of crafting and cosplay projects. Best of all, making it at home allows you to experiment with different ingredients and customize the recipe to your liking. Whether you're making props for cosplay or molding unique art pieces, DIY foam clay is a creative material that offers endless possibilities. So gather your ingredients, try it out, and let your imagination run wild!
FAQs About DIY Foam Clay
Discover answers to common questions about DIY foam clay, including tips, uses, and techniques for making unique projects easily at home.
The shaving cream acts as a foaming agent, providing the light, airy texture that makes foam clay soft and moldable. Without it, the mixture would be denser and less pliable.
Yes, alternatives to Cabosil include cornstarch, wood flour, bentonite clay, or even lightweight spackle. Keep in mind that each substitute will result in different textures and properties.
Store foam clay in an airtight container to preserve its texture. However, DIY foam clay tends to lose its properties after a day or two, so it's best to use it as soon as possible.
DIY foam clay is not waterproof. If you plan to use it outdoors, seal it with a weatherproof material like Flexbond or Plastidip to protect it from moisture.
Foam clay takes about 24 to 48 hours to dry, depending on the thickness. For best results, leave it undisturbed until it hardens completely.
Yes, but the texture will be denser. While the clay remains usable, it won't have the same light and fluffy consistency that shaving cream provides.
To increase durability, consider adding more glue or using a flexible glue like Flexbond. Sealing the finished piece with a protective coating also helps extend its lifespan.
If the mixture is too runny, add more activator (eye drops) or thickening agent (Cabosil or alternatives). Continue adding small amounts until the clay reaches the desired consistency.
Yes, you can experiment with various powders, including chalk or talcum powder, but the results may vary. Test small batches first to see how they affect the clay's texture.
The shelf life is relatively short. It will start to lose its properties after 24 to 48 hours, so it's recommended to use the foam clay immediately after making it.


