Making custom iron-on patches is a fantastic way to add a personal touch to clothing, bags, or any fabric surface. Whether you're crafting patches for personal use or considering making them for sale, the process is highly rewarding. In this tutorial, you'll find all the steps needed to make your own iron-on patches with professional results. This tutorial is based on personal experience and time-tested methods for making patches that not only look great but are durable and easy to apply.
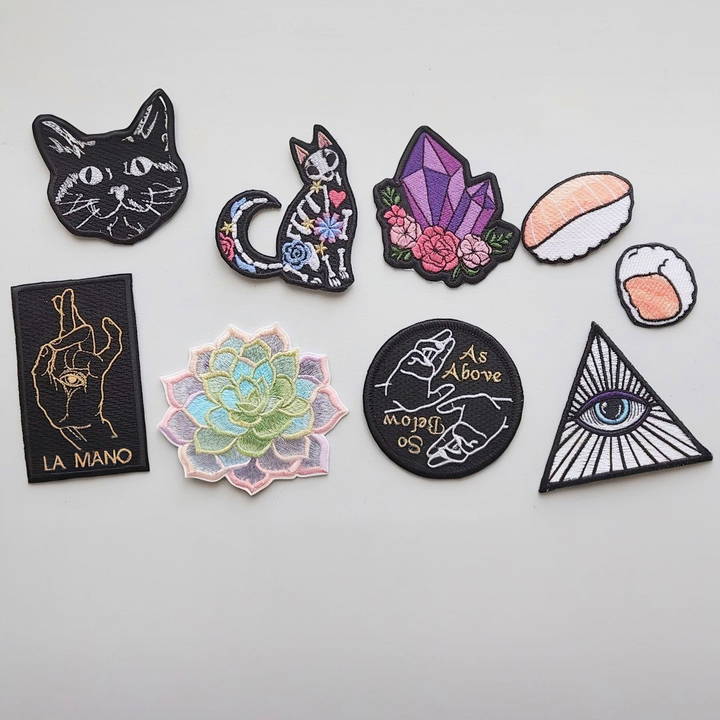
Materials You'll Need
Before we dive into the step-by-step process, it's essential to gather the necessary materials. Here is a list of everything you'll need to make your own iron-on patches:
- Tearaway stabilizer: This is essential for giving structure to your patch while it's being embroidered. You'll need two layers of this material to provide adequate support for the patch during stitching.
- Patch Twill: This is the base material onto which the design will be embroidered. Patch twill comes in various colors, but for most projects, black or white are excellent options. Twill is designed specifically for patches and offers a clean, professional look that holds up well over time.
- Madeira Heat Seal: This is the iron-on backing that allows you to adhere your patch to any fabric surface. It's a clear film that melts when heated, acting as glue to attach the patch securely.
Other Tools
- Embroidery scissors: You'll need small, sharp scissors to carefully cut out the patch once the embroidery is complete.
- Teflon sheets: These heat-resistant sheets are crucial when ironing the heat seal to the back of the patch. They prevent the iron from sticking to the adhesive material.
- Embroidery machine: While hand embroidery is an option, a machine will allow for cleaner, more precise designs, especially for complex or commercial patches.
- Lighter: This is used for cleaning up the edges of your patch after cutting, to prevent fraying.
Now that you have all the necessary materials, let's move on to the actual patch-making process.
Step by Step Instructions
Learn how to make iron-on patches with our step-by-step guide. From preparation to applying the patch, make custom designs easily!
Step 1: Prepare Your Embroidery Hoop
The first step in making a patch is to set up your embroidery hoop. This is the frame that holds the fabric and stabilizer in place while the design is stitched.
- Layer Your Stabilizer: Start by cutting two pieces of tearaway stabilizer. You'll be using two sheets for extra support. Lay them flat, one on top of the other.
- Hoop the Stabilizer: Insert the layered stabilizer into your embroidery hoop. Ensure it's tight and secure. This will provide a stable base for your embroidery.
- Float the Patch Twill: Instead of hooping your patch twill (which can waste fabric), you will "float" it on top of the stabilizer. Cut a piece of twill slightly larger than your intended design and lay it directly on top of the stabilizer.
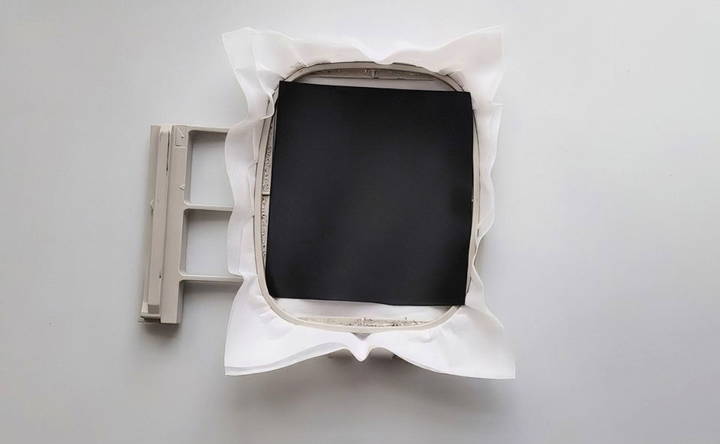
Pro Tip: To keep the twill in place without using adhesives, use a basting stitch. This is a temporary stitch your machine will sew in a square shape around your design to hold the fabric in place while the patch is being embroidered.
Step 2: Stitching Out the Patch Design
Once your fabric and stabilizer are set in the hoop, it's time to move to the embroidery machine.
- Load Your Design: If you are using a machine, load your pre-digitized design onto the machine. Make sure the design fits within the size of your patch fabric.
- Start the Stitching Process: Let the machine run the basting stitch first to lock the twill fabric in place. Then, it will move on to embroider the actual patch design.
- Monitor the Process: Keep an eye on the stitching to ensure everything runs smoothly. It's essential that the patch is stitched out cleanly, with no fabric bunching or shifting.
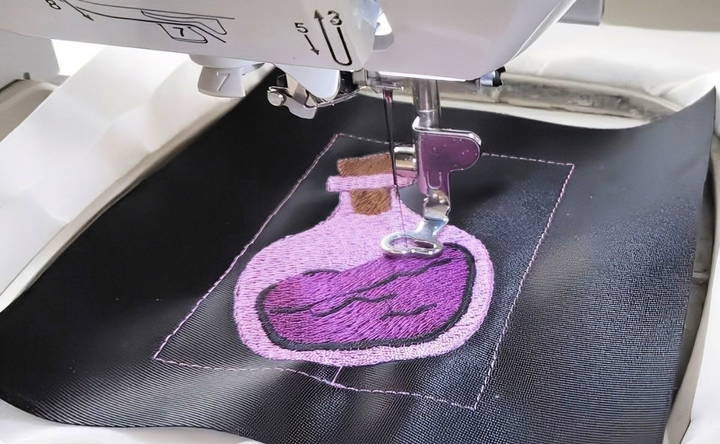
Step 3: Remove the Stabilizer and Cut the Patch
After the design has finished stitching, you'll need to remove the stabilizer and clean up the patch.
- Remove from the Hoop: Take the hoop off the machine and carefully remove the stabilizer and twill from the hoop.
- Tear Away the Excess Stabilizer: Gently tear away the excess stabilizer from the patch. Be careful around the edges, especially near the stitched areas.
- Cut Around the Patch: Use sharp embroidery scissors to carefully cut the patch out, following the edge of the satin stitch (the border stitch). Cut as close as possible without actually cutting into the stitching.
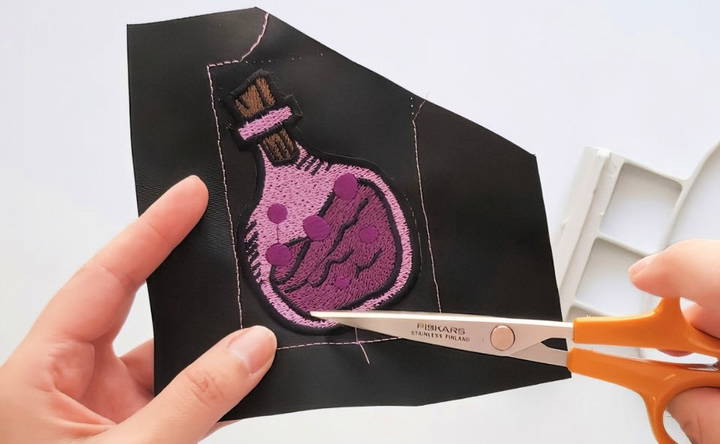
Step 4: Applying the Iron-On Backing
Now that the patch is cut out, it's time to add the iron-on backing. This step is crucial if you want your patch to be easily applied to clothing or accessories.
- Cut the Heat Seal: Cut a piece of the heat seal backing slightly larger than your patch.
- Place the Patch Face Down: Lay the patch on a flat surface with the back side facing up.
- Position the Heat Seal: The heat seal has two sides – one smooth and one bumpy. Place the bumpy side against the back of the patch. This side will melt and adhere when heated.
- Use Teflon Sheets: Place a Teflon sheet underneath the patch and another on top of the heat seal. This will protect your iron and workspace from any sticky residue.
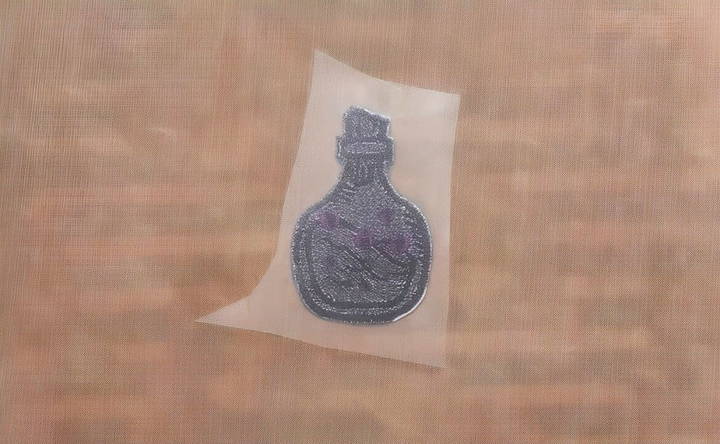
Step 5: Ironing the Backing
With the heat seal in place, it's time to adhere it to the patch using heat.
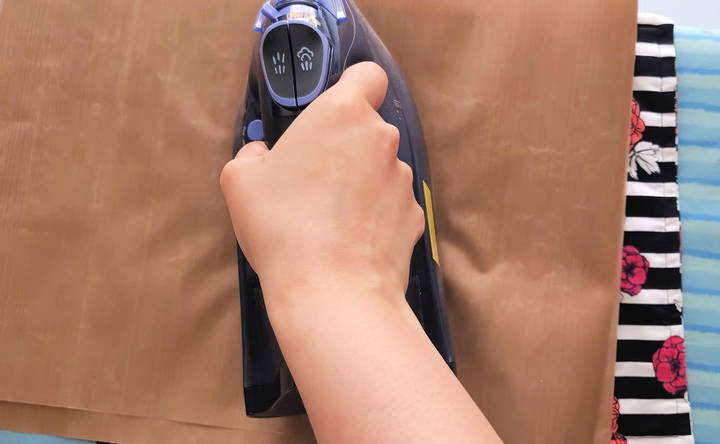
- Set Your Iron: Preheat your iron to a medium-high setting (around 350°F), and make sure it's set to no steam.
- Apply Heat: Press the iron firmly on top of the Teflon sheet covering the patch. Hold it in place for about 15 seconds, applying even pressure.
- Let It Cool: After 15 seconds, remove the iron and let the patch cool for a few seconds before peeling off the Teflon sheet.
When done correctly, the heat seal will bond to the back of the patch, making it ready to iron onto your chosen surface.
Step 6: Clean Up the Edges
To give your patch a professional finish, it's important to clean up the edges.
- Trim Any Excess: After applying the heat seal, trim any extra backing material that extends beyond the edge of the patch.
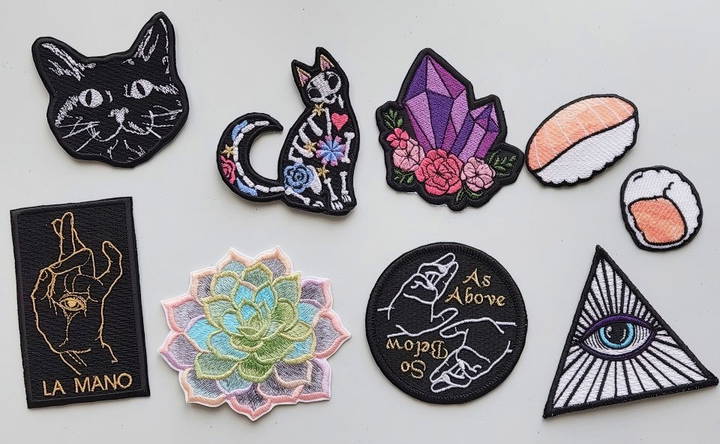
- Sear the Edges: Use a lighter to quickly and carefully sear the edges of the patch. This will prevent fraying and give the patch a neat, sealed look. Be cautious not to overheat or burn the patch.
Step 7: Applying the Patch to Clothing
Once your patch is complete, you can apply it to any fabric surface with ease. Here's how:
- Preheat the Surface: Place the item you're adhering the patch to (like a jacket or backpack) on a flat surface. Preheat the fabric with your iron for a few seconds.
- Position the Patch: Lay the patch onto the fabric, making sure it's in the correct position.
- Iron the Patch On: Place the Teflon sheet over the patch and apply firm pressure with the iron for 15–20 seconds. Allow the patch to cool, then check to ensure it is securely attached. Repeat if necessary.
Final Thoughts
Making your own iron-on patches is a fun and creative process. With the right materials and careful attention to detail, you can make professional-looking patches that are durable and easy to use. Whether you're making patches for your personal wardrobe or as gifts, the satisfaction of seeing your design come to life is unmatched.
As you gain more experience, feel free to experiment with different fabrics, colors, and techniques to make unique, one-of-a-kind patches. With patience and practice, you'll be making high-quality patches that you and others will enjoy for years to come.
So grab your materials, fire up your embroidery machine, and get started on your patch-making journey today!
FAQs About How to Make Iron-On Patches
Learn how to make iron-on patches with our comprehensive FAQs. Discover essential tips and guidance to make perfect patches at home.
A basting stitch is used to secure the patch fabric to the stabilizer. It is part of the design and is stitched first to hold the fabric in place, preventing it from shifting during embroidery.
Cutaway stabilizer is only necessary for non-woven materials like shirts. Since patches are sturdy on their own, tearaway stabilizer is sufficient and won’t affect the stitches after removal.
Yes, you can use existing embroidery files (e.g., DST files) to make patches. However, if they don’t include a satin stitch border, your patch may not have the clean, finished look typically associated with patches.
Felt is a great beginner alternative. While polyester twill can be found in stores, it tends to fray and isn’t as durable as patch twill, which is designed specifically for patch making.
Burning the edges with a lighter helps to seal the fabric and prevent fraying. This step ensures a clean, professional finish.
Yes, if you're making multiple patches, it’s more efficient to apply the iron-on backing before cutting them out. This method helps save time and ensures consistent application of the backing.
The video uses a Brother Innovis 1400e embroidery machine and Hatch Embroidery software. For those looking to upgrade, the Happy Japan multi-needle machine is recommended for more complex designs and faster production.
To apply the patch, simply position it on your chosen fabric, cover with a Teflon sheet, and iron it on for 15-20 seconds without steam. Let it cool to ensure a strong bond.
While some patch twill may come with an adhesive backing, it is often covered by thread during embroidery. It’s recommended to apply a separate heat seal backing for better adhesion.
Polyester twill tends to fray, making it less suitable for patches. If you're set on using it, burning the edges lightly with a lighter may help, but investing in actual patch twill is recommended for best results.


