Making paper roses can be a relaxing and rewarding activity, perfect for adding a bit of charm to any occasion. I remember the first time I tried making them, the process felt overwhelming, but with simple steps and a bit of patience, I quickly found myself enjoying it. The best part is, that you don't need fancy supplies—just paper, scissors, and glue.
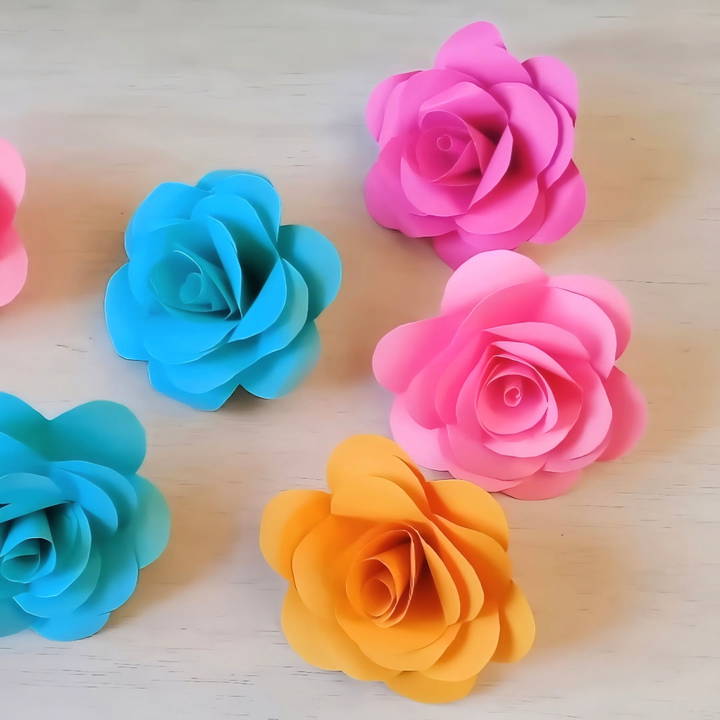
By following these instructions, you'll soon be crafting paper roses like a pro. The steps are clear and simple, so don't wait to give it a try—you'll love the results!
Why Make Paper Roses?
Paper roses provide a unique alternative to real flowers, offering several advantages:
- Durability: Unlike fresh flowers, paper roses won't wilt or decay, allowing them to last indefinitely with proper care.
- Customization: You can choose any color or pattern for your roses, giving you full control over the final appearance.
- Affordability: With just a few inexpensive materials, you can make stunning roses without spending much.
- Eco-friendliness: By using recycled or biodegradable materials, you can craft eco-friendly décor pieces.
Materials You'll Need
Before we begin, gather the following materials to make your paper roses:
- Craft paper or coloring paper: Choose paper in your desired color. You can also use patterned paper for a unique look.
- Glue: Any crafting glue or a glue gun will work for assembling the flower.
- Scissors: Sharp scissors for precise cutting of the petals.
- A pencil: For drawing petal templates and guides.
- A ruler: To ensure uniform sizing of your petals.
- Floral wire (optional): If you plan to attach the roses to stems, you'll need thin floral wire for support.
- Green tape (optional): Used to wrap the floral wire to make a realistic stem effect.
- Templates: You can either make your own templates for the petals or find pre-made templates online. The petals should range in size to make the natural look of a blossoming rose.
Step by Step Instructions
Learn how to make paper roses with our easy step-by-step instructions. Perfect your craft with shaping tips and creative uses for stunning results!
Step 1: Prepare Your Petal Template
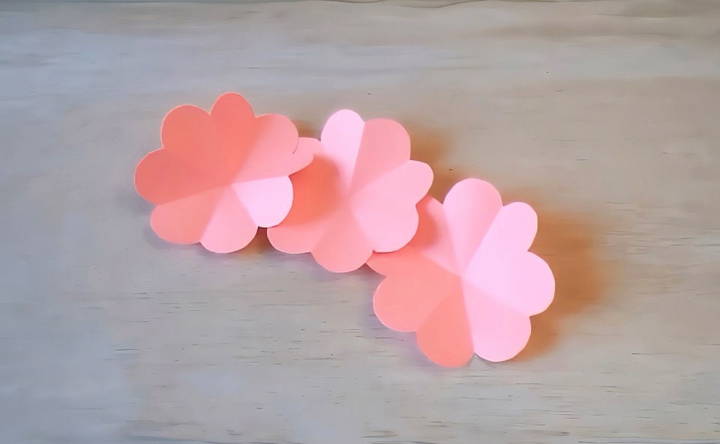
Start by making a petal template. Paper roses require several petals, ranging in size from small to large.
- On a piece of craft paper, draw your petals. You'll need three different sizes: small, medium, and large.
- The smallest petals will form the center of the rose, while the largest ones will go on the outer layers.
- Use your ruler to ensure the sizes are proportional. For example, you can make petals that are 2 inches, 3 inches, and 4 inches long.
- Cut out these petal shapes from the paper. These will be your templates.
Step 2: Trace and Cut the Petals
Using the templates from Step 1, trace your petal shapes onto the craft paper. You will need approximately 20-30 petals for a full rose.
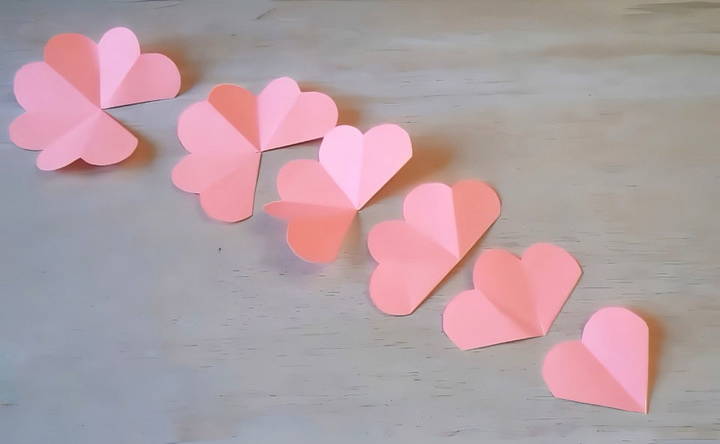
- Cut out each petal carefully. If you want your rose to look more natural, you can slightly vary the size of some petals to give a more organic appearance.
- You can also add a slight curve or jagged edges to simulate the look of real rose petals.
Step 3: Shape the Petals
To give your paper petals a more realistic appearance, you'll need to shape them:
- Gently curl the edges of each petal using the edge of your scissors or a pencil. Simply press the edge of the petal against the tool and pull outward, giving the petal a curved shape.
- For added dimension, you can fold the bottom part of each petal slightly to make a 3D effect. This will help the petals stand out and give the rose a fuller appearance.
Step 4: Assemble the Rose
Now that your petals are ready, it's time to assemble the rose.
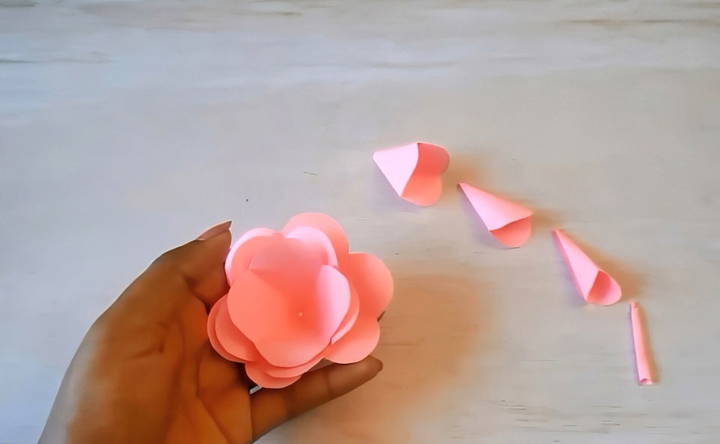
- Start with the center: Take one of the smallest petals and roll it into a tight cone shape. This will form the core of your rose.
- Add petals: Begin gluing the remaining small petals around the core. Apply a small dab of glue at the base of each petal, then attach it to the core. Make sure to stagger the petals so they overlap slightly, just as real rose petals do.
- Continue layering: As you work outward, start using the medium and then the large petals. Each layer should overlap the previous one, making a blossoming effect.
- Shaping while gluing: As you glue the petals, you can continue to curl and shape them to give the rose a more natural look.
Step 5: Make the Stem (Optional)
If you want to make a realistic rose with a stem, follow these steps:
- Floral wire: Cut a piece of floral wire to your desired length. This will be the stem of the rose.
- Attach the rose: Poke the floral wire through the bottom of the assembled rose and secure it with a small amount of glue.
- Wrap the stem: Use green floral tape to wrap the wire, giving it a realistic stem-like appearance. You can also add paper leaves to the stem for added detail.
Step 6: Finishing Touches
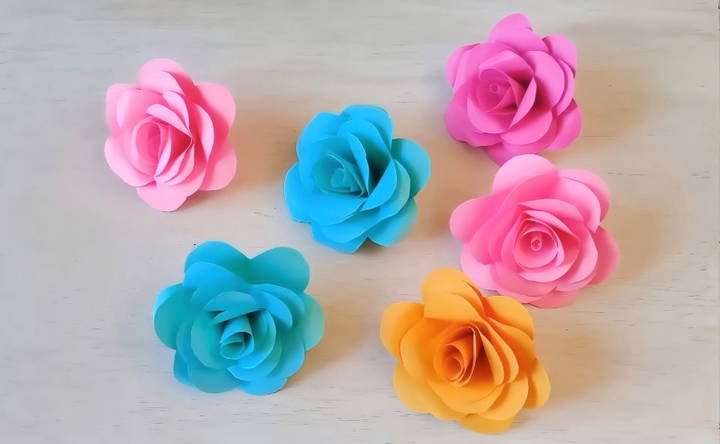
Once your rose is fully assembled, take a moment to tweak and adjust the petals. You can add more curls to the outer petals or press the inner ones more tightly for a closed-bud effect.
- You can also experiment with colors. If you're using white or light-colored paper, consider using watercolor paints or pastels to lightly shade the edges of the petals, adding depth and realism to your flowers.
Tips for Success
- Paper choice: Heavier paper-like cardstock will give your roses a sturdier feel, while lighter craft paper allows for easier curling and shaping.
- Petal quantity: The more petals you use, the fuller and more realistic your rose will look. Don't be afraid to experiment with different numbers of petals.
- Tools for shaping: Besides scissors and pencils, you can use objects like toothpicks or the edge of a ruler to curl and shape your petals.
- Color variation: Use different shades of the same color to make gradient effects, or mix and match colors for a more artistic look.
Creative Ideas for Using Paper Roses
Once you've mastered the art of making paper roses, there are countless ways to use them in your crafts and décor. Here are some creative ideas:
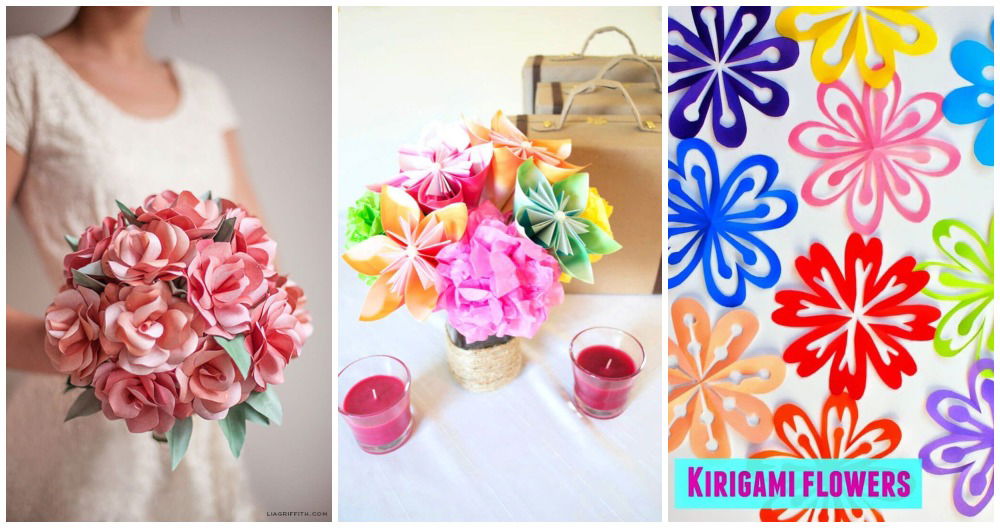
- Bouquets: Make an entire bouquet of paper roses to display in a vase or to give as a gift.
- Wreaths: Use your paper roses to make a floral wreath, perfect for home décor or special occasions.
- Wedding décor: Paper roses can be used in wedding bouquets, centerpieces, or even as boutonnières for the groom and groomsmen.
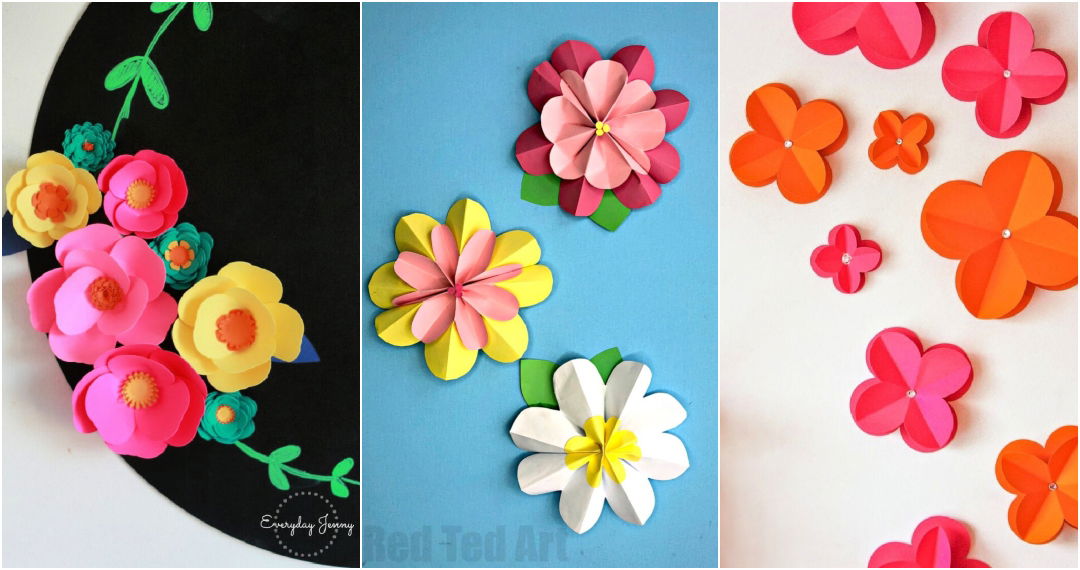
- Room décor: Use your roses as part of a wall display, adding a 3D element to your home décor.
- Gift toppers: Attach a paper rose to the top of a gift for a unique and personal touch.
Conclusion
Making paper roses is a fun and creative way to bring the beauty of flowers into your home or craft projects without the need for fresh blooms. With just a few simple supplies and a bit of patience, you can make stunning roses that will last a lifetime. Whether you're making them for a special occasion or just for fun, paper roses are sure to impress. So grab your paper and scissors, and start crafting today!
By following these step-by-step instructions, you'll be well on your way to becoming a master of paper rose-making. Happy crafting!
FAQs About How to Make Paper Roses
Discover answers to FAQs about how to make paper roses. Learn techniques, materials needed, and step-by-step tips to craft stunning paper flowers.
Craft paper or coloring paper is ideal. For a more durable flower, use heavier cardstock, but for easier shaping, opt for lighter craft paper. Recycled paper can also work well for an eco-friendly option.
Yes, regular glue will work, but a glue gun can provide stronger adhesion and quicker drying. If you’re using regular glue, allow extra time for each petal to dry before proceeding to the next step.
You'll need about 20-30 petals for a complete rose. Start with 5-6 small petals for the center and gradually increase the size as you layer outward to create a full bloom.
Use the edge of a pencil or scissors to gently curl the petals. If the paper is too stiff, lightly mist it with water to make it more pliable, but avoid over-wetting, as it may tear.
Floral wire works best for making a sturdy stem. Wrap the wire with green floral tape for a lifelike appearance, and consider adding paper leaves to enhance the look.
Yes, you can use watercolor paints, pastels, or even markers to add color gradients or shade the edges of the petals. Be sure to use light strokes to avoid soaking or warping the paper.
If your rose appears uneven, check that you’ve staggered the petals correctly. Reposition any petals that are too tightly or loosely placed, and adjust their curls for a more balanced look.
To enhance realism, vary the size and shape of your petals slightly, add shading with color, and use a combination of tightly curled petals in the center and looser ones on the outer layers.
Yes, but using templates ensures consistency in petal size and shape. If you're confident in freehand cutting, you can make petals without a template for a more organic, natural look.
Paper roses can be used for home décor, bouquets, wreaths, wedding decorations, gift toppers, and wall displays. They are versatile and can fit any occasion or aesthetic.


