Learn how to make peppermint oil at home with simple ingredients and easy steps. Peppermint oil is a fantastic, versatile product that can be used as an insect repellent, a natural fragrance, and even in homemade skincare. Follow this tutorial to make your own peppermint-infused oil at home using easy-to-find ingredients. Please note that this method will not produce true essential oil, as that requires special distillation equipment. However, this homemade peppermint oil retains many benefits and is a great alternative for those looking for a simpler, DIY-friendly approach.
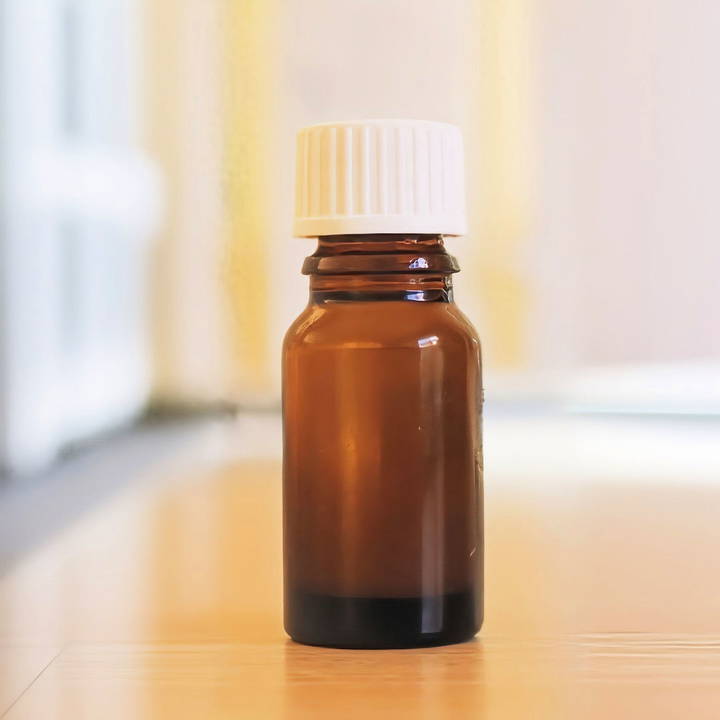
Why Make DIY Peppermint Oil?
Peppermint oil has a range of practical uses and benefits:
- Natural Insect Repellent: The strong aroma of peppermint deters insects and rodents due to compounds like terpene, menthol, and alcohol. It's a great alternative to chemical sprays and pesticides.
- Health and Relaxation: The scent of peppermint is refreshing and uplifting, making it a popular choice for relaxation and aromatherapy.
- DIY Projects: Homemade peppermint oil can be used in various DIY projects, including making natural room sprays, personal care products, and cleaning solutions.
Making your own peppermint oil at home not only gives you control over the ingredients but also ensures a sustainable and chemical-free alternative to store-bought products.
What You Need to Make DIY Peppermint Oil
Discover how to make DIY peppermint oil with essential ingredients and equipment. Perfect for aromatherapy and natural remedies.
Ingredients
- Fresh Peppermint Leaves: Organic is best to avoid pesticides. Aim for about ½ cup.
- Carrier Oil: Choose a mild oil like olive or coconut oil, which will help to dilute and carry the properties of peppermint.
Equipment
- Glass Jar: A small, clean jar with a lid.
- Strainer, Cheesecloth, or Nut Milk Bag: To strain the leaves from the oil.
- Mortar and Pestle (optional): For crushing the peppermint leaves.
- Dark-colored Storage Bottle: Helps preserve the oil longer by shielding it from light.
Step by Step Instructions
Learn how to make DIY peppermint oil with easy step-by-step instructions. Discover its uses and benefits with our concise guide.
Step 1: Preparing the Peppermint Leaves
- Wash the Leaves: Even if the peppermint leaves are organic, give them a good wash. Use a strainer or colander to ensure all dirt and residue are removed.
- Dry Completely: Lay the washed leaves on a paper towel and let them air dry. This step is crucial to prevent any water from getting into your oil, which could cause spoilage.
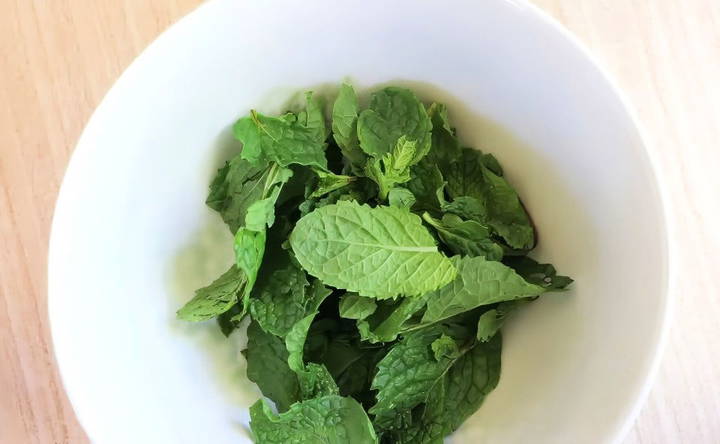
Step 2: Crushing the Leaves
To release the natural oils in peppermint, crush the leaves gently. Here are a few ways to do it:
- Use your hands to bruise the leaves.
- Use a spoon to press the leaves down.
- For a finer crush, use a mortar and pestle.
This step is important to release the aroma and active compounds of peppermint into the carrier oil.
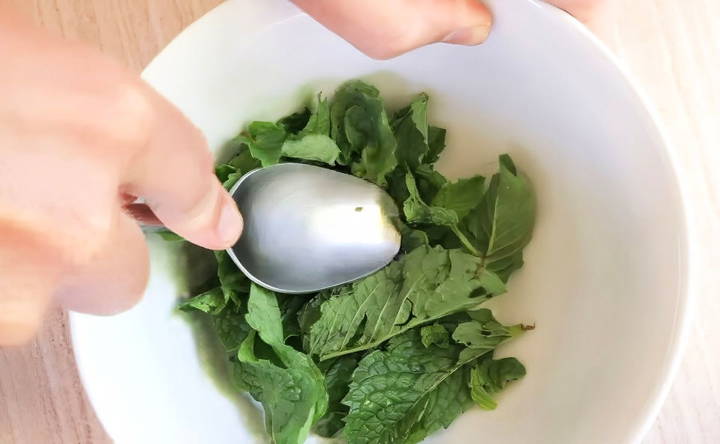
Step 3: Infusing the Oil
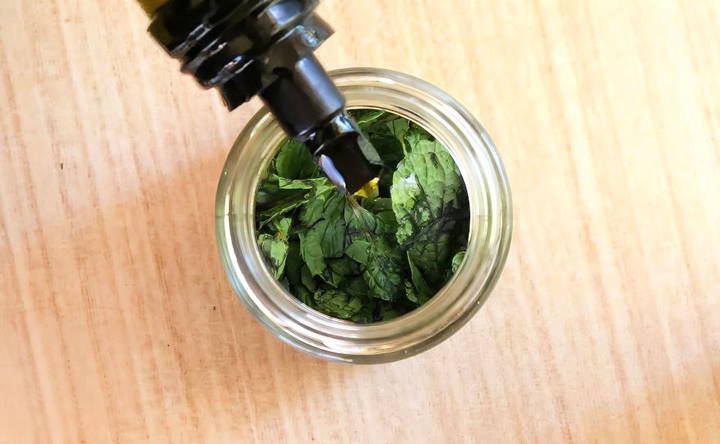
- Add Leaves to the Jar: Place the crushed peppermint leaves into the glass jar. Pack them in well but avoid overfilling.
- Pour Carrier Oil: Pour your chosen carrier oil over the leaves, ensuring they are completely covered. Leave a little space at the top of the jar so the oil can circulate.
- Seal and Wait: Close the jar tightly and place it on a sunny windowsill. The warmth from sunlight will help infuse the oil. Leave the jar for 24 hours to 3 days, checking every 12 hours to ensure the leaves remain submerged.
Step 4: Straining and Re-Infusing (Optional for Higher Potency)
- Strain the Oil: After 24 hours (or up to 3 days for a stronger infusion), strain the oil using a cheesecloth, nut milk bag, or strainer.
- Repeat Infusion (Optional): For a more potent oil, add a new batch of crushed peppermint leaves to the jar, pour in the already-infused oil, and allow it to steep again for another 24 hours to 3 days.
Repeating this process a few times can give you a stronger peppermint-infused oil.
Step 5: Final Straining and Storing
- Final Strain: After your last infusion cycle, strain the oil one last time to remove all peppermint particles.
- Transfer to a Dark Bottle: Pour the finished oil into a dark-colored bottle to protect it from light, which can cause the oil to deteriorate faster.
- Store in a Cool, Dry Place: Keep your homemade peppermint oil in a cool, dry place, but avoid refrigeration, as it can cause the oil to solidify if using coconut oil.
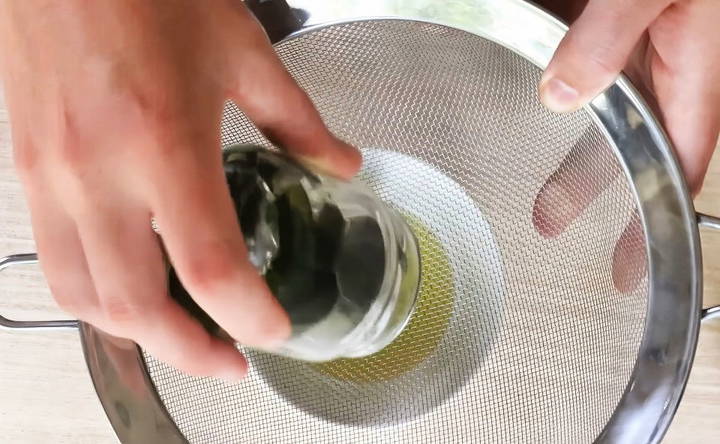
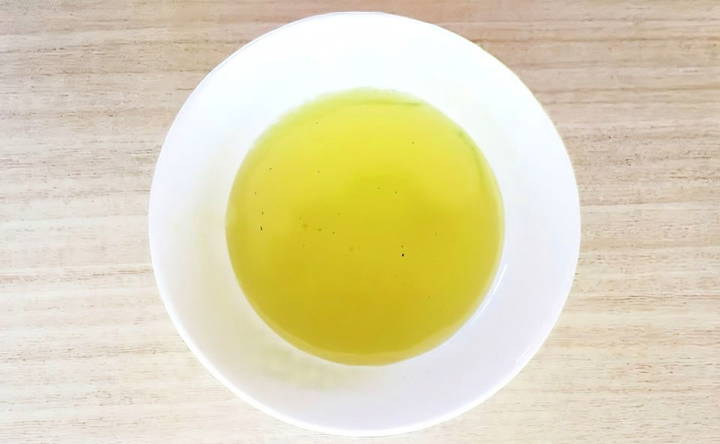
Your homemade peppermint oil will last up to 6 months when stored properly.
Ways to Use DIY Peppermint Oil
- Insect Deterrent Spray: Mix a few drops of your peppermint oil with water and spray around the house, especially in areas where bugs are frequent, like countertops, furniture, or windows.
- Cotton Ball Method: Place a few drops of peppermint oil on cotton balls and put them in areas where you want to deter insects, such as cabinets or closets.
- Natural Room Freshener: Add a few drops to a diffuser or mix with water in a spray bottle to make a natural room spray.
- Homemade Skincare: Dilute a few drops of peppermint oil in a carrier oil and use it in DIY lotions or balms. Its cooling properties make it a great ingredient for foot rubs and after-sun balms.
- Headache Relief: Dab a small amount on the temples or wrists (diluted in a carrier oil) to enjoy peppermint's soothing and cooling effects.
Benefits of DIY Peppermint Oil
Making peppermint oil at home offers several benefits:
- Natural Solution: This DIY oil is chemical-free, unlike many commercial products.
- Sustainable Choice: Homemade oil can be made without plastic waste, especially if you buy ingredients in bulk and reuse bottles.
- Customizable: Adjust the potency by re-infusing or using fresh batches of leaves until you reach your desired strength.
- Affordable: With simple ingredients and no need for complex equipment, making peppermint oil at home is cost-effective and easy.
Final Thoughts
Making DIY peppermint oil is a rewarding and practical project. Not only do you end up with a multi-functional oil that can be used around the home, but you also enjoy the process of making something natural and useful. While it won't be as concentrated as a true essential oil, this peppermint-infused oil still packs many of the aromatic and repellent properties that make peppermint popular. Whether you're aiming for a natural insect repellent or a fresh addition to your DIY skincare, this homemade peppermint oil is sure to be a valuable addition to your collection.
Give it a try and enjoy the fresh, invigorating scent of peppermint in your home!
FAQs About DIY Peppermint Oil
Discover answers to common FAQs about DIY peppermint oil, including benefits, uses, and safety tips for making your own essential oil blends.
No, this DIY process makes an infused oil, not a true essential oil. Essential oils require a steam distillation process, which involves specialized equipment to capture and condense the natural oils from the plant. While infused oil is less concentrated, it still offers many benefits and is easier to make at home without needing special tools.
Yes, but fresh leaves generally provide a stronger infusion. If using dried leaves, you may need to extend the infusion time and possibly re-infuse with fresh batches for a more potent oil.
Olive Oil: Common and mild, it won’t overpower the peppermint.
Coconut Oil: Offers additional skincare benefits but may solidify in cooler temperatures.
Jojoba Oil: Mimics the skin’s natural oils, making it ideal for topical uses.
Avoid heavy or strongly scented oils as they may overshadow the peppermint fragrance.
Stored correctly, peppermint oil made this way can last up to 6 months. Using a dark bottle and keeping it in a cool, dry place helps to preserve its freshness.
Peppermint oil can be potent, especially on sensitive skin. Always dilute before applying directly to the skin and avoid using around the eyes. Test on a small area of skin first to check for any adverse reactions. Additionally, keep peppermint oil away from pets, as it can be toxic to some animals, especially cats and dogs.
While spearmint can be used, peppermint generally has a stronger menthol content, providing a more potent aroma and bug-repelling effect. If using spearmint, consider re-infusing the oil for extra strength to achieve a similar effect.
If you notice a cloudy appearance, floating particles, or an unusual smell, the batch may have spoiled due to moisture. Fresh herbs can sometimes cause mold, so thoroughly dry your mint leaves before use or consider using dried leaves for better longevity.
Yes, any clean, sealable jar works fine. Reusing old glass jars, like those from jam or pickles, is a sustainable option. Ensure thorough cleaning and drying to prevent any residual moisture from affecting the oil.
Sunlight gently warms the oil, enhancing the infusion process. However, avoid leaving the jar in direct, intense sunlight to prevent the oil from overheating. A windowsill with indirect sunlight is ideal.
Rub a small amount on exposed skin, or mix it with a carrier oil for better absorption. Keep in mind, though, that while peppermint oil may help deter insects, its effectiveness on skin may vary depending on conditions like weather and skin type.
While peppermint-infused oil made with edible ingredients can be used in cooking, it’s not ideal for drinks as the oil may separate. For culinary purposes, it works well in savory recipes, dressings, or as a subtle flavoring in desserts.
Shake the jar every 12 hours to redistribute the herbs, helping the peppermint's properties infuse more evenly. This step also helps identify any early signs of spoilage.
Coconut oil, jojoba oil, and almond oil are excellent choices for skin and hair, as they provide additional benefits like moisture and are less likely to clog pores.


