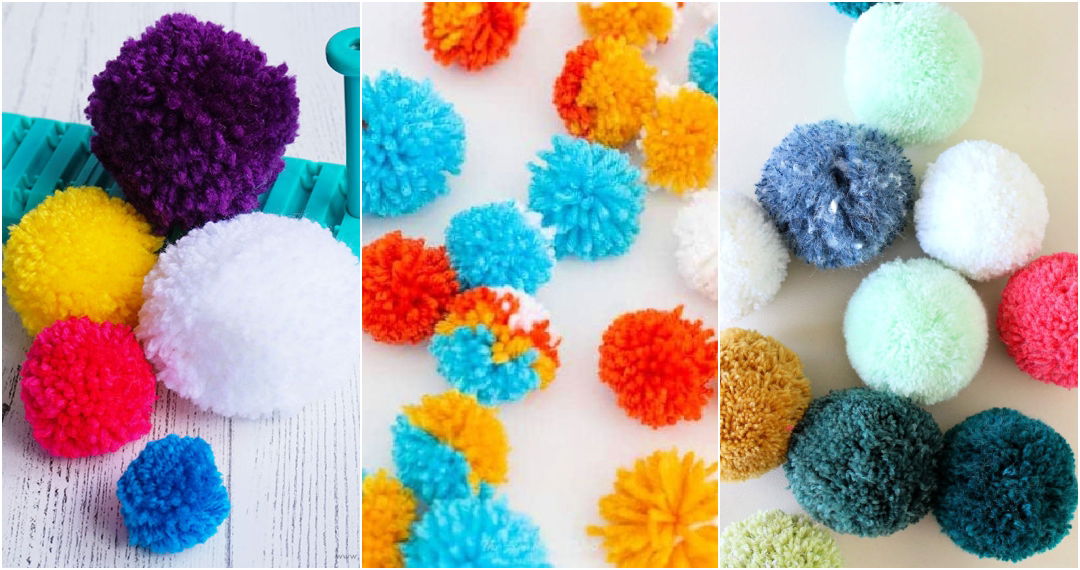
Making yarn pom poms is a fun and simple craft that everyone can enjoy. These fluffy creations can add a playful touch to various projects, from hats to home decor. With just a few materials, you can learn how to make pom poms of different sizes and colors. This guide will provide you with easy-to-follow steps, ensuring that your pom poms turn out perfectly every time.
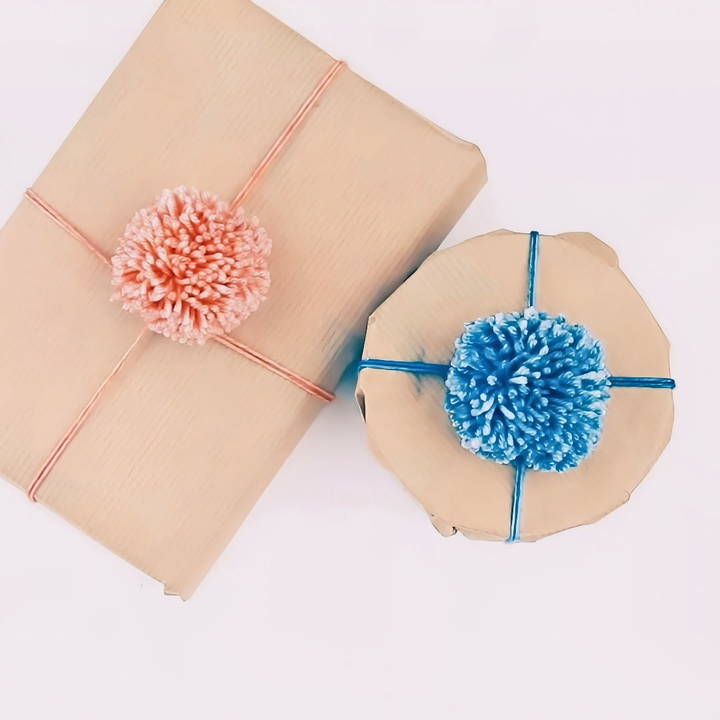
Ready to get crafting? The process of making yarn pom poms is straightforward and enjoyable. As you follow along, you'll discover tips that make each step easier. In no time, you'll be making your own beautiful pom poms to embellish your items or decorate your space. Let's jump into the instructions and start making your first pom pom!
Materials You'll Need and Why
- Yarn: Choose a soft, colorful yarn that speaks to you. I'm using a Malibu rego silky merino because of its delightful blend of silk and merino, which gives a luxurious feel to the pom poms.
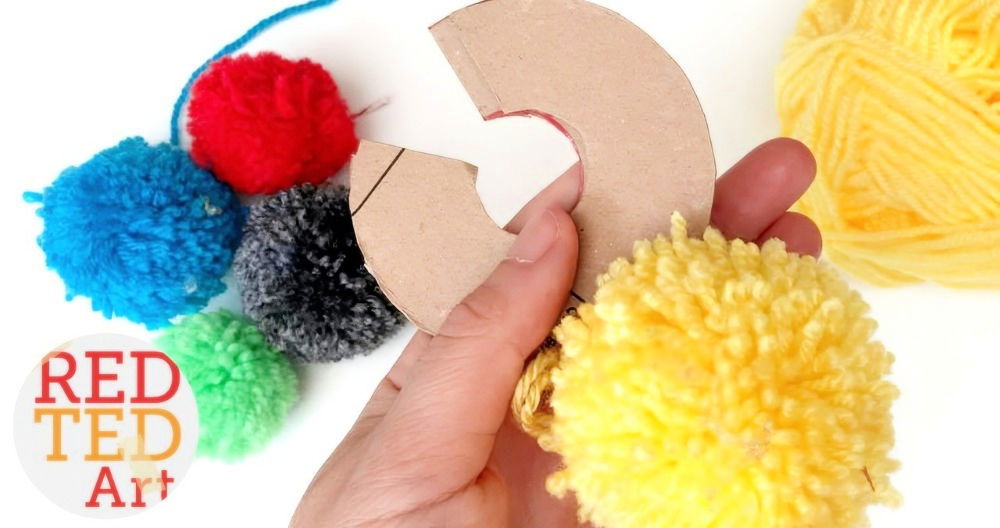
- Cardboard: A piece from an old tissue box or the back of a notebook will do. This will serve as our pom pom mold.
- Sharp Scissors: Essential for cutting through layers of yarn with precision and ease.
- Circular Objects for Tracing: Find something round for tracing the outer circle (like a jar of honey) and a smaller object for the inner circle (a quarter works great). These will outline our pom pom mold.
- Tinfoil (Optional): A handy trick to sharpen your scissors if they're starting to dull.
Step by Step Instructions
Make vibrant pom poms with our step-by-step guide! Learn how to prepare, craft, and finish your perfect pom pom effortlessly.
Preparing Your Pom Pom Mold
- Trace Your Circles: Use your circular objects to trace two identical donuts on your cardboard. These will be the scaffolding for your pom pom. The outer circle dictates the size of your pom pom, while the inner circle is where the magic of cutting and shaping happens.
- Cut Out the Donuts: With your sharp scissors, carefully cut out the donut shapes along with the inner circle. Make sure they're as identical as possible for consistency.
- Make an Entry Point: Snip a straight line from the outer edge to the inner circle on each donut. This will help us later in wrapping and cutting the yarn.
Making the Pom Pom
- Start Wrapping: Align your two donut molds and start wrapping them with yarn through the entry point. I recommend using double strands to speed up the process. The key here is not to wrap too tightly; maintain a neutral tension.
- Build It Up: Keep wrapping until your mold is generously covered. The more yarn you wrap, the fluffier your pom pom will be. I went around mine four to five times for that extra plumpness.
- Time to Cut: With your sharp scissors, carefully cut the yarn around the edge of the donut mold. This is where quality scissors come into play. If you're struggling, remember the tinfoil trick to sharpen them.
- Tie It Together: Cut a piece of yarn about 10-12 inches long. Slip it between the two cardboard molds and tightly tie it around the center of the pom pom. Knot it several times for security.
- Remove the Cardboard: Carefully pull away the cardboard molds to reveal your pom pom.
The Finishing Touches
- Give It a Haircut: Chances are, your pom pom might look a bit wild. Use your scissors to trim any longer strands and shape your pom pom into a perfect sphere. Tip: Placing a donut mold over the pom pom as a guide can help achieve a more uniform shape.
- Cleanup: If you've laid down newspapers or a garbage bag, cleanup should be a breeze. Simply wrap up the mess and discard it.
Congrats! You've made a fluffy pom pom. Use it to accent accessories, wrap gifts uniquely, or as a stress ball. The possibilities are endless!
Variations and Customizations
Making pom poms is a delightful craft that allows for a wide range of creativity and personal expression. Here's how you can vary and customize your pom poms to make each one unique:
Choose Different Yarns
- Experiment with yarn types: Beyond the standard acrylic yarn, try using cotton, wool, or even novelty yarns like chenille or tinsel for different textures.
Play with Colors
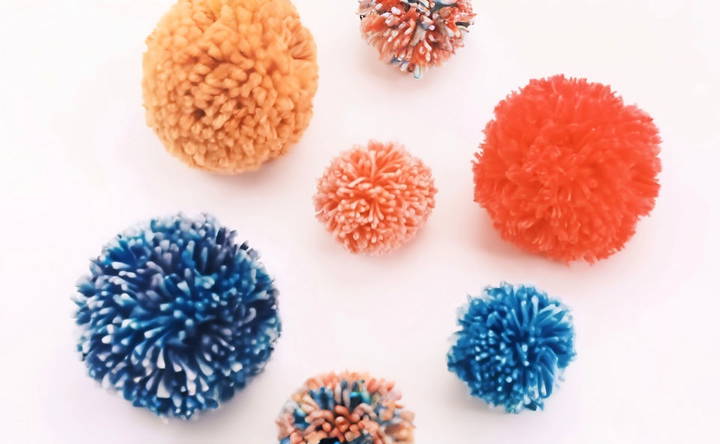
- Mix colors: Combine multiple colors in one pom pom for a multicolored effect. You can layer the colors or intersperse them for a speckled look.
Adjust the Size
- Vary the size: Use different-sized makers or templates to make pom poms from tiny to extra-large. Consider the final use to determine the best size.
Shape Your Pom Poms
- Shape them: After making your pom pom, trim it into shapes like hearts, stars, or even letters.
Add Patterns
- Make patterns: Plan your yarn wrapping to form stripes, polka dots, or other patterns within your pom pom.
Incorporate Other Materials
- Add embellishments: Glue on beads, sequins, or eyes to give your pom pom character. You can also tie on ribbons or attach felt pieces.
Functional Customizations
- Make them functional: Turn pom poms into keychains, bookmarks, or garlands. Attach them to hats, scarves, or bags as fun accessories.
Explore these variations to turn simple pom poms into personalized art. Enjoy the crafting process, have fun, and let your creativity flow!
Advanced Techniques
For those who have mastered the basics of pom pom making and are looking to challenge themselves, here are some advanced techniques to try:
Gradient Pom Poms
- Make a gradient effect: Start with a darker shade of yarn and gradually transition to lighter shades as you wrap the yarn around the pom pom maker. This makes a beautiful ombre effect.
Shaped Pom Poms
- Craft shaped pom poms: Use scissors to trim your pom poms into various shapes, such as hearts or stars. This requires a steady hand and a good eye for symmetry.
Patterned Pom Poms
- Design patterned pom poms: Plan your wrapping sequence to make stripes, checks, or other patterns. This can be done by alternating colors in specific sections.
Textured Pom Poms
- Experiment with texture: Mix yarns of different thicknesses and textures to add depth to your pom poms. Consider using fluffy, sparkly, or even metallic yarns for added interest.
Multi-Layered Pom Poms
- Try multi-layered pom poms: Make layers by wrapping sections of the pom pom maker separately, then cutting and shaping them to form a multi-layered look.
Incorporating Other Fibers
- Incorporate other fibers: Add strands of ribbon, tulle, or fabric to your yarn for an unexpected twist. This can add color and texture to your pom poms.
Use these techniques to improve your pom pom crafting. Remember, patience and practice are crucial.
Troubleshooting Common Issues
When crafting pom poms, you might encounter a few hiccups along the way. Here's a helpful guide to solving some common issues you may face:
Pom Pom Not Fluffy Enough
- Solution: If your pom pom isn't as fluffy as you'd like, try using more yarn. The more yarn you wrap, the denser and fluffier your pom pom will be. After cutting, give it a good shake and a trim for evenness.
Yarn Falling Apart
- Solution: This can happen if the yarn isn't tied tightly enough in the center. Use a strong piece of yarn or thread to tie a tight knot in the middle. Double or triple knot it to ensure it holds.
Uneven Shape
- Solution: An uneven pom pom often just needs a trim. Use sharp scissors to carefully shape it into a nice round ball. It's like giving your pom pom a haircut!
Pom Pom Looks Sparse
Solution: A sparse pom pom may need more layers of yarn. Next time, wrap the yarn around more times. If you've already cut the pom pom, you can carefully insert and tie additional yarn strands at the center.
Yarn Tangles During Wrapping
- Solution: Tangles can occur if the yarn is too long. Try cutting your yarn into shorter lengths before wrapping, or use a yarn dispenser to help manage the yarn as you work.
Difficulty in Tying the Center Knot
- Solution: It can be tricky to get a tight knot, especially on larger pom poms. Use a crochet hook or a friend's finger to hold the knot in place as you pull it tight.
Fixing these issues will help you make perfect pom poms. Practice makes perfect, so don't get discouraged. Keep crafting, and you'll be a pom pom pro soon!
FAQs About How to Make a Pom Pom
Discover essential FAQs about making pom poms. Learn tips, tricks, and step-by-step guides to make perfect pom poms.
The best yarn for pom poms is typically a worsted weight yarn because it's thick enough to make a full pom pom, but not too bulky. Acrylic and wool yarns are great choices as they fluff up nicely.
To make your pom pom denser, simply wrap more yarn around your cardboard template or pom pom maker. The more layers of yarn you add, the fuller your pom pom will be.
Yes, you can use other materials like tulle, ribbon, or fabric strips. Keep in mind that the texture and appearance of your pom pom will vary depending on the material you choose.
To attach a pom pom, leave a long tail of yarn when you tie off the center. Use this tail to sew the pom pom onto your project with a few stitches, ensuring it's secure.
For making multiple pom poms, you can wrap yarn around a larger object like a book or a piece of cardboard multiple times, then tie and cut them all at once, making several pom poms together.
Wrapping It Up
In conclusion, learning how to make yarn pom poms is a rewarding and enjoyable craft that anyone can try. With just a few materials and simple steps, you can make colorful pom poms to brighten your projects. Make sure to experiment with different sizes and colors to find your favorite styles.


