Making putty at home is a fun and easy activity that both kids and adults can enjoy. This DIY guide will teach you how to make a simple putty, similar to the classic Silly Putty, using just a few household ingredients. It's a great sensory activity for children and can be an entertaining way to pass the time. Let's dive into the process!
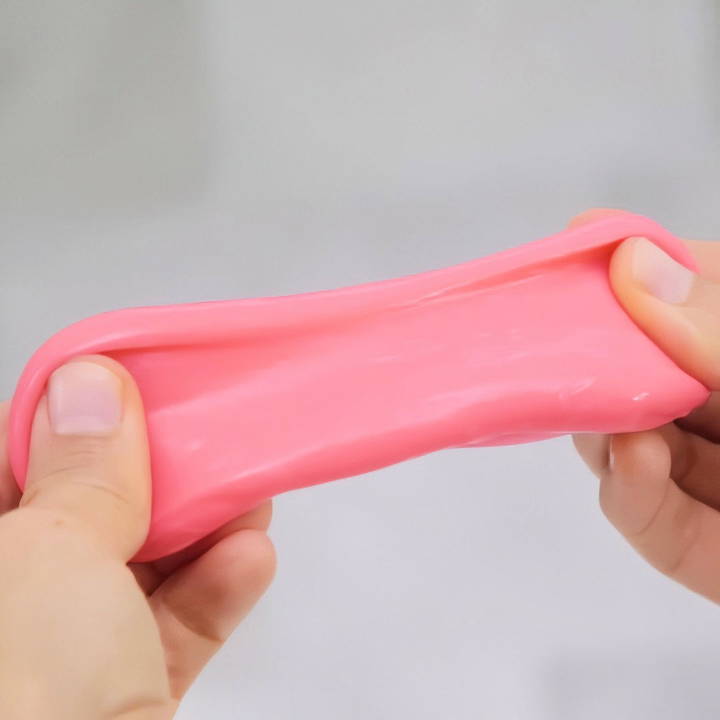
Why Make Your Own Putty?
Homemade putty is an excellent project for a few reasons:
- Cost-effective: It uses affordable ingredients like Elmer's glue and borax, making it a budget-friendly alternative to store-bought versions.
- Customizable: You can add food coloring to make any color you want, perfect for themed crafts or party favors.
- Sensory Play: The stretchy and squishy texture of putty makes it ideal for kids who enjoy hands-on activities.
What You'll Need
Before starting, gather these simple supplies:
- Elmer's School Glue (white glue works best)
- Borax (1 tablespoon)
- Water (4 cups)
- Optional: Food Coloring for colored putty
- Mixing Bowls and a spoon or stick for stirring
These basic ingredients are easy to find and, in many cases, might already be in your home.
Step by Step Instructions
Learn how to make putty with our step-by-step guide. From preparing the borax solution to kneading, plus fun and safety tips are included!
Step 1: Prepare the Borax Solution
The first step involves making a borax solution that will react with the glue to form putty:
- Measure and Mix: Add 1 tablespoon of borax to 4 cups of warm water in a mixing bowl.
- Stir: Give it a quick stir to help the borax dissolve. Note that the borax may not dissolve entirely, but that's okay. You just want to get it mixed well enough to interact with the glue later.
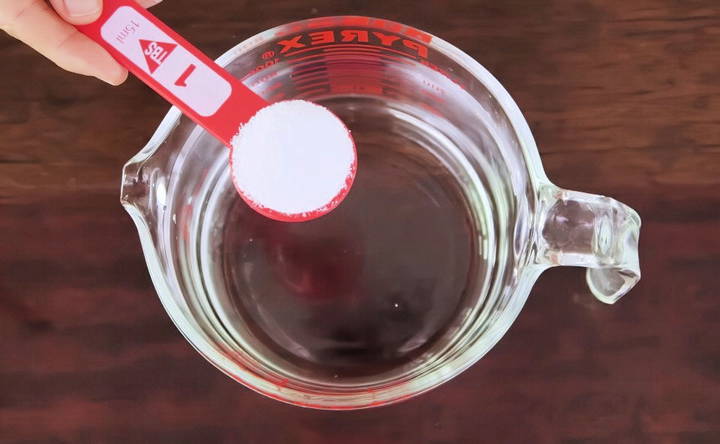
This solution is essential for the chemical reaction that will turn glue into stretchy putty.
Step 2: Add the Glue
Now that the borax solution is ready, it's time to add the glue:
- Stir the Solution: Before adding the glue, stir the borax solution again. This helps prevent the glue from clumping together when it hits the water.
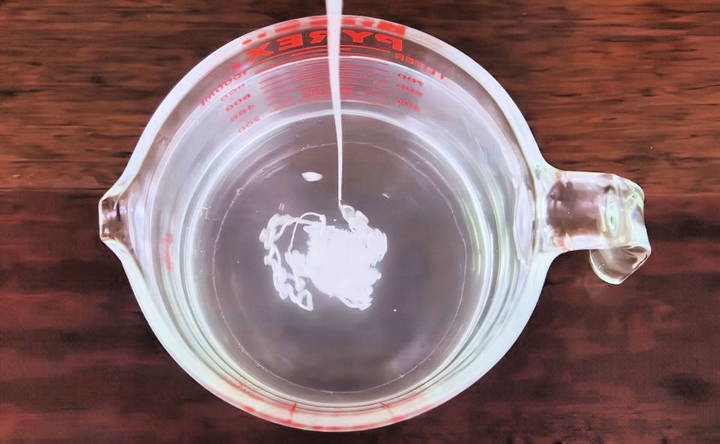
- Pour the Glue: Hold the glue bottle at least a foot above the surface of the solution. This height ensures the glue has enough momentum to break through the surface tension of the water, allowing it to mix evenly with the borax.
- Amount of Glue: The quantity of glue depends on how much putty you want to make. More glue will yield more putty.
Step 3: Mix and React
This is where the magic happens:
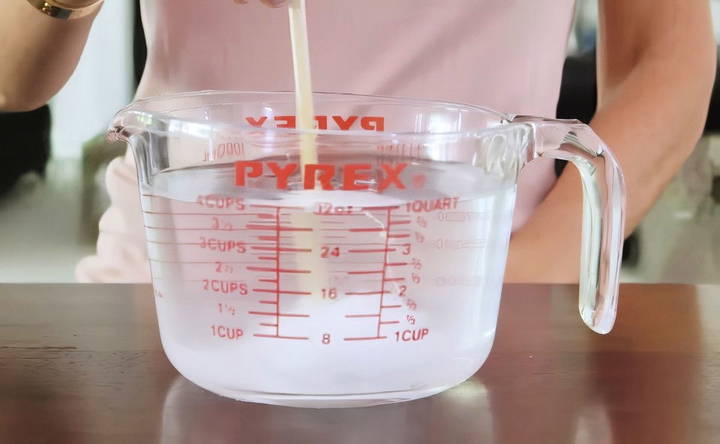
- Twirl the Glue: After adding the glue to the borax solution, twirl it gently around in the water using a stick or spoon. This motion helps the glue mix well with the borax and start forming a putty-like consistency.
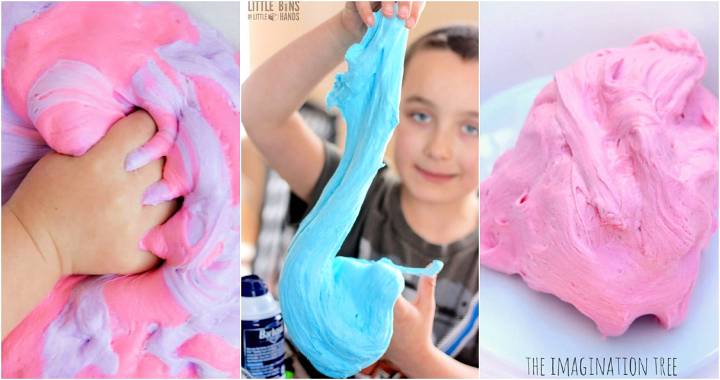
- Check the Texture: As the glue reacts with the borax, it will start to form a stretchy, sticky mass. It should resemble a soft, pliable putty, similar to a miniature cotton candy.
Step 4: Knead the Putty
After the glue has started to react, it's time to work it with your hands:
- Remove from Solution: Take the putty out of the water. It might be a bit slimy at first, but that's normal.
- Knead: Use your fingers to knead the putty, squeezing out any excess water. Continue kneading until the putty has a smooth, stretchy texture.
- Adjust if Needed: If the putty feels too sticky, you can dip it back into the borax solution briefly to firm it up.
The kneading process is crucial for achieving that classic putty texture that's both stretchy and pliable.
Optional: Add Color to Your Putty
For a more personalized touch, you can add a few drops of food coloring to your glue before pouring it into the borax solution:
- Mix Food Coloring: Add the food coloring directly into the glue bottle or into the glue before mixing it with the borax solution. Stir thoroughly to ensure an even color.
- Proceed with the Process: Follow the remaining steps as outlined above. The food coloring will mix into the putty as it forms, giving you a vibrant, custom-colored batch of putty.
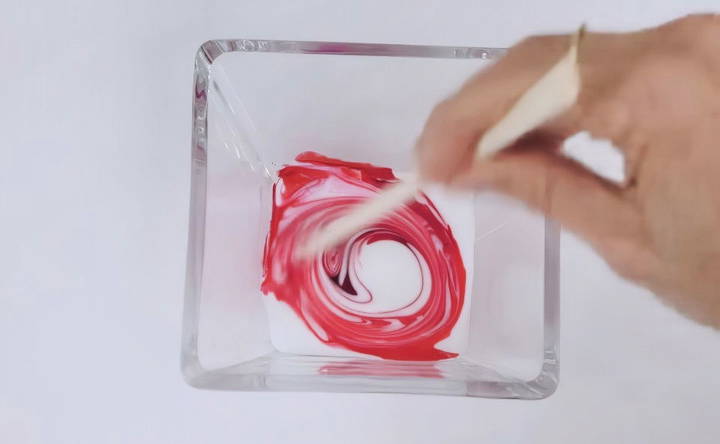
This step is optional but can make your homemade putty more fun, especially for kids who enjoy colorful crafts.
Storing Your Putty
Homemade putty can last for several weeks if stored properly:
- Store in an Airtight Container: Place the putty in a small, airtight container or plastic bag when not in use. This prevents it from drying out and keeps it pliable.
- For On-the-Go Fun: Pop your putty into a plastic egg or small container. It makes for a perfect travel toy or party favor.
Proper storage ensures your putty stays fresh and ready for play anytime.
Fun Ways to Play with Putty
Putty is more than just a stretchy toy—it's versatile and fun to use in different ways:
- Bounce It: Roll your putty into a ball and see how high it bounces. It's surprisingly resilient!
- Pick Up Prints: Press your putty onto newspapers or comic strips and lift it up to see the images transfer. This classic trick still amazes kids and adults alike.
- Stretch and Shape: Stretch the putty into long strings, shape it into designs, or squish it flat for a satisfying tactile experience.
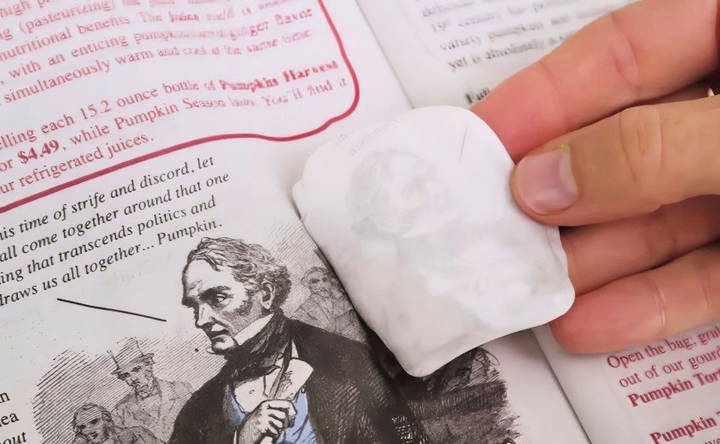
These activities make the putty entertaining and engaging, providing endless fun.
Troubleshooting Tips
Here are some common issues you might encounter and how to fix them:
- Too Sticky: If your putty feels too sticky, knead it more or dip it back into the borax solution briefly.
- Too Hard: If the putty becomes too firm, try adding a few drops of water and kneading it to soften.
- Clumping Glue: If the glue clumps up when added, make sure you stir the solution before pouring the glue in and add the glue slowly from a height.
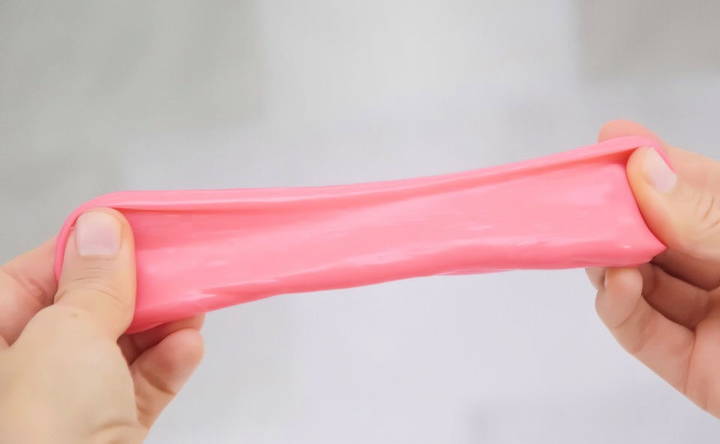
With these adjustments, you can get the perfect putty consistency every time.
Safety Tips
While making and playing with homemade putty is generally safe, keep the following in mind:
- Supervise Young Children: Borax is a common household item but should not be ingested. Always supervise young children during the activity.
- Wash Hands: After handling the putty, ensure everyone washes their hands, especially before eating.
- Avoid Sensitive Skin: If anyone has sensitive skin, you may want to wear gloves during the kneading process to avoid irritation.
These precautions will ensure a safe and enjoyable crafting experience for everyone involved.
Conclusion
Making homemade putty is a fun, easy, and inexpensive activity that kids and adults will enjoy. With just a few ingredients like Elmer's glue and borax, you can make a stretchy, bouncy material that's perfect for sensory play. Whether you're making colorful putty or experimenting with new textures, this DIY project is sure to bring joy and entertainment. So, gather your supplies and start making your very own batch of putty today!
FAQs About Making Your Own Putty
To make colored putty, add a few drops of food coloring directly to the glue before mixing it with the borax solution. Stir well to ensure the color is evenly distributed, then proceed with the standard mixing process.
If the putty feels too sticky, dip it back into the borax solution for a few seconds, then knead it thoroughly. This will help absorb the excess moisture and firm up the texture.
Yes, you can use clear glue, but it might produce a slightly different texture. White glue tends to create a more opaque and stretchy putty, while clear glue results in a transparent, glossy finish.
Store your putty in an airtight container or a resealable plastic bag when not in use. This will help maintain its pliability and prevent it from hardening.
Make sure to stir the borax solution just before adding the glue and pour the glue from at least a foot above the surface. This helps the glue mix evenly without clumping.
Borax is generally safe when used in small amounts, but avoid ingestion. Always supervise children during the process and ensure they wash their hands after handling the putty.
Yes, if the putty is too firm, add a few drops of water and knead it to soften. If it’s too soft, dip it back into the borax solution to make it firmer.
The amount of glue depends on how much putty you want. More glue will make a larger batch, while less will make a smaller one. Adjust according to your needs.
Wipe down surfaces with warm, soapy water to remove any borax residue or glue spills. If putty sticks to clothing, remove excess and soak in warm water before washing.
Elmer's glue is recommended for the best results, but other PVA-based glues may work. However, the consistency and texture might differ, so adjustments may be needed.


