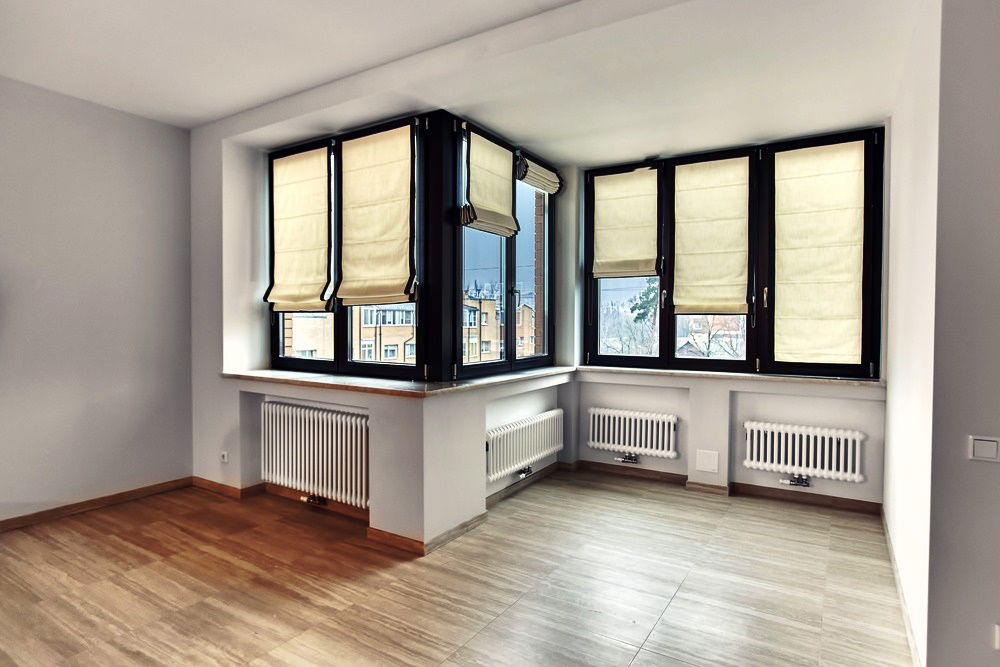
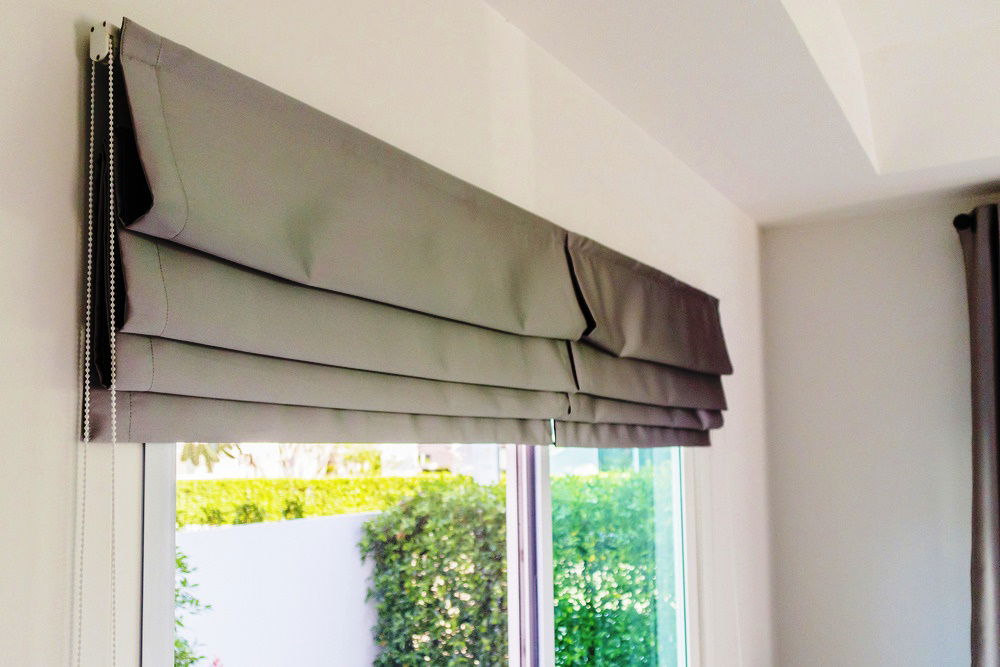
Roman blinds are often the most preferred window treatment of many homeowners because of their beautiful and classy presentation. They’re simply large pieces of fabric layered and sewn in a style suitable for your windows.
The good thing is you can make your own roman blinds yourself. Although it might not be as easy as making roller blinds, the outcome is worth the time. You’d have your roman blinds hanging pretty in your room in specific steps and using the right tools.
This is a guide on how to make your own roman blinds. Keep on reading to learn more.

Materials That You Need To Prepare In Making Your Own Roman Blinds
To make your work easier and faster, you should gather all tools and materials you need to make your roman blinds for windows. Prepare the following materials:
Main Fabric: Selecting the fabric for you majorly depends on your choice. However, a curtain-weight fabric is preferable to give the blind somebody, hence hanging up better.
Lining Fabric: Lining helps to add extra weight to your blind, hide the roman blind tapes, increase light block, improve thermal qualities, and enhance the shape of the drape.
- Measuring Tape
- Sewing Machine
- Sewing Thread
- Blind Cord and Rings
- Blind Handle
- Wooden Dowel Pieces
- Wooden Top Border Piece
- Fabric Pencil
- Fabric Ruler
- Dressmaker Pins
- Adhesive Tape
- Fabric Scissors
- Drill
- Iron
- Screw Driver
- Wall Cleat
- Steps In Making Roman Blinds
Want to try out making your own at-home roman blinds? Indicated below are the steps you need to undertake.
Step 1: Measure Your Window Length
The length and width of the window space determine the size of the roman blind you want to hang up there. So even before you put scissors in the fabric you want to use, measure how long and wide your window is. Doing this would help you know the accurate measurement of the fabric you need to make your roman blinds and prevent waste of materials or wrong cuts.
To proceed, place a measuring tape on your window. Let the tape span from the top of the window down to the bottom to check the length. The width would be measured by taking your tape from left to right. Now depending on your preference, you may want your roman blinds to fit within the frame or have a little excess outside on your wall. Take note of the figures as they’ll be needed as you proceed.
Step 2: Work On Your Fabric
Basically, you’re fashioning your fabric into the measurements you’ve taken from your window space initially.
Using your ruler and fabric pencil, mark the measurement on the fabric. But add about 5cm to each of the four edges to make room for hemming. You need to make a straight cutting through the fabric following the measurement. Therefore, use the help of your fabric ruler and pencil to make a straight line that will guide you through the cut. Note that this step should be repeated on your lining fabric.
Step 3: Work On The Fabric`s Hem
To achieve the desired roman blind result, you need to work towards having straight seams. There’s a trick for that. Use your iron to press the base and lining fabric along the hemline. Fold the edges and press with the iron again. Let the right sides of the fabric face each other and pin the seams in place. Next is to sew a 2.5 seam along the edges of the fabric. Now you can put the right sides out and iron the hemmed edges. What do you see? Perfectly straight seams.
Step 4: Moving On To The Dowel Pockets
The next step would be about the dowelling. With this, the pleated effect roman blinds give when drawn would not be there. Hence, you need to take this step carefully.
Firstly, you have to mark out the rightful positions for dowelling. To do this, use your ruler and pencil to make the spot 5cm below the top of your fabric. After this, keep measuring 20-30cm intervals on your fabric and marking them out. If you did this accurately, the bottom section should be about half the size of an original interval panel.
You’ll need lining fabrics to cover the dowels that will help keep the roman blind in place. Cut your lining fabric into pieces of about 8cm in height, and the width should be as long as you cut for the base fabric. For each section, fold the cut lining piece into half and create a stitched seam about 1cm in. This should leave you with a pipe-like fabric piece. Do these for all dowel pockets and iron them.
Next is to attach these dowel pockets to the sections on your fabric. Use dressmaker pins and then sew each edge of the dowel pockets to the portions you’ve marked out. There are several patterns you could create with your roman blinds. Select your pattern of choice and learn how to make them yourself.
Step 5: Attaching The Blind Rings
Measure 2cm away from the edge of your fabric and attach a blind ring to each pocket section using a needle and thread. After this measure, 20-40cm across the width of the blind and keep attaching the blind rings. This would leave you with two rings on both sides of each dowel interval.

Step 6: Fitting The Wooden Border
Fix your wooden border as desired in your window space. Tighten it in its place using a drill and screw. Also, cut your adhesive tape to the length of your wooden board and attach a side to the front of the board. Still, on the board, place screw eyes to the position your want to place your blind cord. Secure your dowels by stitching them into your lining pockets. Tape your blinds with Velcro to your window space.
Step 7: Fixing Your Blind Cording
Congratulations! You’re on to the final step in making your roman blinds. By now, you should be happy to see your roman blinds almost ready. One last thing, thread the cording through each blind ring beneath the blind. Plus, add a blind handle of choice, and your roman blind is ready for use.
Conclusion
Making your own roman blinds only requires your creativity, ability to measure accurately, and the use of sewing machines. If you’re good with these, you’re not far away from making your own roman blinds. Using the listed materials, follow these steps and see what you can make out of it.

