Making your own seed paper is a fun, eco-friendly craft project that transforms scrap paper into something useful and beautiful. Best of all, it's an activity that reduces waste while giving back to nature. This guide will lead you step-by-step in making your own DIY seed paper at home.
What Is Seed Paper?
Seed paper is handmade paper that contains embedded plant seeds. Once the paper is planted in soil, the seeds germinate, and the paper breaks down, allowing the seeds to sprout and grow. It's a creative way to recycle old paper scraps and give them a new life, turning them into something that can grow flowers, herbs, or even vegetables.
Why Make Seed Paper?
There are several reasons why you might want to make seed paper:
- Eco-friendly: It reduces waste by recycling paper and encourages sustainability.
- Customizable: You can make it with different types of seeds, paper colors, and add-ins like dried flowers.
- Gifts: Seed paper makes for thoughtful gifts, whether shaped into greeting cards, gift tags, or small decorative pieces.
- Educational: It's a great way to teach kids about sustainability and the plant-growing process.
Now, let's dive into how you can make seed paper at home.
Materials Needed for DIY Seed Paper
Here's a list of materials you will need for this project:
- Scrap paper: You can use old newspapers, used printer paper, tissue paper, or any other recyclable paper.
- Seeds: Choose small, easy-to-grow seeds like wildflowers, herbs (like basil or parsley), or vegetables (like lettuce).
- Blender: A dedicated blender for crafting is ideal, as you will be using it to break down the paper.
- Water: To soften and break down the paper fibers.
- Strainer: To drain excess water from the paper pulp.
- Sponge or towel: For squeezing out the remaining water from the pulp.
- Screen or mesh: To shape and flatten your seed paper.
- Dried flowers (optional): For added decoration and color.
- Cookie cutters (optional): To shape your seed paper into fun designs.
Step by Step Instructions
Learn how to make DIY seed paper with easy step-by-step instructions. Perfect for unique gifts or planting your own garden!
1. Collect and Prepare Your Scrap Paper
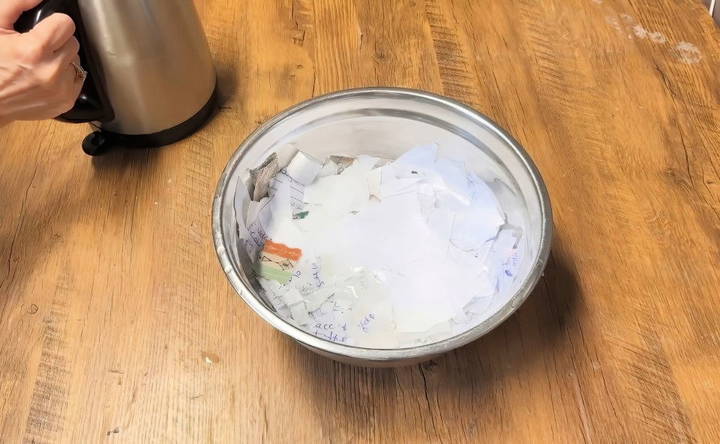
Start by gathering all your scrap paper. You can use almost any type of paper, though paper with a thinner texture (like tissue or printer paper) is easier to blend. Avoid glossy or coated paper, as it doesn't break down well.
Tear the paper into small pieces, roughly 1-2 inches in size. This step helps speed up the soaking and blending process.
2. Soak the Paper
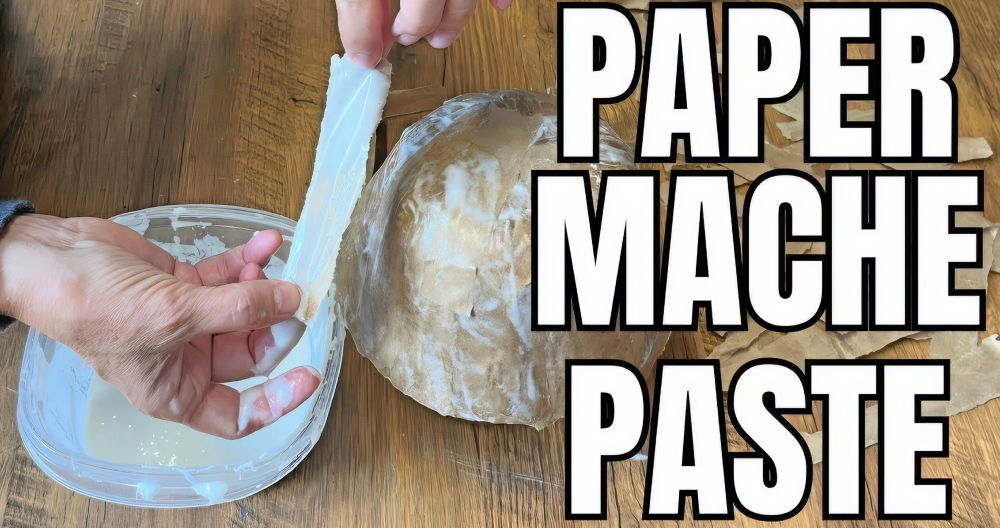
Place your torn paper pieces in a large bowl and cover them with boiling water. Let the paper soak for several hours, preferably overnight. The hot water helps to break down the fibers in the paper, making it easier to blend into a pulp.
3. Blend the Paper into a Pulp
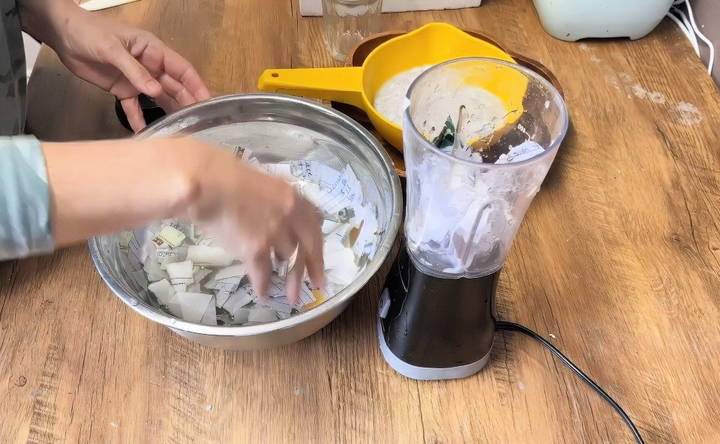
Once the paper is thoroughly soaked, it's time to blend it. Scoop the soaked paper into your blender and add more water if needed. Blend on high until you achieve a smooth, pulp-like consistency. The mixture should be similar to a watery paste, without any visible paper chunks.
4. Strain the Pulp
Next, you need to remove as much water as possible from the pulp. Pour the blended pulp into a fine mesh strainer over a bowl to drain excess water. Gently press the pulp with your hands or use a sponge to squeeze out additional moisture.
This step is crucial. The less water remaining in the pulp, the easier it will be to shape and dry your seed paper.
5. Add Seeds and Mix
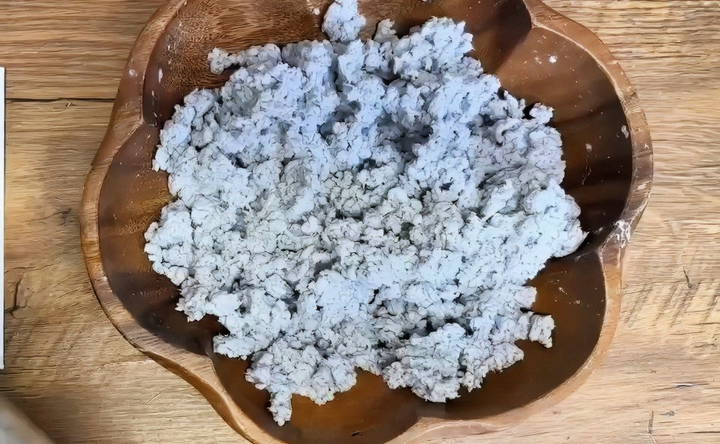
Once the pulp is well-strained, it's time to add your seeds. Simply sprinkle the seeds over the pulp and mix them gently with your hands or a spoon. Be careful not to crush the seeds during this process, as you want them to remain viable for planting.
The amount of seeds you use depends on how thickly you want them spread throughout the paper. Aim for an even distribution so that when the paper is planted, seeds are spread across the area.
6. Add Dried Flowers (Optional)
For added beauty, consider sprinkling dried flower petals into the pulp mixture. This not only makes your seed paper more colorful but also enhances its appearance when given as a gift. Simply crumble dried flowers and mix them into the pulp alongside the seeds.
7. Shape the Seed Paper
You can now shape your seed paper. There are two common methods to do this:
- Flat Sheets: If you want traditional seed paper sheets, pour the pulp mixture onto a flat surface lined with a screen or mesh. Spread it out evenly with your hands or a rolling pin to achieve your desired thickness (usually 1/8 to 1/4 inch thick).
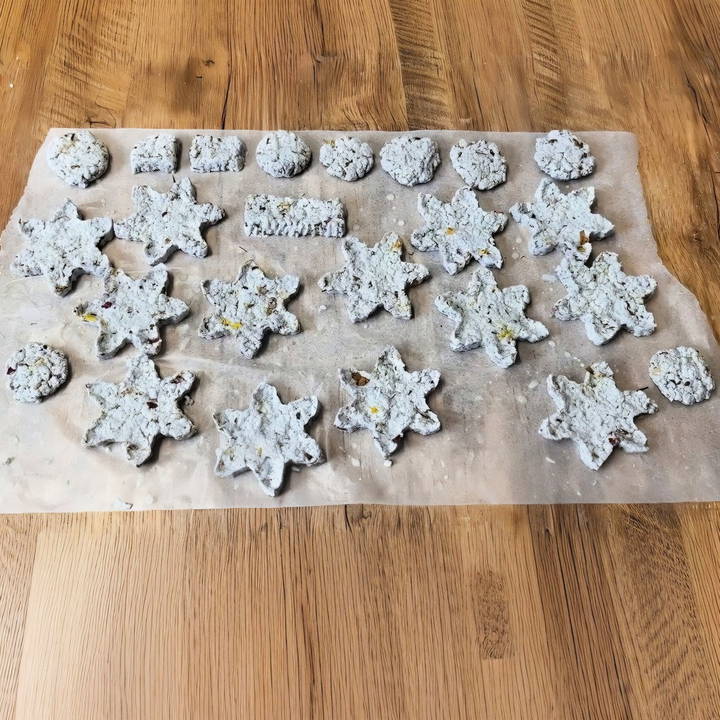
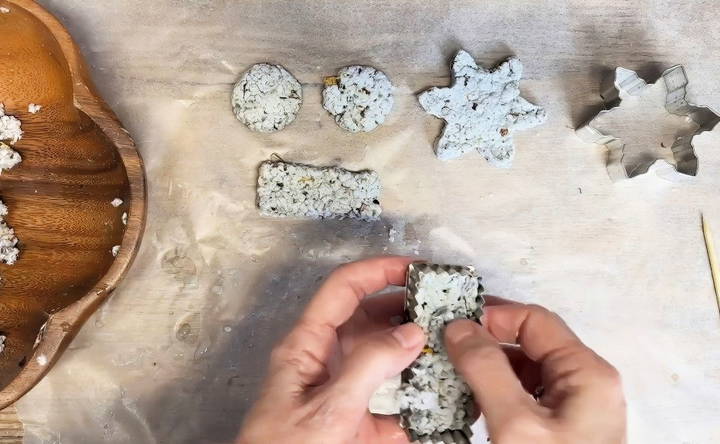
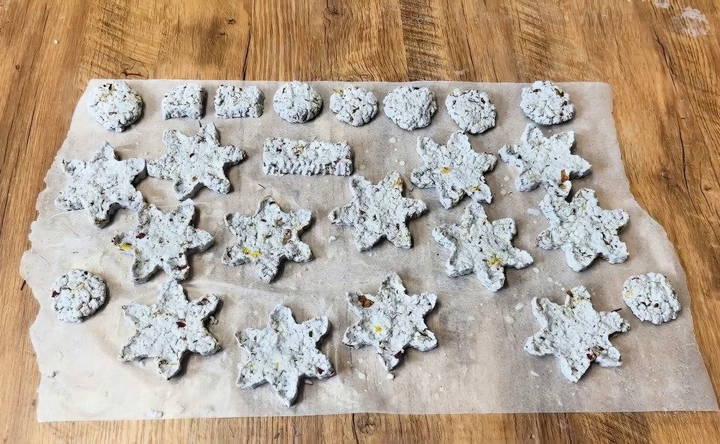
- Shapes with Cookie Cutters: Alternatively, you can use cookie cutters to make fun shapes. Press the pulp mixture firmly into the cookie cutter, ensuring it holds the shape.
8. Remove Excess Water
At this point, you want to get rid of any remaining water in the seed paper. Use a sponge or towel to press down on the pulp, absorbing excess moisture. This will help speed up the drying process.
9. Dry the Seed Paper
Let your shaped seed paper dry completely. The drying process can take anywhere from 24 to 48 hours depending on the thickness of the paper and the humidity in your area. To ensure even drying, flip the paper after a few hours.
If you're in a hurry, you can place the paper in a sunny spot or use a fan to circulate air. Just be cautious not to expose the paper to too much heat, as it may damage the seeds.
10. Trim and Finish
Once dry, you can trim the edges of the paper if needed, or leave them rustic for a natural look. Your seed paper is now ready to use! You can write on it with markers, use it for card-making, or give it as gift.
Creative Ideas for Using Seed Paper
Seed paper isn't just for planting—it's versatile and can be used in various creative ways. Here are a few ideas to get you inspired:
- Greeting Cards: Make personalized cards for special occasions such as birthdays, weddings, or Mother's Day. Simply write your message on the seed paper, and after the recipient reads it, they can plant the card to grow flowers!
- Gift Tags: Punch a hole in a small piece of seed paper and attach it to a gift as a tag. This is a lovely way to add a personal, eco-friendly touch to your presents.
- Wedding Favors: Give guests a memorable keepsake by crafting seed paper wedding favors. You can shape the paper into hearts or flowers, add a ribbon, and attach a small note with planting instructions.
- Business Cards: For a unique and sustainable business card option, use seed paper. It's a great way to make a lasting impression while promoting eco-conscious practices.
- Event Invitations: Make eco-friendly event invitations from seed paper, encouraging your guests to plant them after the event. Not only will they serve as a beautiful reminder, but they'll also leave a positive environmental impact.
Planting Your Seed Paper
To plant your seed paper, follow these simple steps:
- Prepare the soil: Choose a spot with good sunlight and prepare the soil by loosening it with a rake or hand trowel.
- Plant the paper: Lay the seed paper flat on the soil, then cover it with a thin layer of additional soil (about 1/4 inch deep).
- Water well: Gently water the area, ensuring the paper is soaked but not waterlogged.
- Wait and watch: Keep the soil moist by watering regularly, and soon your seeds will begin to sprout!
Conclusion
Making your own DIY seed paper is a rewarding and sustainable project that turns recycled materials into something that keeps on giving. Whether you're making it for yourself, as a gift, or for a special event, seed paper combines creativity with eco-consciousness. With these easy-to-follow steps, you can make plantable paper that will grow into beautiful flowers or useful herbs in no time. Happy crafting!
FAQs About DIY Seed Paper
Learn everything about DIY seed paper with our comprehensive FAQs. Discover tips, techniques, and benefits of making your own seed paper.
It’s best to use thinner, recyclable paper like printer paper, tissue paper, or newspaper. Avoid glossy or coated paper as they don’t break down well during the blending process.
No, you don’t need to soak the seed paper before planting. Simply plant it in soil, cover lightly, and water it regularly. The paper will decompose naturally.
Drying time depends on the thickness of your paper and the environment. It typically takes 24-48 hours. To speed up the process, place the paper in a sunny or well-ventilated area.
While it's not a common method, using a salad spinner might help remove some excess water, though results may vary. It’s worth experimenting.
Yes, seed paper can be stored, but it’s best to use it within the same planting season to ensure seed viability.
Yes, you can add food coloring or use colored scrap paper to tint your seed paper. Just avoid using glossy or heavily dyed paper that may contain chemicals.
Small, easy-to-grow seeds such as wildflowers, herbs, or vegetables like lettuce are ideal. Avoid using large seeds as they may interfere with the paper's structure.
Yes, a paper shredder is a great way to prepare your scrap paper before soaking. It helps break the paper down into manageable pieces, speeding up the process.
To avoid damaging the seeds, mix them into the pulp gently after most of the water has been removed. Be careful not to blend or crush the seeds during this step.
No special steps are required. Simply plant the seed paper under a thin layer of soil, water it regularly, and ensure the soil remains moist until the seeds germinate.


