Slime is a fun, tactile craft that has captivated people of all ages. Whether you're looking to entertain kids on a rainy day, add an exciting activity to a party, or simply want to enjoy the satisfying sensation of making something gooey and fun, slime is the perfect choice. This step-by-step tutorial provides an easy, reliable way to make homemade slime with only three basic ingredients. Whether you're a complete beginner or have tried making slime before, this guide covers everything you need to know.
What is Slime?
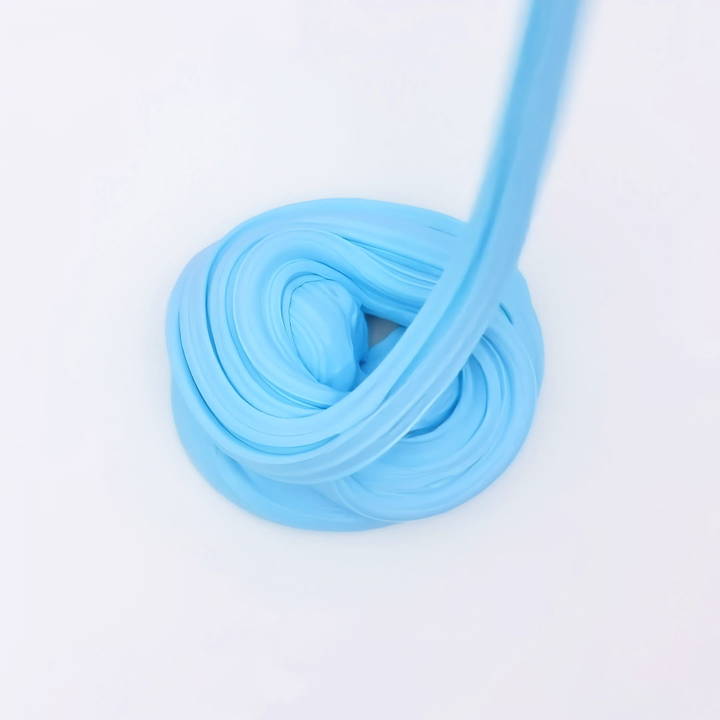
Slime is a stretchy, gooey substance that behaves like both a liquid and a solid. Its unique texture and playful properties make it popular among kids, educators, and DIY crafters. Made primarily from glue, a slime "activator" (which causes the glue to solidify into a slimy texture), and optional colorings or textures, slime is as fun to make as it is to play with.
Ingredients You'll Need
To make slime, you only need three key ingredients. These are:
- PVA School Glue: You can use any PVA-based glue, but many crafters recommend Elmer's School Glue. This glue provides the perfect consistency for slime.
- Activator (Borax Solution): This is the magic ingredient that turns glue into slime. For this recipe, you will use a solution made from water and borax (a common household cleaner).
- Coloring (Optional): To give your slime a fun, colorful twist, you can add acrylic paint or food dye. This step is optional but highly recommended for adding creativity to your slime-making process.
Equipment Needed:
- A mixing bowl
- Measuring cups and spoons
- A mixing spoon or spatula
- Squeezy bottle (for storing activator, if desired)
- Airtight container for slime storage
Step by Step Instructions
Learn how to make slime with simple, step-by-step instructions. Perfect for kids and adults, includes troubleshooting tips and personalization ideas.
Step 1: Preparing the Activator Solution
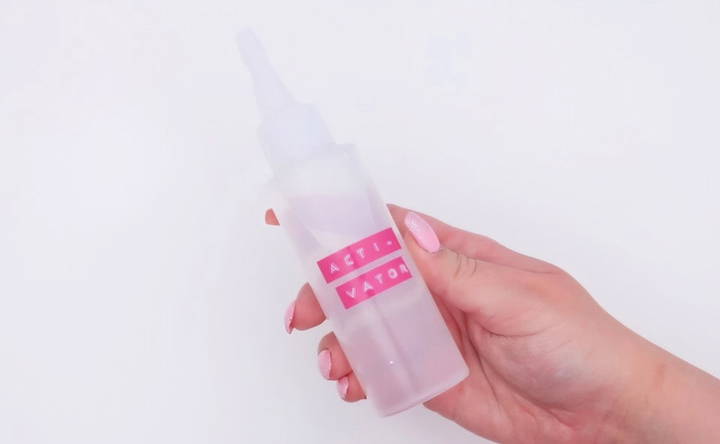
The activator is what transforms your glue into slime. For this recipe, you'll be making a borax solution as your activator.
Ingredients for the Activator:
- 1 cup of warm water
- ½ teaspoon of borax
Instructions:
- In a jug or large container, pour one cup of warm water. The warmth helps the borax dissolve more effectively.
- Add ½ teaspoon of borax to the water.
- Stir the mixture well until all the borax crystals have dissolved. This may take a minute or two.
- Once dissolved, you can leave the activator in the jug or transfer it to a squeezy bottle for easier use. Many people prefer using a bottle as it allows for better control when adding the activator to the glue mixture.
Step 2: Preparing the Glue Base
Once your activator is ready, it's time to prepare the glue base, which is the foundation of your slime.
Ingredients for the Slime Base:
- 1 bottle of PVA school glue (about 4–5 ounces)
- Coloring (optional)
Instructions:
- In a large mixing bowl, empty the entire bottle of PVA glue.
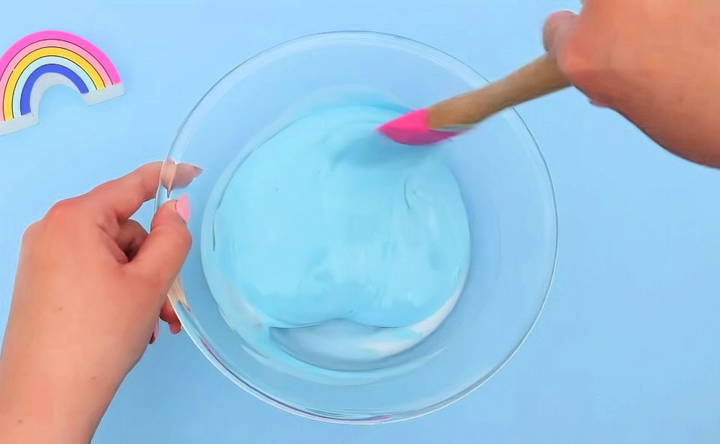
- If you want colored slime, now is the time to add acrylic paint or food coloring. A few drops or a small squirt of paint should suffice. Mix the color into the glue thoroughly until it's well-combined.
Step 3: Activating the Slime
This step is where the magic happens! By slowly adding the activator solution to the glue, the transformation begins.
Instructions:
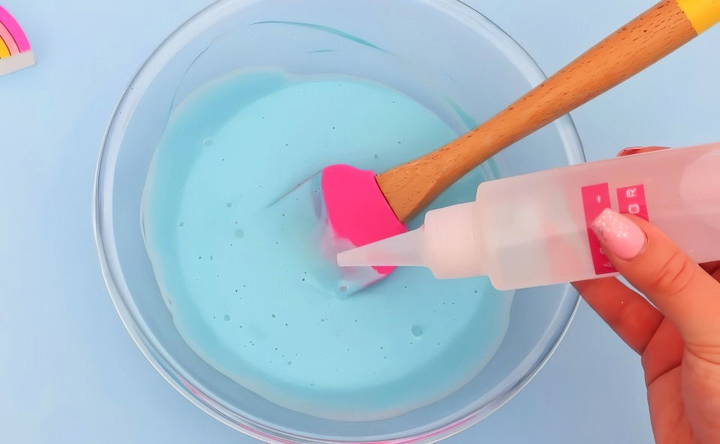
- Slowly add a small amount of the borax solution (activator) to the glue mixture. Start with about one teaspoon at a time.
- Stir the mixture well after each addition of activator. You'll notice that the glue begins to thicken and pull away from the sides of the bowl as it transforms into slime.
- Be careful not to add too much activator too quickly. Adding too much will result in a rubbery, hard slime that's not stretchy. Go slow, and check the consistency as you go.
Step 4: Kneading the Slime
Once the slime begins to come together, it's time to get hands-on! This part is not only necessary but also fun.
Instructions:
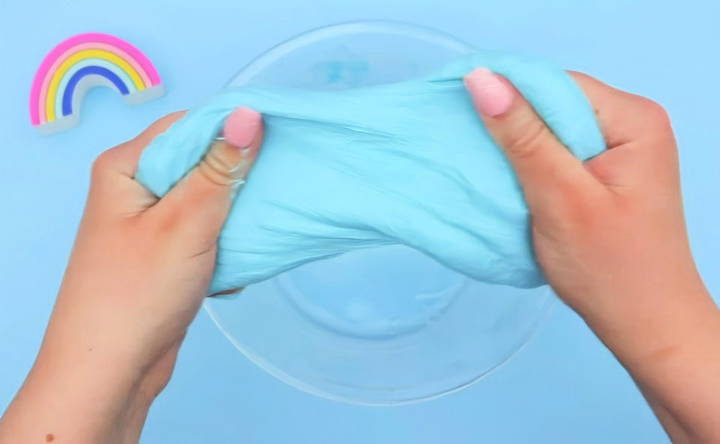
- When the slime has mostly come together but is still slightly sticky, pick it up and begin to knead it with your hands.
- Continue to knead the slime until it's smooth and stretchy. If it's still too sticky after a few minutes of kneading, you can add a little more activator, one drop at a time, until the desired consistency is reached.
Step 5: Storing the Slime
Once you're happy with the consistency of your slime, it's time to store it properly to ensure it lasts for as long as possible.
Instructions:
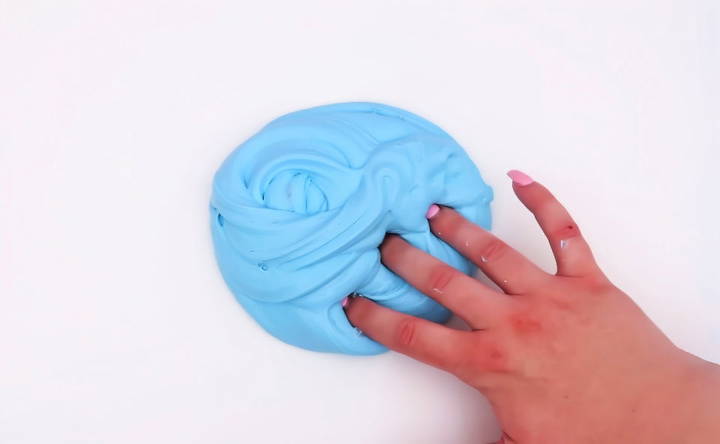
- Place the slime in an airtight container to keep it from drying out.
- If stored properly, your slime should last for several weeks. If it starts to harden or dry out, you can try adding a few drops of water or a little bit more glue to soften it up.
Troubleshooting Common Slime Problems
While making slime is fairly straightforward, beginners can run into a few common issues. Here are some solutions to ensure your slime turns out perfect every time:
1. Slime is Too Sticky
If your slime is sticking to your hands and not coming together, it likely needs more activator. Add a few more drops of the borax solution and continue kneading until the slime reaches the right consistency.
2. Slime is Too Rubbery
Adding too much activator can cause the slime to become rubbery and break apart. If this happens, try adding more glue to balance the mixture, or a small amount of warm water to rehydrate the slime.
3. Slime is Too Watery
If the slime is too runny or won't form at all, you may have added too much water or too little glue. Start fresh with the correct ratios and go slow with the activator.
4. Slime Won't Stretch
If your slime breaks apart when you try to stretch it, this is another sign of over-activation. Try working with the slime more to loosen it up, or add a small amount of glue to increase its flexibility.
Tips for Personalizing Your Slime
Once you've mastered the basics, the possibilities for customizing your slime are endless! Here are a few fun ideas to try:
1. Add Glitter
For an extra sparkly touch, add some glitter to your slime. You can mix in the glitter during Step 2 when you add your coloring, or sprinkle it on after the slime has formed.
2. Scented Slime
Make a multi-sensory experience by adding scents to your slime. You can use essential oils or scented extracts to make your slime smell amazing. Be sure to add only a few drops to avoid making the slime too oily.
3. Textured Slime
For a fun, textured experience, add foam beads, small plastic pieces, or even fake snow into your slime. This will make a crunchy or bumpy sensation when playing with the slime.
4. Glow-in-the-Dark Slime
To make your slime glow in the dark, add glow-in-the-dark paint to the mixture during Step 2. Charge it under a light and watch your slime glow in the dark for hours of fun!
Safety Tips for Making Slime
While slime-making is generally a safe and fun activity, there are a few precautions you should take to ensure everyone stays safe:
- Avoid Ingestion: Slime is not edible. Always supervise young children when making or playing with slime.
- Use Non-Toxic Materials: Always use non-toxic PVA glue, and ensure that any paint or food coloring used is safe for children.
- Skin Sensitivity: Some people may be sensitive to borax. If irritation occurs, wash hands thoroughly and discontinue use. You can also opt for borax-free slime recipes if preferred.
Final Thoughts
Making slime is a fantastic, creative activity that's perfect for beginners. With just a few ingredients and a bit of practice, you can make all kinds of slime varieties to play with or give as fun DIY gifts. Whether you're making basic slime or adding creative elements like glitter or scents, the process is always enjoyable. Follow the simple steps outlined in this guide, and soon you'll be a slime-making pro!
FAQs About How to Make Slime
Learn how to make slime with our FAQs guide. Discover simple recipes, tips, and answers to common questions for perfect slime every time!
Yes, if you don’t have borax, you can use baking soda and contact lens solution as an alternative activator. Mix 1 tablespoon of baking soda with 4 ounces of contact solution and follow the same process for mixing it into the glue. This method is also gentler on the skin and works well for making stretchy slime.
Slime that turns out too stiff likely has too much activator. To fix it, try adding a bit of warm water or more glue to rehydrate and soften it. Knead the slime thoroughly, which helps loosen its texture and restore stretchiness.
Yes, both food coloring and acrylic paint are safe to use in slime. However, be mindful that food coloring may stain hands and surfaces, so it’s recommended to use small amounts or wear gloves during the process. Acrylic paint adds vibrant color without staining.
When stored properly in an airtight container, slime can last up to several weeks. Keep it in a cool, dry place to prevent it from drying out or becoming moldy. If it starts to harden over time, add a little water or glue to refresh it.
If your slime is sticking to your hands, it needs more activator. Add a few drops of your activator solution (borax or contact lens solution) and continue kneading until the slime reaches the desired consistency. Be careful not to over-activate, as it can turn rubbery.
Yes, it's possible to make slime without glue using household items like cornstarch and water. This alternative is called “Oobleck,” a non-Newtonian fluid, though it won't have the same stretchy texture as glue-based slime. Cornstarch slime is fun for sensory play but behaves differently than traditional slime.


