Making soy candles at home is a fun and rewarding craft. This guide provides simple steps for making soy candles, ensuring you achieve perfect results every time. You will learn about the materials and tools needed, basic techniques, and tips for improving your candle-making skills. Whether you are new to this or have some experience, these insights will help you make beautiful and fragrant candles.
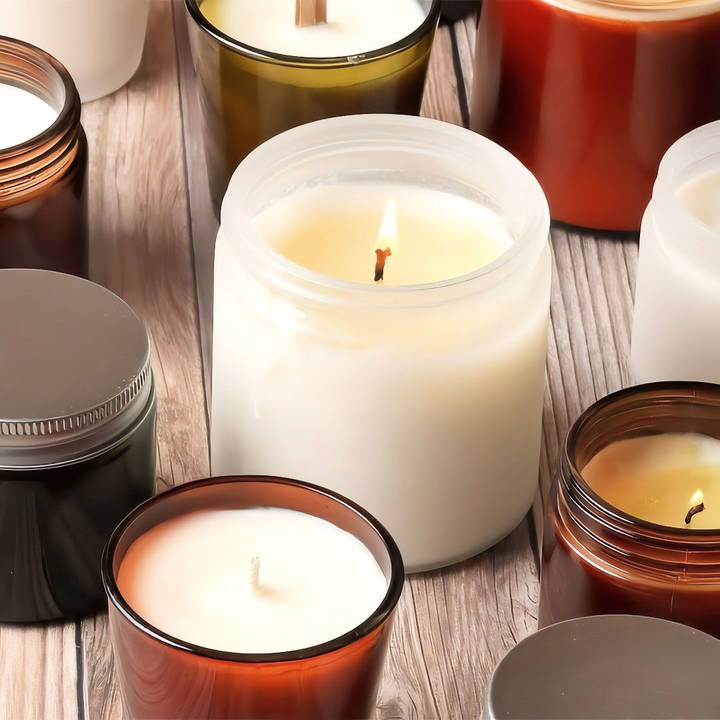
In this guide, we will explore the key elements of soy candle making. You will discover the best types of soy wax, how to choose the right wicks, and the importance of using high-quality fragrance oils. We will also cover safety tips and troubleshooting common problems. By the end of this section, you will be ready to make stunning soy candles that burn evenly and smell amazing.
Excited to get started? Read on to uncover all the essential tips for making perfect soy candles!
Why Choose Soy Wax?
Before we dive into the process, let's talk about why soy wax is a fantastic choice for candle making:
- Natural & Clean Burning: Soy wax is derived from soybean oil, making it a natural and sustainable choice. Unlike paraffin, soy wax doesn't emit harmful chemicals into the air.
- Less Soot: Soy wax produces 90% less soot compared to paraffin, keeping your walls and upholstery clean.
- Easy Clean-Up: Soy wax is water-soluble, so any spills can be cleaned up with soap and water.
Materials You'll Need
Choosing the right materials is crucial. Here's a breakdown:
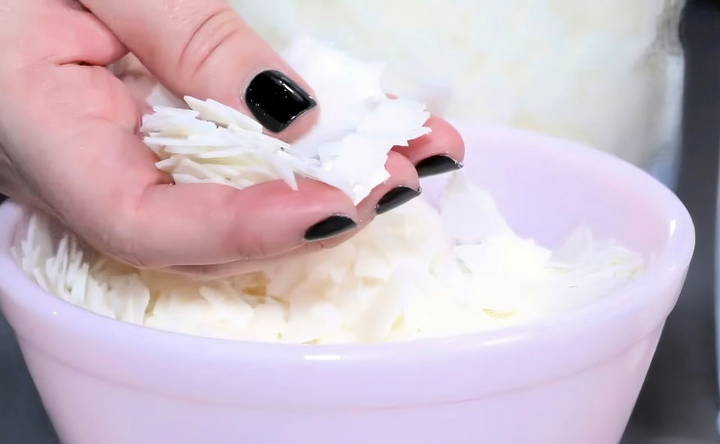
- Soy Wax Flakes (Golden Brands 464 or Nature Wax C3): Both offer high fragrance load and good glass adhesion.
- Containers: Use heat-resistant containers like glass, ceramic, or metal.
- Wicks: Choose cotton or paper core wicks for beginners, or try wood wicks for a different crackling experience.
- Fragrance Oils: Specifically formulated for candle making with high flash points.
- Equipment: Double boiler, digital scale, thermometer, silicone spatula, and wick stickers.
Now, let's get started on our candle-making journey.
Step by Step Instructions
Learn how to make soy candles at home with our step-by-step instructions. From choosing containers to curing, this guide covers everything you need to know.
Step 1: Choosing and Preparing Your Container
First, pick a container that's both functional and appealing. I prefer glass votives because they're heat-resistant and distribute light beautifully.
Tips for Choosing Containers:
- Avoid irregularly shaped containers as they can cause uneven burning.
- Stay clear of plastic containers as they can melt and emit harmful chemicals.
- Ensure the container is sturdy and resistant to high temperatures.
Once you've chosen your container, prepare it by cleaning it thoroughly. Use soapy water, rinse well, and let it dry completely.
Step 2: Selecting the Right Wick
Picking the correct size and type of wick is essential for a well-burning candle. Your container size will determine the wick size.
Types of Wicks:
- Wood Wicks: Offer a crackling effect.
- Cotton Wicks: Versatile and reliable.
Wicking Tips:
- If your wick is too small, it will tunnel and waste the wax.
- If it's too large, it might cause excessive soot and a tall, flickering flame.
Attach your wick to the container using a wick sticker or glue. Ensure it's centered for an even burn.
Step 3: Setting Up Your Double Boiler
A double boiler allows you to control the melting process without overheating.
Instructions:
- Fill a large pot halfway with water and bring to a simmer.
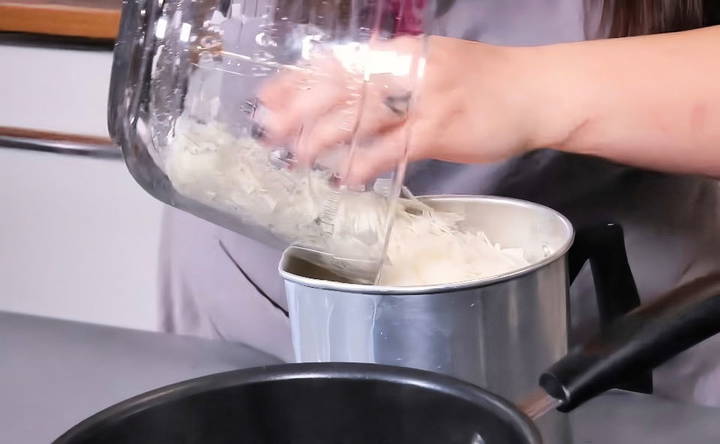
- Place a smaller pot or a pouring pitcher into the large pot.
A pouring pitcher, particularly one with a spout, is ideal for clean and precise pouring.
Step 4: Melting the Soy Wax
Measure the desired amount of soy wax flakes (e.g., 2 pounds) and pour them into the double boiler. Stir occasionally with a silicone spatula to help the melting process. Use a thermometer to control the temperature.
- Important Note: Soy wax should never exceed 200°F to prevent discoloration.
Step 5: Adding Fragrance
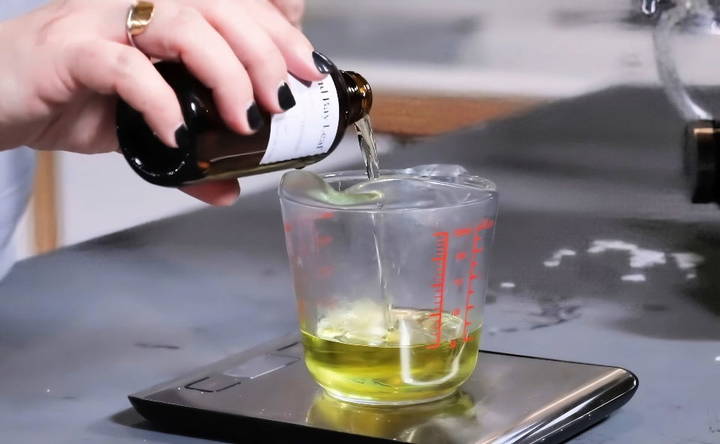
Once the wax reaches 185°F, it's time to add your fragrance oil. Measure the fragrance to ensure you don't exceed the wax's fragrance load capacity (usually around 10%).
Tips for Adding Fragrance:
- Stir gently but consistently for 1-2 minutes to incorporate the oil.
- Adding fragrance at the right temperature ensures it bonds well with the wax.
Step 6: Pouring the Wax
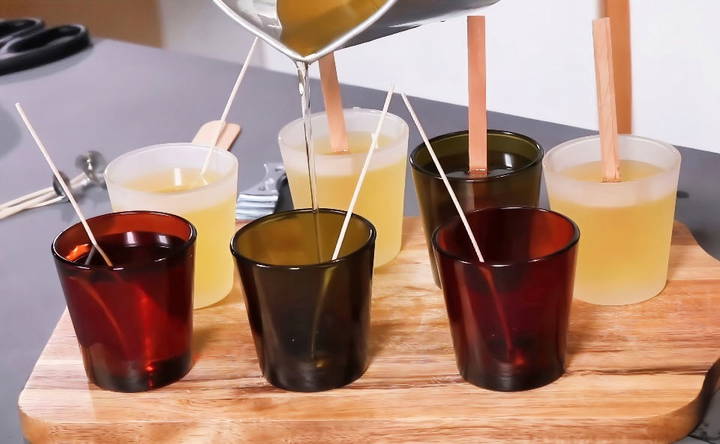
Allow the wax to cool to around 135°F before pouring it into your container. Pour slowly to avoid making air bubbles and leave about 1/4 inch at the top to prevent overflow when the candle burns.
Additional Tips:
- Use a pouring pitcher with a spout for a clean, slow pour.
- Keep a small amount of wax aside to fix surface imperfections if necessary.
Step 7: Setting the Wick
After pouring, ensure the wick remains centered. Wooden wicks typically stay upright, but cotton wicks may need support.
Tools for Centering Wicks:
- Bow-tie wick centering tools
- Popsicle sticks or chopstick pairs
- Clothes pins
Let the candles cool completely, at least 24 hours, before moving them.
Step 8: Curing Your Candle
Curing helps the fragrance and wax fully bond, enhancing scent throw.
Curing Tips:
- Let candles cure for 3-5 days for best results.
- Store in a temperature-controlled environment.
Troubleshooting Common Issues
Solve frosting, cratering, weak scent throw, and discoloration issues with our troubleshooting guide for common candle problems.
Frosting
Frosting, or white snowflake-like patches, is common and purely aesthetic. Avoid trying to fix it with a heat gun as this can worsen the issue.
Cratering or Sinkholes
Stirring or pouring too quickly can cause air pockets leading to cratering. Fix by pouring leftover wax at the correct temperature over the surface.
Weak Scent Throw
Ensure full melt pool to release the fragrance. Test different wick sizes and usage rates for optimal results.
Discoloration
This usually occurs over time or due to certain fragrance oils. It's mostly a visual issue and should not affect the candle's performance.
Personalizing Your Candles
Making candles is not just about the scent and the glow; it's also about expressing your personality and style. Personalizing your soy candles can be a delightful and creative process that adds a special touch to your home or makes your gifts more thoughtful. Here's how you can add a personal flair to your soy candles:
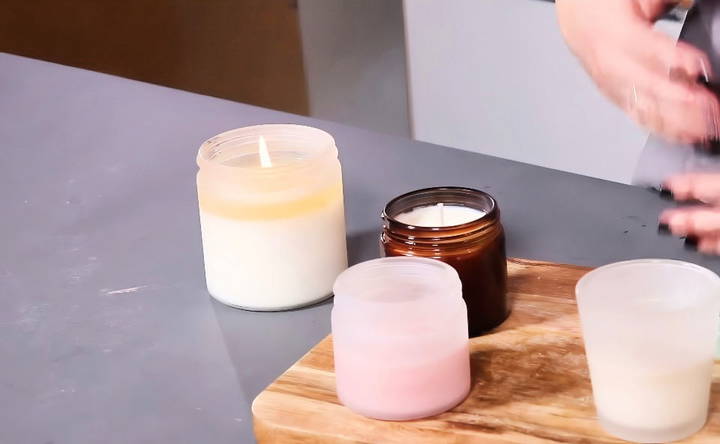
- Choose Your Container Wisely: The container you select for your candle can say a lot about your style. From vintage teacups to modern geometric glass jars, pick a container that reflects your personality or the ambiance you want to make.
- Color Your World: Adding color to your soy candles can transform the mood of a room. Use natural, non-toxic dyes to match your decor or to signify different scents. Soft pastels can evoke a sense of calm, while vibrant hues might add a pop of energy.
- Scent-national Creations: Scents have the power to evoke memories and emotions. Craft a signature scent that reminds you of a favorite place or moment, or blend essential oils that resonate with your mood or the season.
- Get Crafty with Decorations: Decorate the outside of your candle or the surface of the wax with items that have meaning to you. This could be anything from pressed flowers to small stones or shells. Just ensure they are placed away from the wick to avoid any fire hazards.
- Label Love: Designing your own labels can be a fun way to personalize your candles. Whether you handwrite them or design them on a computer, labels can include the candle's name, scent, or even a special message if you're giving it as a gift.
- Themed Candles: Make candles based on themes such as holidays, seasons, or events. For example, a Christmas candle might have a pine scent and be decorated with tiny pine cones and red ribbons.
- Mindful Messages: Embed small, fire-safe objects that carry a message or intention into the wax. As the candle burns and reveals the object, it can serve as a thoughtful reminder or inspiration.
- DIY Kits: If you're sharing your passion for candle-making with others, consider putting together DIY candle-making kits with all the necessary components and instructions. It's a great way to spread the joy of personalization.
Adding personal touches makes your soy candles a unique reflection of you. The joy and satisfaction from customizing them is what matters most.
Advanced Candle-Making Techniques
When you're ready to take your soy candle-making to the next level, advanced techniques can add complexity and uniqueness to your creations. Here's how you can elevate your candle crafting:
- Layering Scents: Make a multi-layered candle where each layer releases a different scent as it burns. Start with heavier scents at the bottom and lighter ones on top, allowing for a gradual fragrance transition.
- Color Blocking: Similar to scent layering, color blocking involves pouring layers of differently colored wax into the container. Allow each layer to set before adding the next for a striking visual effect.
- Embedding Objects: Carefully place heat-resistant items like crystals, glitter, or dried herbs into the wax. These should be non-flammable and placed away from the wick to prevent any fire risk.
- Swirls and Patterns: Use a skewer or a toothpick to swirl the top layer of the wax before it sets completely. This technique makes beautiful patterns and can be used to mix colors or glitter into the wax.
- Textured Tops: Sprinkle herbs, spices, or flower petals on the surface of the candle just before the wax fully hardens. This adds texture and visual interest to your candles.
- Double Wicking: For larger candles, consider using two wicks. This ensures an even burn and is particularly effective in containers with a wide diameter.
- Wax Painting: Melt different colored waxes and use them to paint the inside of your glass container before pouring the main wax. This makes a stained-glass effect that looks stunning when lit.
- Ice Candles: Place ice cubes in the mold before pouring the wax. As the wax sets and the ice melts, it leaves behind a unique, porous texture.
- Soy Wax Sculptures: Experiment with sculpting the wax as it begins to harden. You can make peaks, waves, or other designs for a truly artistic candle.
Mastering these techniques requires patience and practice. Experiment, make mistakes, and you'll improve. Have fun, and let your creativity shine in your soy candles.
Troubleshooting Common Issues
Making soy candles can be a rewarding experience, but sometimes you might encounter a few hiccups along the way. Here's a guide to troubleshooting common issues with simple, clear solutions:
Tunneling
If your candle burns down the middle, leaving wax on the sides, it's called tunneling. This often happens when the first burn isn't long enough.
- Solution: Ensure the entire top layer of wax melts during the initial burn, setting the memory for future burns.
Frosting
White, crystal-like patterns on the surface of soy candles are known as frosting. It's a natural effect of soy wax and doesn't affect the burn.
- Solution: To minimize frosting, cool your candles slowly and avoid drastic temperature changes.
Weak Scent Throw
If your candle isn't as fragrant as you'd like, it could be due to the quality of the fragrance oil or incorrect measurements.
- Solution: Use high-quality fragrance oils and ensure you're adding the right amount – typically 6-10% of the wax weight.
Wick Problems
A wick that's too small may drown in melted wax, while a wick that's too large can cause shooting.
- Solution: Choose the correct wick size for your candle's diameter and trim it to about 1/4 inch before each burn.
Surface Imperfections
Bubbles, bumps, or an uneven surface can occur when pouring the wax too quickly or at the wrong temperature.
- Solution: Pour the wax slowly and at a consistent temperature, and tap the container to release trapped air bubbles.
Separation
Sometimes the wax and fragrance oil can separate, causing pools of oil on the candle's surface.
- Solution: Stir the wax and fragrance oil thoroughly before pouring, and consider using a wax additive to improve adhesion.
Understanding these issues and fixing them will help you make quality soy candles. Patience and practice are key, so view challenges as chances to improve.
FAQs About How to Make Soy Candles
Discover everything you need to know about making soy candles in our FAQs, covering tips, techniques, and common questions for beginners and experts alike.
Measure the wax: Use a scale to measure the soy wax flakes.
Melt the wax: Heat the wax in a double boiler until it’s fully melted.
Add fragrance oil: Once the wax reaches about 185°F, stir in the fragrance oil.
Secure the wick: Use a wick sticker or a dab of glue to fix the wick to the bottom of the container.
Center the wick: Place a wick-centering device or a clothespin across the top of the container to keep the wick straight.
Pour the wax: Once the wax is melted and the fragrance is added, pour it into the container, avoiding spills.
Cool the candles: Let the candles cool at room temperature. Avoid moving them until they’re fully set.
Trim the wicks: Once cooled, trim the wick to about 1/4 inch.
Cure the candles: Allow the candles to cure for at least 24 hours before using them to ensure the best scent throw.
To ensure your soy candles have a strong and lasting scent, follow these tips:
Use high-quality fragrance oils: Opt for oils that are specifically designed for candle making.
Measure correctly: Use a digital scale to measure the fragrance oil; typically, you'll need about 1 ounce of fragrance oil per pound of wax.
Add at the right temperature: Add the fragrance oil to the melted wax when it's around 185°F to ensure proper binding.
Stir thoroughly: Mix the fragrance oil into the wax for at least 30 seconds to ensure even distribution.
Cure the candle: After pouring, let your candle cure for at least 1-2 weeks before using it to achieve the strongest scent.
Conclusion
Making DIY soy wax candles is a blend of art and science. With patience and practice, you'll make beautiful, fragranced candles to enjoy or gift. Remember, each candle is unique, and little imperfections add to their handmade charm.


