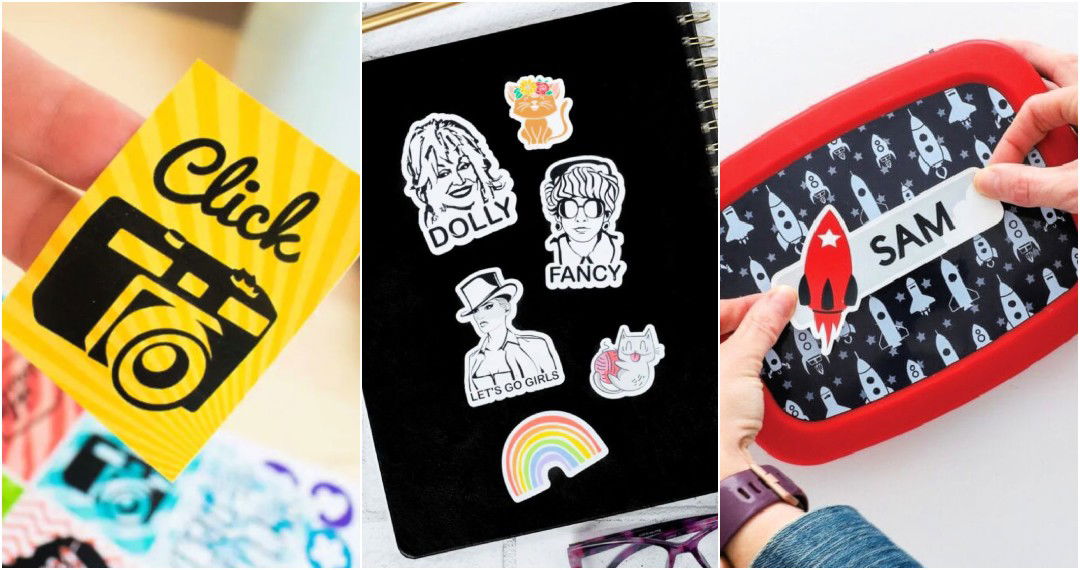
Making your very own homemade DIY stickers is a fun and engaging activity that adds a personalized touch to journals, laptops, or any object you wish to decorate. This guide will walk you through different methods, such as using Google Doc stickers, adhesive corkboard, and sticker paper, to make unique and creative stickers. Each technique comes with a detailed list of materials you'll need and step-by-step instructions to ensure a smooth sticker-making process.
Not only will you discover how to craft these stickers, but we'll also provide helpful tips on troubleshooting common issues like adhesive not sticking, paper curling, and ink smudging. Plus, we'll explore creative variations and ideas for your stickers, and guide you on the care, maintenance, and safety precautions necessary to enjoy your stickers for a long time. If you're ready to transform your creative ideas into sticker form, keep reading to unveil everything you need to know about making DIY stickers.
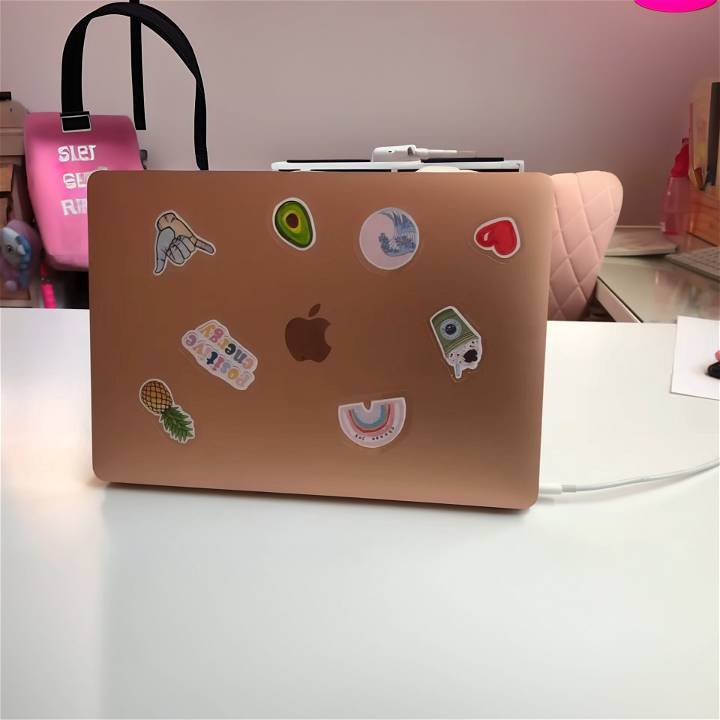
Method 1: Google Doc Stickers
What You'll Need:
- Computer with Internet access
- Printer (optional)
- Markers (if hand drawing)
- Scissors
- Clear tape (such as Scotch packaging tape)
- Parchment paper
Steps:
1. Make or Find Your Sticker Design:
- Open a Google Doc or Word Doc on your computer.
- Search online for "aesthetic stickers" or any images you'd like to turn into stickers.
- Copy and paste your chosen image into the document. If you prefer hand-drawn stickers, simply draw your designs on paper using markers.
2. Print or Prepare Your Images:
If you have a printer, print out the images. If not, ensure your hand-drawn stickers are ready.
3. Prepare Your Stickers:
- Cut out each image, leaving a small margin around the edges.
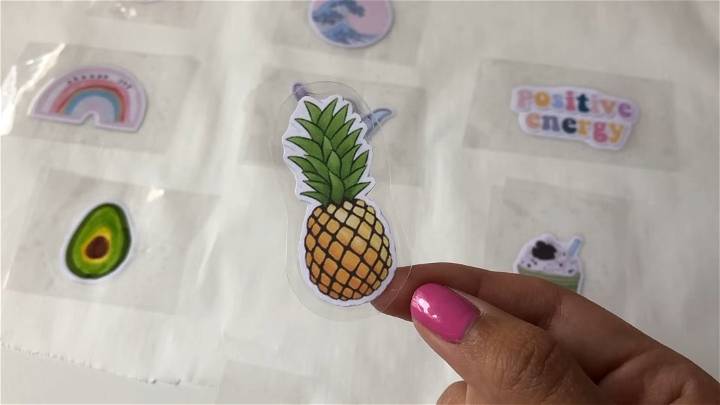
- Tape down a piece of parchment paper on a flat surface.
- Place a piece of clear tape, sticky side down, onto the parchment paper.
- Put your sticker image on top of the tape, then cover it with another piece of tape, ensuring there are no bubbles and it's completely sealed.
4. Finalizing Your Stickers:
- Peel the sticker off the parchment paper.
- Trim around the sticker, leaving a 1-centimeter clear tape border. This border helps keep the sticker intact.
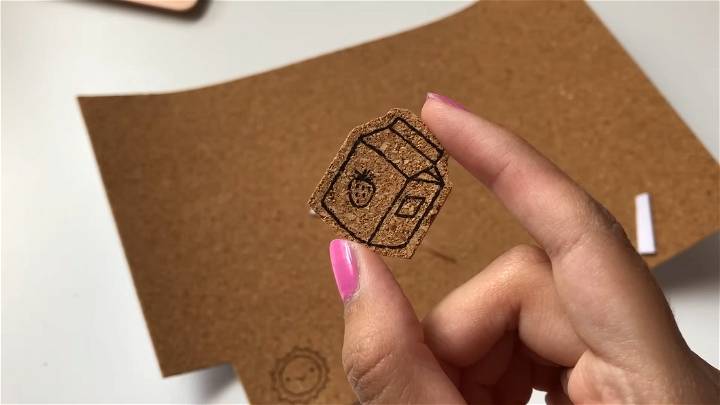
Method 2: Adhesive Cork Board Stickers
What You'll Need:
- Adhesive corkboard (available at dollar stores)
- Sharpie or liner pen
- Scissors
Steps:
1. Design Your Stickers:
Use a marker to draw any design you like directly onto the corkboard. The unique texture of the cork adds an interesting touch to your stickers.
2. Cut and Peel:
- Cut out your designs.
- Peel off the adhesive backing, and your corkboard stickers are ready to use.
Method 3: Using Sticker Paper
What You'll Need:
- Sticker paper (available at craft stores or online)
- Markers, colored pencils, or any drawing tools
- Scissors
Steps:
1. Make Your Design:
Draw your sticker designs on the sticker paper. Feel free to get creative with your designs.
2. Cut Out Your Stickers:
- Once you're happy with your drawings, cut out the stickers.
- Peel off the backing, and your stickers are ready to stick wherever you like.
Making stickers at home is fun and easy. Choose a method based on materials or texture. Personalize gifts or show your creativity.
Video Tutorial
For a step-by-step video tutorial on making DIY stickers, be sure to check out this YouTube video:
It pairs well with this written guide, offering a dynamic visual complement to the techniques discussed, making the learning process engaging and accessible.
Troubleshooting Tips
Making DIY stickers can be a fun and rewarding process, but like any craft, it can come with its own set of challenges. Here are some common issues you might encounter and how to solve them:
Adhesive Not Sticking
If your stickers aren't sticking properly, it could be due to a few reasons:
- Type of Adhesive: Not all adhesives are maked equal. Some may not be strong enough to hold the sticker, especially if it's being applied to a non-paper surface. Consider using a stronger adhesive, like a spray adhesive or adhesive sheets.
- Surface Condition: The surface you're sticking your sticker to should be clean and dry. Any dust, dirt, or moisture can prevent the sticker from adhering properly.
Paper Curling
If your stickers are curling at the edges, it could be due to the paper or the adhesive:
- Paper Quality: Lower-quality paper can often curl when an adhesive is applied. Consider using a higher quality paper or sticker paper.
- Adhesive Application: If too much adhesive is applied, it can cause the paper to curl. Try using less adhesive or applying it more evenly.
Ink Smudging
If the ink on your stickers is smudging, here are a few things you could try:
- Ink Type: Not all inks are suitable for sticker making. Waterproof inks or inks designed for glossy paper can help prevent smudging.
- Sealant: Applying a clear sealant over your sticker can help protect the ink and prevent smudging.
Crafting is all about trial and error. Don't be discouraged if things don't go perfectly the first time. With a little patience and practice, you'll be making beautiful DIY crafts in no time.
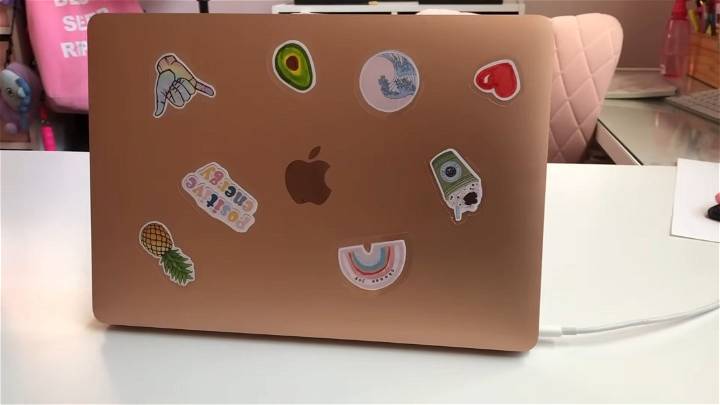
Variations and Ideas for DIY Stickers
Making DIY stickers is not just about the process but also about the endless possibilities for personalization and creativity. Here are some ideas to inspire you:
Different Types of Paper
Experimenting with different types of paper can give your stickers a unique look and feel. For example:
- Glossy Paper: This can give your stickers a shiny, professional finish.
- Textured Paper: This can add an interesting tactile element to your stickers.
- Recycled Paper: This is a great eco-friendly option that can also give your stickers a rustic look.
Adding Embellishments
Adding embellishments can make your stickers stand out. Here are a few ideas:
- Glitter: A little sparkle can go a long way. You can apply glitter to your stickers using glue.
- Sequins or Beads: These can be glued onto your stickers for a 3D effect.
- Ribbon or Lace: These can be incorporated into your sticker design for a touch of elegance.
Using Different Types of Adhesives
Different adhesives can offer different benefits. For example:
- Double-Sided Tape: This is a quick and easy adhesive option.
- Decoupage Glue: This can give your crafts a glossy finish and also acts as a sealant.
- Foam Adhesive: This can give your stickers a 3D effect.
The most important thing is to have fun and let your creativity shine. There are no rules when it comes to DIY, so feel free to think outside the box and come up with your own unique sticker designs.
Care and Maintenance of DIY Stickers
Once you've put in the effort to make your own stickers, you'll want to ensure they last. Here are some tips on how to care for and preserve your DIY stickers:
Storage
Proper storage is key to maintaining the quality of your stickers. Here are a few tips:
- Keep Flat: Store your stickers in a flat position to prevent them from curling at the edges.
- Avoid Sunlight: Direct sunlight can cause the colors of your stickers to fade. Try to store them in a place that doesn't get much sunlight.
- Dry Environment: Moisture can damage your stickers. Keep them in a dry environment to prevent them from getting wet.
Cleaning
If your stickers get dirty, you might be able to clean them depending on the materials used. Here are a few tips:
- Soft Cloth: Use a soft cloth to gently wipe away any dust or dirt from your stickers.
- Avoid Water: If your stickers aren't waterproof, avoid using water to clean them as it could cause the colors to run.
Longevity
The lifespan of your stickers can depend on a few factors:
- Quality of Materials: Higher quality materials will generally result in stickers that last longer.
- Handling: The more a sticker is handled, the more wear and tear it will experience. Try to handle your stickers as little as possible to extend their lifespan.
With a little care and attention, your DIY stickers can remain vibrant and adhesive for a long time.
Safety Precautions for DIY Stickers
Making DIY stickers is a fun and engaging activity, but it's important to keep safety in mind. Here are some safety precautions to consider:
Handling Sharp Tools
When cutting out your stickers, you'll likely be using sharp tools like scissors or a craft knife. Here are some safety tips:
- Use the Right Tool: Make sure you're using the right tool for the job. Craft knives are great for detailed cuts, but scissors might be safer for larger, simpler shapes.
- Work Slowly and Carefully: Take your time when cutting out your stickers to avoid accidental slips.
- Keep Tools Out of Reach: When not in use, keep sharp tools out of the reach of children.
Using Adhesives
Adhesives are essential for making stickers, but they can be messy and potentially harmful if not used properly. Here are some safety tips:
- Use in a Well-Ventilated Area: Some adhesives can have strong fumes. Make sure to use them in a well-ventilated area.
- Avoid Skin Contact: Some adhesives can irritate the skin. Try to avoid direct skin contact, and wash your hands immediately if you do get adhesive on your skin.
- Keep Away from Children: Make sure to keep adhesives out of children's reach.
Safety should always be your first priority when crafting. By following these precautions, you can ensure that your DIY sticker-making experience is both fun and safe.
Frequently Asked Questions
When embarking on a DIY sticker project, it's natural to have questions. Here are some commonly asked questions and their answers:
What kind of paper is best for DIY stickers?
The best type of paper depends on your project and personal preference. Sticker paper is the most straightforward option, but you can also use regular paper or vinyl sheets for a more durable option.
What kind of adhesive should I use?
If you're not using sticker paper, you'll need to apply adhesive separately. Glue sticks, spray adhesives, and adhesive sheets are all good options.
How can I prevent my stickers from curling?
Curling can be caused by the paper quality or the adhesive application. Using higher-quality paper and applying adhesive evenly can help prevent this issue.
How can I prevent the ink on my stickers from smudging?
Using waterproof inks or inks designed for glossy paper can help prevent smudging. You can also apply a clear sealant over your sticker to protect the ink.
How should I store my stickers?
Store your stickers in a flat position in a dry environment that doesn't get much sunlight to maintain their quality.
The key to a successful DIY project is patience and practice. Don't be afraid to experiment with different materials and techniques until you find what works best for you.
Conclusion:
In conclusion, venturing into the creative realm of homemade DIY sticker ideas offers an exhilarating experience for crafting enthusiasts eager to add a personal touch to their stationery, gadgets, and more. By exploring various methods like Google Doc stickers, adhesive corkboard stickers, and sticker paper, you can unlock endless possibilities for custom creations.
This guide not only walks you through the technical steps but also equips you with troubleshooting tips, care advice, and safety precautions to ensure your DIY sticker-making journey is both successful and enjoyable. So, gather your materials and let your imagination take the lead in crafting personalized stickers that speak volumes of your creativity. Whether adding flair to your personal items or crafting heartfelt gifts, how to make stickers becomes an enjoyable process, brimming with opportunities for customization and expression.


