Painting a popcorn ceiling, also known as a textured ceiling, can seem like a daunting task, especially if you're looking to achieve a professional-grade finish. In this guide, we'll break down every step you need to know about how to paint your popcorn ceiling successfully, including how to avoid common mistakes and select the right tools. Whether your ceiling has been painted before or is still bare, we've got you covered.
Why Paint a Popcorn Ceiling?
Popcorn ceilings, often found in older homes, are textured to create a unique visual appeal and can hide imperfections. However, they can become dull or stained over time. Painting them can refresh your room's look without the need to remove the textured surface.
Preparation: What You'll Need
Before diving in, gather these essential tools and materials:
- Caulking gun and fast-dry caulking (20-minute dry time)
- Putty knife (for pre-painted ceilings)
- Flat ceiling paint (avoid acrylic for ease of future removal)
- Split foam roller (designed for textured ceilings)
- Standard roller and microfiber roller (15mm or ½ inch) for touch-ups
- Extension pole (for easier reach)
- Protective gear: Goggles, gloves, and a mask
- Drop cloths or plastic sheeting (to protect floors and furniture)
- Painters tape (to mask areas not being painted)
Choosing the Right Paint
It's best to use a flat ceiling paint without acrylics. This type of paint not only hides imperfections but can also be removed if you decide to change the look later. Avoid paints with acrylic because they will make future removal difficult.
Step by Step Instructions
Learn how to paint a popcorn ceiling with our step-by-step guide. From room prep to final touches, achieve a flawless finish.
Step 1: Preparing the Room
Discover how to protect and clean your space effectively. Learn key tips for preparing the room and cleaning the ceiling efficiently.
Protecting Your Space
Painting a ceiling, especially a textured one, can be messy. Here's how to safeguard your space:
- Cover Furniture and Floors: Use drop cloths or plastic sheeting to cover everything in the room, including floors and large furniture pieces. The popcorn texture can shed particles, so full coverage is essential.
- Use Painter's Tape: Mask off any areas you don't want to paint, especially walls and fixtures close to the ceiling.
- Ventilate: Open windows or use fans to ensure adequate ventilation, as ceiling paint can have a strong odor.
Cleaning the Ceiling
If your ceiling has never been painted, gently dust off any debris. Use a soft broom or duster to clear dust and cobwebs.
Step 2: Prepping the Ceiling's Edges
Painting around the edges of a textured ceiling can be challenging. Here's how to get a clean finish along the border where the ceiling meets the wall.
- Clear the Edges: For unpainted ceilings, use your finger to remove any excess texture along the edge where the ceiling meets the wall. This clears the way for a smooth paint line.
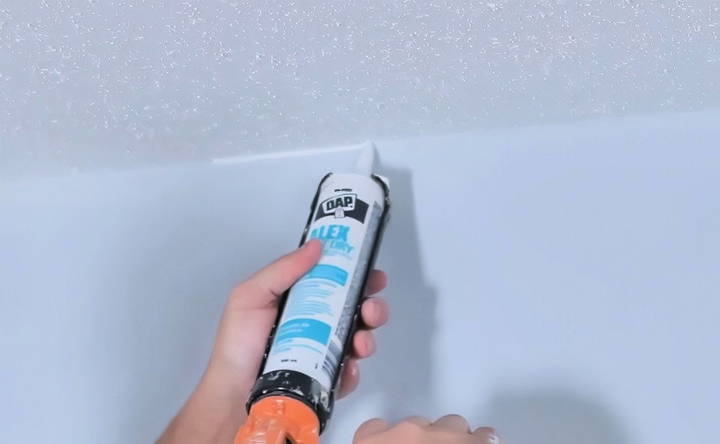
- Apply Caulking: For a clean, straight edge, apply a thin bead of fast-dry caulking along the edge of the ceiling with a caulking gun. Smooth it out with your finger. This step provides a solid line that will make it easier to paint up to the edge without causing a messy overlap.
- If Already Painted: Use a putty knife to carefully scrape off any excess texture that may have built up along the edge from previous paint jobs. This will help the caulking adhere better.
Step 3: Applying Paint to the Ceiling
Using the right roller and technique is crucial to avoid uneven finishes, streaks, and unsightly lines.
Loading the Roller
A well-loaded roller is key to an even coat. Follow these steps for a smooth application:
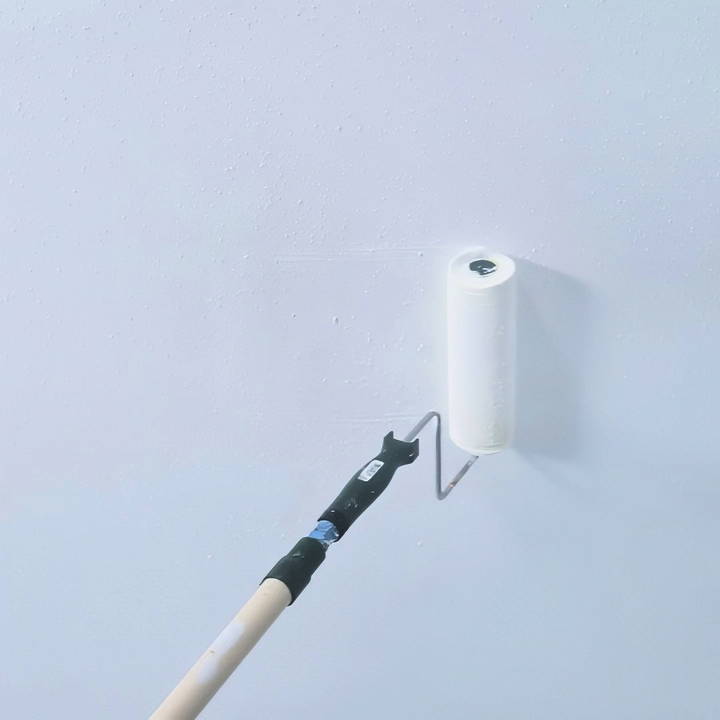
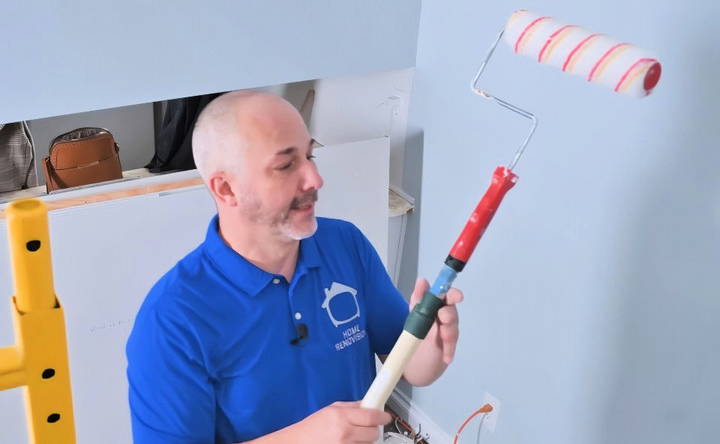
- Use a Split Foam Roller: Split foam rollers are specially designed for textured ceilings. Their multiple small slits allow the roller to contour to the texture without flattening it out.
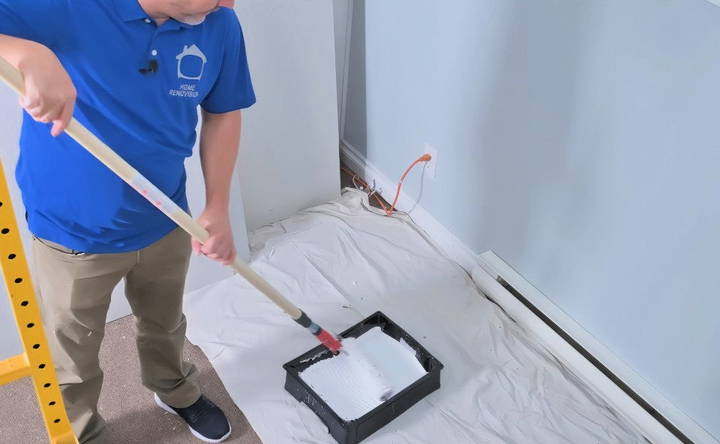
- Load the Roller Properly: Dip the split foam roller into the paint and load it fully. Roll until the paint reaches deep into the foam, ensuring complete coverage.
- Avoid Overloading: Split foam rollers can splatter more than regular rollers, so avoid overloading to keep drips to a minimum.
Applying the Paint
When painting, remember that a light touch is essential to avoid damaging the popcorn texture.
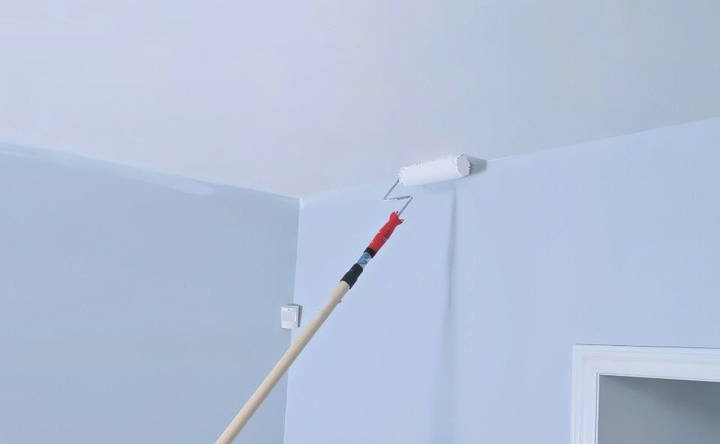
- Begin with Light Pressure: Roll the paint onto the ceiling gently. Avoid pressing down hard on the roller, as too much pressure can flatten the texture or cause paint to splatter.
- Use a Consistent Pattern: Move the roller in smooth, even strokes. For best results, work in small sections, overlapping slightly as you go.
- Let the Paint Settle: Don't go over the same area multiple times. The split foam roller's design allows the paint to settle into the texture, so you only need a few passes for full coverage.
Step 4: Avoiding Common Mistakes
Painting a popcorn ceiling can be tricky. Here's how to avoid some common mistakes.
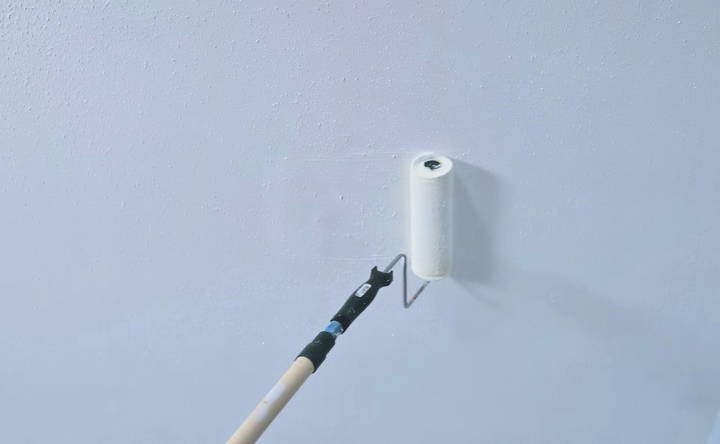
- Don't Use a Standard Roller: While it may be tempting, using a standard roller on a popcorn ceiling can create flat spots, removing the textured effect. This is especially noticeable when sunlight hits the ceiling, highlighting any lines or smooth areas. A split foam roller or specialized textured ceiling roller is best for this job.
- Watch for Drips: Popcorn ceilings are absorbent, which means they can soak up paint and lead to drips. Maintain a steady, light hand and use minimal pressure to avoid over-application and dripping.
- Avoid Excessive Back-and-Forth: Many people make the mistake of going over the same spot repeatedly. Too much rolling in one area can pull off the texture, leaving a patchy look. Instead, roll each section only a few times and move on.
Step 5: Painting Over Stains or Repairs
If your ceiling has stains or repair patches, it's crucial to cover them thoroughly before applying the final coat.
- Prime Stained Areas: For any stained sections, use a stain-blocking primer such as BIN Zinsser, which covers marks and seals the surface. This ensures that the stain won't bleed through your final paint job.
- Blend Patches: If you've repaired any areas, prime them as well. Textured ceilings can make it challenging to blend patches seamlessly, but with a consistent primer coat, they will be less visible.
Step 6: Final Touches and Clean-Up
After you've painted the entire ceiling, it's time to clean up and add finishing touches.
- Remove Painter's Tape Carefully: Pull painter's tape away from the ceiling at a 45-degree angle to avoid peeling off any paint.
- Touch Up Walls if Necessary: If any paint accidentally got onto the walls, use a small brush to touch up the wall color along the edge.
- Clean Your Tools Promptly: Clean your rollers, brushes, and other tools as soon as you're finished to prevent the paint from drying on them.
Tips for Success
Here are some additional tips to ensure a flawless, professional-looking popcorn ceiling:
- Consider Multiple Coats: Depending on the original color and condition of your ceiling, you might need two coats for full coverage. Allow each coat to dry completely before adding another.
- Work with Natural Light: Painting in natural light can help you spot missed spots or drips. If you're working in a room without much light, use a bright work light.
- Avoid Humidity: Paint in low-humidity conditions whenever possible, as high humidity can lead to uneven drying and drips.
When to Hire a Professional
If your ceiling has extensive damage or is in an area with challenging angles or high ceilings, consider hiring a professional. Textured ceilings require precise technique, and sometimes a skilled hand is best for complex jobs.
Step by Step Video Tutorial
Conclusion
Painting a popcorn ceiling may seem intimidating, but with the right tools, preparation, and techniques, you can achieve beautiful, even results. By using a split foam roller, applying a light touch, and ensuring the edges are clean and smooth, you'll transform your ceiling and give your space a fresh, polished look.
Take your time, work in small sections, and enjoy the satisfaction of a job well done!
FAQs About Painting a Popcorn Ceiling
Discover answers to common questions about painting a popcorn ceiling. Find tips, tools, and techniques to achieve a beautiful finish.
For unpainted textured ceilings, start by carefully removing any loose particles along the edge where the ceiling meets the wall using your finger or a putty knife. Then, apply a thin line of fast-dry caulking along this edge. This creates a clean border, making it easier to paint up to the wall without damaging the texture.
It’s best to use a flat ceiling paint without acrylic for popcorn ceilings. Acrylic paint can make it challenging to remove the paint later if you decide to change the look. Non-acrylic flat paint also helps avoid creating a glossy or uneven finish on the texture.
Split foam rollers are designed with thin slits that adapt to the texture without flattening it. This type of roller reduces pressure points that could remove the texture, allowing for an even, professional finish on popcorn ceilings.
Using light, even strokes with a split foam roller can prevent visible lines. Avoid applying too much pressure, which can flatten the texture and cause lines or streaks to appear, especially in strong sunlight. Work in small sections and overlap slightly for an even coat.
Before painting over stains or patched areas, apply a stain-blocking primer, such as BIN Zinsser, to seal the spots. This ensures that stains won't bleed through the final paint job and that patched areas blend well with the surrounding texture.
Split foam rollers can cause splatter if overloaded with paint. Load the roller carefully, and avoid pressing down too hard, as this can cause dripping. Use an extension pole to keep a safe distance, especially when working above your head.
To achieve a clean edge, first clear away any loose texture near the wall and apply a line of caulk. After it dries, paint with a small brush along this caulked edge. This will create a smooth transition between the ceiling and wall, avoiding overlap or messy edges.


