Painting aluminum can be a challenging task, even for experienced DIY enthusiasts. Aluminum, unlike other metals, has a smooth surface that makes it difficult for paint to adhere properly. If you've ever tried painting aluminum without the right preparation, you may have noticed peeling, bubbling, or flaking paint. In this detailed manual, we'll guide you step-by-step through Learning how to paint aluminum with these easy steps, from surface prep to choosing the right paint for a long-lasting, professional finish.
Why Painting Aluminum is Tricky
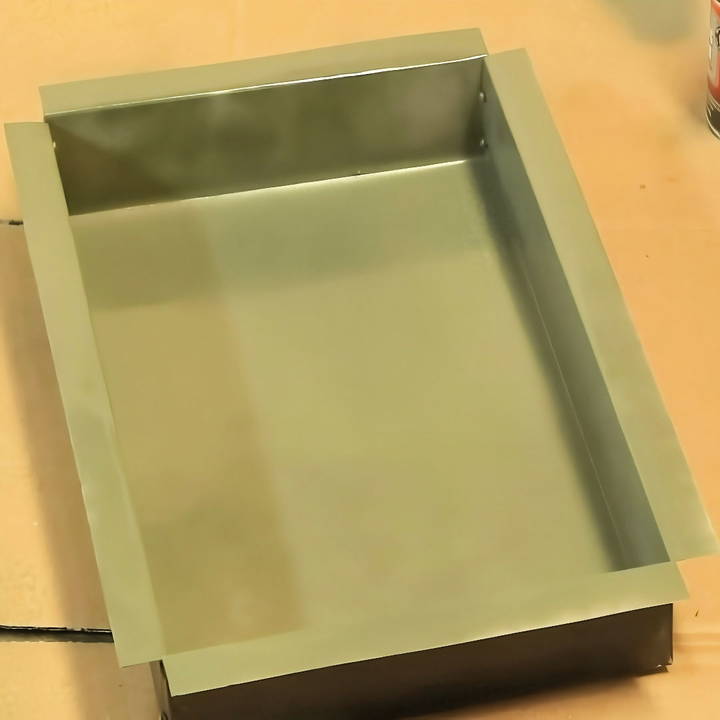
Before we jump into the steps, it's essential to understand why aluminum is different from other metals like steel. The primary issue is that aluminum has a non-porous, smooth surface that doesn't allow regular paint to stick well. Additionally, aluminum oxidizes when exposed to the elements, which creates an invisible layer that further prevents paint from bonding properly. Without the right preparation, the paint will simply peel off or bubble over time.
To combat this, you need the right tools and materials, along with proper preparation techniques that will allow the paint to adhere and stay put.
Materials You'll Need
Here's a list of the essential materials you'll need to paint aluminum:
- Paint stripper (for removing old paint)
- Respirator (to protect yourself from chemical fumes)
- Sandpaper (coarse grit, around 120-180 grit)
- After-wash (to clean the surface after stripping)
- Self-etching primer (specifically for aluminum)
- Spray paint (choose your desired color; matte or gloss)
- Clear coat (to protect the final finish)
- Clean cloths or rags
- Painter's tape (if masking off areas)
- Heater or heat source (if the environment is too cold)
Step by Step Instructions
Learn how to paint aluminum with our step-by-step guide. From stripping old paint to applying the final coat, avoid common mistakes for a flawless finish.
Step 1: Stripping Old Paint or Finishes
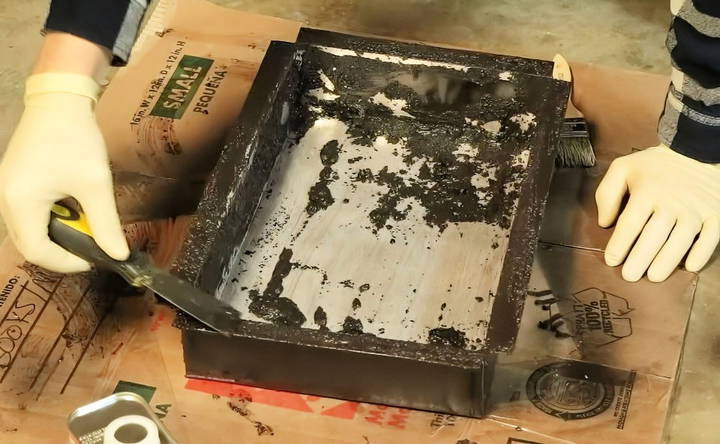
If you're working with aluminum that has been previously painted, your first step is to remove any old paint. Even if the paint seems intact, it's likely not adhered correctly to the aluminum, so starting with a clean slate is critical.
- Apply the Paint Stripper: Use a chemical paint stripper to remove the existing paint. Be sure to wear a respirator and work in a well-ventilated area since paint strippers can be quite toxic.
- Wait for the Paint to Lift: After applying the stripper, wait for the paint to bubble up and begin peeling away from the aluminum surface.
- Scrape Off the Paint: Once the paint has loosened, use a scraper or a similar tool to remove it. Take care not to scratch or damage the aluminum underneath.
- Clean with After-Wash: Paint strippers often leave behind a residue, so it's essential to clean the surface with an after-wash product. This will remove any remaining chemicals and ensure that the surface is clean for the next steps.
Step 2: Sanding the Surface
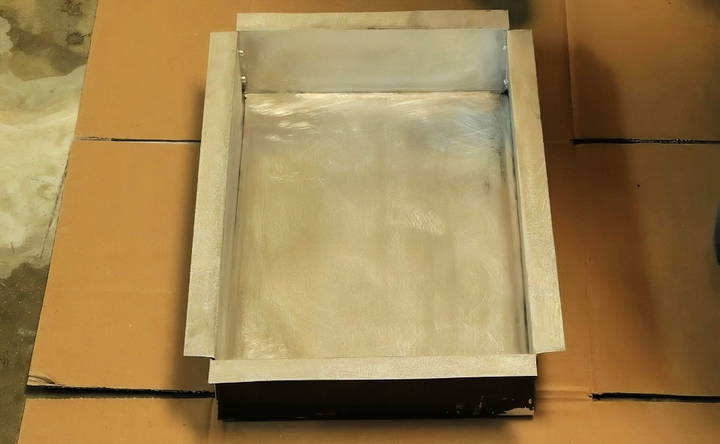
Sanding is crucial because it helps to roughen up the smooth aluminum surface, giving the primer something to grip onto. This step is especially important if the aluminum surface is brand new.
- Choose the Right Grit: Use sandpaper with a grit between 120 and 180. Coarse enough to roughen the surface but not so coarse that it damages the aluminum.
- Sand Evenly: Sand the entire aluminum surface evenly, applying light to medium pressure. Make sure you don't miss any spots.
- Wipe Clean: After sanding, use a clean, dry cloth to wipe off the dust and debris.
Step 3: Applying a Self-Etching Primer
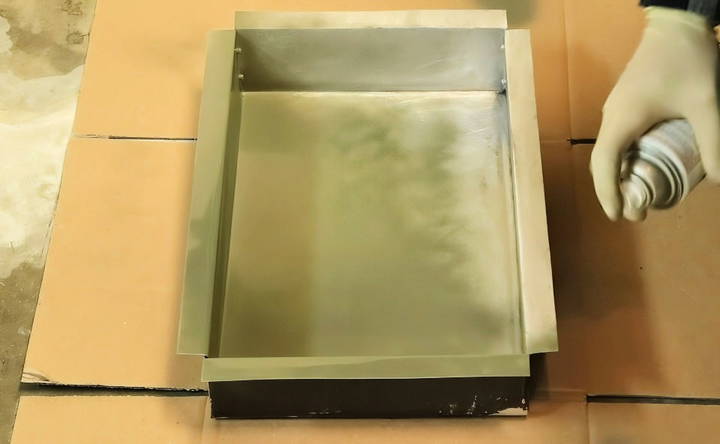
One of the key differences between painting aluminum and other metals is the type of primer you use. Aluminum requires a self-etching primer. This special primer is formulated to bond with the aluminum surface and create a strong foundation for your paint. Without it, paint won't adhere properly, and you'll end up with flaking or peeling.
- Choose the Right Primer: Ensure you're using a self-etching primer. These primers contain chemicals designed to bond with aluminum.
- Apply the Primer: Spray or brush the primer onto the aluminum surface in even coats. Typically, two to four coats of primer are recommended. The number of coats depends on the condition of the surface and the primer instructions.
- Allow Drying Time: Follow the drying time on the primer instructions, but usually, it's recommended to wait about 60 minutes between coats. This ensures each layer properly cures before the next one is applied.
- Temperature Consideration: The primer works best at temperatures around 70°F (21°C). If your workspace is cooler, consider using a heater to bring the temperature up to ensure the primer cures correctly.
Step 4: Applying Paint
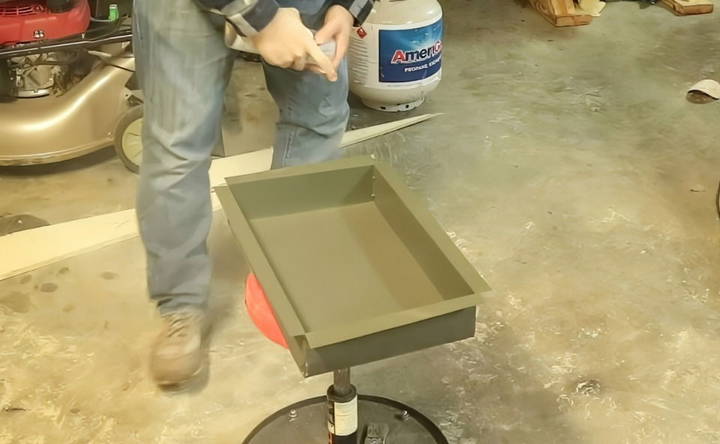
Once the primer has been applied and cured, it's time to paint your aluminum surface. The type of paint you choose will depend on the look you're going for. You can use anything from matte finishes to glossy enamel, depending on your preference.
- Choose Your Paint: Spray paints work best for aluminum, but you can use brush-on paint if you're working with a smaller or intricate surface. Rust-Oleum or other enamel-based paints are excellent choices for durability.
- Apply Even Coats: Like the primer, apply the paint in even, light coats. Don't try to cover everything in one go, as this can lead to dripping or uneven coverage. It's better to apply multiple light coats than one thick coat.
- Allow Time Between Coats: Let each coat dry for at least 30-60 minutes before applying the next. You'll want to apply 2-3 coats of paint to ensure good coverage and a long-lasting finish.
- Optional: Use Matte or Gloss Finish: Some prefer a glossy, shiny finish, while others opt for a matte look. It all depends on personal preference, but make sure to select the paint that best aligns with your vision.
Step 5: Applying a Clear Coat
The clear coat acts as a protective layer, ensuring your paint job is durable and long-lasting. It also helps to protect against weathering, moisture, and general wear and tear.
- Apply the Clear Coat: Like the paint, apply the clear coat in even, light layers. It's essential to avoid drips, so be sure to move your hand in a steady motion.
- Allow to Cure: Clear coats can take longer to cure than paint, so give it plenty of time to dry. You'll typically need to apply at least two coats, allowing each layer to dry for a few hours.
- Matte vs. Gloss: If you prefer a matte finish, look for a matte clear coat. Gloss clear coats will enhance shine, so choose based on your desired final appearance.
Step 6: Curing and Final Touches
After applying the final clear coat, let the entire piece cure for at least 24-48 hours before handling it. This ensures that the paint has fully bonded with the aluminum and is durable enough for use.
- Inspect for Flaws: Before you declare the project finished, inspect the surface for any imperfections. If you notice any areas with drips or uneven coverage, you may need to sand lightly and apply another coat.
- Final Buffing (Optional): For those who prefer a smoother finish, you can lightly buff the surface after the clear coat has cured. This step is optional but can give your aluminum a polished look.
Common Mistakes to Avoid
- Skipping the Primer: This is a crucial mistake. The paint will not stick properly to the aluminum without using a self-etching primer.
- Using the Wrong Primer: Not all primers are created equal. Make sure to use a self-etching primer specifically designed for aluminum.
- Painting in Cold Temperatures: If it's too cold, the paint and primer won't adhere properly. Always ensure your working environment is at least 70°F for the best results.
- Applying Too Much Paint at Once: Don't try to get complete coverage in one coat. Applying thick layers can cause drips and uneven coverage.
Conclusion
Painting aluminum is a project that requires patience and attention to detail, but the results are well worth it. By following the correct steps—stripping old paint, sanding the surface, using a self-etching primer, and applying light, even coats of paint and clear coat—you can achieve a professional, durable finish that will last for years. Whether you're painting aluminum parts for a boat, car, or any other project, these steps will ensure that your paint job looks great and stands the test of time.
FAQs About How to Paint Aluminum
Discover expert answers to FAQs about how to paint aluminum. Learn tips, materials, and techniques for a flawless finish.
Aluminum forms a layer of oxide almost immediately when exposed to air, making it difficult for paint to bond directly. This oxide layer is loose, which causes paint to stick poorly, leading to peeling or flaking. A self-etching primer is required to remove the oxide and roughen the surface for better adhesion.
No. A regular primer won't bond properly to aluminum because it lacks the chemical components needed to etch the surface. Self-etching primer contains chemicals that create a better bond between the aluminum and the paint.
Yes, sanding helps remove any existing oxidation and roughens the surface, ensuring the primer adheres better. Using sandpaper between 120 to 180 grit works best. For very smooth surfaces, you may need a coarser grit like 60 to create enough texture for the paint to grip.
No. Even high-adhesion paints will not bond well without a primer, especially on aluminum. The primer chemically prepares the aluminum surface to hold the paint, significantly improving durability.
Apply 2 to 4 coats of self-etching primer for a solid base. Afterward, apply 2 to 3 thin coats of paint. Allow each coat to dry according to the manufacturer's instructions before applying the next layer.
The self-etching primer works best at temperatures around 70°F (21°C). If your workspace is colder, consider using a heater to raise the temperature, as painting in low temperatures can prevent proper curing and adhesion.
Aluminum oxidizes rapidly, so you should paint within hours of sanding to prevent a new oxide layer from forming. If you delay, oxidation may hinder paint adhesion, requiring re-sanding.
Yes, applying a clear coat helps protect the paint from scratches, UV light, and environmental damage. It also adds a professional-looking finish, whether matte or glossy, depending on your preference.
Always use a respirator designed for organic vapors and chemical fumes, such as a 3M organic vapor mask. A dust mask will not protect you from toxic chemicals found in paint strippers and solvents.
For galvanized steel, a self-etching primer is also recommended. This type of metal requires similar preparation steps, though the exact chemical properties may differ slightly.
Use a chemical paint stripper specifically designed for metal surfaces. Ensure you work in a well-ventilated area and wear protective gear. After stripping, clean the surface with after-wash to remove any residue before sanding.


