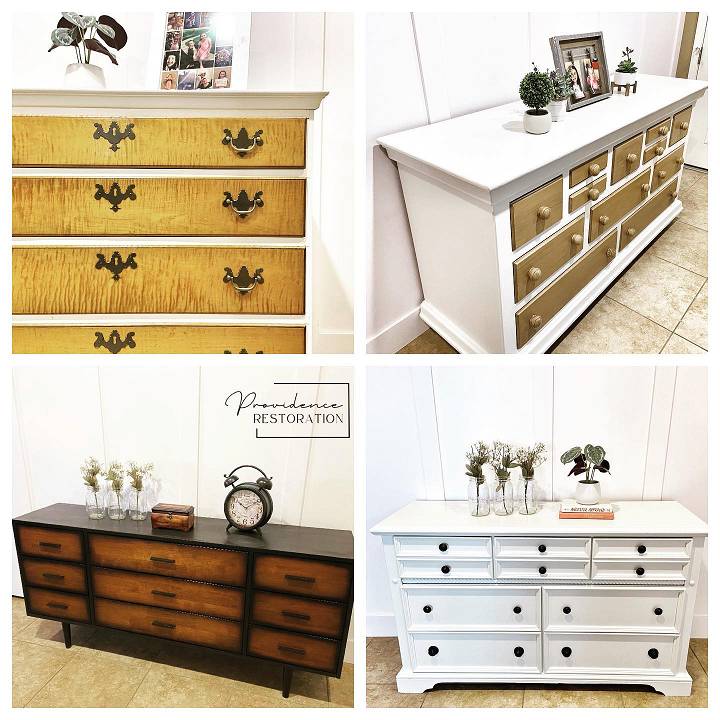
Painting furniture is one of the most accessible and creative ways to breathe new life into old or plain pieces. Whether you're looking to refresh a vintage find, add a pop of color to a room, or simply personalize your decor, painting allows you to customize your furniture to match your style. With just a few materials and a bit of patience, you can transform an outdated dresser, a dull coffee table, or a simple chair into a stunning statement piece.
I'll guide the step by step process of painting furniture, from the initial preparation to the final protective coating. I’ll cover everything you need to know, including selecting the right paint and primer, mastering the sanding process, and applying the paint for a flawless, long-lasting finish. You’ll also find helpful tips and troubleshooting advice to make your DIY project a success, even if it’s your first time.
So, if you're ready to turn that tired piece of furniture into something extraordinary, let's dive into the step-by-step instructions guide on how to paint furniture like a pro, broken down into easy steps to help you get started.

Why Paint Furniture?
Painting furniture is an affordable and creative way to update the style of your home. It allows you to customize pieces to match your aesthetic and breathe new life into old or outdated furniture. However, getting a smooth and durable finish requires proper preparation and the right techniques.
Materials Needed for Painting Furniture
Before starting, gather all the necessary supplies. Having everything on hand will make the process smoother and more efficient. Here’s a list of what you’ll need:
- Murphy’s Oil Soap: For cleaning the furniture.
- Medium Grit Sandpaper (e.g., 120-grit): For initial sanding.
- Fine Grit Sandpaper (e.g., 220-grit): For smoothing between coats.
- Primer: To help the paint adhere better.
- Tack Cloth: To remove dust after sanding.
- Paint: Interior latex paint, typically in a semi-gloss or satin finish.
- Paintbrushes and Foam Rollers: For applying paint smoothly.
- Paint Sprayer (Optional): For larger pieces or a smoother finish.
- Topcoat (e.g., Minwax Polycrylic or Finishing Wax): To protect the paint.
Step-by-Step Guide to Painting Furniture
Find below my step-by-step guide to painting furniture for a flawless finish.
Step 1: Preparation is Key
Preparation is the most critical step in achieving a beautiful and long-lasting paint job on furniture. Start by removing all hardware like knobs, handles, and hinges. If your furniture has drawers, take them out and paint them separately.
Clean the furniture thoroughly using Murphy’s Oil Soap or a similar product to remove any grease, dirt, or dust. This step is essential, especially if the piece has been sitting around for a while or stored in a garage. A clean surface helps the paint adhere better and ensures a smooth finish.
Step 2: Sanding the Surface
Sanding is vital for ensuring that the paint adheres properly. Start with medium-grit sandpaper (about 120 grit) to remove any glossy finish or rough up the surface. If your furniture already has a dull finish, you might skip this step. If you are painting over an already-painted piece, make sure to sand it well to remove any peeling paint and create a smooth surface for the new paint.
After the initial sanding, wipe the piece down with a tack cloth to remove any dust. For a professional-looking finish, sand between each coat of primer and paint with fine-grit sandpaper (220 grit). This step helps to create a smooth, even surface.
Step 3: Apply Primer
Priming the furniture is essential as it helps the paint stick better and covers any stains or discolorations in the wood. Apply a thin coat of primer and let it dry completely. Some primers come in a spray form, which can make the application quicker and more even. If you are painting over a dark color or a stained surface, a second coat of primer might be necessary. For furniture, I prefer using KILZ Primer, which works well for most types of wood.
Step 4: Sand Again
Yes, you need to sand again! Lightly sand the primed surface with fine-grit sandpaper (220 grit). This step is crucial to achieve a smooth finish. Make sure to remove all the sanding dust with a tack cloth before moving on to painting.
Step 5: Painting the Furniture
Now that your piece is primed and ready, it’s time to paint. For furniture, interior latex paint works great, and I usually go for a semi-gloss or satin finish because they are easier to clean and more durable. Flat paint, while trendy, shows every fingerprint and smudge, so it’s best avoided for furniture.
Apply the paint in thin, even coats using a foam roller for flat surfaces and a brush for detailed areas. Thin coats are better than thick ones as they dry more evenly and are less likely to drip. Be sure to sand lightly between coats with fine-grit sandpaper to remove any imperfections. Typically, two to three coats of paint will be enough, but this can vary depending on the color and type of paint used.
Step 6: Protecting Your Work
After your last coat of paint has dried for at least 24 hours, it’s time to protect your hard work with a topcoat. This step is crucial as it helps seal the paint, making it more durable and easier to clean. For light or white colors, avoid polyurethane as it can yellow over time. Instead, opt for Minwax Polycrylic, a water-based topcoat that doesn’t yellow and is easy to clean up.
If you prefer a more matte finish, consider using furniture wax. Apply the wax with cheesecloth, let it dry for 10-15 minutes, and then buff it with a clean cloth until you reach the desired shine. Wax works well on all colors and gives a soft, hand-rubbed appearance.
Step 7: Reassemble and Enjoy
Once your topcoat has cured, usually after a day or two, you can reattach the hardware and place the drawers back. Avoid handling the furniture too soon to prevent damage to the fresh finish.
Additional Tips and Tricks
- Avoid Painting in Extreme Temperatures: Paint adheres best in moderate temperatures, usually between 50°F and 85°F (10°C and 29°C). Painting in very hot or cold conditions can affect how the paint dries and adheres.
- Use High-Quality Tools: Investing in good-quality brushes, rollers, and sprayers can make a significant difference in the final look.
- Don’t Skip the Sanding Between Coats: It might be tedious, but this step is vital for a smooth, professional finish.
- Try a Paint Sprayer for Large Pieces: A paint sprayer can save time and provide a smoother finish on large or intricate pieces.
Common Challenges and Solutions
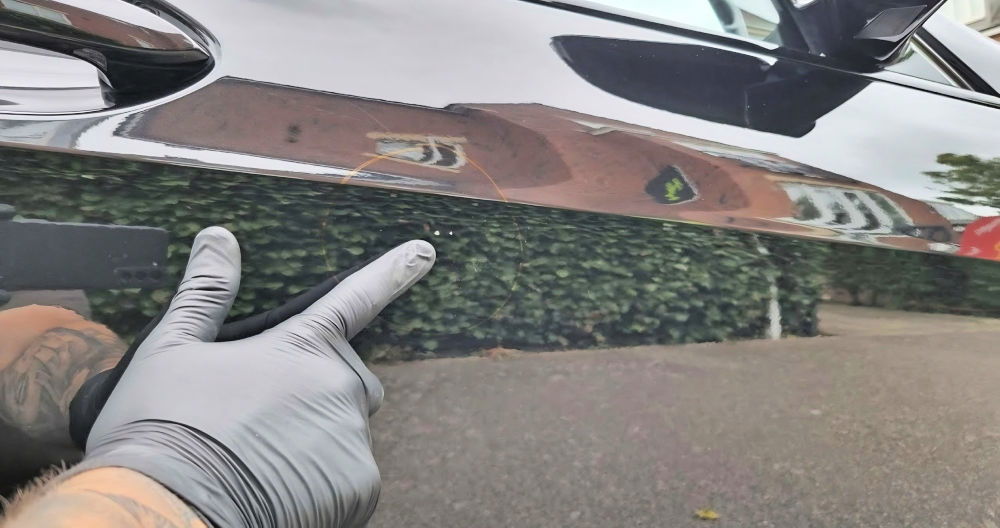
- Paint Drips: If you notice paint drips while painting, let them dry completely and then sand them out with fine-grit sandpaper. Repaint the area afterward.
- Stains or Discolorations Showing Through Paint: This often happens when you skip the priming step. Adding an additional coat of primer before painting can help cover stains.
- Yellowing Topcoat: This is common with oil-based polyurethanes. Always use water-based products for white or light-colored furniture.
Final Thoughts
Painting furniture is not only a great way to repurpose an old piece, but it also gives you the freedom to create custom looks for your home. With patience, proper preparation, and the right materials, anyone can achieve a professional-looking finish. Don’t be afraid to experiment with colors and finishes to make each piece unique to your style.
If you follow these steps and tips, you'll find that painting furniture can be a fun and satisfying project that adds a personal touch to your home decor. So, go ahead, pick that old dresser, and start painting like a pro!

FAQ: Common Questions About Painting Furniture
Discover answers to common questions about painting furniture, including techniques, supplies, and tips for a flawless finish.
What If My Furniture Has Already Been Painted?
If your furniture has already been painted, you don’t necessarily have to strip the existing paint. You can simply sand it to create a smooth surface for the new paint to adhere to. If the previous paint is in poor condition or there are multiple layers, consider using a paint stripper like "Smart Strip" to remove old finishes. Make sure to sand the surface evenly after stripping to ensure the new paint will look smooth and even.
How Do I Paint Laminate or Veneer Furniture?
Painting laminate or veneer furniture requires special preparation. You should lightly sand the surface with fine-grit sandpaper to rough it up so that the paint can adhere better. If you’re concerned about sanding, you can use a bonding primer or try Annie Sloan Chalk Paint, which requires no sanding or prep work and adheres to most surfaces. Be careful when sanding veneer to avoid damaging it.
Should I Sand Between Coats When Using Spray Paint?
When using spray paint, it's essential to sand the surface before applying the first coat of primer and paint. However, sanding between coats of spray paint is not always necessary unless there are drips or imperfections that need to be smoothed out. Make sure to follow this for a clean, even finish.
What Temperature is Best for Painting Furniture?
It's best to paint furniture in moderate temperatures, typically between 50°F (10°C) and 85°F (29°C). Extreme temperatures, either too hot or too cold, can cause the paint to crack or not adhere properly. Always check the paint can for specific temperature guidelines. If you’re painting in colder climates, consider working indoors or in a garage to maintain a stable temperature.
How Do I Get Rid of Yellowing on White Painted Furniture?
Yellowing can occur on white painted furniture if an oil-based polyurethane or certain sealers are used. To avoid this, use a water-based topcoat like Minwax Polycrylic. If yellowing has already happened, sand off the top layer and repaint the furniture white, then use a non-yellowing sealant such as a finishing wax or water-based polycrylic.
Can I Use Chalk Paint Instead of Latex Paint?
Yes, chalk paint is a popular alternative to latex paint for furniture because it requires little to no prep work such as sanding or priming. It also gives a matte finish and can be sealed with wax or a clear coat for durability. However, it may not be as durable as latex paint for pieces that will receive heavy use.
How Do I Handle Detailed Areas and Hard-to-Reach Places?
For detailed areas and hard-to-reach places, use a small piece of sandpaper to hand-sand these sections. You don’t have to sand perfectly; just enough to provide a texture for the paint to grip. If you can’t reach every nook and cranny, it’s generally okay, as long as the majority of the surface is properly prepped.
Can I Paint Furniture Without Sanding?
While it is possible to paint furniture without sanding, doing so increases the risk of the paint not adhering properly and chipping off. Using a high-adhesion primer or products specifically designed for non-sanded surfaces can help. If you want to skip sanding entirely, consider using a product like Annie Sloan Chalk Paint that is formulated to adhere without sanding.
What Type of Paintbrush or Roller Should I Use?
For smooth finishes, a high-quality brush or foam roller works best. Use a brush for detailed areas and crevices and a foam roller for flat surfaces to avoid brush strokes. When using a sprayer, it provides the smoothest finish but may require more preparation and cleanup time.
How Can I Determine if My Furniture is Solid Wood or Laminate?
Check the weight and look for wood grain patterns to determine if your furniture is solid wood. Solid wood is usually heavier and may have visible grain and dovetail joints. Laminate furniture will often have a consistent pattern and visible seams where the laminate is attached. You can paint both types but must adjust your prep method accordingly.
How Long Does the Entire Painting Process Take?
The time required depends on the size and complexity of the piece, but generally, it can take several days to a week. This includes time for sanding, priming, painting multiple coats, and allowing for drying times. Don’t rush; take your time between each step to ensure the best possible finish.


