Learn how to press flowers easily with step-by-step instructions. Pressing flowers is a beautiful and timeless craft that allows you to preserve your favorite blooms and transform them into keepsake art pieces. Whether you want to make framed artwork, make greeting cards, or design bookmarks, pressing flowers is a rewarding and straightforward way to make flowers last much longer than a vase would allow. This guide covers everything you need to know about pressing flowers—from selecting and preparing blooms to drying, pressing, and displaying them creatively.
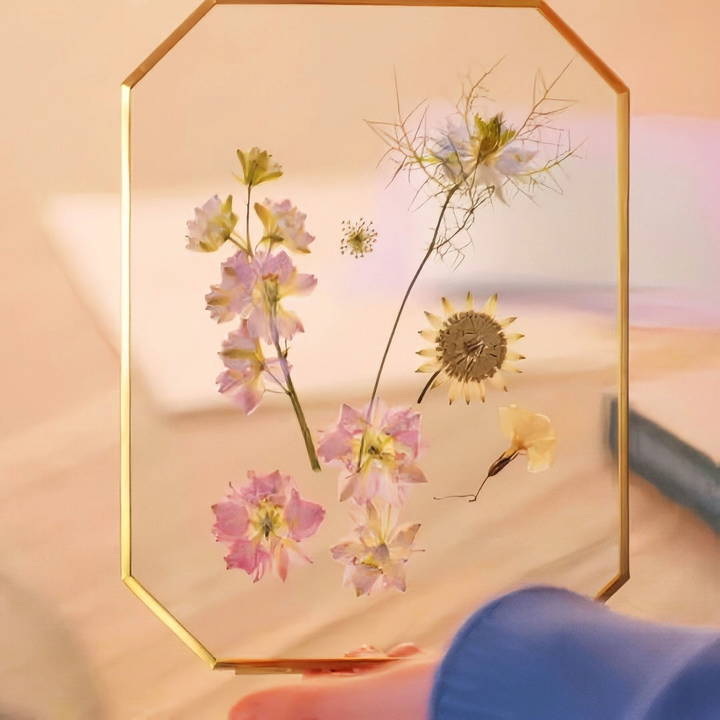
Why Press Flowers?
Flowers capture moments, emotions, and the beauty of nature. When you press flowers, you not only extend their lifespan but also make art that can be cherished or gifted. Pressed flowers maintain their color, texture, and beauty for years, providing a unique way to remember special occasions or simply celebrate the changing seasons.
What You'll Need for Pressing Flowers
Before you start pressing flowers, gather the materials to ensure a smooth, successful process. Here's what you'll need:
- Fresh Flowers: Select flowers that are fresh, delicate, and not too bulky. Blooms with less moisture press better, as thicker flowers may take longer to dry completely.
- Scissors or Shears: These will be used to trim stems and cut flowers as needed.
- Heavy Books: A stack of books will provide the pressure needed to press flowers. The weight is crucial to ensuring even drying.
- Baking Paper (Parchment Paper): Used to protect flowers from sticking to book pages and to make a clean, flat surface for pressing.
- A Clean Jar of Water: This is optional but recommended to hydrate flowers before pressing if they seem a bit wilted.
Optional:
- Frame or Card Stock: To display your finished flowers.
- Glue or Double-Sided Tape: Used to secure flowers in place once they're pressed.
Step by Step Instructions
Learn how to press flowers with this step-by-step guide. From selecting to displaying, enjoy creative ideas for beautiful, lasting pressed flowers.
Step 1: Selecting and Preparing Your Flowers
The flowers you choose will greatly influence the final look of your pressed art. Consider these tips for selecting and preparing blooms for pressing:
Choosing the Right Flowers
Opt for flowers with a more delicate structure, as they press more easily and dry faster. Some great choices include:
- Pansies and violets: Small, delicate, and vibrant.
- Daisies and daisies' petals: Hold their color and shape well.
- Lavender and ferns: Offer unique textures and shapes.
- Roses and lilies can be pressed, but due to their thickness, it's often best to press individual petals instead of the full bloom.
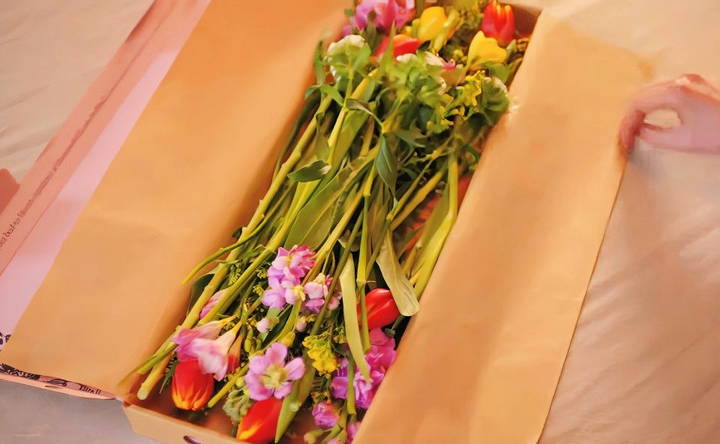
Conditioning the Flowers
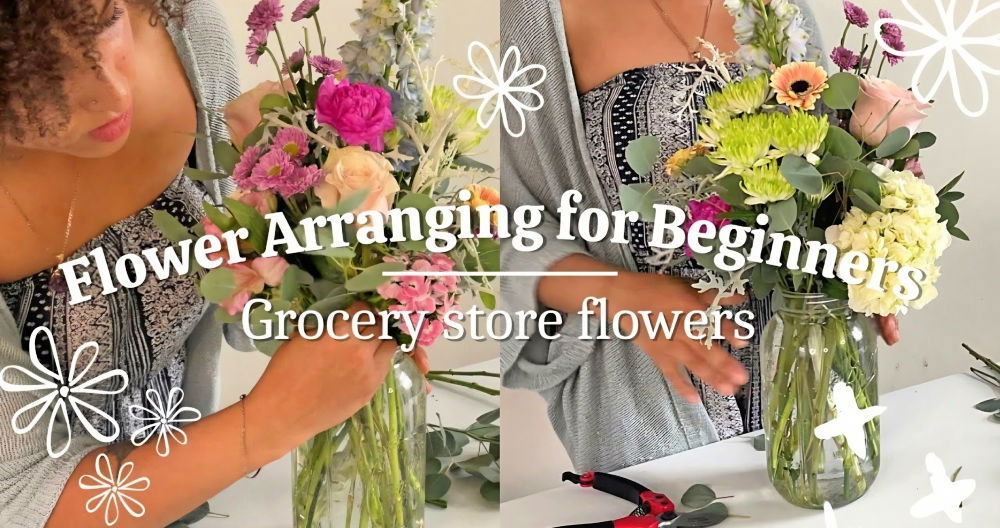
- Trim the Stems: Cut each flower stem at a 45-degree angle about an inch and a half from the bottom. This helps the flowers absorb water if you're hydrating them before pressing.
- Remove Excess Leaves: Remove any leaves that would be below the waterline in the jar. Leaves that aren't part of your pressing design can be discarded.
- Hydrate if Needed: If your flowers seem slightly wilted, place them in a clean jar of water for a few hours to restore their freshness and structure.
Step 2: Arranging and Pressing Flowers
With your flowers prepped, you're ready to arrange and press them. Follow these steps for a successful press.
How to Arrange Flowers for Pressing
- Lay Down Baking Paper: Place a piece of baking paper inside a heavy book. This will protect the book pages and prevent flowers from sticking.
- Arrange the Flowers: Place flowers face down on the baking paper, leaving enough space between each one. This prevents overlapping, which can cause flowers to stick together and dry unevenly. Arrange as many flowers as you can fit without crowding them.
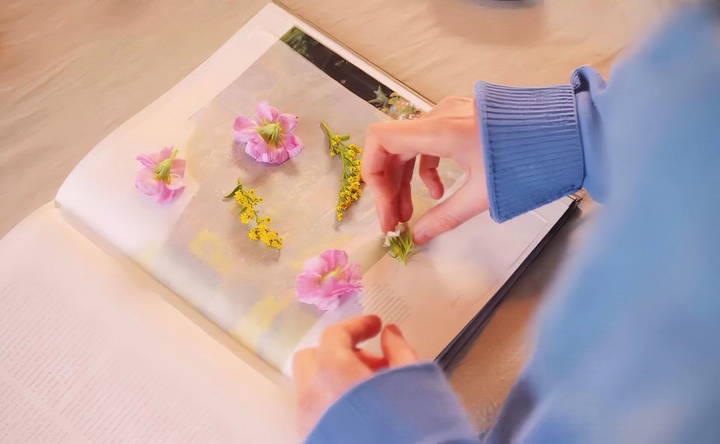
Pressing the Flowers
- Cover with Baking Paper: Once flowers are arranged, cover them with another sheet of baking paper to make a protective “sandwich.”
- Close the Book: Close the book slowly, ensuring the flowers don't move or shift. You want them to remain flat.
- Add More Weight: Stack additional books on top of the book containing your flowers. This added weight ensures even pressure for optimal drying.
Choosing a Location
Place your stack of books in a warm, dry location. It's important to keep the area free from humidity, as moisture can hinder the drying process and lead to mold.
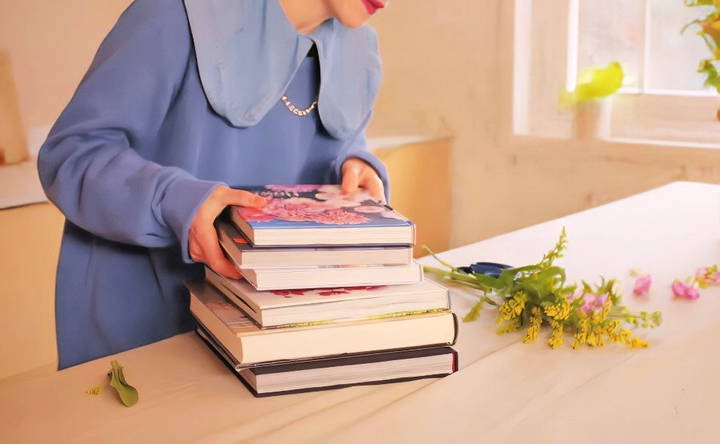
Timing: How Long to Press Flowers
Leave your flowers pressing for about two weeks. This duration allows them to fully dry out and flatten. For thicker flowers or particularly moist blooms, check periodically and extend the drying time as needed.
Step 3: Checking and Removing Pressed Flowers
After two weeks, your flowers should be fully dried and ready for use. Here's how to safely remove them:
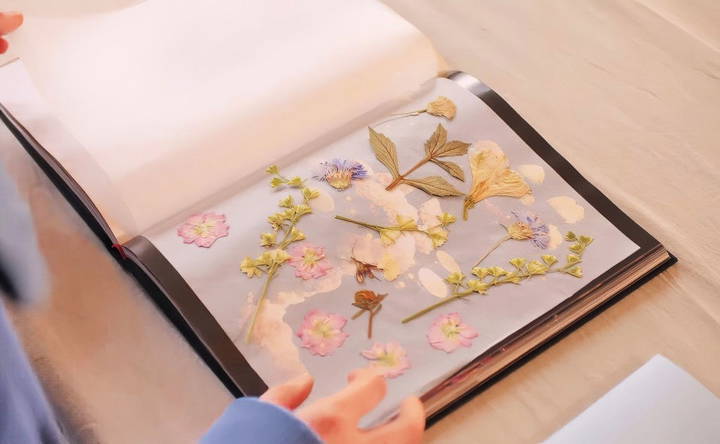
- Open the Book Carefully: Gently lift the top layer of baking paper. Use caution, as pressed flowers can be fragile and may stick slightly.
- Peel Flowers Off the Baking Paper: Slowly lift each flower. If they feel stuck, use tweezers to gently pull them off. Avoid tugging too hard to prevent breakage.
Step 4: Displaying Your Pressed Flowers
Once your flowers are pressed, it's time to get creative! There are numerous ways to display and use your pressed flowers. Below are some ideas.
Framing Your Pressed Flowers
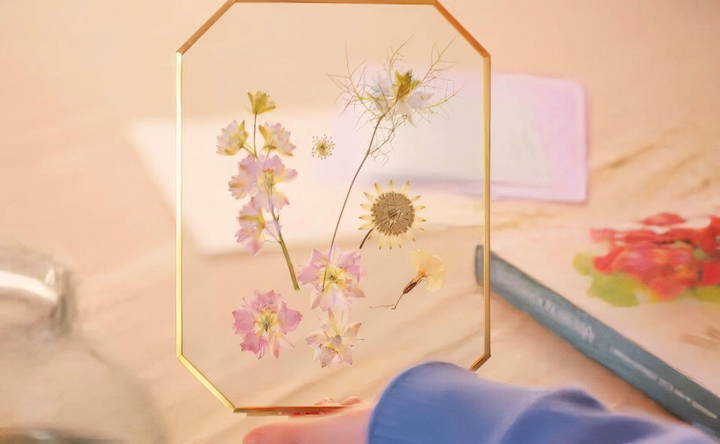
Frames are a classic way to showcase pressed flowers as wall art or tabletop decorations.
- Choose a Frame: Select a glass frame that suits your aesthetic. Transparent frames or shadow boxes work particularly well for this.
- Arrange the Flowers: Before securing, experiment with different layouts until you find a design you love.
- Secure the Flowers: Use a dab of glue or small pieces of double-sided tape to secure each flower in place. Ensure they're firmly affixed before closing the frame.
Making Greeting Cards
Pressed flowers make unique, handmade greeting cards that are perfect for birthdays, weddings, or other special occasions.
- Prepare the Card: Choose sturdy card stock as the base for your greeting card.
- Design the Layout: Arrange flowers on the card in a pleasing design. Minimalist designs or floral patterns work well.
- Adhere the Flowers: Secure each flower with glue or tape, making sure they lie flat. Press gently to prevent damage.
Making Bookmarks
A pressed flower bookmark can add beauty to any book.
- Cut a Strip of Card Stock: Cut the card stock to bookmark size, about 2 inches wide and 6 inches long.
- Arrange and Adhere the Flowers: Place flowers along the strip, arranging them as you like, then secure with glue or tape.
- Seal with Laminating Paper (Optional): For durability, you can laminate your bookmark or cover it with clear adhesive paper.
Additional Creative Ideas
Pressed flowers can also be used to decorate:
- Keychains: Encased in resin for a durable, glossy finish.
- Phone Cases: Arrange on a clear case and seal with resin.
- Gift Tags: Attach to presents for a personalized touch.
Tips and Tricks for Successful Flower Pressing
To get the best results, keep the following tips in mind:
- Choose Flowers Wisely: Avoid very thick or juicy flowers, which may take longer to dry and can develop mold.
- Keep Flowers Dry: Avoid pressing flowers with any visible moisture or dew.
- Mind the Temperature: Keep your books in a warm spot. Cold and damp areas can hinder the drying process and introduce moisture.
- Experiment with Leaves and Greenery: In addition to flowers, you can press leaves and other small greenery for added variety in your designs.
Final Thoughts
Pressing flowers is a rewarding and creative hobby that allows you to preserve nature's beauty in a lasting way. With patience and a little creativity, you can make stunning pieces that capture the colors and memories associated with your favorite blooms. Whether you frame your pressed flowers, gift them as cards, or make bookmarks, you'll have a piece of art that serves as a beautiful reminder of the seasons, celebrations, and special moments in life.
FAQs About How to Press Flowers
Discover answers to common queries on how to press flowers effectively. Learn tips for preserving floral beauty in detail.
Pressed flowers can last for years if kept in dry, dark conditions and away from direct sunlight, which can cause colors to fade.
Yes, a microwave press is a faster alternative. You'll need a microwave-safe flower press or two ceramic tiles and rubber bands to make a press. Microwave for 30 seconds at a time, checking between intervals.
Make sure flowers are completely dry before pressing and keep the pressing setup in a dry area. Mold often occurs due to trapped moisture, so avoid flowers that are overly moist.
Most flowers can be pressed, though some dry better than others. Flowers with high water content, like succulents or thick roses, are more challenging and may require petal-by-petal pressing.
It's generally not necessary to change the baking paper unless you notice moisture buildup. However, if you're using very fresh or thick flowers, it’s a good idea to check and replace the baking paper halfway through to prevent mold from excess moisture.
Yes, regular paper can absorb moisture from the flowers, but baking or parchment paper is preferred as it doesn’t stick to the petals. If you use regular paper, keep an eye out for moisture spots, and consider using absorbent blotting paper between layers to help avoid mold.
Mold can develop if the flowers are too thick or if there’s insufficient pressure. Ensure the flowers are fully dry before pressing, place heavy books on top, and keep the setup in a warm, dry area. For bulky flowers, try pressing only the petals.
For thick flowers like roses, pressing individual petals often works best. Full blooms can be too bulky and may not dry evenly, leading to mold. Simply separate the petals and press them individually for a similar visual effect.
Some color fading is natural, especially with exposure to sunlight. To preserve color, store pressed flowers in a cool, dark place, or spray them lightly with a preservation spray or a thin layer of clear varnish to lock in color.
Ensure the flowers are fully dried before framing. Placing them between glass panes helps protect them, but for long-term preservation, a sealed frame that limits air exposure is ideal. Using a clear adhesive or resin can also help maintain the flowers’ appearance.
Use a clear-drying glue like Elmer’s or a small dab of Mod Podge. Avoid overly thick glues, as they may damage delicate petals. Lightly apply with a brush for best results.
Wilted flowers can still be pressed, but they may be fragile and require extra care. For very dry or brittle flowers, try misting them lightly before pressing, and avoid pressing very delicate ones as they might crumble.


