Removing wallpaper can seem difficult, but with the right steps, it becomes much easier. The process starts with gathering the necessary tools. You'll need a putty knife, scraper, bucket, sponge, and wallpaper remover solution. Begin by loosening a corner of the wallpaper with the putty knife. Gradually pull it away from the wall, using the scraper to assist. If the paper resists, spray the remover solution and wait a few minutes before trying again.
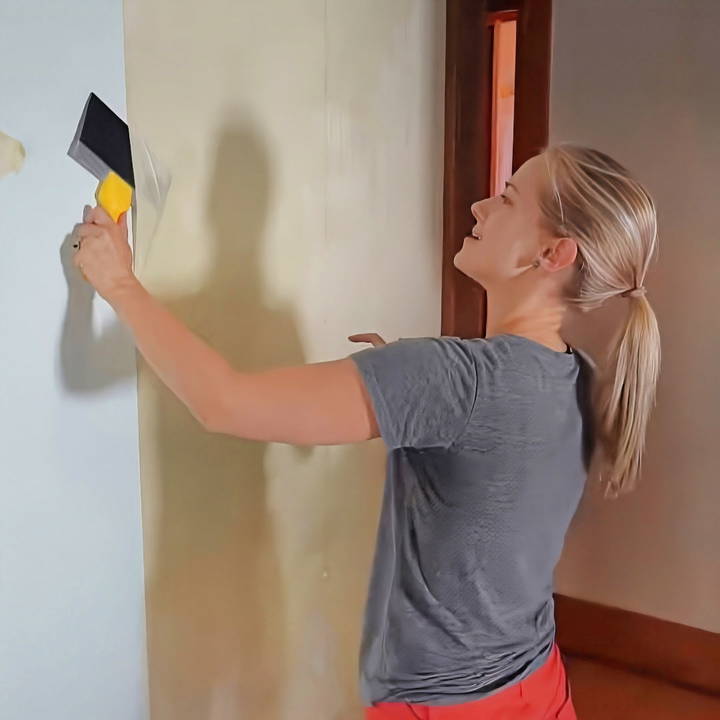
Continue this process until all the wallpaper is removed. Afterward, clean the walls with a sponge and warm water to remove any remaining adhesive. Make sure the wall is fully dry before applying new decor.
Keep reading to discover how to remove wallpaper more effectively and tips for ensuring a smooth finish.
Understanding Wallpaper Types
When it comes to removing wallpaper, it's essential to know what type you're dealing with. Different wallpapers require different approaches for removal. Here's a straightforward guide to help you identify and understand the common types of wallpaper in your home.
Vinyl Wallpaper
Vinyl wallpaper is popular due to its durability and ease of cleaning. It usually consists of a paper or fabric backing layer with a plastic upper layer. To remove it, start by peeling off the vinyl layer; the backing can then be soaked and scraped away.
Traditional Paper Wallpaper
This is the most basic type of wallpaper, made purely of paper. It's less durable than vinyl and can be more challenging to remove if it's been on the wall for a long time. You'll need to soak the paper with water or a wallpaper removal solution before scraping.
Fabric Wallpaper
Fabric wallpaper adds a luxurious texture to walls but can be tricky to remove. It's often best to use a steamer to loosen the adhesive before carefully peeling the fabric away from the wall.
Foil Wallpaper
Foil wallpaper has a metallic finish and requires careful handling. Avoid using too much water when removing this type as it can damage the foil. Gently scoring and applying a mild solvent is often the best approach.
Non-Woven Wallpaper
Non-woven wallpapers are a mix of synthetic and natural fibers, making them washable and breathable. They are designed to strip off easily, often coming down in full sheets when removed.
Peel-and-Stick Wallpaper
This type is designed for easy application and removal. You can typically peel it off without tools or solutions, but go slowly to avoid damaging the wall underneath.
Grasscloth Wallpaper
Made from natural fibers, grasscloth wallpaper gives the room an organic feel. Remove it by dampening the adhesive and carefully pulling the sheets away from the wall.
Test a small area first to find the best removal method. When in doubt, consult a professional to avoid wall damage. You're ready to refresh your space!
Materials You'll Need:
- Putty knife or taping knife: For scraping off the wallpaper.
- Fabric softener: A secret ingredient for the wallpaper removal potion.
- Water: To mix with the fabric softener.
- Spray bottle: For applying the wallpaper potion.
- Plastic sheeting or garbage bags: To protect your floors.
- Painters tape: To secure the floor protection.
- Patience and elbow grease: Because a little effort goes a long way.
Why Each Material Is Needed
- Putty/Taping Knife: This is a crucial tool for peeling off the wallpaper without damaging your walls excessively.
- Fabric Softener and Water: This mixture loosens the wallpaper glue, making the removal process smoother and leaving a pleasant smell.
- Spray Bottle: Provides an easy way to apply the mixture evenly across the wallpaper.
- Plastic Sheeting/Garbage Bags and Painters Tape: Protects your flooring from water and any potentially scraped-off wallpaper pieces.
- Patience and Elbow Grease: The most essential 'tools' in your arsenal. While the process is simple, it requires some effort and time.
Step by Step Instructions
Learn how to remove wallpaper with our step-by-step instructions. Follow these easy steps for flawless wallpaper removal.
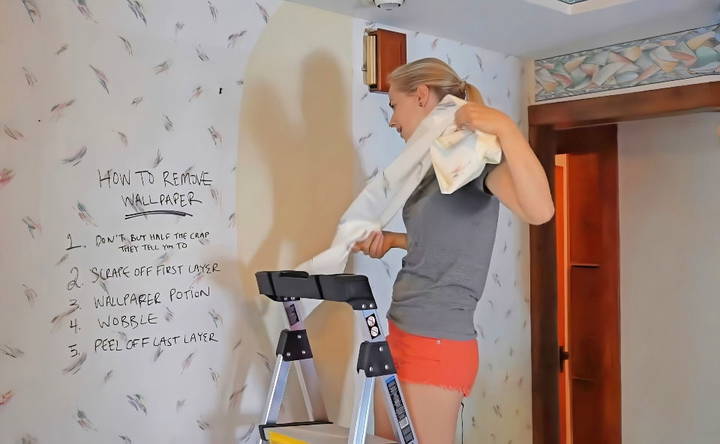
Step 1: Ditch the Non-Essentials
Contrary to popular belief and marketing tactics, you don't need most of the specialised tools advertised for wallpaper removal. Initially, I thought I needed the fancy round tool that scores the wallpaper, but a straightforward approach proved just as effective.
Step 2: Start Scraping
Using your putty or taping knife, begin to scrape off the wallpaper. Aim for the edges or any loose areas first, as they provide an easy starting point. This part can be unexpectedly satisfying – very similar to peeling dry glue off your fingers!
Step 3: Make Your Wallpaper Removal Potion
Mix three parts water with one part fabric softener in a spray bottle. While not strictly necessary, I found this mixture not only helps in loosening the glue but also makes the entire room smell fantastic.
Step 4: Spray and Wait
Generously spray your wallpaper potion on the wall, focusing on areas where the paper still clings to the wall. Then, give it a few minutes to work its magic. This waiting time is perfect for busting out your favorite dance moves!
Important Note:
Before spraying the solution, ensure your safety by turning off electricity in the area you're working on, especially if your walls are near any electrical outlets. It's a simple step that prevents any potential accidents.
Step 5: Protect Your Floors
Lay down plastic sheeting or garbage bags to catch any wet scraps and protect your flooring from the wallpaper potion. Use painters tape to secure the edges. Not only is this protective step easy, but it also aligns with eco-friendly practices by repurposing items you already have at home.
Step 6: The Final Peel
After the fabric softener mix has set in, use the putty knife to scrape off the wallpaper. At this stage, it should come off relatively easily, revealing your wall's bare surface. This part of the process is immensely satisfying – think of it as revealing the potential of your room.
Troubleshooting Common Issues
Removing wallpaper can sometimes present challenges that require practical solutions. Here's a guide to overcoming common obstacles you might encounter during the wallpaper removal process.
Dealing with Stubborn Wallpaper
If you find that the wallpaper won't come off easily, it's usually because the adhesive is still strong. In this case, score the wallpaper with a scoring tool to allow the removal solution to penetrate better. Then, apply a wallpaper removal solution and let it soak in before trying again.
Residue on Walls
After removing the wallpaper, you might notice some adhesive residue left on the walls. To tackle this, mix a solution of hot water and a few drops of dish soap. Apply it to the walls with a sponge, wait a few minutes, then scrape the residue off gently with a putty knife.
Wallpaper Tears Drywall
Sometimes, wallpaper removal can cause tears in the drywall. If this happens, seal the torn area with a thin layer of joint compound. Allow it to dry, sand it smooth, and then prime the wall before repainting or applying new wallpaper.
Painted Over Wallpaper
If the wallpaper has been painted over, it can be tough to remove. Start by scoring the painted surface, then use a steamer or hot water and removal solution to loosen the paper and paint layers.
Mold and Mildew
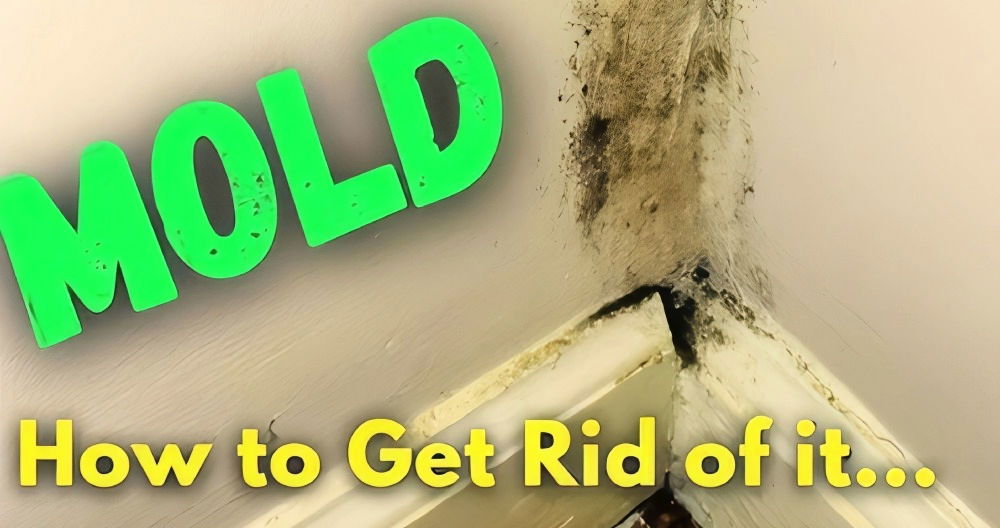
In areas with high moisture, mold and mildew can form behind wallpaper. If you discover mold, wear a mask and gloves for protection. Clean the area with a mold-killing solution before proceeding with wallpaper removal.
Wallpaper Won't Stick to Wall
If you're applying new wallpaper and it won't stick, ensure the wall is clean, dry, and primed. Use the correct adhesive for your wallpaper type, and consider sizing the walls first for better adhesion.
Anticipating issues and knowing their solutions will prepare you for your wallpaper project.
Wall Repair and Post-Removal Care
After you've successfully removed the wallpaper, it's time to give your walls some TLC. Here's a simple guide to repairing the walls and ensuring they're in top condition for whatever comes next.
Smooth Out the Surface
Once the wallpaper is off, you might find some small nicks or gouges. Don't worry, it's normal. Just grab some spackle and fill them in. Once the spackle dries, take a sanding block and gently smooth the area. You want a surface that's as smooth as a baby's skin.
Wash the Walls
Old wallpaper can leave a bit of a sticky mess. Mix up some warm water with a squirt of dish soap and gently wash the walls with a sponge. Rinse with clean water and let them dry completely. This step ensures that your walls are clean and ready for the next step.
Apply Primer
Before you paint or put up new wallpaper, apply a coat of primer. This helps to seal the wall and provides a good base for whatever finish you choose next. It's like giving your walls a fresh start.
Check for Dampness
If you notice any damp spots, it's important to address them before moving on. Dampness can lead to mold, and nobody wants that. If you're not sure how to fix it, it might be a good idea to call in a pro.
Final Touches
Once your walls are primed and dry, they're ready for paint or new wallpaper. Take your time choosing the right color or pattern. After all, you've put in the work to make sure your walls are perfect. Now it's time to show them off!
Taking care of your walls after removing wallpaper is crucial. It ensures a long-lasting, beautiful finish, whether you're painting or wallpapering again.
FQAs About How to Remove Wallpaper
Learn how to remove wallpaper efficiently with our FAQs. Get expert tips, tools needed, and step-by-step instructions for a smooth wallpaper removal process.
Before you begin, clear the room of furniture and lay down drop cloths to protect your flooring. Remove all wall hangings, outlet covers, and switch plates. It’s also a good idea to tape off baseboards and trim to prevent damage.
There are several methods for removing wallpaper:
Steaming: Ideal for tough wallpapers on plaster walls.
Water and Vinegar/Fabric Softener: Best for peelable or temporary wallpapers.
Liquid Remover: Suitable for vinyl wallpapers, often found in bathrooms.
Gel Remover: Good for areas where the remover needs to cling to the wall for longer periods.
Fill the steamer with water and wait for it to heat up. Once ready, apply the steamer plate to the wallpaper and hold it in place for a few seconds. Then, gently peel away the wallpaper with a putty knife.
Yes, you can make a homemade solution with equal parts hot water and vinegar or fabric softener. Apply this mixture to the wallpaper with a spray bottle, allow it to soak in, and then scrape the wallpaper off.
Always wear protective gear like gloves and goggles. If you're using a steamer, be cautious of hot steam and water. If your home was built before 1978, be aware of the potential for lead-based paint and take appropriate safety measures.
Conclusion
Wrapping up, mastering how to remove wallpaper from start to finish can transform your living space effortlessly. Following these steps will ensure you achieve a smooth, clean wall ready for your next project. With careful preparation and the right tools, the process becomes manageable and rewarding. Now, you're set to refresh your home with confidence.


