Over time, boat upholstery, especially the seats, takes a beating from sun exposure, saltwater, and general wear and tear. One of the most common issues that arise is the stitching or seams of the boat seats coming apart due to rotted threads or damaged seams. Luckily, you don't have to immediately replace your seats or take them to a professional. With a little know-how and some basic tools, you can carry out effective boat upholstery repairs on your own.
In this guide, we'll show you a method for fixing boat seat seams that utilizes the current thread holes for a durable repair. This process, although DIY, produces professional-looking results and can extend the life of your boat seats significantly.
Why Repairing Boat Upholstery Is Important
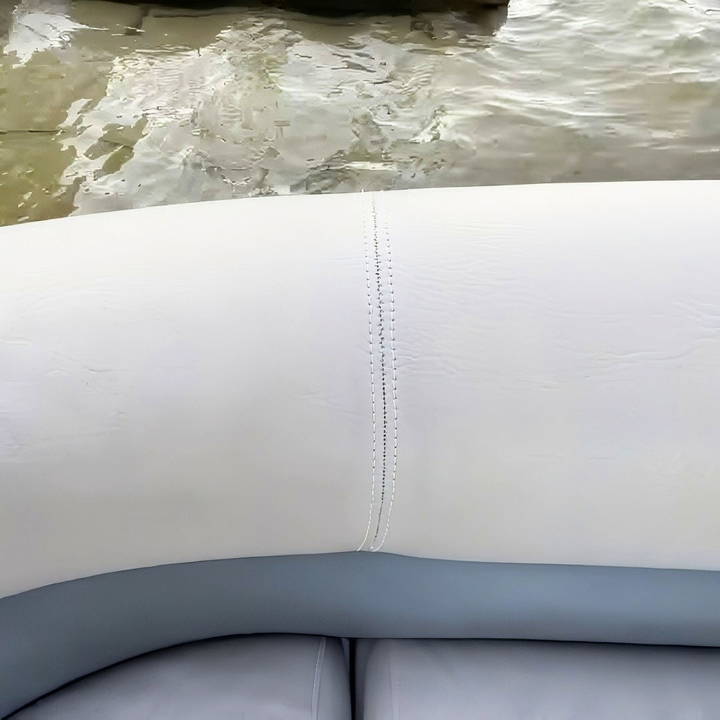
Before diving into the repair process, it's important to understand why fixing damaged boat upholstery is crucial. Over time, sun exposure can deteriorate the stitching, leaving seams open and exposing the foam underneath to the elements. If left untreated, the foam can become damaged, leading to costly replacements. Additionally, open seams are unsightly and can lower the overall appearance and value of your boat.
By repairing seams when you notice damage, you protect the underlying material, prevent further wear, and keep your boat looking its best for as long as possible.
Tools You Will Need for Boat Upholstery Repair
To get started with boat upholstery repair, you'll need the right tools. Here's a list of the essential items you should have:
- Speedy Stitcher Sewing Awl: This hand tool acts much like a sewing machine, allowing you to sew through heavy materials such as vinyl.
- Heavy-Duty Sewing Needles: Ensure that you have a strong, curved mattress needle, which is ideal for reaching difficult angles in boat seats.
- Outdoor-Rated Thread: Use heavy-duty, UV-resistant thread that matches your boat's original stitching as closely as possible.
- Seam Ripper: A small tool that allows you to carefully remove old or deteriorated threads from the seam.
- Thread Cutters: Sharp snipping tools designed to easily cut through thread.
- Vinyl Patch Material (optional): For more significant tears or damage, you might need vinyl patches to replace severely worn sections.
These tools are readily available at most marine supply stores or online and can be reused for multiple repairs, making them a solid investment if you own a boat.
Step by Step Instructions
Learn boat upholstery repair with our step-by-step guide. From damage assessment to stitching tips for durable results, follow these easy instructions.
Step 1: Assess the Damage
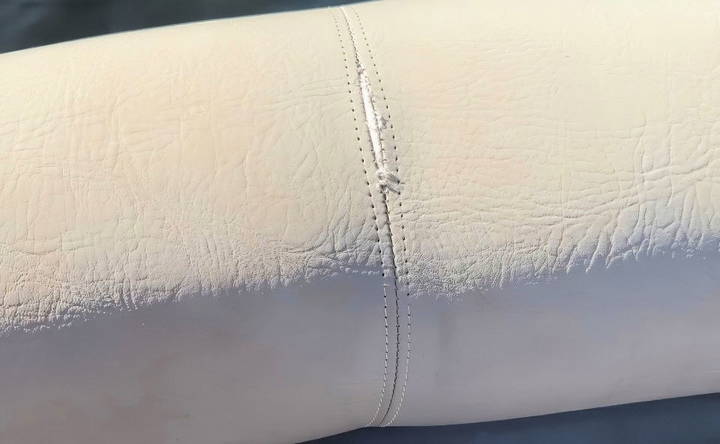
Before you begin, carefully inspect the seam that needs repair. Determine if it's just a section of stitching that has failed or if the vinyl itself is damaged. If the vinyl is intact, you can move forward with a stitching repair. If the vinyl is torn or punctured, you may need to patch it before re-stitching.
Step 2: Remove the Old Thread
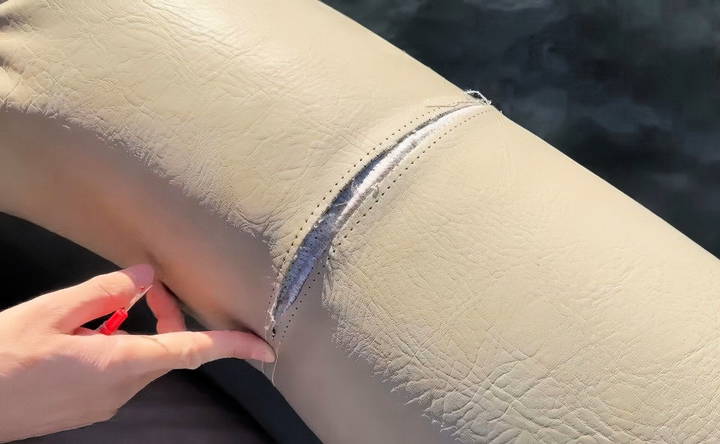
Use your seam ripper to carefully remove the old thread from the damaged area. If the seam has rotted away entirely, this may be as simple as lifting the remaining thread out of the seam. For sections where the thread is still holding, carefully snip and pull it free, ensuring you do not tear or further damage the vinyl.
When removing the thread, be mindful not to disturb the original holes in the vinyl. These existing holes will be used for your new stitching, ensuring a clean, professional appearance once repaired.
Step 3: Preparing Your Speedy Stitcher
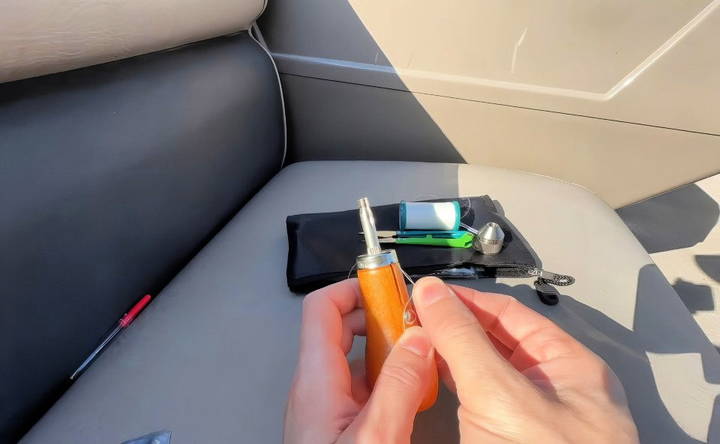
The Speedy Stitcher sewing awl is an essential tool for this type of repair, as it allows you to mimic the action of a sewing machine, but by hand. Here's how to get it ready:
- Load the Thread: Open the base of the Speedy Stitcher and load it with your UV-resistant outdoor thread. This type of thread will hold up against sun exposure and the harsh marine environment.
- Feed the Thread: Guide the thread through the body of the Stitcher, ensuring it flows smoothly from the bobbin to the needle.
- Choose Your Needle: Attach the curved mattress needle to the Stitcher. This needle is ideal for stitching through layers of vinyl while maintaining control over the seam.
Step 4: Start Stitching
With the old thread removed and the Stitcher prepared, it's time to start stitching the seam back together. Follow these steps:
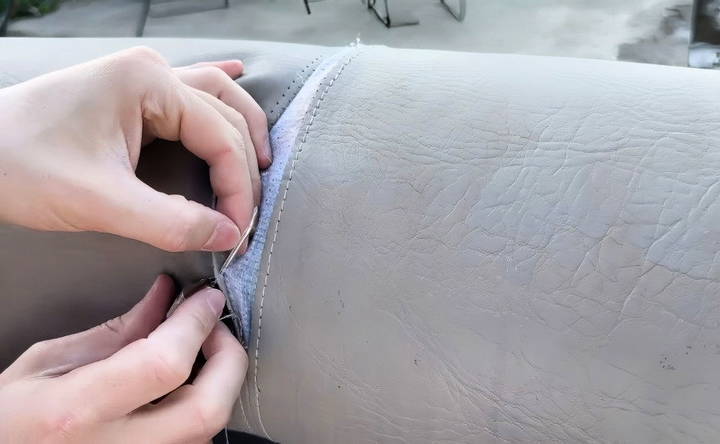
- Anchor the Thread: Begin by anchoring the thread at the end of the seam where the stitching is still intact. To do this, insert the needle through the existing thread hole, pulling the thread to the inside of the seam. This anchor point will help maintain the tension and integrity of your new stitches.
- Stitch Along the Seam: Use the Speedy Stitcher to stitch along the original seam line, feeding the needle through the existing holes. As you push the needle through, leave a loop of thread that you'll feed back through the stitch from the other side.
- Repeat the Process: Continue stitching along the entire seam, ensuring that each stitch is tight and follows the original thread path. It's important not to skip any holes or stitches, as this could make weak points in your repair.
- Finishing the Stitch: Once you reach the end of the seam, tie off the thread securely. You can do this by cutting the thread from the Stitcher and tying it to the inner thread that runs through the back of each stitch. This will help lock the new seam in place.
Step 5: Reinforce the Center Seam (Optional)
In some cases, your boat seat may have a center seam that runs along the back of the seat, holding two pieces of vinyl together. If this seam has also failed, you'll need to repair it separately.
- Thread the Curved Needle: Cut a new length of outdoor-rated thread and tie one end to the existing center thread if there is one. Thread the other end through your curved needle.
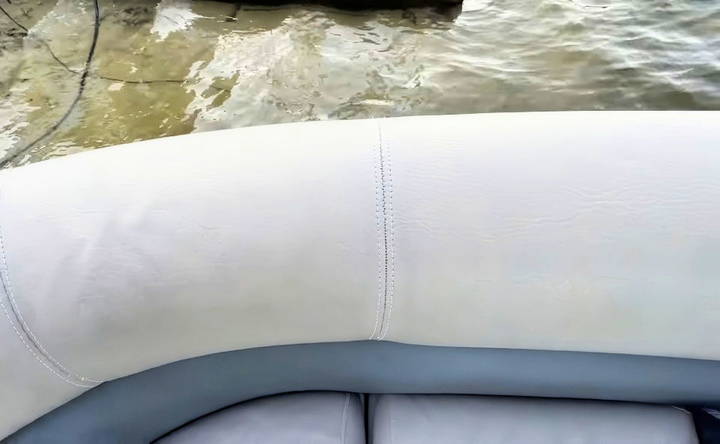
- Stitch the Center Seam: Starting at one end, push the needle through two holes on one side of the seam. Then, move to the other side, inserting the needle into the corresponding holes. Continue switching between sides, ensuring that the needle enters each hole that already contains a thread.
- Tie Off and Finish: Once the center seam is secure, tie off the thread, pushing the excess into the seam for a clean finish.
Additional Tips for a Long-Lasting Repair
While this DIY method is highly effective, it's important to take additional steps to protect your repaired upholstery and ensure it lasts as long as possible:
- Use Marine-Grade Products: Always use marine-grade thread and materials. These products are designed to withstand UV exposure, salt, and moisture, which are constant threats in a marine environment.
- Clean and Condition Vinyl Regularly: Regular cleaning and conditioning of your boat's vinyl seats will help maintain their flexibility and strength. Use a UV-protective vinyl cleaner to prevent further damage from the sun.
- Invest in Seat Covers: To minimize future damage, consider investing in seat covers for your boat. Seat covers will protect your upholstery from sun exposure and prolong the life of your stitching.
- Schedule Inspections: Routinely inspect your boat seats for signs of wear or weakened seams. Catching damage early can prevent small issues from becoming major repairs.
Conclusion: Keep Your Boat Seats in Top Shape
Boat upholstery repair doesn't have to be intimidating. With the right tools and a little patience, you can save hundreds of dollars by fixing seams yourself. By using the existing thread holes and following this step-by-step guide, your repair will look clean and professional, allowing your boat to remain stylish and comfortable for many more adventures.
Taking the time to repair your boat's upholstery not only keeps your vessel looking great, but it also protects the underlying foam and structure from long-term damage. Whether you're dealing with sun-rotted seams or small tears, the steps outlined here will help you tackle these issues like a pro.
FAQs About Boat Upholstery Repair
Explore FAQs about boat upholstery repair for expert tips, maintenance advice, and solutions to common issues. Enhance your boating experience today!
When the vinyl has torn near the thread holes, you can reinforce it by adding fabric underneath the vinyl before re-stitching. Remove the old thread from all seams, place the fabric underneath the seam, and stitch through both the vinyl and the new fabric to make a stronger bond.
If the vinyl is brittle or very sun-hardened, repairing it could cause further tearing. In such cases, consider softening the material with vinyl conditioner before attempting the repair. If the vinyl is too damaged, replacing the seat covering might be necessary.
For best results, use a curved mattress needle or a heavy-duty sewing needle specifically designed for upholstery. Regular needles may not be strong enough to handle thick vinyl material.
If you don't have a Speedy Stitcher, you can use a heavy-duty hand needle. A double-blind stitch method can also work well for manual repairs. However, the Speedy Stitcher simplifies the process and helps achieve a cleaner result.
Use outdoor-rated, UV-resistant thread to prevent your new stitching from degrading due to sun exposure. Also, protect your boat seats with covers when not in use to prolong the life of both the vinyl and the stitching.
If the center seam is intact but needs reinforcement, a backstitch topstitch with a curved needle may be sufficient. This can help without removing the entire seam. Be mindful of any fabric behind the seam that might interfere with the stitching.


