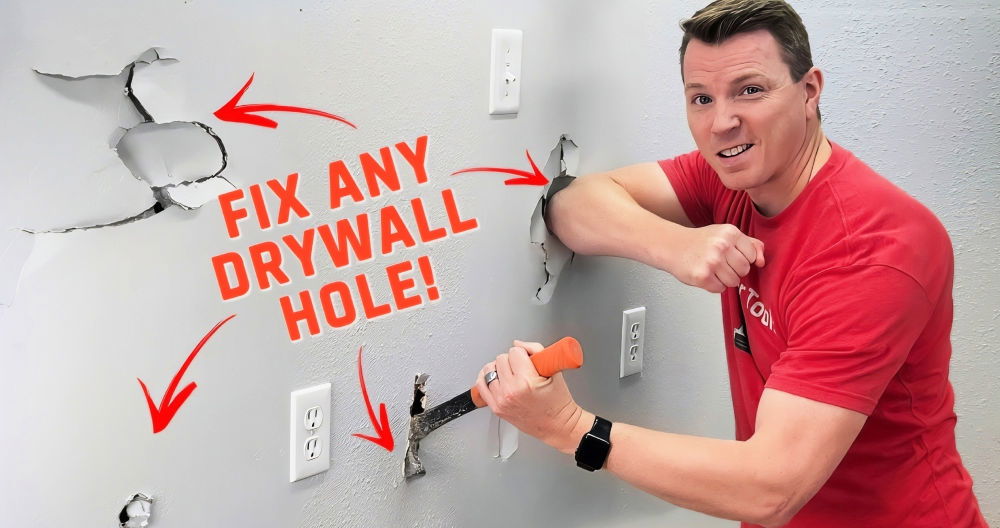
Fixing small holes in drywall can be easy. This guide helps you repair drywall holes quickly. All you need are basic materials: spackle, a putty knife, sandpaper, and some primer or paint. Repairing small drywall holes is a handy skill that will make your walls look great again.
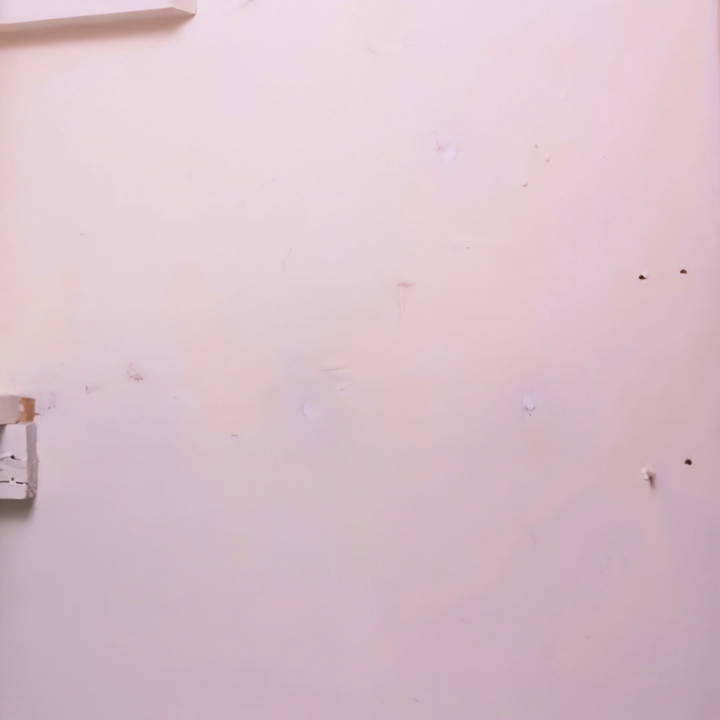
To start, clean the hole and remove any loose debris. Next, apply spackle with a putty knife and smooth it out. Once dry, sand the area until it's smooth and even with the surrounding wall. Finally, paint over the repair to match your wall. Fixing small wall holes is simple once you know the steps.
Explore these steps in detail in the next section. This guide will make filling holes in drywall easy and effective. Let's get started!
Materials Needed:
- Putty Knife: Choose a flexible one as it will allow you to effectively work the filler into the hole.
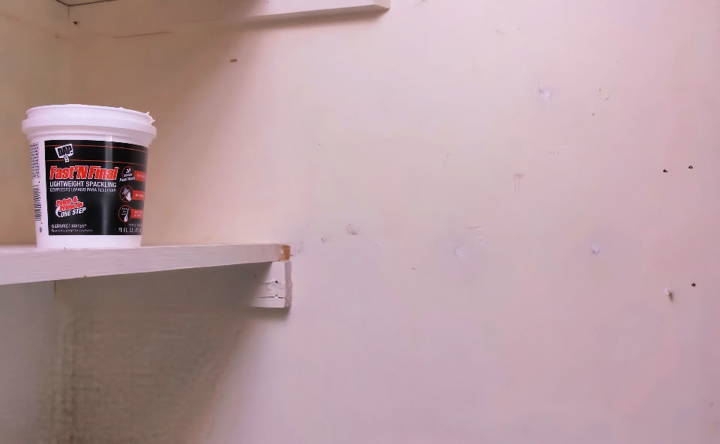
- Spackling Paste or Wall Filler: I prefer using a product called "Fast and Final" for its minimal shrinkage and self-priming properties.
- Scraping Tool: A scraper or the handle of your 5-in-1 will suffice.
- Fine-grit Sandpaper (optional): Depending on the perfection of your fill, you might not need this.
Why These Materials?
- The flexible putty knife is crucial because a stiff blade can't apply filler with the same finesness, making it hard to achieve a smooth surface.
- A quality spackling paste like "Fast and Final" shrinks minimally as it dries, meaning you won't have to apply second and third coats. It's also self-priming, saving you steps when you repaint.
- Scraping tools are necessary to prepare the hole before filling, ensuring the filler adheres well.
- Fine-grit sandpaper might be needed to smooth over any slight imperfections left after the filler dries, although with the right technique, this step can often be skipped.
Step by Step Instructions
Learn how to fill small holes in the wall with our step-by-step instructions. From preparation to painting, we've got you covered for a seamless finish.
1. Prepare the Hole
The first step is something I learned after a few unsuccessful attempts: preparing the hole correctly makes all the difference. You'll want to ensure there are no edges sticking out around the hole. I use a scraper to gently remove any protruding pieces. Then, using the handle of my scraping tool (or anything similarly blunt), I slightly indent the hole. This recess helps the filler to sit flush with the wall once it's applied.
2. Apply the Filler
Next, I grab my spackling paste and flexible putty knife. Scooping a small amount of filler onto the knife, I press it into the hole, ensuring I fill that recess we maked. It's important to force the material in to avoid any air pockets. Then, with a smooth swipe of the putty knife, I remove excess filler, leaving a flat surface.
I can't stress enough how choosing a flexible putty knife has changed my wall repairing game. It allows not just for the filling of the hole but also acts as a tool to level the filler with the wall, minimizing any sanding work afterward.
3. Check and Correct
After filling the hole, I carefully inspect to make sure the filler is indeed flush with the wall. If not perfectly smooth, I lightly go over the area again with my putty knife. Patience is key here; too much haste can undo your good work.
4. Let it Dry
Once satisfied, it's a waiting game. Drying times can vary depending on the product and the hole's size, so check the filler's instructions. For "Fast and Final", I usually find it's ready to paint over in about 15-30 minutes for small holes.
5. Sanding (Optional)
After ensuring the filler is completely dry, assess the need for sanding. With the method I've detailed, I often skip sanding altogether. If you do find the need, gently sand the area with fine-grit sandpaper until it's smooth.
6. Paint Over
The final step, painting, is what seals the deal. Pick a paint that matches your wall, and lightly brush over the filled hole. The self-priming nature of "Fast and Final" means the paint adheres well, leaving no trace of the repair job.
Maintenance Tips for Your Walls
Maintaining your walls is key to keeping your home looking fresh and preventing the need for more extensive repairs in the future. Here are some straightforward tips to help you take care of your walls:
Regular Inspection:
- Check your walls periodically for any signs of damage, such as cracks, holes, or dampness.
- Look out for peeling paint or wallpaper, which can indicate moisture issues that need to be addressed.
Cleaning:
- Dust your walls regularly with a soft cloth or duster to prevent buildup.
- Wipe down walls gently with a mild detergent and water for more thorough cleaning, especially in high-traffic areas.
Paint Touch-Ups:
- Keep leftover paint from your last wall job for minor touch-ups.
- Use a small brush to apply paint to small chips or scratches to keep walls looking new.
Preventative Measures:
- Install door stoppers to prevent doorknobs from punching holes in walls.
- Rearrange furniture periodically to avoid constant contact with the same wall areas, which can cause wear.
Humidity Control:
- Use dehumidifiers in damp areas to protect walls from moisture damage.
- Ensure good ventilation in your home to prevent condensation on walls.
Wall Decorations:
- Be mindful when hanging items; use proper anchors and hooks to avoid unnecessary wall damage.
- Consider using adhesive hooks for lighter items to minimize wall punctures.
To keep your walls in top condition and avoid frequent repairs, perform regular maintenance.
Safety Precautions
When undertaking any home improvement task, such as filling small holes in your walls, safety should always be your top priority. Here's a guide to keeping yourself and your home safe:
Personal Protective Equipment (PPE)
- Wear safety goggles to protect your eyes from dust and debris.
- Use gloves to shield your hands from sharp objects and chemicals.
- Consider a dust mask if you're sanding drywall or working with substances that could irritate your respiratory system.
Workspace Safety
- Keep your work area well-lit to avoid accidents.
- Ensure the space is ventilated, especially if you're using products that emit fumes.
- Remove tripping hazards and keep tools organized to prevent injuries.
Chemical Safety
- Read labels carefully on spackling paste, fillers, or any other chemicals you're using.
- Follow manufacturer instructions for mixing, applying, and disposing of products.
- Never mix chemicals unless explicitly directed, as this can make dangerous reactions.
Ladder Safety
- Use a sturdy ladder or step stool to reach higher areas.
- Never overreach; move the ladder instead to stay safe.
- Follow the ‘three points of contact' rule: two hands and one foot, or two feet and one hand on the ladder at all times.
Electrical Safety
- Be aware of electrical outlets and switches when filling holes near them.
- Turn off the power at the circuit breaker if you're working close to electrical components.
Child and Pet Safety
- Keep children and pets away from the work area to prevent accidents.
- Store tools and materials out of reach when not in use.
Following these safety tips ensures a safe and successful wall repair. Preparing and protecting for a few extra minutes can prevent hazards and injuries.
FAQs About How to Fill Small Holes in Wall
Get expert tips on filling small holes in walls. Learn easy methods, the materials needed, and step-by-step guidance to achieve a seamless finish.
Start by cleaning the area with a damp cloth to remove any dust or debris. If there’s loose paint or drywall around the hole, gently scrape it off with the putty knife.
Place a small amount of filler on the putty knife and press it into the hole. Smooth it out so it’s level with the wall. For a professional finish, apply the filler in thin layers and let it dry completely before adding more if needed.
Once the filler is dry, lightly sand the area with fine-grit sandpaper until it’s smooth. Wipe away any dust with a damp cloth. If necessary, apply a primer before painting to ensure an even finish.
It’s best to wait until the filler is completely dry and sanded smooth. If you’ve used a primer, make sure that’s dry too. Then, you can paint over the area to match the rest of your wall.
Yes, in a pinch, you can use a paste made from aspirin and toothpaste to fill tiny holes in drywall. However, this is a temporary fix and may not be as durable as spackling paste. For a more reliable repair, it's best to use the appropriate wall filler.
Final Thoughts
Wrapping up, learning how to repair small holes in drywall doesn't have to be a daunting task. With the right materials and steps, you can restore your walls to their original condition. Remember to gather your tools, follow each step carefully, and allow sufficient drying time. By mastering these tips, you'll be confident in knowing how to fix small holes in the wall easily and effectively. Happy repairing!


