Learn how to replace a ceiling fan with this step-by-step guide. Replacing a ceiling fan might seem like a challenging task, but with the right tools, safety precautions, and guidance, it's achievable for most homeowners. This guide covers everything you need to know, from safely removing the old fan to installing the new one securely.
Why Replace Your Ceiling Fan?
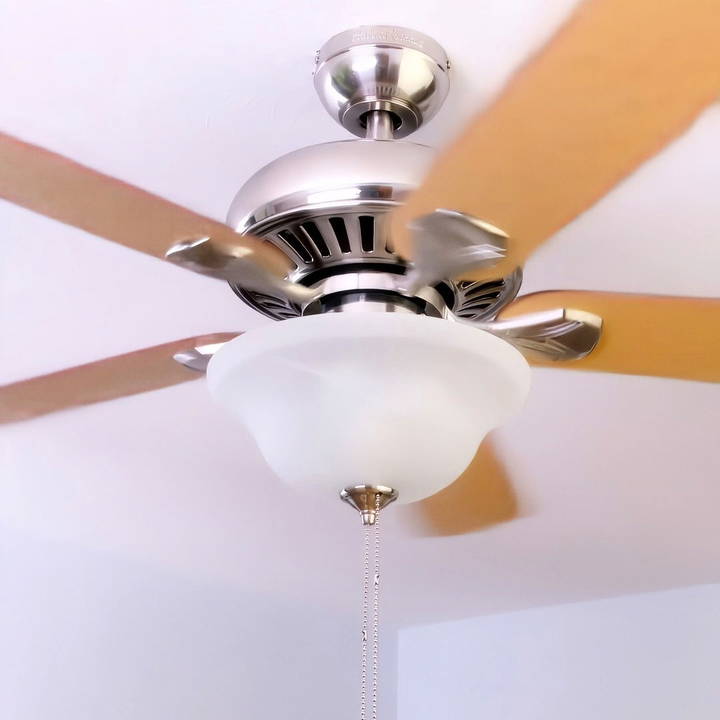
Ceiling fans improve air circulation, helping maintain comfortable indoor temperatures throughout the year. They're particularly useful in the summer for cooling, and in the winter, reversing the fan rotation can help distribute warm air. Replacing an outdated or inefficient fan with a newer model can enhance your home's aesthetic and improve energy efficiency.
Before You Begin: Choose the Right Fan
Before starting the installation, it's crucial to select a fan that fits the size of your room. Here's a quick guide to help you pick the appropriate fan size:
- Small rooms (up to 75 sq. ft.): 29-36 inches blade diameter
- Medium rooms (76-144 sq. ft.): 36-42 inches blade diameter
- Large rooms (144-225 sq. ft.): 44 inches blade diameter
- Very large rooms (225-400 sq. ft.): 50-54 inches blade diameter
Ensure the fan blades are positioned at least 30 inches from the nearest walls and are at least 7 feet above the floor for safe clearance.
Tools and Materials Needed
Having the right tools on hand makes the process smoother. Gather these items before starting:
- Screwdriver (flathead and Phillips)
- Circuit tester
- Adjustable wrench
- Wire stripper
- Pliers
- Ladder
- New ceiling fan kit
- Circuit breaker access
Make sure you have everything ready before beginning so you can move through each step without interruptions.
Step by Step Instructions
Learn how to replace a ceiling fan with step-by-step instructions. Ensure safety and efficiency from turning off power to final adjustments.
Step 1: Turn Off Power at the Circuit Breaker
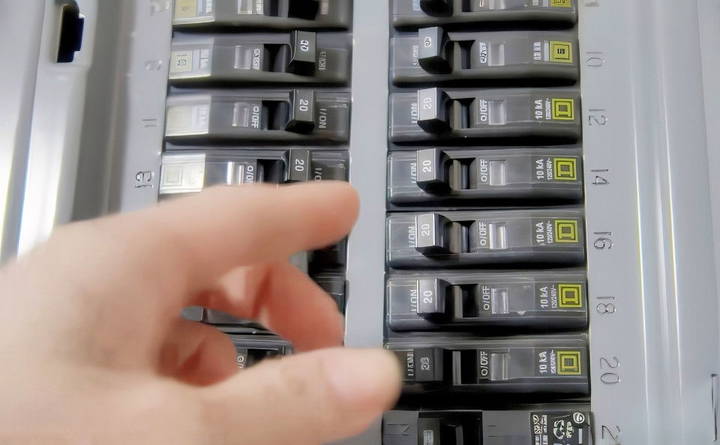
Safety should always come first when working with electrical fixtures. Start by turning off the power to the ceiling fan circuit at your breaker box. Once off, use a circuit tester to confirm that the power is disconnected. This extra step is essential to avoid electric shocks.
Step 2: Remove the Old Fan
With the power off, begin by dismantling the old fan. Here's how:
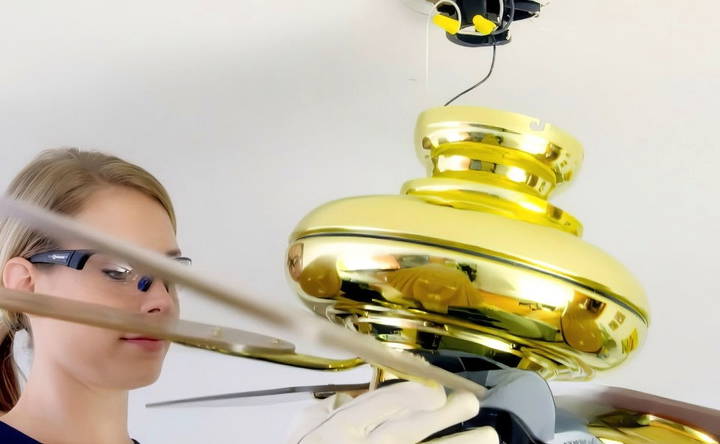
- Detach the Light Fixtures: If your fan has attached light fixtures, remove the bulbs and unscrew the light kit from the fan body.
- Remove the Fan Blades: Use a screwdriver to detach each blade from the fan motor.
- Unscrew the Canopy Cover: The canopy cover hides the mounting bracket and wiring. Unscrew and remove it to expose the wiring connections.
- Disconnect the Wires: Carefully disconnect each wire, noting how they're connected. You'll usually find a ground wire, a neutral wire, and a live wire.
- Remove the Mounting Bracket: Finally, unscrew the mounting bracket from the ceiling box to free the fan. With everything disconnected, gently lower and remove the old fan.
Step 3: Check the Ceiling Box for Fan Compatibility
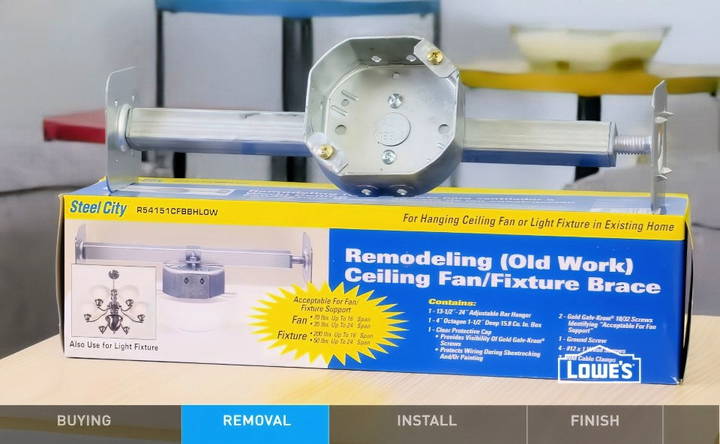
Fans require a sturdy, properly installed ceiling box that can support their weight. Look for an electrical box labeled “acceptable for ceiling fans.” If you see this marking, you're good to proceed. However, if the box is made of plastic or isn't attached to a ceiling joist, it likely isn't suitable for supporting a ceiling fan. In such cases:
- Install a Fan-Rated Ceiling Box: Use an expandable metal bracket if your current ceiling box doesn't meet these specifications. The bracket fits between the ceiling joists and provides the needed support.
- Ensure the Box is Grounded: Either the box itself should be grounded, or there should be a ground wire available in the ceiling.
Step 4: Install the New Mounting Bracket
Now, it's time to prepare the ceiling for your new fan:
- Secure the New Mounting Bracket: Attach the mounting bracket that came with your fan kit to the ceiling box. Follow the manufacturer's instructions to ensure a secure fit.
- Ensure it's Level and Firm: Make sure the bracket is tightly secured, as it will bear the weight of the fan motor.
Step 5: Assemble the Fan Components
Most ceiling fans come with several parts that need assembly before installation. Follow these steps to put together the fan:
- Attach the Downrod and Canopy Cover: Start by attaching the downrod to the motor assembly. The downrod is the bar that extends from the ceiling to the fan motor.
- Trim and Strip the Wires: Cut the wires extending from the fan motor, leaving about 8 inches of length. Use a wire stripper to remove about ½ inch of insulation from each wire end.
Step 6: Hang the Fan
With the mounting bracket in place and the fan partially assembled, you're ready to hang the fan:
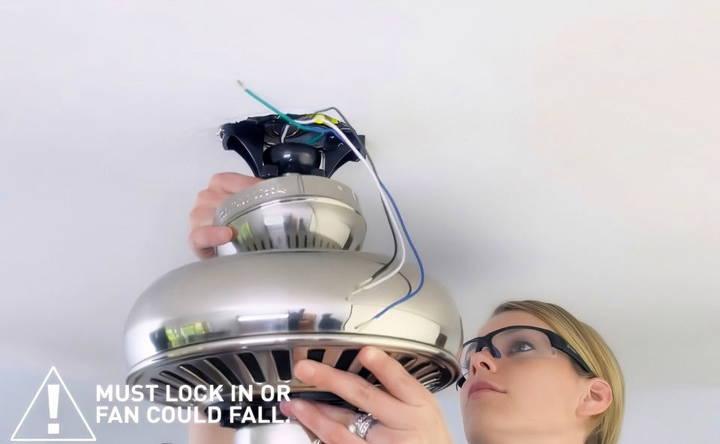
- Position the Fan on the Bracket: If your fan has a hook or similar feature, use it to temporarily hold the fan while you make the wiring connections.
- Secure the Downrod: Place the hanger ball of the downrod onto the bracket. This step helps stabilize the fan as you work on the wiring.
Step 7: Connect the Wiring
Follow the manufacturer's wiring diagram carefully for this step. In most setups, you'll need to connect the following wires:
- Ground Wire: Connect the fan's ground wire to the ceiling box ground wire or the grounded screw.
- Neutral Wire (usually white): Connect this to the neutral wire from the ceiling.
- Live Wire (usually black or blue): Connect this wire to the corresponding live wire in the ceiling.
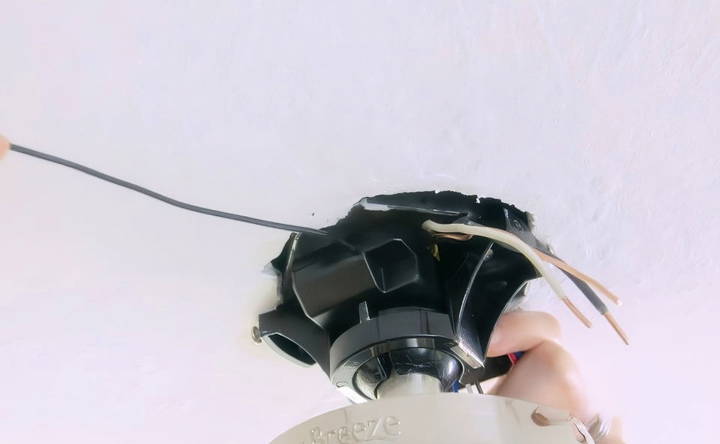
If your fan includes a remote receiver, install it according to the instructions, placing it within the canopy cover. Carefully tuck the wires into the ceiling box once they're connected.
Step 8: Secure the Canopy Cover
Slide the canopy cover over the mounting bracket and secure it with screws. The cover conceals the wiring and gives the fan a finished look. Double-check that all screws are tight to prevent any wobbling.
Step 9: Attach the Fan Blades
Next, it's time to attach the fan blades:
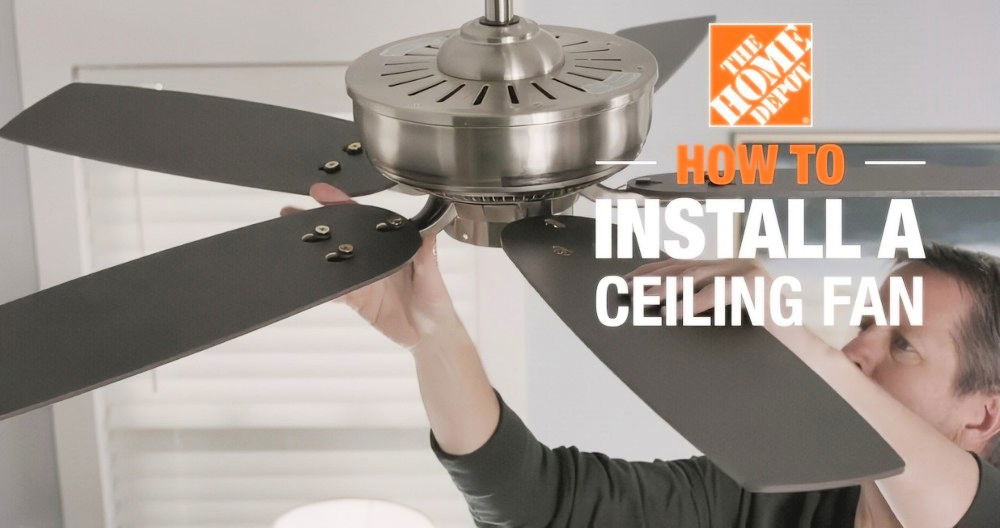
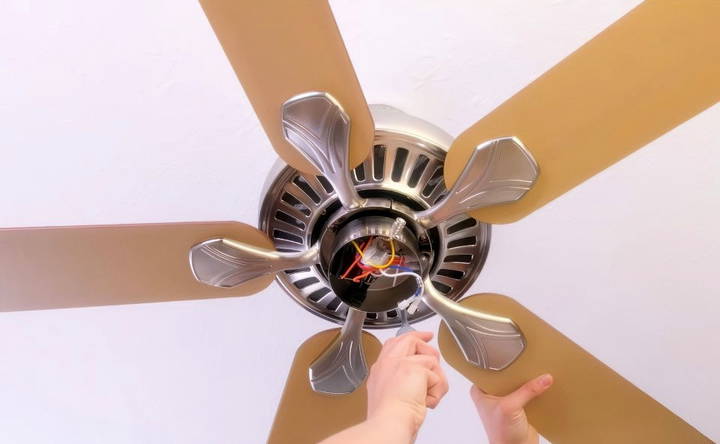
- Install Blade Brackets: Secure each blade to its bracket. Blade brackets usually come with screws, which you'll need to tighten with a screwdriver.
- Attach Blades to the Motor: Secure each blade bracket to the fan motor, typically with screws. Make sure each blade is tightened evenly to maintain balance.
Step 10: Install the Light Kit (If Applicable)
If your fan includes a light kit, follow these instructions to add it:
- Attach the Light Housing Cap: Secure the housing cap to the light kit's threaded rod using a nut.
- Connect the Wires: Connect the wires from the fan's switch housing to those in the light kit using the included plugs.
- Secure the Light Kit: Attach the light kit to the switch housing, typically using screws.
Step 11: Final Adjustments and Testing
After all components are in place, you're ready for the finishing touches:
- Install Light Bulbs: Add the bulbs to the light kit and secure any light fixture covers as specified by the manufacturer.
- Attach Pull Chains and Battery: Install the pull chains for manual control, if applicable, and insert batteries into the remote if your fan has one.
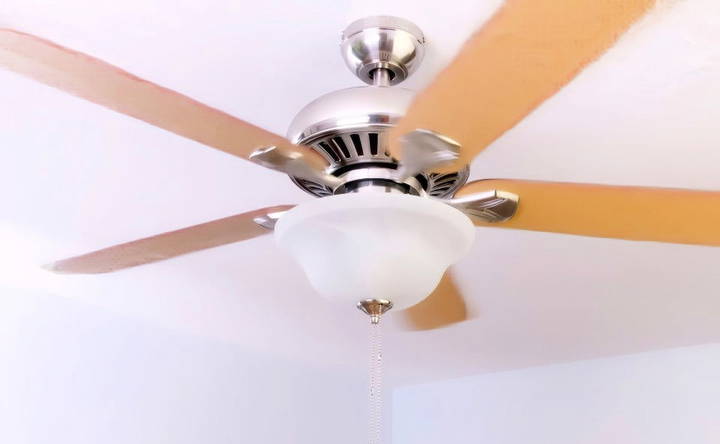
- Test the Fan: Turn the power back on at the circuit breaker and test the fan. Check both the fan and light functions, ensuring the fan rotates smoothly without wobbling.
Tips for Ceiling Fan Maintenance
To keep your fan functioning smoothly, consider these maintenance tips:
- Clean the Blades Regularly: Dust can accumulate on fan blades, causing them to become unbalanced. Clean them with a soft cloth and mild cleaner every few months.
- Check for Loose Screws: Over time, screws can loosen due to vibration. Periodically check that all screws are tight, especially on the mounting bracket and blades.
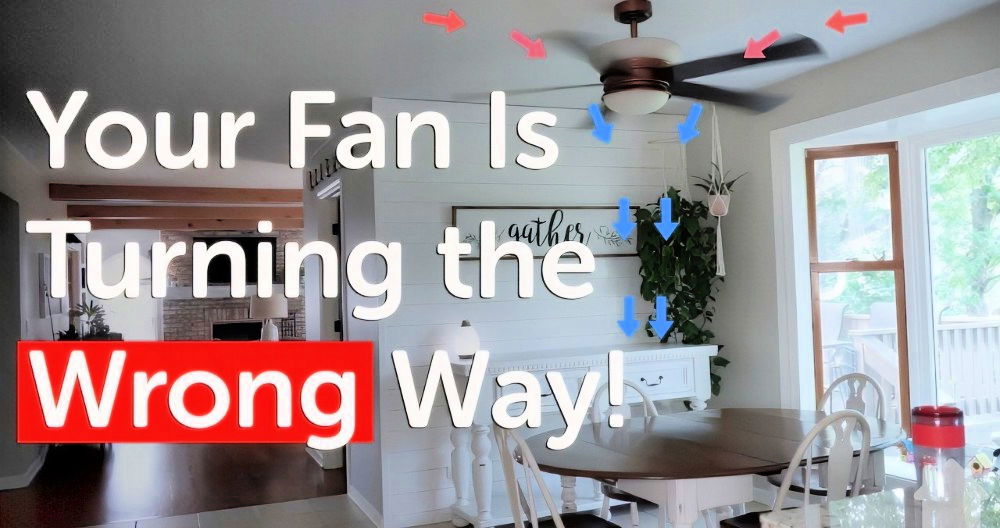
- Reverse the Fan Rotation: During winter, set your fan to spin clockwise to help circulate warm air. For summer, set it to spin counterclockwise for a cooling breeze.
When to Call a Professional
While many homeowners can successfully replace a ceiling fan, there are times when it's best to call a licensed electrician. If you encounter any of the following issues, consider seeking professional help:
- Unfamiliar Wiring Configurations: If the wiring in your ceiling box is more complex than expected, it's safest to have a professional inspect it.
- No Grounding Wire: If your ceiling box lacks a ground wire, an electrician can install one to ensure safe operation.
- Inadequate Ceiling Box: If your ceiling box isn't rated for ceiling fans or doesn't connect to a joist, a professional can replace it safely.
Conclusion
Replacing a ceiling fan is a rewarding DIY project that can improve your home's comfort and energy efficiency. With this step-by-step guide, you can confidently remove your old fan and install a new one. Just remember to prioritize safety by turning off the power, following each step carefully, and considering professional help if you encounter any unexpected challenges. Enjoy your new fan and the fresh comfort it brings to your space!
FAQs About Ceiling Fan Replacement
Get answers to all your questions about ceiling fan replacement, from installation tips to cost estimates, ensuring a smooth and efficient upgrade.
If the new fan includes a light and your existing setup doesn’t have wiring for it, you may need to add a wire to connect the light. However, check if your current wall switch can accommodate both the fan and light functions. If not, consulting an electrician may be wise to ensure safe installation.
Most ceiling fans have a small switch on the fan body, often on the side, near the motor housing. Switching it to the opposite position will reverse the direction. This feature helps circulate warm air in winter and cool air in summer.
The green wire usually connects to the ground. If you see a red wire, it’s typically meant for separate light control. If you’re not using it, cap it off with a wire nut. Always refer to the manufacturer’s wiring diagram for specific guidance.
Indoor fans can be used outside on covered porches, but they may not last as long due to humidity and temperature variations. Indoor fan blades can warp, so if possible, choose an outdoor-rated fan with plastic blades to withstand humidity.
If the fan blades are too close to the wall, airflow may be restricted, making the fan less effective. For optimal performance, ensure the recommended clearance of 30 inches from walls and objects to allow proper air circulation.
Noisy fans often result from loose screws or unbalanced blades. First, check all screws on the fan and mounting bracket, and tighten them if necessary. Balancing kits are also available to fix wobbling blades. If noise persists, it might be time for a new fan.
Insert the receiver between the mounting bracket and fan motor, following the manufacturer's instructions. Typically, you'll connect the receiver to the house wiring first, then to the fan's wiring. Check your fan's manual for the precise wiring configuration.
Yes, a broken or loose ceiling box cannot safely support a fan. Replace it with a fan-rated ceiling box, ideally one that attaches to a joist for additional support. If unsure, contact an electrician to ensure a secure setup.


