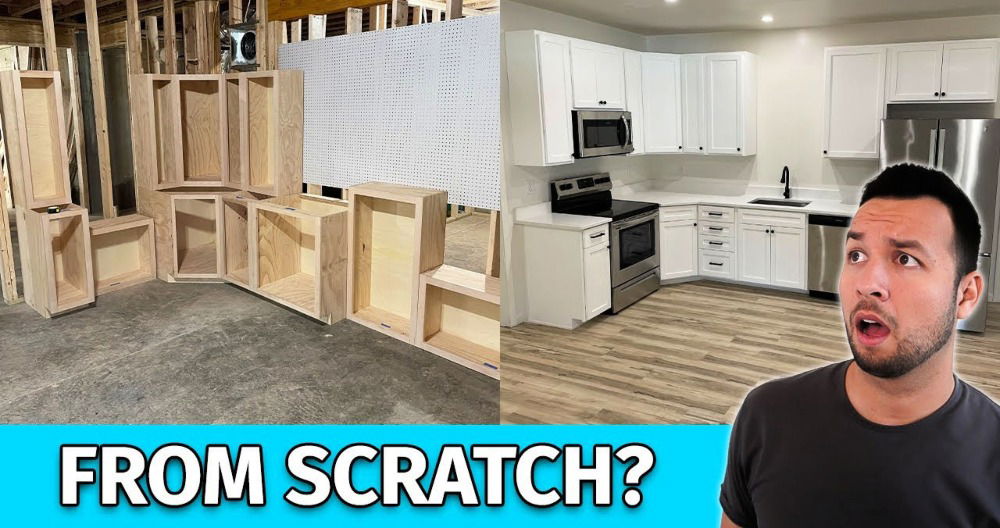
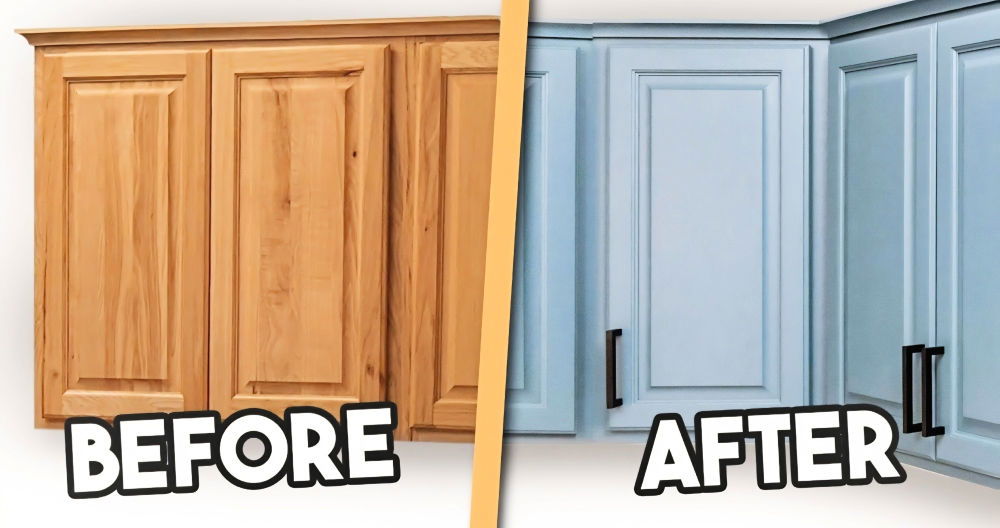
One sunny afternoon, I decided my kitchen needed a fresh look. The cabinets were old and worn out. They made the space feel dull. I read about resurfacing kitchen cabinets and found it could make a big difference. After gathering tools and materials like sandpaper, primer, and paint, I was ready to start.
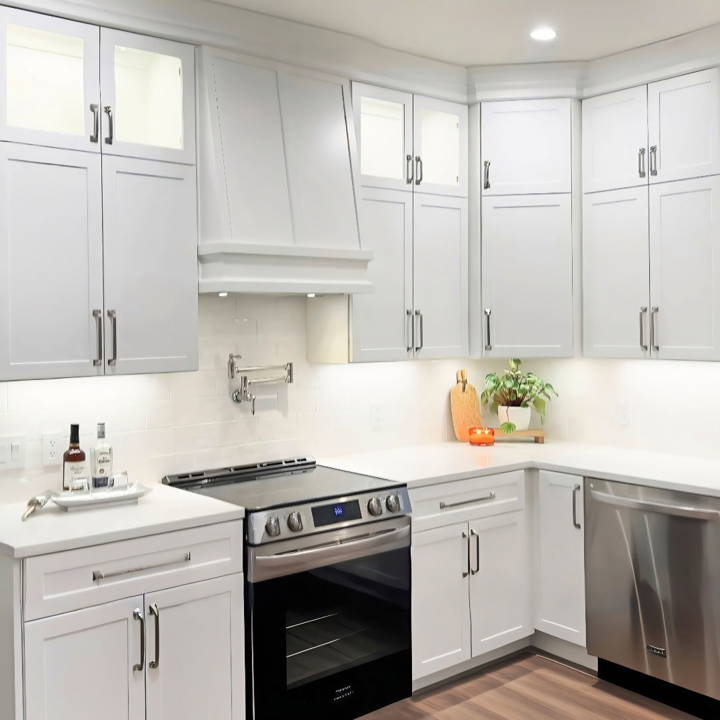
With patience, I began sanding the cabinet doors to remove the old finish. Next, I applied a primer to ensure the new paint would stick well. After priming, I chose a modern color and painted the cabinets. To my surprise, the kitchen looked brand new! If kitchen cabinet refacing seems like a lot, trust me, it's worth it. It can truly transform your space and is something anyone can try. I'm helping with this: follow the steps below to give your kitchen a modern touch.
So, get ready to roll up your sleeves and give your kitchen a fresh, modern look. You'll see amazing results with just a bit of effort!
Choosing the Right Cabinet Doors
The first step was choosing the right cabinet doors. I went for front and center cabinet doors after a friend recommended them. Their wide selection of styles and colors made it easy to find exactly what I wanted. I chose a Shaker style in a classic white to brighten up my kitchen. Their 3D laminate doors promised durability and easy maintenance, which was a huge plus for me.
Preparing for the Project
Get ready for your project with our detailed guide on necessary materials and their purposes. All you need to ensure success!
Materials Needed:
- New cabinet doors
- Degreaser and cleaner
- Sandpaper (120 to 180 grit)
- Orbital sander
- High-quality paint (color matched to the new doors)
- Paint sprayer or brushes and rollers
- Wood filler or Bondo
- Cabinet hardware
- Hinges
- Drill and bits
Why Each Material is Needed:
- New Cabinet Doors: The star of the show, these would replace my old, dated doors.
- Degreaser and Cleaner: Essential for removing grease and grime, ensuring the paint sticks well.
- Sandpaper and Orbital Sander: To rough up the surface for better paint adhesion.
- High-Quality Paint: Color matched to the new doors for a seamless look.
- Paint Sprayer/Brushes and Rollers: A sprayer for a smooth finish or brushes and rollers for those preferring manual painting.
- Wood Filler/Bondo: To fix any imperfections or dings in the cabinetry before painting.
- Cabinet Hardware and Hinges: Refreshed hardware can complement your new cabinet doors and enhance the kitchen's overall appeal.
- Drill and Bits: These are used to install the new hardware and hinges accurately.
Step by Step Instructions
Learn how to reface cabinets step-by-step, from removing old doors to adding hardware, for a stunning kitchen makeover.
Step 1: Removing Old Cabinet Doors
Using a screwdriver, I removed all the hinges and took down my old cabinet doors. This step was straightforward and didn't require much explanation.
Step 2: Cleaning and Sanding
Next, I cleaned all the cabinet surfaces with a strong degreaser, followed by a thorough sanding with my orbital sander. This ensured a clean, rough surface ready for painting.
Step 3: Making Modifications
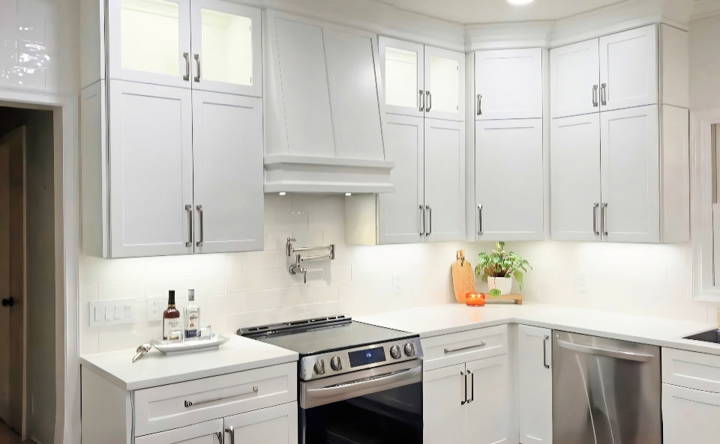
Before jumping into painting, I assessed my kitchen layout. I decided to add some upper cabinets and a range hood for a more custom look. This is an optional step but can add a lot of character to your kitchen.
Step 4: Painting the Cabinets
After color-matching my paint to my new doors, I opted to use a paint sprayer for a smoother finish. Following the initial coat, I sanded down any drips or rough spots before applying the second coat. Patience is key here; ensuring each coat is dry before moving on will result in a professional-looking finish.
Step 5: Installing New Cabinet Doors
Once the paint had fully cured, I began installing my new cabinet doors. This involved attaching hinges to the doors and then to the cabinet frames. I took my time to make sure each door was aligned correctly, which can be a bit tricky but worth the effort for the final look.
Step 6: Adding Hardware
The last step was adding new hardware. I purchased a simple hardware jig to ensure consistent placement of handles and knobs, which was a lifesaver. This small tool made the installation process much quicker and helped achieve a professional look.
The Transformation
The difference this project made was staggering. My once outdated kitchen now looked modern and fresh, all thanks to some new doors and a bit of elbow grease. It was a game-changer that didn't break the bank or require professional help.
Personalization Tips for Cabinet Refacing
Cabinet refacing is a cost-effective way to refresh your kitchen and inject your personality. Here are tips to personalize your project:
- Choose Your Style: Start by deciding on the overall style you want for your kitchen. Do you prefer a modern look with sleek lines and minimal hardware? Or perhaps a classic, traditional style with ornate handles and molding? Your style choice will guide all your subsequent decisions.
- Select Unique Materials: There's a wide range of materials available for cabinet refacing, from natural woods to laminates and even metal finishes. Consider mixing materials to make a standout feature, like wooden doors with glass inserts or a metallic finish on drawer fronts.
- Play with Color: Color is a powerful tool for personalization. You don't have to stick to wood tones; consider bold colors that reflect your personality or softer hues for a calming effect. Remember, lighter colors can make a small kitchen feel larger, while darker colors can add a sense of luxury.
- Hardware as Jewelry: Think of hardware as the jewelry of your kitchen. It's an easy way to add a personal touch. From vintage knobs to contemporary pulls, the options are endless. Mix and match styles or finishes for a custom look that's all your own.
- Add Accessories: Accessories like crown molding, corbels, or decorative legs can add character to your cabinets. These details can elevate the overall design and make your kitchen feel truly bespoke.
- Consider Functionality: Personalization isn't just about aesthetics; it's also about making the space work for you. Add pull-out shelves, lazy Susans, or in-drawer organizers to make your kitchen more functional and tailored to your needs.
- Lighting: Good lighting can transform a space. Consider installing under-cabinet lighting to highlight your new refacing work and add ambiance to your kitchen.
Follow these tips to ensure your cabinet refacing reflects your style and meets your needs. Build a space you love, and that suits your lifestyle.
Troubleshooting CommBubbling Veneer
If the veneer is peeling or bubbling, it's often due to inadequate surface preparation or adhesive failure. To fix this, carefully remove the affected veneer, sand the surface to remove any residue, and reapply using a high-quality adhesive. Make sure the surface is clean and dry before reapplying.
Misaligned Doors or Drawers
- Solution: Misalignment can occur if the hinges or drawer slides are not installed correctly. Check the alignment of the hinges and adjust the screws to straighten the doors. For drawers, ensure the slides are parallel and level.
Streaks or Uneven Finish
- Solution: Streaks can result from uneven application of stain or finish. Sand the area lightly with fine-grit sandpaper and reapply the finish, using even strokes and following the grain of the wood.
Stubborn Stains on Refaced Cabinets
- Solution: For tough stains, avoid harsh chemicals that can damage the finish. Instead, use a mixture of warm water and mild dish soap. For persistent stains, a paste of baking soda and water can be gently applied and then wiped clean.
Scratches or Dents
- Solution: Minor scratches can be filled with a wood filler that matches the color of your cabinets. For dents, you can use a wood filler or try the iron-and-damp-cloth method to swell the wood fibers back to their original shape.
Hardware Not Fitting
- Solution: If new hardware doesn't fit, fill the old holes with wood filler and drill new ones. Use a template to ensure consistent placement of the hardware.
Know these common issues and how to fix them to handle challenges in your cabinet refacing project. Patience and detail are key to a beautiful, lasting finish.
Maintenance and Care for Refaced Cabinets
After you've invested time and effort into refacing your cabinets, maintaining their beauty and functionality is key. Here's a straightforward guide to keeping your refaced cabinets looking as good as new:
- Regular Cleaning: The best way to maintain your cabinets is by regular cleaning. Use a soft cloth or sponge with warm water and a mild dish soap to wipe down the surfaces. Avoid abrasive cleaners or sponges, which can scratch or damage the finish.
- Immediate Spill Cleanup: If spills occur, clean them up immediately. Prolonged exposure to liquids, especially on wood veneers, can cause damage. A quick response can prevent stains and warping.
- Avoid Excessive Moisture: Kitchens are prone to humidity, but too much moisture can harm cabinet materials. Ensure your kitchen is well-ventilated, and use exhaust fans when cooking to reduce moisture in the air.
- Protect from Heat: Direct heat can cause discoloration or warping. Keep appliances that generate heat, like toasters and coffee makers, away from cabinet surfaces.
- Touch-Up Kits: Keep a touch-up kit handy for quick fixes. These kits usually include markers or crayons that match the color of your cabinets, allowing you to conceal minor scratches or nicks easily.
- Hinge and Hardware Care: Over time, cabinet doors can become misaligned. Check the hinges periodically and tighten any loose screws. If your hardware looks tarnished, you can clean it with a metal cleaner or replace it as needed.
- Avoid Harsh Sunlight: Prolonged exposure to direct sunlight can fade the color of your cabinets. Use curtains or blinds to protect them from harsh UV rays during peak hours.
Follow these simple tips to keep your refaced cabinets beautiful and functional. A little care preserves their life and looks for years.
FAQs About How to Reface Cabinets
Discover answers to faqs about how to reface cabinets, including cost, materials, and process, in this comprehensive guide.
Refacing cabinets involves updating the look of your kitchen cabinets without replacing them entirely. It typically includes covering the cabinet boxes with veneer and replacing doors and drawer fronts.
Yes, if you’re comfortable with DIY projects, you can reface your cabinets. It requires careful measurement, cutting, and attention to detail. However, if you’re not confident in your abilities, it might be better to hire a professional.
Refacing your cabinets can save you a significant amount of money, often costing about one-third of what new cabinets would. The exact savings will depend on the size of your kitchen and the materials you choose.
The time it takes to reface your cabinets can vary based on the size of your kitchen and the extent of the work needed. For a medium-sized kitchen, it generally takes about 2 to 4 days to complete the refacing process. This includes removing the old doors, applying the veneer, and installing the new doors and hardware.
When refacing your cabinets, it's important to be aware of potential issues that could arise:
Measuring Mistakes: Accurate measurements are crucial. Double-check all dimensions before cutting or ordering materials.
Surface Preparation: Failing to properly clean and sand the surfaces can lead to poor adhesion of the veneer.
Material Quality: Using low-quality veneer or hardware can affect the durability and appearance of your cabinets.
Alignment: Ensure that doors and drawers are properly aligned; otherwise, they may not close correctly or could look uneven.
Professional Help: If you're not experienced with DIY projects, consider hiring a professional to avoid costly mistakes.
Final Thoughts
In conclusion, these resurfacing kitchen cabinets are a rewarding way to modernize your space. By following the steps, you can revamp your kitchen and make a fresh, stylish look. Try this project, and you'll enjoy the results!


