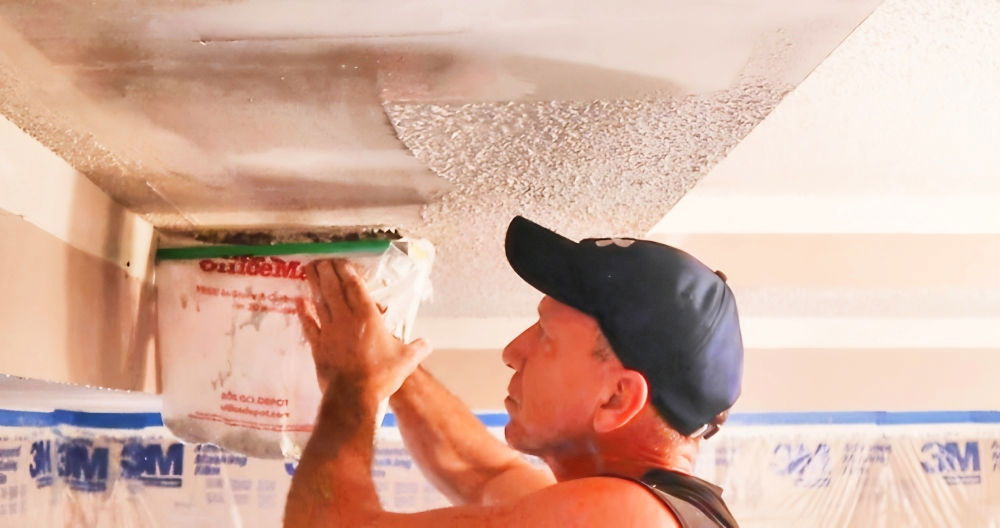
Adding texture to a ceiling can transform the look of any room, concealing imperfections and adding visual interest. One of the most beginner-friendly methods is the skip trowel technique, which makes a rustic, Mediterranean-style look that's both functional and stylish. In this guide, we'll show you how to texture a ceiling with a skip trowel, breaking it down step by step—from prepping the area to the finishing touches.
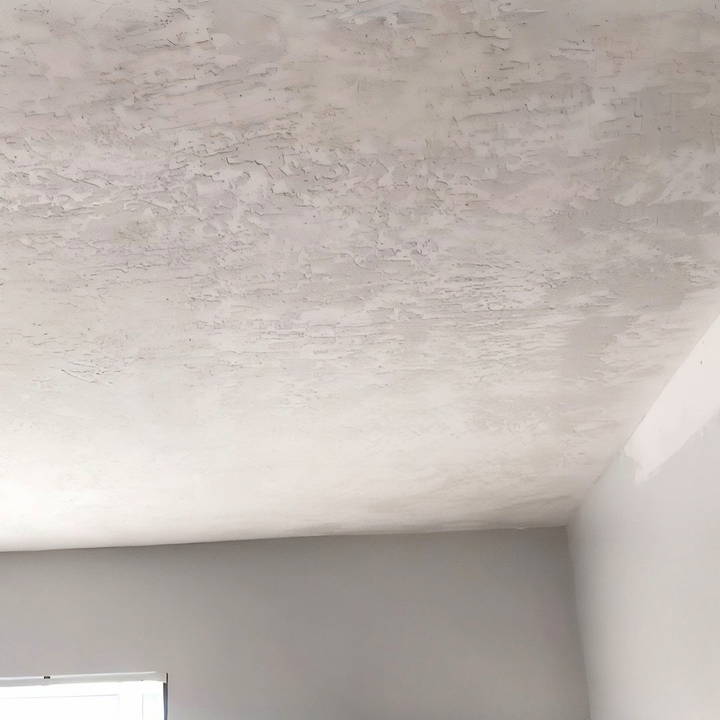
What is Skip Trowel Texture?
The skip trowel technique is a method of applying a thin layer of joint compound to make a slightly raised, uneven texture on the ceiling. This technique is popular because it hides imperfections well and adds depth to a room. It's also forgiving for beginners, as it doesn't require perfect precision to achieve a professional-looking result.
Materials and Tools Needed
Before starting, gather the following materials and tools:
- Joint Compound: Use all-purpose joint compound.
- Sand: A small amount of fine sand will give the mixture the right texture.
- Water: To thin the joint compound for a smoother application.
- Plastic Sheeting: Protect floors and furniture from splatters.
- Hawk or Mud Pan: A tool for holding the compound as you work.
- 14-inch Drywall Knife: Used to spread and make the texture.
- Scooper: For transferring compound to the hawk or mud pan.
- Grout Sponge: For cleaning up any spills or marks on walls.
Step by Step Instructions
Learn how to texture a ceiling with our easy step-by-step guide. From preparation to finishing touches, achieve a professional look effortlessly!
Step 1: Prepare the Room
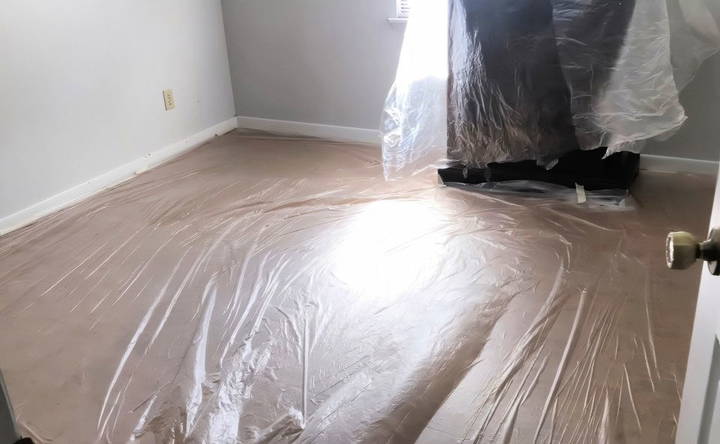
- Cover Surfaces: Use plastic sheeting to cover the floors and any furniture in the room. Tape down the edges to ensure everything stays in place.
- Turn Off Ceiling Fixtures: If you have ceiling fans or light fixtures, switch off the power and cover or remove them to keep them clean.
- Clear the Ceiling: Ensure the ceiling is clean and free from dust. If the ceiling has recently had repairs or popcorn texture removed, make sure it's sanded down and ready for a new texture.
Step 2: Mix the Skip Trowel Compound
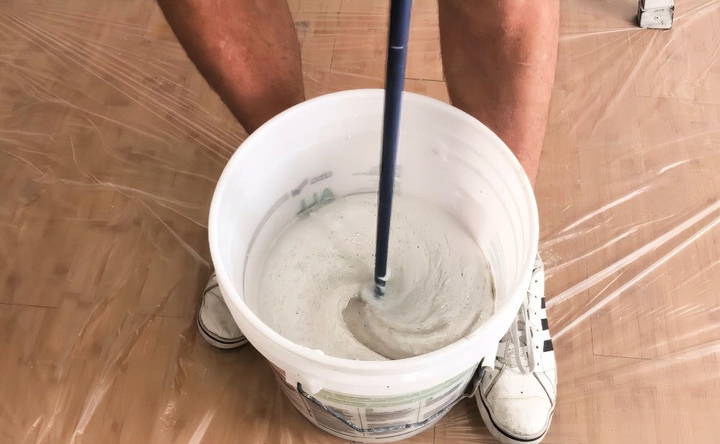
- Combine Joint Compound and Sand: In a bucket, mix half a bucket of all-purpose joint compound with one cup of fine sand. The sand helps make a rougher texture.
- Add Water: Gradually add water while mixing until the consistency resembles thick yogurt. You want it smooth enough to spread easily but thick enough to hold its shape on the ceiling.
- Mix Thoroughly: Stir until the sand is fully integrated, ensuring there are no lumps in the mixture. This consistency will help achieve an even texture on the ceiling.
Tip: If you're unsure about the mixture, start with a small batch and test it on a piece of scrap drywall or in an inconspicuous corner.
Step 3: Applying the Texture
- Load the Hawk or Mud Pan: Use a scooper to transfer some of the compound onto your hawk or mud pan.
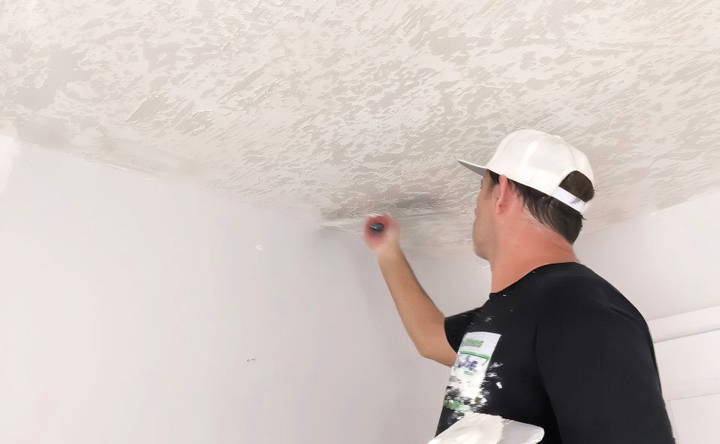
- Apply the Compound: Use the 14-inch drywall knife, scoop a small amount of compound, and hold the knife nearly flat against the ceiling.
- Start Texturing: Pull the knife across the ceiling in random directions to make the skip trowel texture. Avoid pressing too hard; a light touch will give a more natural, varied texture.
- Go Over Each Section Multiple Times: On the first pass, the coverage will be light. Go back over each section to build up the texture gradually.
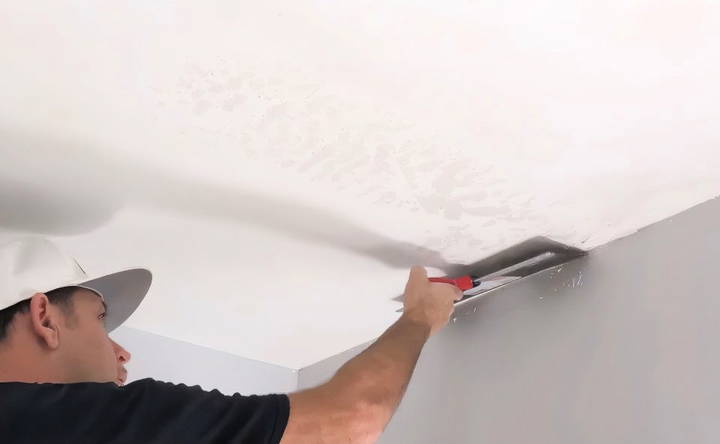
Tip: The technique is named “skip trowel” because you're essentially “skipping” the knife over the ceiling rather than spreading the compound in an even layer.
Step 4: Knocking Down the Texture
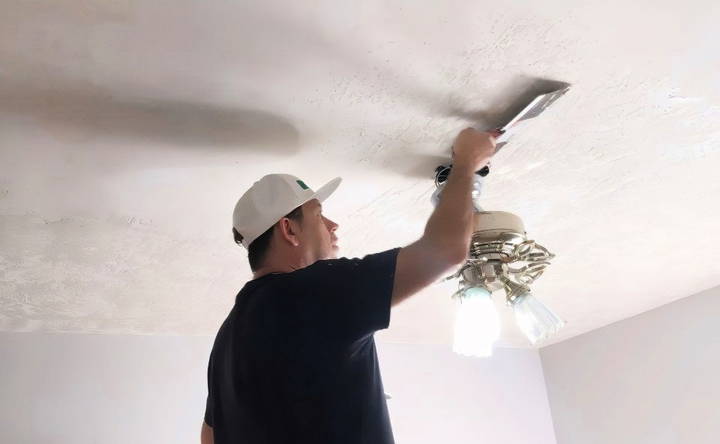
After applying the texture, it's time to “knock down” any high points for a smoother, more uniform look.
- Check for Consistency: Inspect each section to ensure even coverage. Add more compound to any bare spots or areas with thinner coverage.
- Smooth It Out: Once the compound is on, go back in the opposite direction with your drywall knife. Hold it nearly flat against the ceiling and gently pull it across the texture to knock down any peaks and even out the surface.
- Blend for Uniformity: Work carefully to blend each section with the surrounding areas for a seamless, continuous texture.
Step 5: Finishing Touches and Spot Corrections
- Look for Bare Spots: Inspect the ceiling for any areas where the compound hasn't adhered or has left bare patches. Add a small dab of compound as needed and lightly knock it down to match the surrounding texture.
- Corners and Edges: Use less compound in corners, as heavy texturing here can make painting more challenging. Keeping these areas lighter will simplify the painting process later.
- Sponge Clean-Up: Use a damp grout sponge to wipe off any compound that may have splattered onto the walls.
Step 6: Let the Texture Dry
Allow the ceiling to dry completely before priming or painting. Depending on the thickness of the compound and humidity, this may take a few hours to overnight.
Step 7: Priming and Painting the Textured Ceiling
Textured ceilings need to be primed before painting, as joint compounds can absorb paint unevenly, leading to a patchy finish.
- Apply Primer: Use a roller to apply a coat of primer to the textured ceiling. This seals the joint compound and prepares the surface for paint.
- Choose the Right Paint: A satin finish works well on textured ceilings, as it provides a slight sheen without highlighting imperfections.
- Paint the Ceiling: Once the primer is dry, apply at least one coat of paint. You may need a second coat for full coverage, especially if the ceiling has color or stain issues.
Tip: Consider using a roller with a thicker nap to ensure that the paint reaches all the textured crevices.
Additional Tips for Success
- Practice Makes Perfect: If you're new to skip trowel, practice on a spare drywall piece or in a closet before tackling a main room.
- Work in Small Sections: Texturing a ceiling can be tiring, so work in manageable sections. This approach also allows you to maintain control over the consistency of your texture.
- Stay Consistent with Your Technique: The angle of the knife and the amount of compound applied should be consistent for a uniform look.
- Watch for Damp Spots: Damp areas can cause discoloration in the texture. Allow the ceiling to dry fully after applying each layer of compound to avoid uneven coloring.
- Safety First: Working with joint compound can be messy. Wear protective eyewear and gloves, especially if you're working above your head.
Conclusion
Adding a skip trowel texture to your ceiling is an excellent DIY project for beginners. This technique hides imperfections, is relatively easy to learn, and gives your room a unique look. With a few tools, some practice, and a steady hand, you can transform your ceiling in a way that adds charm and sophistication. Just remember to take your time, work in small sections, and keep your technique consistent. Enjoy your newly textured ceiling!
FAQs About Ceiling Texturing with the Skip Trowel Method
Discover answers to FAQs about ceiling texturing with the skip trowel method to enhance your home's style and finish.
Yes, other popular textures include orange peel and knockdown, which can also hide imperfections and add dimension.
Once you’ve had some practice, texturing a standard 12x12-foot ceiling can take about 30 minutes to apply the compound, plus drying time.
Skip trowel is forgiving. You can scrape off mistakes while the compound is still wet, or smooth over areas that need adjustment once dry.
No, the skip trowel technique doesn’t require sanding, which is one of the reasons it’s popular with beginners.
Use a damp grout sponge to wipe down walls and other surfaces where compound splattered. For tools, a rinse with water usually does the trick.
No, it’s recommended to remove the popcorn texture first. Skip troweling over it can cause the popcorn to dislodge and mix into the compound, making it hard to achieve a smooth, consistent texture. If you must keep it, consider priming the popcorn ceiling to prevent loose particles from causing issues during texturing.
A typical mix involves adding one cup of fine sand to half a bucket of joint compound. Adjust as needed for your preferred texture. Too much sand can make rough patches, so test on a sample before applying to the entire ceiling.
Yes, you can apply skip trowel texture over a painted ceiling. Ensure the surface is clean, and for best results, lightly sand or prime it to help the compound adhere well.
After texturing, allow the ceiling to dry completely, which can take anywhere from a few hours to overnight, depending on humidity and thickness. Once dry, apply a coat of primer before painting to ensure an even finish.
No, skip trowel texture generally doesn’t require sanding before priming, as it’s intended to have a natural, uneven look. Only sand if there are specific areas that need smoothing, such as overly thick patches.
A satin or flat finish is ideal, as it hides imperfections while adding a subtle sheen. Satin is recommended for a slightly more polished look, while flat paint minimizes visibility of any minor unevenness.
Fine grain sand is best for achieving a consistent texture. Avoid playground or mortar sand, which can be too coarse. Some users recommend “20/30 grit sand” for optimal results, available at pool supply stores.
Yes, skip troweling can be used on walls to achieve a rustic, old-world look. Just follow the same steps as with a ceiling, ensuring even coverage and a consistent texture.
Simply apply a small dab of compound to any bare spots and smooth it out to blend with the surrounding texture. This technique allows for easy spot correction.
Sand helps achieve the desired texture by making small gaps in the compound, but it's not mandatory. If you prefer a smoother texture, you can omit the sand, although it may change the final look.


