Starting a home improvement project like tiling a floor might seem difficult, but it's manageable with some guidance. I recently decided to tackle my kitchen floor and learned a lot. This guide will help you prepare, lay, and grout tiles effectively. You don't need to be an expert; just follow these simple steps to transform your floor.
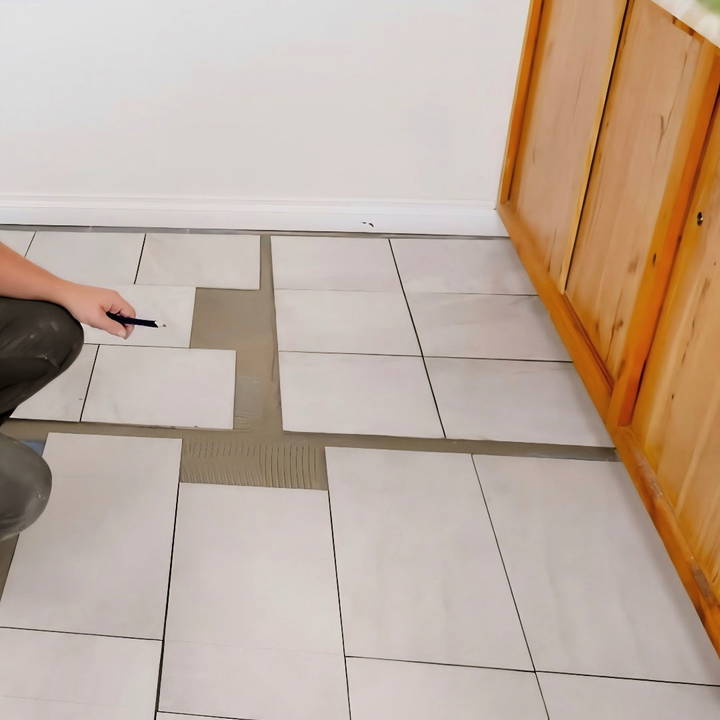
I'm excited to share my experience and tips on how to tile a floor. This guide will help you get started confidently. Let's make your floor look amazing and save money by doing it yourself.
Materials and Tools You'll Need
Before you start, gather these materials and tools:
- Tile: Choose the right size and type for your project.
- Thinset Mortar: For bonding the tile to the floor.
- Multi-Surface Bonding Primer: Ensures proper adhesion on various substrates.
- Notched Trowel: Used for spreading thinset.
- Level: Essential for ensuring a flat installation.
- Laser Level: Great for layout and maintaining straight lines.
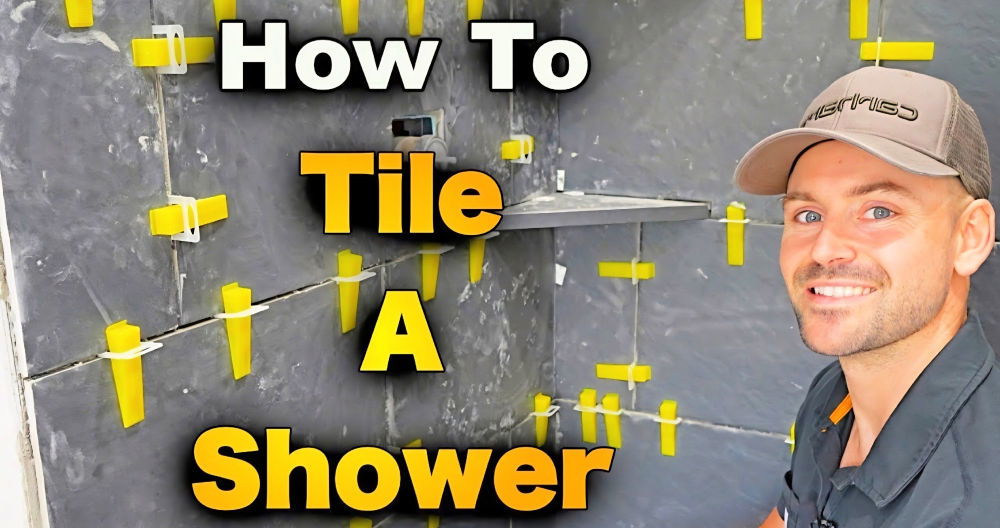
- Tile Spacers: Helps maintain consistent grout lines.
- Rubber Mallet: For gently tapping tiles into place.
- Bucket and Sponge: For cleaning as you go.
- Tile Cutter or Wet Saw: For cutting tiles to fit.
- Measuring Tape and Pencil: For accurate measurements and marking.
Step by Step Instructions
Learn how to install a DIY tile floor with our step-by-step guide. From prepping to sealing, get professional results with these easy instructions!
Step 1: Preparing the Substrate
Why it's needed: A clean, prepared substrate ensures the tiles adhere properly and stay put.
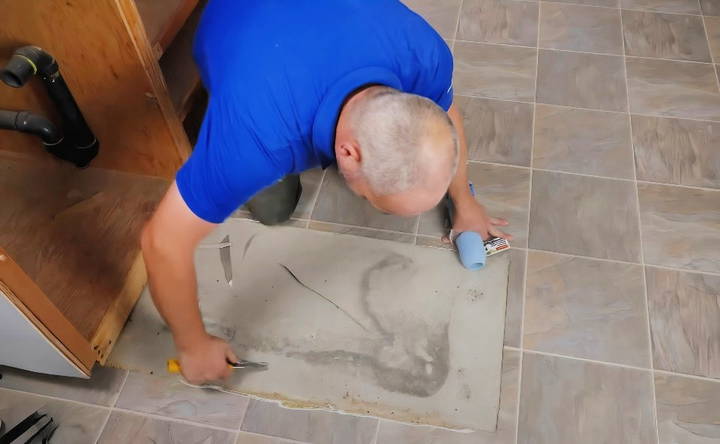
- Clean the Surface: Sweep and vacuum the floor to remove dust and debris.
- Apply Bonding Primer: If you're tiling over old vinyl or other non-cement surfaces, use a roller to apply a multi-surface bonding primer.
Step 2: Planning Your Layout
Why it's needed: Proper planning helps avoid awkward cuts and ensures a professional look.
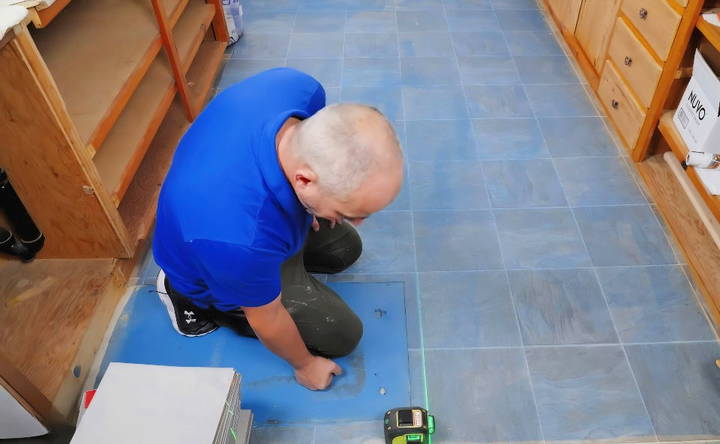
- Find the Center Point: Measure the length and width of the floor, then find the center. Snap chalk lines or use a laser level to build intersecting lines.
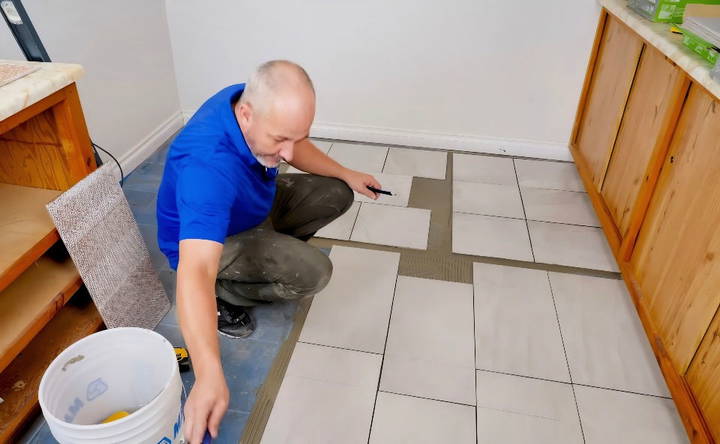
- Dry Lay the Tiles: Lay out a row of tiles along the lines without adhesive to visualize the pattern and check for cuts you'll need at the edges.
Step 3: Mixing Thinset Mortar
Why it's needed: Properly mixed thinset ensures strong adhesion between the tile and the floor.
- Follow the Manufacturer's Instructions: Mix the thinset mortar as directed on the bag.
- Check Consistency: The mixture should be thick, like peanut butter, and hold its shape when you run your finger through it.
- Let It Slake: Allow the thinset to sit for about 10 minutes to ensure the chemicals activate fully.
Step 4: Applying Thinset and Laying Tiles
Why it's needed: This is the core of the installation process, where the tiles are set in place.
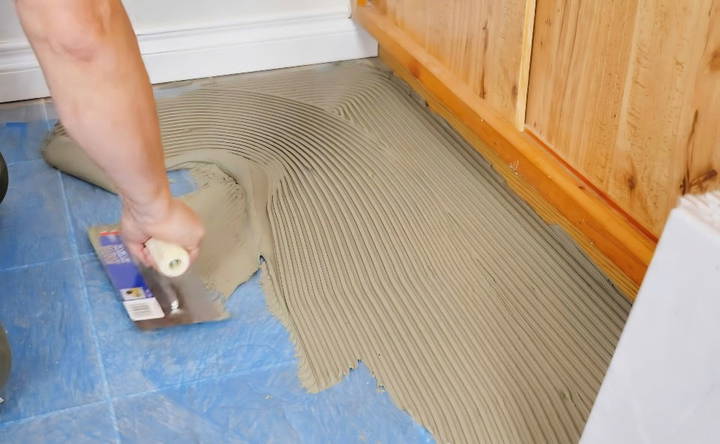
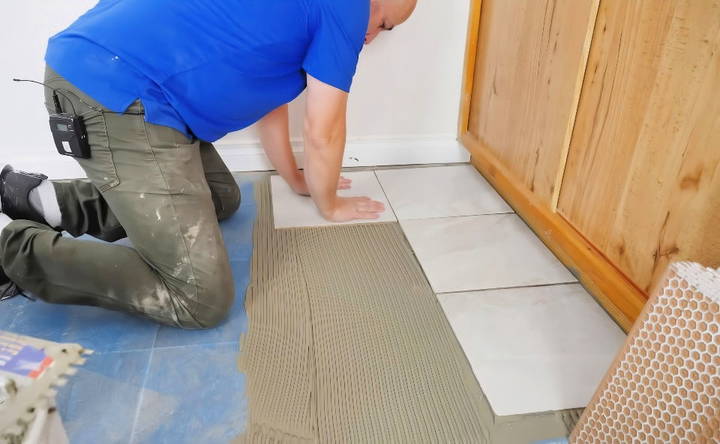
- Spread Thinset: Use your notched trowel to spread a layer of thinset over a small section of the floor, holding the trowel at a 45-degree angle.
- Make Ridges: Using the notched side of the trowel, build uniform ridges in the thinset.
- Lay the Tiles: Place your first tile at the intersection of your chalk lines. Press it firmly into the thinset, and then slide it slightly backward and forward to collapse the ridges.
- Tap Lightly: Use a rubber mallet if necessary to tap the tile into place.
- Insert Spacers: Place tile spacers around each tile to maintain consistent grout lines.
Step 5: Cutting Tiles to Fit
Why it's needed: You will need to make cuts to fit tiles around edges, corners, and obstacles.
- Measure and Mark: Use your measuring tape and pencil to mark where cuts are needed.
- Cut the Tiles: Use a tile cutter for straight cuts or a wet saw for more intricate cuts. Always wear safety goggles when cutting tiles.
- Dry Fit: Place the cut tiles in place without thinset to ensure they fit correctly.
Step 6: Grouting the Tiles
Why it's needed: Grout fills the gaps between tiles, making the floor water-resistant and giving it a finished look.
- Mix Grout: Follow the manufacturer's instructions to mix the grout to the consistency of thick peanut butter.
- Apply Grout: Use a grout float to spread the grout diagonally across the tiles, pressing it into the gaps.
- Clean Excess Grout: Wipe away excess grout with a damp sponge. Rinse the sponge frequently and change the water as needed.
Step 7: Sealing the Grout (Optional)
Why it's needed: Sealing grout helps protect it from stains and moisture.
- Allow Grout to Cure: Let the grout cure for the recommended time, usually 24-48 hours.
- Apply Sealer: Use a small brush or applicator to apply grout sealer along the grout lines. Wipe away any excess with a clean cloth.
Tips and Tricks for Success
- Climate Control: Ensure the room is at a stable temperature and humidity level to prevent issues with the thinset and grout.
- Work in Small Sections: Only spread enough thinset for a few tiles at a time to prevent it from drying out before you lay the tiles.
- Keep It Clean: Clean as you go to prevent thinset and grout from drying on the tile surface.
Common Mistakes to Avoid
- Not Checking for Level: Always check that your tiles are level as you go. Use your level frequently.
- Inconsistent Thinset: Applying thinset unevenly can result in tiles that aren't level.
- Skipping the Planning Phase: Failing to plan your layout can lead to awkward cuts and an unprofessional look.
- Walking on Fresh Tiles: Avoid stepping on or disturbing tiles until the thinset has fully cured, usually 24 hours.
https://www.youtube.com/watch?v=d2j9rRp8zjw&ab_channel=HomeRenoVisionDIY
Troubleshooting Common Issues
When laying down a new tile floor, you might encounter a few hiccups along the way. Here's a helpful guide to troubleshooting common issues, ensuring your DIY project goes smoothly from start to finish.
Uneven Tiles
- Problem: Your tiles aren't lying flat, making an uneven surface.
- Solution: Check for debris under the tiles and ensure the subfloor is level before laying them. Use a rubber mallet to tap the tiles into place gently.
Adhesive Not Setting
- Problem: The tile adhesive isn't drying as expected.
- Solution: Ensure the room has adequate ventilation and the temperature is within the recommended range for the adhesive. Extend drying times in humid conditions.
Grout Cracking
- Problem: After the tiles have been set, the grout begins to crack.
- Solution: This often happens if the grout is mixed too dry or applied too thinly. Remove the affected grout and reapply with the correct consistency.
Tiles Cutting Unevenly
- Problem: Tiles are breaking or cutting unevenly.
- Solution: Use a sharp tile cutter and score the tile firmly and evenly. Apply steady pressure when snapping the tile.
Adhesive Oozing
- Problem: Adhesive oozes out from between the tiles.
- Solution: Use less adhesive and spread it evenly. Clean up any excess before it dries to avoid a messy finish.
Stained Tiles
- Problem: Tiles get stained during the installation process.
- Solution: Clean spills immediately and protect the surface with a cloth when cutting or mixing grout.
Loose Tiles
- Problem: Tiles become loose shortly after installation.
- Solution: Ensure that the adhesive is properly set before grouting and that you're using the right type of adhesive for your tiles.
Patience and prep are essential for DIY tile floors. Measure, cut, and lay tiles carefully. Fix issues as they arise for a beautiful, durable floor.
FAQs About DIY Tile Floor
Discover answers to common FAQs about DIY tile floors, including installation tips, materials needed, and maintenance advice for a flawless finish.
Before you begin tiling, ensure the floor is clean, level, and sturdy. Remove any existing flooring and repair any damages. Gather your tools and materials: tiles, tile cutter, notched trowel, thinset mortar, grout, spacers, level, sponge, and a bucket. It’s also wise to measure your space and plan your layout to avoid small cuts of tile.
To ensure durability, start with a solid subfloor that doesn’t flex. Use a high-quality thinset mortar for laying down tiles and allow it to cure as recommended by the manufacturer. After placing the tiles, apply grout correctly and seal it to protect against moisture and stains.
Tiling over an existing floor is possible if the surface is stable, flat, and free of loose materials. However, it's essential to check the manufacturer's recommendations for the tiles and adhesive you're using. Sometimes, adding a layer of underlayment or a waterproof membrane is necessary for better adhesion and waterproofing.
Common mistakes include not preparing the subfloor properly, not using spacers for even grout lines, rushing the process, and walking on the tiles before the adhesive sets. Ensure you follow the correct steps for laying tiles and allow sufficient time for the mortar and grout to dry.
Maintain your tile floor by regular sweeping and mopping with a gentle cleaner. Avoid using abrasive tools that can scratch the tiles. Seal the grout lines periodically to prevent staining and moisture penetration. Address any cracks or chips promptly to prevent further damage.
Conclusion
Wrapping up, learning how to tile a floor can be a straightforward and rewarding home improvement project. By following the steps laid out in this guide, you're equipped with the basics to achieve a polished and professional look.
With patience and attention to detail, you can transform your space and add real value to your home. Keep these easy-to-follow tips in mind, and enjoy the satisfaction that comes from completing your own tiling project.


