Starting with my first tiling project was exciting. My shower needed a fresh look, so I decided to learn how to tile a shower myself. I gathered all the materials, like tiles, grout, and tools. The process seemed challenging, but I was determined. Each step needed patience, from planning the layout to cutting tiles correctly.
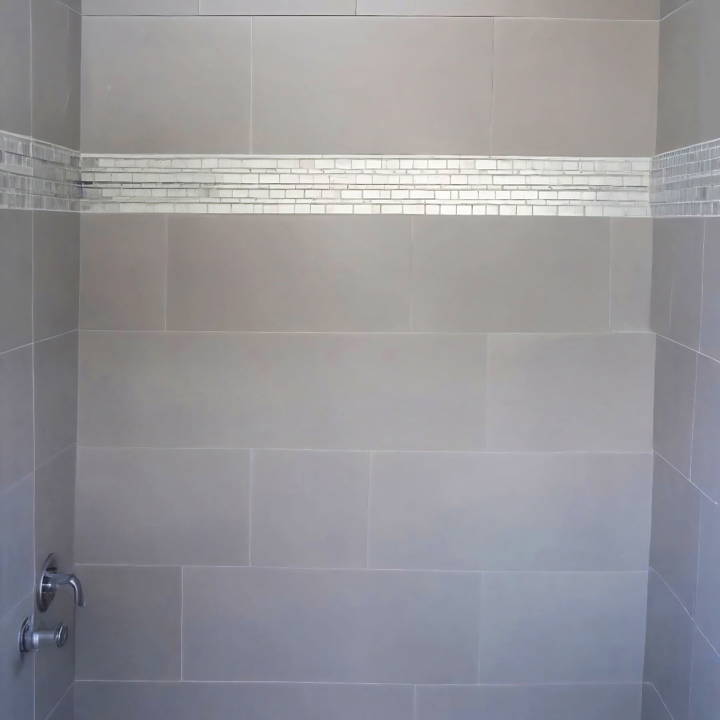
Throughout the project, I learned many useful tips. Preparing the surface was crucial for perfect tile placement. I made sure to use waterproof materials to avoid future damage. Even the smallest details, like aligning the tiles, made a difference. Now, my shower looks brand new, and it's a rewarding experience.
If you're ready to transform your shower, this guide will help you step by step. Try it out and see the difference you can make yourself! These tips will guide you through each part with ease.
Materials Needed and Why
- Tiles: Choose based on your aesthetic preference. I went for porcelain for its durability.
- Level: Ensures your tiles are aligned and level.
- Straight Board and Screws: To make a level starting line for your tiles.
- Thinset Mortar: Acts as an adhesive.
- Notch Trowel and Mixing Blade: This is used to apply and mix the thinset.
- Bucket and Clean Water: For mixing thinset.
- Tile Spacers and Leveling System: Ensures even spacing and level tiles.
- Wet Saw: For cutting tiles to size.
- Rubber Mallet: Aids in placing tiles and removing the leveling system.
- Grout Float and Sponge: For applying grout.
Step by Step Instructions
Learn how to tile a shower step-by-step. Get expert tips and tricks for a flawless finish. Transform your bathroom with ease!
Step 1: Planning Your Layout
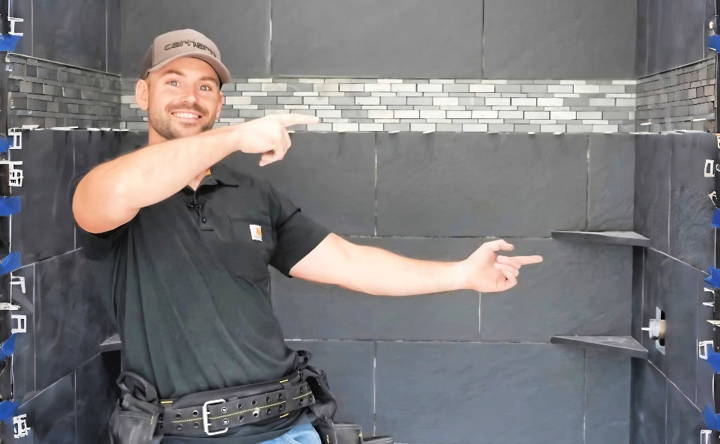
Before anything else, choose your tile, design, and layout. I opted for horizontal staggered 24-inch tiles with a decorative strip. Measure your space meticulously. Trust me, planning is the pillar of tiling a shower.
Step 2: Preparing the Surface
Ensure your shower walls are clean, dry, and flat. If you're working over drywall, make certain it's moisture-resistant. I had to spend an extra day leveling off some uneven spots, a delay that could have been avoided.
Step 3: Making a Level Starting Line
Measure and mark where your first row of tiles will go. Use a level to draw a straight line across. Then, screw a straight board flush with this line to support your first row of tiles. This step is crucial for a level start.
Step 4: Mixing Thinset
Mix your thinset to a peanut butter-like consistency. Start with a small amount of water, then slowly add more. Let it slake, or rest, for about 5 minutes before a final mix. A poorly mixed thinset can lead to uneven tiles.
Step 5: Applying Thinset and Placing Tiles
Apply thinset to your wall using a notched trowel, and back butter your tiles for a stronger bond. Press tiles onto the wall, starting from your board and working your way up. Use spacers between tiles for even gaps. Wipe away excess thinset as you go.
Step 6: Cutting Tiles
When you reach areas needing cut tiles, measure the space precisely. Wet saws are a lifesaver here, allowing you to cut tiles cleanly. Always double-check your measurements before cutting. There is a steep learning curve to making precise cuts but taking it slow is key.
Step 7: Installing Decorative Strips or Features
If you're adding decorative strips or shelves, plan their placement in advance. Cutting and fitting these pieces can be intricate work. I installed a shelf by measuring, cutting, and adhering two tiles together before mounting them with thinset.
Step 8: Final Row and Bullnose Tiles
Your top row will likely need cut tiles. Measure the gap and cut tiles to fit. For a sleek finish, install bullnose tiles along the edges of your shower. This not only looks professional but also protects your walls from water damage.
Step 9: Grouting
Once your tiles are set (give them at least 24 hours), mix and apply grout according to the manufacturer's instructions. Work the grout into the spaces between tiles with a rubber float, wiping away the excess as you go. Grouting not only secures your tiles further but also waterproofs the spaces between them.
Step 10: Sealing and Caulking
After your grout has dried, apply a sealant to protect it from moisture and mold. Finally, caulk the edges of your shower, especially where the tile meets the shower base or tub. This prevents water from seeping behind the tiles.
Waterproofing Techniques
Ensuring your DIY tile shower is properly waterproofed is crucial for its longevity and functionality. Here's a straightforward guide to the latest waterproofing techniques that will keep your shower in top condition.
Why Waterproof?
Waterproofing prevents water from seeping behind tiles, which can cause mold, mildew, and structural damage. It's an essential step not to be overlooked.
Modern Waterproofing Systems
Recent advancements have made waterproofing more reliable than ever. Here are the most popular methods:
- Foamboard: This is a two-in-one solution that serves as both a tile substrate and a waterproofing system. It's quick to install and DIY-friendly, although it can be on the pricier side.
- Sheet Membrane: Offering the highest level of waterproofing, this method is versatile and can be applied over various surfaces, including traditional backer boards and mud-bed shower pans.
- Liquid-Applied Membrane: Convenient and adaptable, this method can be used alone or in combination with other systems for a robust waterproofing solution.
Step-by-Step Application
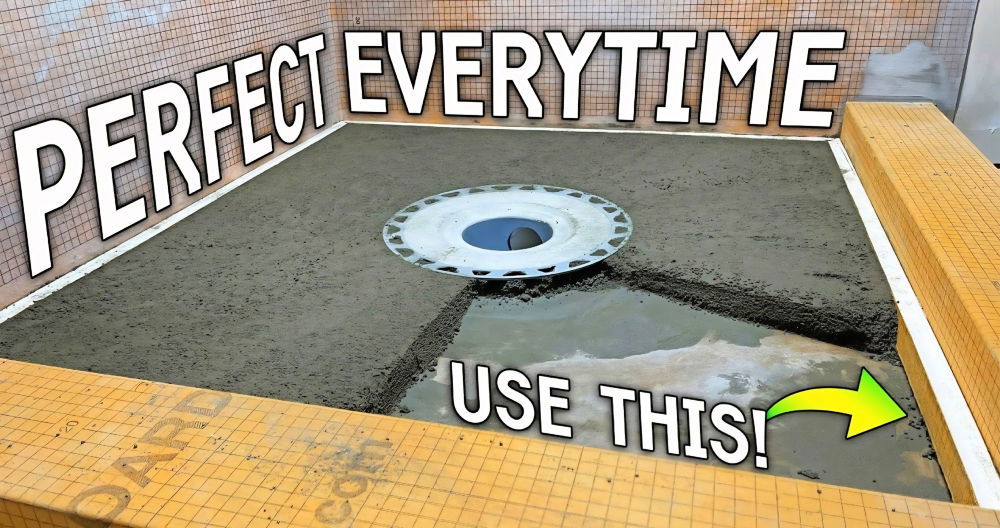
- Prepare the Surface: Clean the shower area thoroughly. Any dust or debris can prevent the waterproofing materials from adhering correctly.
- Apply the Membrane: Choose your waterproofing method and apply it according to the manufacturer's instructions. For foam boards, lock them in place with joint sealant. For sheet membranes, ensure it covers all surfaces and corners without any gaps. With liquid membranes, apply an even coat across all areas.
- Seal the Joints: Regardless of the method, make sure all seams, joints, and corners are sealed tightly to prevent any water penetration.
- Test for Leaks: Before tiling, it's wise to test your waterproofing by blocking the drain and filling the shower base with water to check for leaks.
Maintenance Tips
- Regularly inspect the sealant and grout for any cracks or wear.
- Reapply sealant as needed to maintain a watertight barrier.
By following these steps, you can ensure your shower will be protected against water damage, giving you peace of mind and a shower that lasts for years to come.
Troubleshooting Common Problems
Tiling your shower can be a fulfilling DIY project, but sometimes, you might run into a few hiccups along the way. Here's a guide to help you troubleshoot some of the most common problems you might encounter.
- Cracked Tiles Cracks can appear if your tiles are not laid on a firm foundation. Make sure your backer board is securely fastened and that your mortar bed is even. If you find a cracked tile, carefully remove it and replace it with a new one.
- Leaky Shower Leaks often occur when waterproofing isn't done correctly. Ensure that your waterproofing membrane covers all corners and seams. If you spot a leak, you may need to reapply the waterproofing material in the affected area.
- Mold and Mildew These are signs of excess moisture. Good ventilation and regular cleaning with a mildew-resistant cleaner can prevent mold and mildew from taking hold. If it's already present, use a suitable mold remover and consider installing a better fan or opening a window during showers.
- Uneven Tile Layout An uneven tile layout can result from starting your tiling in the wrong spot or not using spacers. Always begin tiling from the center of the wall and use spacers to keep your lines straight.
- Poor Drainage Poor drainage can be due to an improperly sloped floor towards the drain. The slope should be at least 1/4 inch per foot. If water pools, you may need to adjust the slope by re-leveling the floor.
- Difficulty Cutting Tiles Cutting tiles can be tricky, especially for complex shapes. Use a quality tile cutter and practice on spare tiles. For intricate cuts, consider using a wet saw.
- Grout Discoloration Grout can become discolored due to dirt or incorrect sealing. Clean the grout lines thoroughly and apply a sealer to prevent stains.
- Adhesive Failure Tiles may come loose if the adhesive fails. This can happen if the adhesive isn't mixed properly or the tiles aren't pressed firmly enough. Remove any loose tiles, clean the area, and reapply the adhesive.
Knowing these common issues and solutions prepares you for any DIY shower tiling challenges. Patience and attention to detail are key to success.
FAQs About DIY Tile Shower
Discover answers to FAQs about DIY tile showers. Find tips, techniques, and expert advice to help you tile a shower like a pro.
Preparation is key. Start by removing any old tiles and cleaning the surface. Install a vapor barrier and a cement board as your base. Plan your tile layout carefully to minimize cuts and ensure a symmetrical design. Use a thin-set mortar to apply your tiles, starting from the bottom and working your way up. After the tiles have set, apply grout, then seal and caulk the edges to prevent water damage.
Waterproofing is crucial. Use a waterproofing membrane over your cement board before tiling. Ensure all seams, gaps, and corners are sealed properly. After tiling, apply a sealant to the grout to prevent water penetration.
It’s not recommended. Tiling over existing tiles can lead to issues with adhesion and waterproofing. It’s best to remove the old tiles and start with a clean, flat surface to ensure the longevity of your new tile shower.
Porcelain or ceramic tiles are great choices due to their durability and resistance to stains. They come in various colors and styles, allowing for customization of your shower's look. For the shower floor, smaller tiles with more grout lines can provide better traction.
Selecting the right size and pattern for your shower tiles can greatly affect the overall look and feel of your bathroom. Consider the size of your shower space; larger tiles can make a small shower feel more spacious, while smaller tiles are better for detailed patterns or smaller showers. When choosing a pattern, think about the maintenance—simpler patterns are easier to clean. Also, remember that the pattern will influence the number of cuts you need to make, so plan accordingly to minimize waste.
Lesson Learned
You can do it! With patience and the right guidance, tiling a shower can be a rewarding project. Use this step-by-step guide to get started today.


