Learn how to wrap flowers beautifully with these easy steps. Wrapping flowers in a way that enhances their beauty can take a simple bouquet from plain to extraordinary. Whether you're crafting a heartfelt gift or preparing flowers for sale, this guide offers a simple and elegant method for wrapping a bouquet that leaves a memorable impression. Here, we'll break down the entire process step-by-step, helping you create the perfect presentation for your flowers.
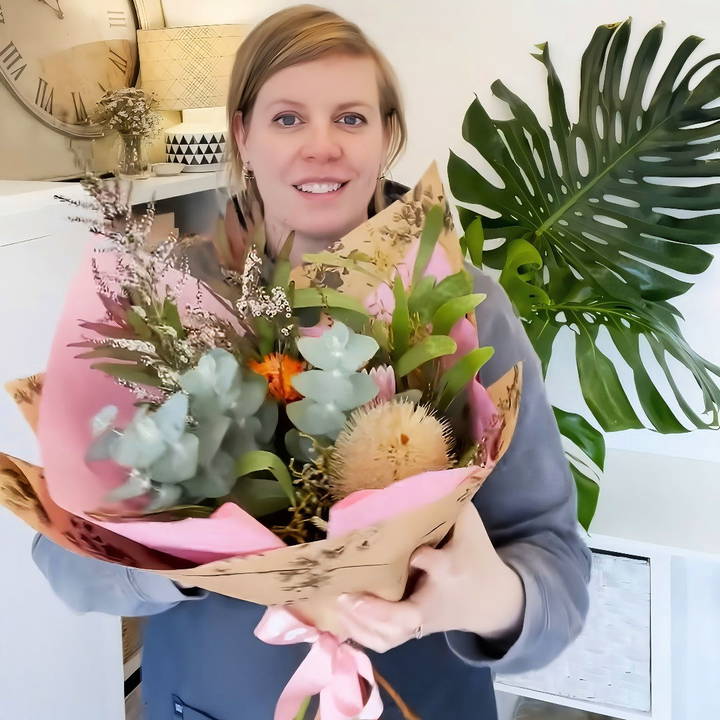
Why Wrapping Flowers Matters
Flowers are a universal symbol of love, celebration, and appreciation. However, how they are presented can significantly affect the overall impact. A well-wrapped bouquet elevates the gift by showing attention to detail and care. While the flowers themselves provide natural beauty, wrapping them adds an element of elegance and professionalism that enhances the overall aesthetic.
Now, let's dive into the process of wrapping flowers like a pro!
What You'll Need:
Before we get started, make sure you have all the necessary materials. Here's a list of what you'll need:
- Flowers: Arrange a bouquet of your chosen flowers. You can use any combination, from simple garden flowers to more elaborate arrangements.
- Wrapping Paper: The recommended size for wrapping paper is 70 by 50 centimeters (approximately 28 by 20 inches). You can use different types of paper, such as kraft paper, tissue paper, or specialty floral wrapping sheets.
- String, Ribbon, or Twine: You'll need something to tie the bouquet. String, ribbon, or twine are excellent choices depending on the look you want.
- Flower Food Sachet: If you're gifting or selling the flowers, adding a sachet of flower food is a nice touch.
- Optional Extras: Stickers, cards, or tags for a personal message or business branding.
Step by Step Instructions
Learn how to wrap flowers beautifully with our step-by-step instructions. Perfect your bouquet with expert tips for a stunning presentation.
Step 1: Arranging the Bouquet
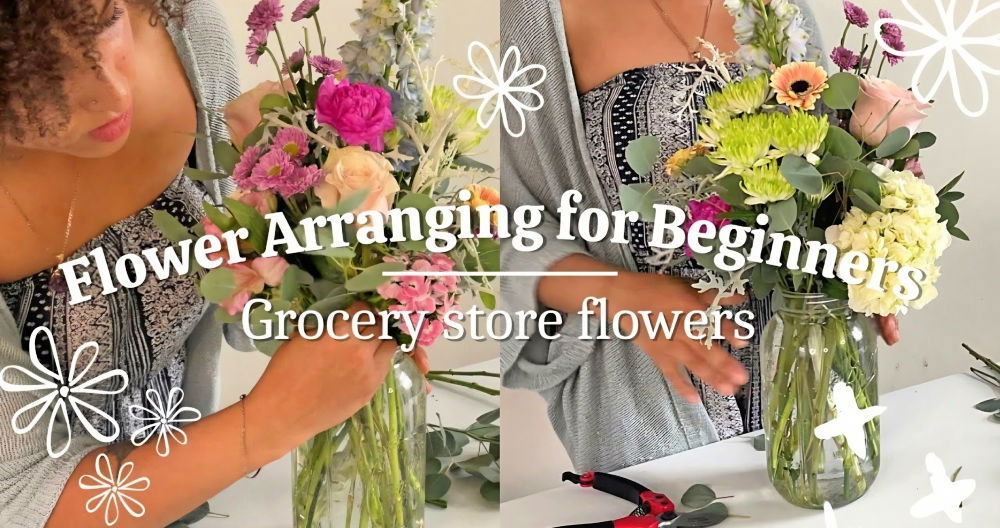
Before wrapping, ensure your flowers are properly arranged. You want the bouquet to look balanced and beautiful.
- Start with a focal point: Choose the largest or most striking flowers to act as the focal point of your bouquet.
- Layer smaller flowers around: Surround the focal flowers with smaller blooms, making sure to vary the heights and positions of the flowers to create depth.
- Add greenery or filler: Use greenery like ferns or eucalyptus to fill in gaps and provide texture.
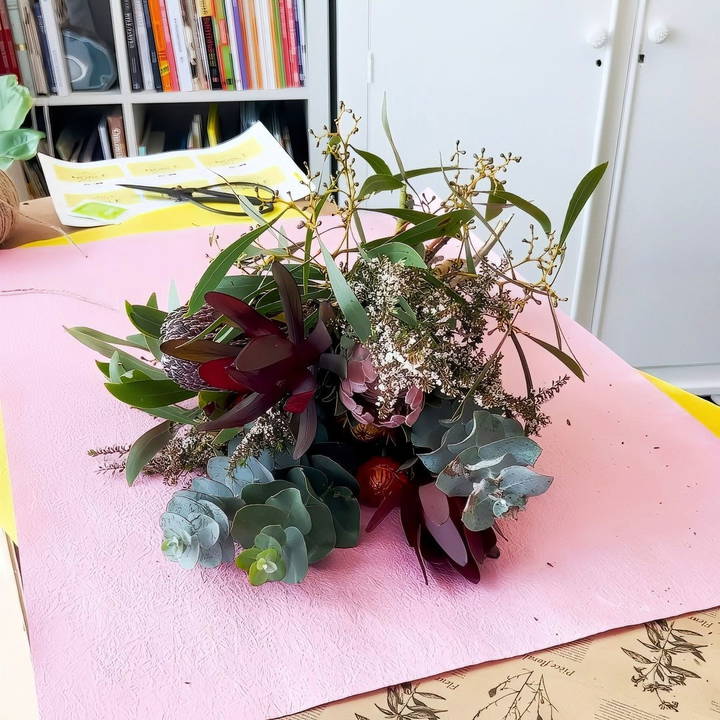
Once you're satisfied with the arrangement, hold the stems firmly together.
Step 2: Preparing the Wrapping Paper
Now that your flowers are arranged, it's time to prepare the wrapping paper.
- Choose the right paper: Kraft paper is a popular choice for its durability and rustic charm, but tissue paper can add a delicate, soft touch, and decorative floral wrapping sheets offer a polished, professional look.
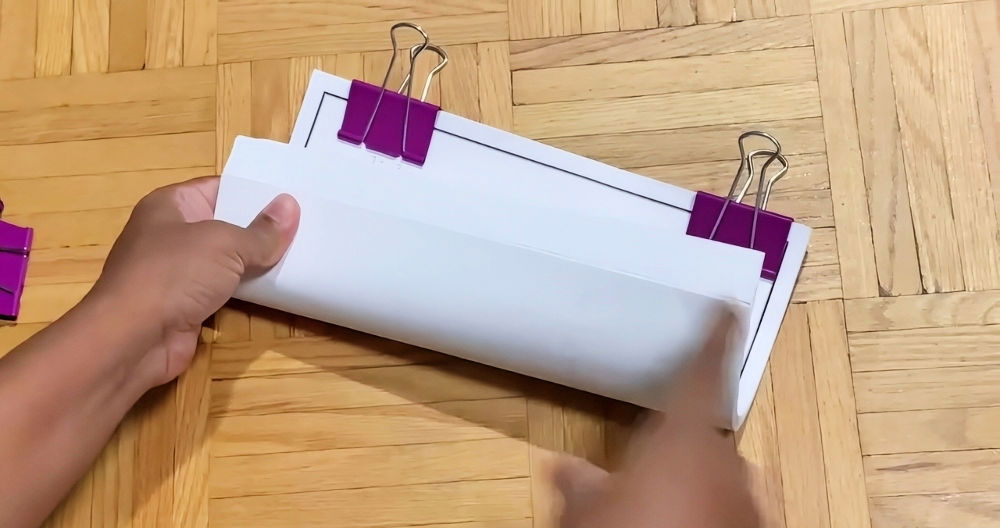
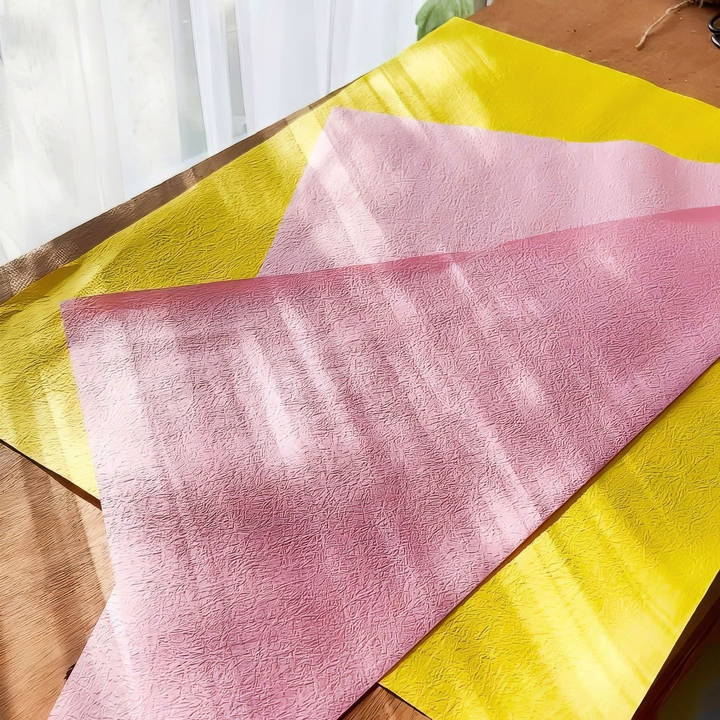
- Fold the paper: Begin by folding your paper into what is referred to as “mountain peaks.” To do this:
- Take your wrapping paper, ensuring it's approximately 70 by 50 centimeters.
- Fold it diagonally in a way that creates multiple peaks. This fold not only helps secure the flowers but also adds a beautiful texture to the presentation.
- Once you have the paper folded, press it neatly to keep the folds crisp and secure.
Step 3: Wrapping the Flowers
With your paper folded, you're ready to wrap the flowers.
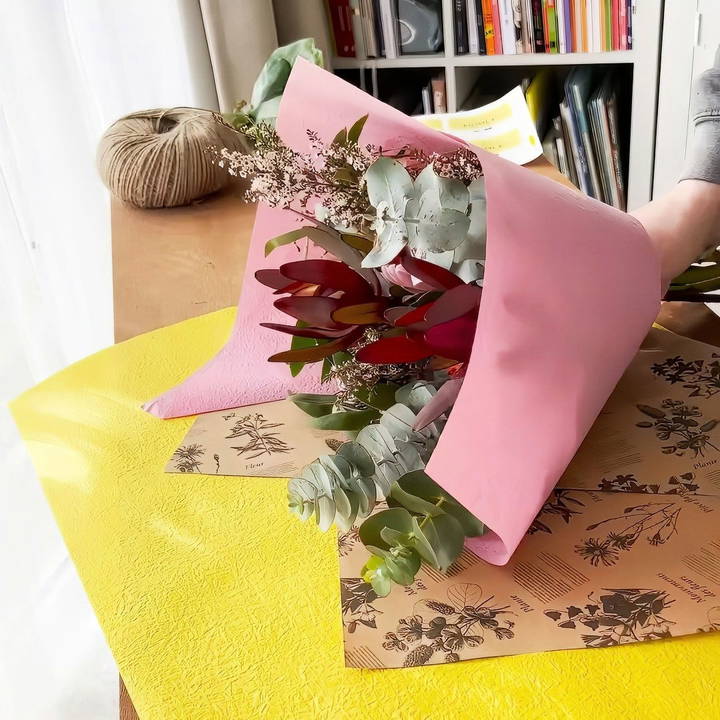
- Place the bouquet: Lay your folded paper flat on a table and position your bouquet in the middle, angled slightly. Make sure the flower heads are closer to the top edge of the paper, leaving more room to wrap around the stems.
- Roll the flowers in the paper: Gently roll the flowers into the paper, ensuring the "mountain peaks" stay visible. These peaks will give the wrapping an elegant, layered look. If you find that one layer of paper is not enough or doesn't cover the bouquet properly, feel free to add more sheets of wrapping paper.
- Secure the paper: As you wrap, make sure the paper is snug but not too tight. The goal is to protect the flowers without crushing them.
- Add more layers: For a fuller, more luxurious look, you can repeat the wrapping process with additional layers of paper. More layers not only provide extra protection but also give the bouquet a fancier, fuller appearance.
Step 4: Tying the Bouquet
Now that the bouquet is wrapped, it's time to secure it with a ribbon, string, or twine.
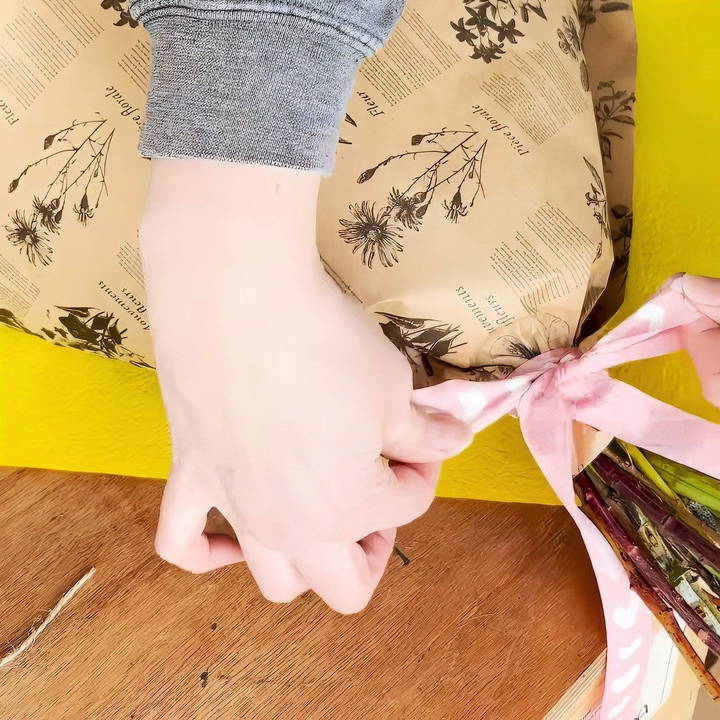
- Using ribbon or twine: Take your chosen tie (ribbon, twine, or string), and wrap it around the stems of the flowers, just below where the paper ends. To tie it securely:
- Wrap the string around your hand to create a loop.
- Slip the loop over the stems and pull it tight.
- Tie a knot or create a bow, depending on your desired look.
A simple ribbon adds a pop of color and elegance, while twine gives the bouquet a rustic, handmade feel. Choose a tie that complements the flowers and wrapping paper to complete the look.
Step 5: Finishing Touches
This is the fun part—adding the final touches that will make your bouquet stand out.
- Flower food sachet: If you're gifting the bouquet, consider adding a small flower food sachet to keep the flowers fresh for longer.
- Personal note or card: Attach a small card or tag with a personalized message or a business sticker if you're selling the bouquet.
- Stickers or embellishments: For extra flair, you can also use decorative stickers or labels on the wrapping paper to add a professional touch.
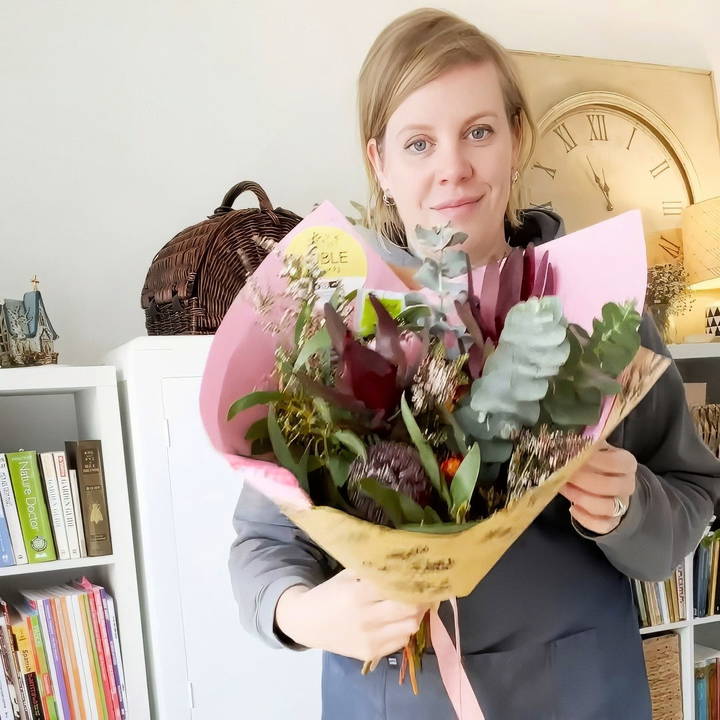
Tips for Success
- Play with colors and textures: The paper you choose and the ribbons or strings can dramatically change the overall look of the bouquet. Don't be afraid to mix and match materials for a unique style.
- Use a variety of flowers: Combining different flowers and greenery can add more texture and interest to the bouquet.
- Keep it practical: While it's fun to get creative, make sure the wrapping is functional and secure. The flowers should be protected and easy to carry.
Conclusion
Wrapping flowers is a simple yet effective way to elevate the presentation of any bouquet, making it more visually appealing and special. By following these steps, you can easily create beautifully wrapped bouquets that are perfect for gifts, events, or even selling. Experiment with different papers, ties, and finishing touches to make each bouquet truly unique.
So the next time you're working with flowers, don't just hand over a plain bunch—turn it into a work of art with thoughtful wrapping!
FAQs About How to Wrap Flowers
Discover essential tips and answers on how to wrap flowers beautifully and efficiently in our comprehensive FAQs section.
You can use various types of paper depending on the look you want. Kraft paper, embossed paper, and tissue paper are common choices. For best results, use a rectangular sheet around 70x50 cm in size. Heavier paper, like 80gsm, is ideal for structure and durability.
This depends on the desired aesthetic. Using more layers can give a fuller and fancier look. One or two layers are usually sufficient, but feel free to experiment based on your bouquet size and preference.
You can use string, twine, or ribbon depending on the style you're going for. Twine gives a rustic feel, while ribbons add an elegant touch. Make sure the tie complements the paper and the overall look of the bouquet.
If you’re gifting or selling the bouquet, adding a small sachet of flower food helps keep the flowers fresh for longer. It's a nice, thoughtful addition for the recipient.
Yes! You can wrap any kind of flowers, from simple garden blooms to more exotic arrangements. Just make sure they are well-arranged, with the focal flowers in the center.
In Australia, floral wrapping paper can be purchased from wholesalers like APack. For international alternatives, there are options available online, such as Kraft paper and specialty wraps.
Gently wrap the paper around the bouquet without pressing too tightly. Use string or ribbon to secure the stems at the base, just below the flowers. This holds everything in place while still protecting the blooms.
If your paper is too delicate, like tissue paper, try switching to a heavier paper, such as Kraft paper or embossed paper. These are more durable and less likely to tear when wrapping.
Keep an eye on the balance between the size of the bouquet and the amount of paper used. One or two layers are usually enough to provide a polished look without overwhelming the flowers.


