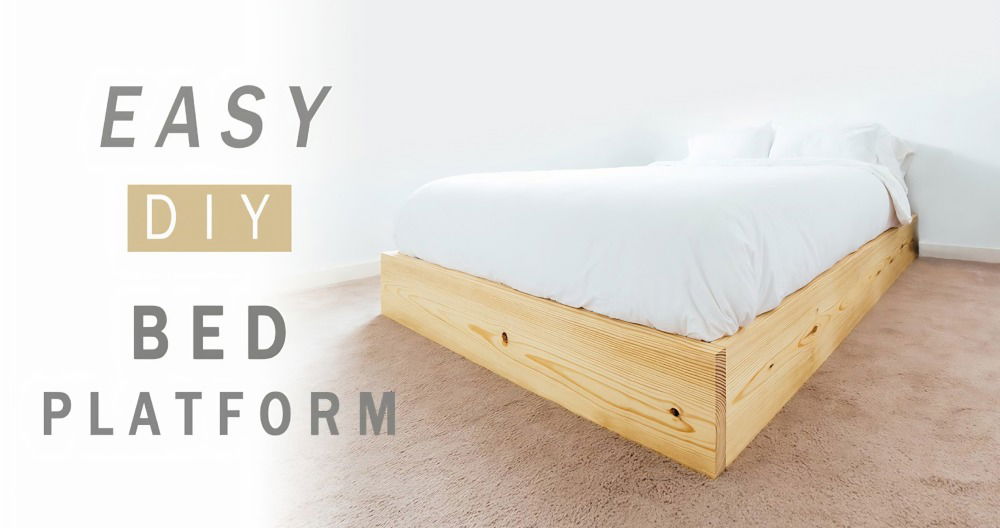
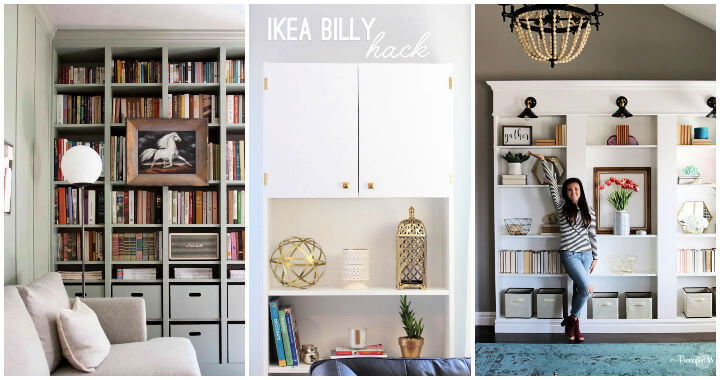
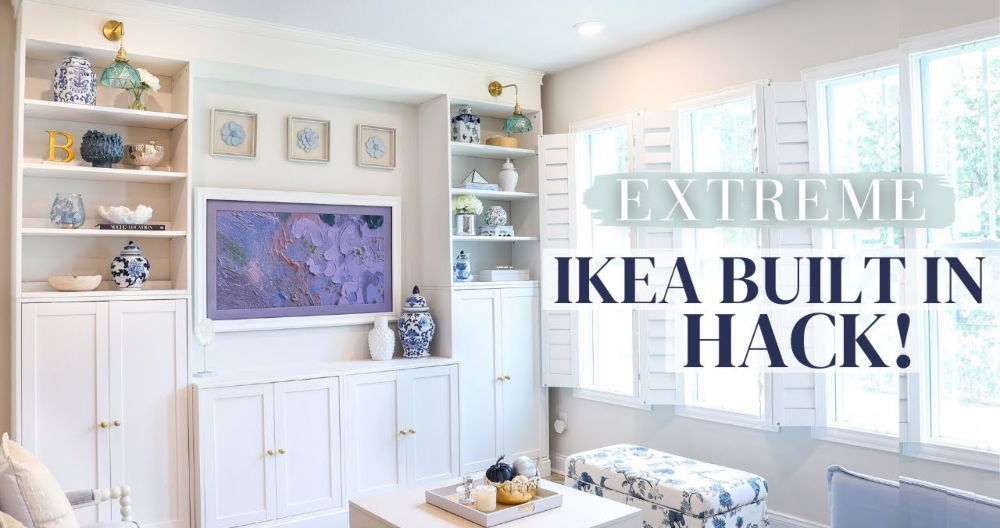
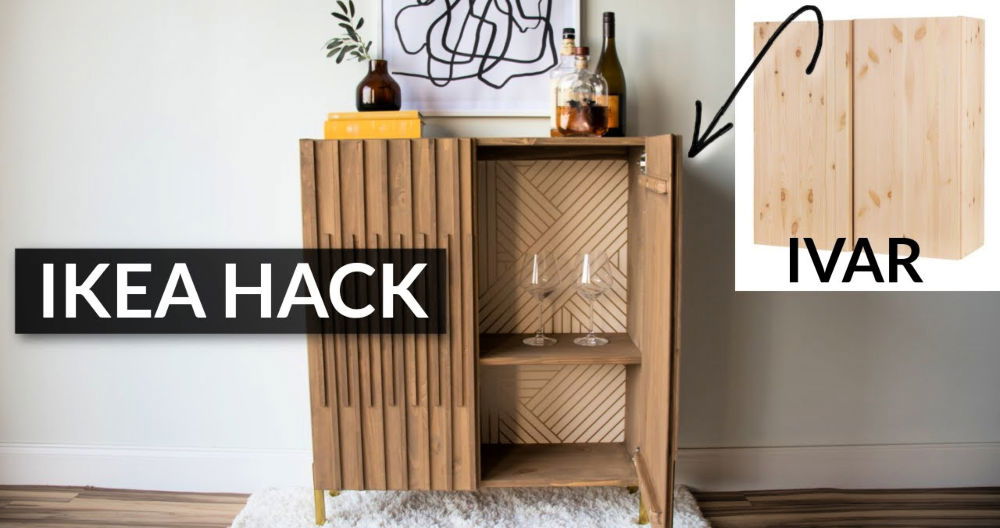
Building a freestanding IKEA hack platform bed can be a fun and rewarding project. With a few simple tools and some creativity, you can transform an ordinary Ikea bed into a stylish, functional piece. This project involves selecting the right IKEA bed frame and modifying it to suit your needs. Whether you want extra storage space or a unique design, an IKEA bed hack Can help you achieve your goal.
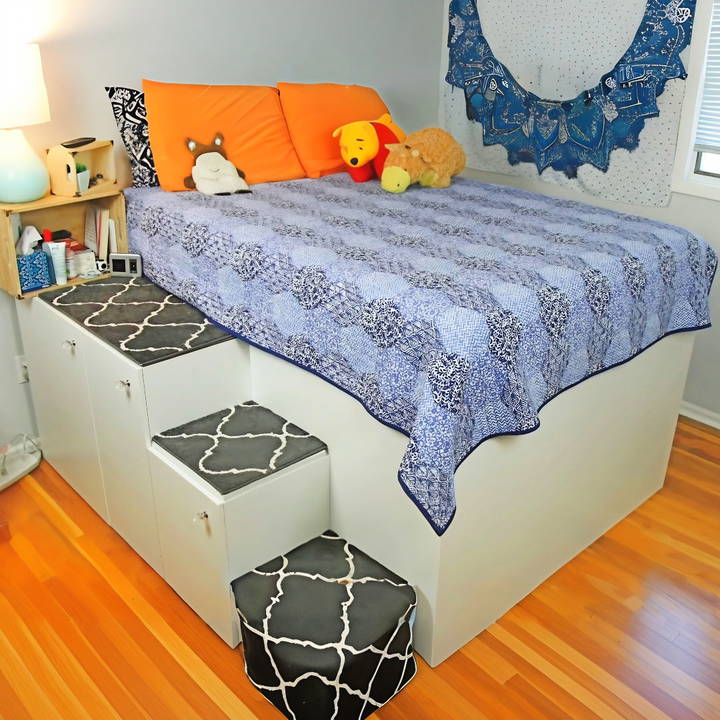
Ready to take your bedroom decor to the next level? Explore the steps in our next section for detailed instructions on making your own freestanding IKEA hack platform bed.
The Motivation
Although my room was spacious, it lacked sufficient storage. Traditional beds occupied too much space without offering extra benefits. When I found out about the IKEA hack platform bed, particularly a freestanding version that could be adapted to small spaces without wall attachments, I was sold. I wanted a bed that could serve multiple purposes: provide a good night's sleep, offer significant storage, and be easily movable.
Materials Needed and Why
- IKEA Cabinets: The cornerstone of the hack for their storage capabilities and customizable nature.
- Melamine Sheets: For a seamless, durable top surface that complements the IKEA cabinets.
- 1x3 Pine: Utilized to construct the mini wall-like frames that support the bed, chosen for its strength and affordability.
- 3/4 3/4-inch plywood: Used for angled supports to reinforce the structure because of its sturdiness.
- Edge Banding: Applied to melamine sheet edges for a clean, finished look.
- Assorted Screws and Tools: The essential hardware and tools for assembly.
Step by Step Instructions
Discover step-by-step instructions for an easy IKEA bed hack! Transform your bedroom with this simple, stylish DIY project for a unique look.
Step 1: Visualizing and Planning
Any successful DIY project starts with a clear plan. I measured my room, focusing on how much of the floor space I was willing to dedicate to the bed. Given my room's dimensions and the need for walkable space around it, I opted for a queen-size mattress configuration. Sketching a rough design, even with my limited art skills, helped me visualize the end product.
Step 2: Assembling the Base
I chose IKEA cabinets for their affordability and variability. Assembling them according to the manufacturer's instructions was straightforward. Positioning them to form the base required careful measurement to leave enough room for the mattress and additional features like bedside extensions.
Step 3: Constructing and Installing the Frames
The unique aspect of the freestanding version is making frames that mimic wall support. Using 1x3 pine, I constructed two sturdy frames that matched the bed's width. These were crucial in supporting the side rails and the middle of the bed without any wall attachment. Securing these with appropriate screws and adding the plywood angled supports increased the bed's overall stability.
Step 4: Adding the Melamine Sheets
Melamine sheets provided a smooth, cleanable surface that matched the aesthetics of IKEA cabinets. Measuring and cutting these to fit perfectly took time and patience, especially ensuring the edges were smooth. The edge banding was an additional step but well worth it for the professional finish it offered.
Step 5: Finalizing the Structure
The bed's core structure was in place, but ensuring everything was tightly secured was crucial. I went over every screw, ensuring tight fits and stable connections. This reassurance process ensured the bed wouldn't squeak or wobble, providing peace of mind.
Step 6: The Finishing Touches
Choosing the right mattress was essential. I opted for a memory foam mattress for its comfort and durability. Finally, adding personal touches such as LED lights beneath for night-time illumination and side shelves for books transformed the bed from a mere furniture piece into a multifunctional sanctuary.
Personalization Tips
When it comes to personalizing your IKEA bed, the possibilities are as vast as your imagination. Here are some tips to help you make your IKEA bed uniquely yours:
- Choose Your Theme Start by deciding on a theme that reflects your personality. Whether it's minimalist, bohemian, industrial, or something else, your theme will guide your choices in colors, textures, and accessories.
- Select a Color Palette Colors can dramatically change the look and feel of your bed. Choose a palette that complements your theme and use it consistently throughout your bedding, pillows, and decorations.
- Add Textures Mix and match different textures to add depth and interest. Combine smooth and rough textures, like pairing a sleek duvet cover with a chunky knit throw.
- Incorporate Accessories Accessories like cushions, throws, and bed skirts can add a personal touch. Choose items that match your theme and color palette to tie the room together.
- DIY Headboard Make a custom headboard using materials like wood, fabric, or even books. This can be a statement piece that captures your style.
- Under-Bed Storage Utilize the space under your bed for storage. Use baskets, drawers, or boxes to store items and keep your space clutter-free.
- Lighting Consider adding fairy lights, a bedside lamp, or an overhead fixture to set the mood and add warmth to your bedroom.
- Artwork: Hang artwork or photos above your bed. This is a great way to express your interests and add a personal touch.
Personalization tailors your space to you. It's not about trends; it's about making your bedroom reflect you. Keep it simple and enjoy experimenting with your IKEA bed.
Safety Considerations
When customizing your IKEA bed, safety is paramount. Here are some key considerations to keep in mind to ensure your bed hack is not only stylish but also secure:
Weight Limits
- Always adhere to the weight recommendations provided by IKEA for the bed frame and slats. Overloading can lead to structural failure.
Stability
- Ensure that any additions or modifications to the bed do not compromise its stability. Avoid tall or heavy headboards that could make the bed top-heavy.
Materials
- Use non-toxic paints and finishes, especially if the bed will be used by children or pets. Check for any recalls on IKEA products before starting your project.
Tools and Hardware
- Use the correct tools and hardware for assembly. IKEA beds often require specific fittings, and using the wrong ones can weaken the structure.
Fire Safety
- Be cautious with any electrical components, such as lights, that you add to the bed. Follow manufacturer instructions and local safety codes.
Child Safety
- If the bed is for a child's room, avoid sharp edges and small parts that could be choking hazards. Ensure that any canopy or tent structures are securely attached.
Accessibility
- Consider the accessibility of the bed. Modifications should not hinder the ability to get in and out of bed safely, especially for those with mobility issues.
Professional Advice
- If you're unsure about any aspect of your bed hack, seek professional advice. A qualified carpenter or furniture specialist can provide guidance.
Prioritizing safety ensures you can enjoy your personalized IKEA bed with peace of mind, knowing everyone's well-being is secured.
FAQs About IKEA Bed Hack
Discover essential FAQs about the Ikea bed hack. Learn tips, tricks, and solutions to transform your Ikea bed for optimal style and functionality.
IKEA bed hacks are creative modifications to IKEA beds and related furniture to enhance their functionality, style, or storage capacity. These hacks can range from simple additions like adding casters for mobility to more complex alterations such as constructing loft beds or integrating headboards with additional storage.
You can add storage to your IKEA bed by utilizing under-bed drawers or boxes, which can be purchased or DIY-ed to fit. Some IKEA beds, like the BRIMNES model, come with built-in drawers. Alternatively, you can raise the bed frame to build space for storage containers underneath. For a more customized solution, consider using IKEA's modular storage units, such as KALLAX, to build a unique under-bed storage system.
Yes, you can transform an IKEA bed into a loft bed to maximize space in a small room. This can be done by elevating the bed frame securely and ensuring stability. IKEA’s STUVA and KURA beds are popular choices for loft conversions due to their design and versatility. You can also add a desk or storage unit underneath the lofted bed for a complete workspace or storage solution.
For a unique design, you can personalize your IKEA bed frame with paint, adhesive vinyl, or fabric. Adding a new headboard, such as upholstering it with a fabric of your choice or attaching a decorative panel, can also give your bed a fresh look. Simple changes like swapping out the knobs on drawers or adding decorative elements can make a significant impact.
To ensure safety, always follow IKEA's assembly instructions and use the recommended tools and hardware. When modifying a bed, make sure all structures are secure and stable. If you're adding height or making a loft bed, double-check that all supports are robust and that there is adequate railing to prevent falls. Regularly inspect your bed hack for any signs of wear or weakness and address them promptly.
Conclusion: A Labor of Love
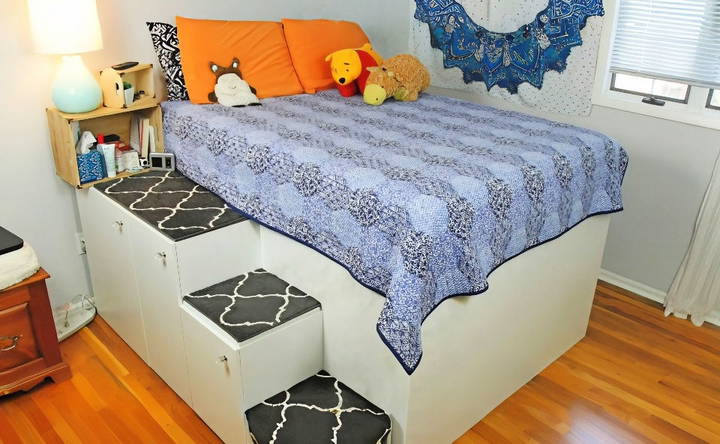
Building a freestanding version of the IKEA hack platform bed was a rewarding and practically essential experience. The bed no longer relies on wall support, allowing it to fit seamlessly into rented spaces or unique architectural contexts like brick walls.
Valuable Tip: If the bed's for a child, consider adding a bed rail beneath the mattress for safety. As I completed the freestanding design with a smaller footprint yet just as functional, it was more than a DIY project — it was about innovation and listening to others' needs. I learned that restrictions often fuel creativity more than open boundaries ever could; they invite innovation by necessity.


