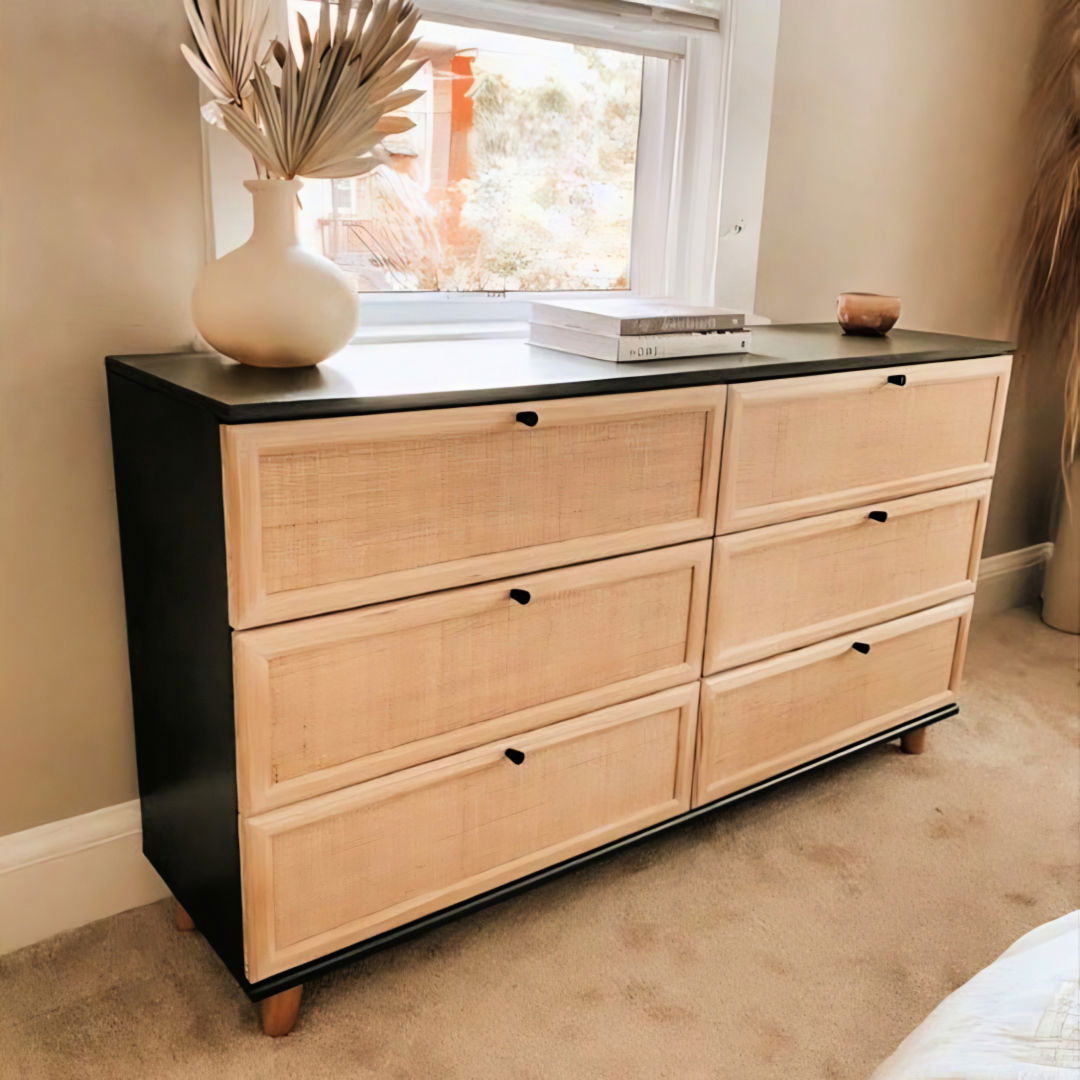
My name is Megan, and today, I'm thrilled to share another IKEA dresser hack with you. If you're anything like me, you love finding budget-friendly furniture that you can transform to look like high-end pieces. Today, we're working on an Ikea Tarva dresser makeover, and I'm excited to guide you through the entire process step-by-step.
Why Choose the IKEA Tarva Dresser?
The Ikea Tarva dresser is an excellent piece to start with for a makeover. It's made from solid pine, which makes it a durable and versatile base. Additionally, its straightforward design makes it a blank canvas that is perfect for customizing.
Materials Needed and Why
- Ikea TARVA Dresser: A solid pine base that's affordable and easy to work with.
- Mid-century Style Legs and Hardware: To elevate the piece, literally and stylistically.
- Shellac-based Primer: Key for covering knots in pine to prevent them from bleeding through the paint.
- Latex Paint in Vintage Vogue: A beautiful, deep green for a luxurious finish.
- Polyurethane Sealer: To protect the paintwork and ensure durability.
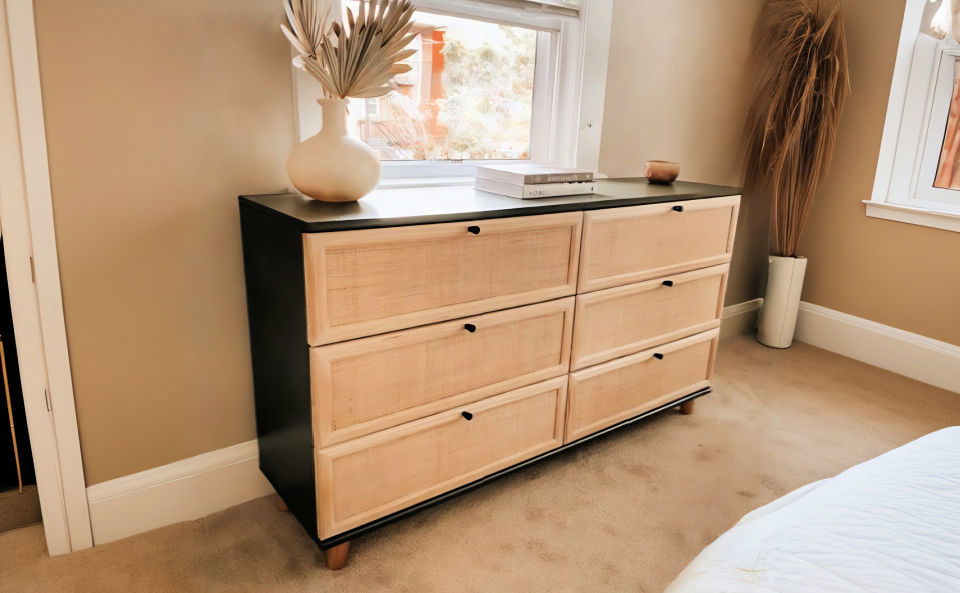
- Cane Webbing: This adds texture and a custom look to the drawer fronts.
- Trim for Drawer Fronts: To frame the cane webbing neatly and provide a finished look.
- Tools (saw, drill, paintbrush, etc.): For assembling, customizing, and finishing the dresser.
Step by Step Instructions
Transform your home with this Ikea dresser hack! Discover simple, step-by-step instructions for stylish and easy DIY furniture upgrades.
Step 1: Assemble the Dresser (Partially)
I started by assembling the TARVA following Ikea's instructions but I skipped the steps for adding the included legs and any parts related to the bottom of the dresser. I planned to add my chosen mid-century legs later for a custom look.
Step 2: Attach New Legs
Measuring an inch and a half from each corner at the bottom, I marked where the new leg brackets would be placed. After pre-drilling the holes, I screwed in the brackets and twisted the legs into place. The angled legs immediately transformed the dresser's profile, giving it that desired mid-century vibe.
Step 3: Prime and Paint
Next, I tackled the knots in the wood. Pine has a tendency to bleed through paint, so shellac-based primer was essential. I sprayed this directly onto the knots. Then, I painted the dresser in "Vintage Vogue," a rich green that gave the wood a completely new life. After two coats, the transformation was already striking.
Step 4: Seal the Paint
I sealed the paint with a satin polyurethane to protect the dresser from wear and tear. This step is crucial for ensuring the piece is as durable as it is beautiful.
Step 5: Prep and Attach Cane Webbing
Now for the custom touch - cane webbing. I cut each piece to fit the drawer fronts, leaving room for trim I would add later. Soaking the cane in room-temperature water made it flexible and easy to work with. I stapled the webbing to the drawers, starting at the center and working my way out to the edges.
Step 6: Trim and Install Drawer Fronts
After cutting the trim to frame the cane webbing on each drawer, I glued it in place. This required precision and patience, especially when clamping the trim to dry. Once the glue was dry, I filled any gaps with wood filler and sanded it down for a seamless finish.
Step 7: Add the Hardware
Choosing the right hardware was crucial for the final look. I opted for simple, modern pulls that complemented the dresser's new sophisticated style. Measuring carefully, I drilled holes at the top of each drawer front and attached the pulls.
Design Theory
An IKEA dresser hack involves both physical changes and design principles. Here's a simple guide to help you make a functional, stylish dresser.
- Color Harmony: Colors can set a room's mood. Use a color wheel to find complementary colors for your dresser that will match your room's decor. For example, if your room has blue tones, consider a dresser with orange accents for a pop of contrast.
- Balance and Proportion: Your dresser should fit well in the space. It shouldn't be too big or too small. Measure your room and plan the size of your dresser accordingly. Balance also applies to decoration; if one side has a bold handle, balance it with a similar weight element on the other side.
- Rhythm and Repetition: Make a visual rhythm by repeating elements like knobs or patterns. This repetition can bring a sense of calm and order to the space.
- Focus and Emphasis: Choose a feature to be the focal point of your dresser, such as a unique paint job or an unusual knob. This will draw attention and make your piece stand out.
- Unity and Variety: While your dresser should have a cohesive look, adding variety in textures or finishes can make it more interesting. For instance, mix matte and glossy paints or combine metal with wood for a diverse yet unified appearance.
- Functionality: Always remember that your dresser should be practical. Design your hack with everyday use in mind, ensuring drawers open smoothly, and there's enough space for storage.
Apply these design principles to make your dresser a statement while blending with your room's aesthetics. Follow these tips for a stunning and functional dresser.
Troubleshooting Common Issues
When you're working on an IKEA dresser hack, you might run into a few snags along the way. Here's a straightforward guide to solving some of the most common issues you may encounter:
- Stuck Drawers: If a drawer isn't sliding smoothly, check for obstructions. Remove the drawer and inspect the slides for any debris or damage. A bit of lubricant on the tracks can often do the trick.
- Chipping Paint: Paint chipping can be frustrating. To prevent this, make sure you prep the surface properly before painting. Sand the surface, clean it thoroughly, and apply a primer designed for the type of material you're painting.
- Loose Knobs or Handles: Over time, the knobs or handles may become loose. Tighten them with a screwdriver. If they keep loosening, apply a drop of thread-locking compound to the screws before re-tightening.
- Uneven Surfaces: If your dresser isn't sitting flat, adjust the legs or add furniture pads to stabilize it. For a dresser that's uneven because of the way it was put together, disassemble and reassemble, making sure all parts are straight and properly aligned.
- Drawer Misalignment: Drawers that don't align correctly can be an eyesore. Check the mounting brackets and screws to ensure they're tight and correctly positioned. Adjustments here can make a big difference.
- Peeling Laminate: If the laminate is peeling, you can glue it back down using a suitable adhesive. Apply the glue, press firmly, and allow it to dry completely. For larger areas, consider replacing the laminate sheet.
- Odor from Old Dressers: Old dressers can sometimes have a musty smell. To freshen it up, clean the dresser with a vinegar solution, and leave an open container of baking soda inside the drawers to absorb odors.
Patience is key when troubleshooting. Take your time to understand the problem, and don't rush the fix. With these tips, you'll be able to tackle common issues and get back to making a dresser that's uniquely yours.
Maintenance and Care
Keeping your IKEA dresser in top condition is crucial for extending its life and maintaining its appearance. Here's a straightforward guide to caring for your dresser:
- Regular Cleaning: Dust your dresser weekly with a soft cloth. For deeper cleans, use a mild soap and water solution, but avoid harsh chemicals that can damage the finish.
- Protect from Sunlight: Direct sunlight can fade the color of your dresser over time. Position it away from windows or use curtains to minimize exposure.
- Avoid Moisture: Excess moisture can warp wood and damage finishes. Keep your dresser in a dry area and quickly wipe up any spills.
- Tighten Fittings: Over time, screws and joints can loosen. Periodically check and tighten these to prevent wobbling or other damage.
- Handle with Care: When opening drawers, use a gentle touch. Slamming can cause misalignment and damage the tracks.
- Use Coasters and Mats: Protect the surface of your dresser from scratches and stains by using coasters under lamps and mats under decorative items.
- Refresh Finish: If the finish on your dresser starts to look dull, you can refresh it with furniture polish or wax, following the product's instructions.
- Address Damage Promptly: If you notice chips or scratches, touch them up with matching paint or a furniture repair kit to prevent further damage.
By following these simple care tips, you'll ensure that your IKEA dresser hack remains beautiful and functional for years to come.
FAQs About IKEA Dresser Hack
Discover the top faqs about IKEA dresser hack, including step-by-step guides, tips for customization, and expert advice to elevate your Ikea furniture.
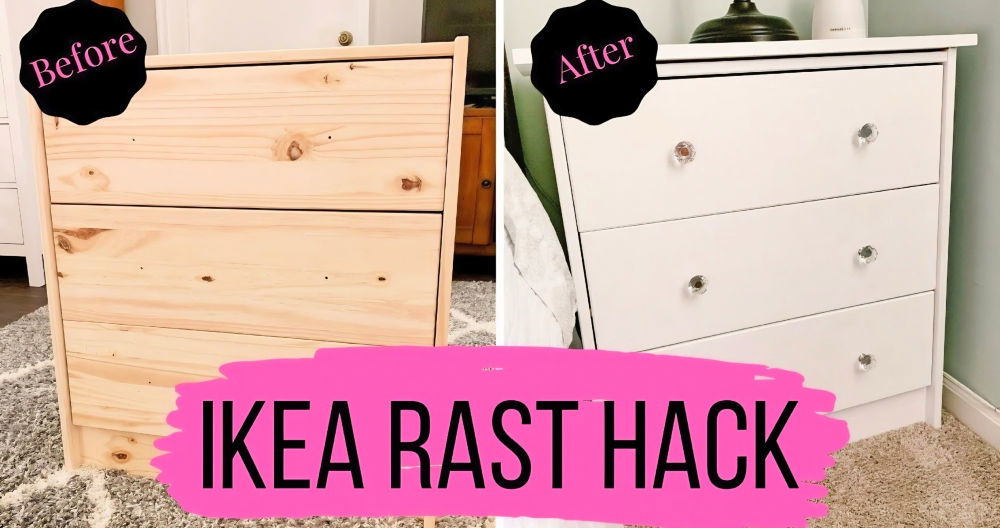
An IKEA dresser hack involves creatively altering or adding to an IKEA dresser to personalize its appearance or functionality. This can range from simple changes like painting or adding new knobs, to more complex modifications such as reconfiguring the structure or combining it with other furniture pieces.
You can customize your IKEA dresser in several ways:
Painting: A fresh coat of paint can completely transform your dresser.
New Hardware: Changing out knobs or pulls for something more unique can make a big difference.
Adding Features: Incorporate decorative elements like wood panels, contact paper, or even fabric for a new look.
Structural Changes: Add legs, combine with other units, or even change the shape to suit your needs.
Yes, there are many easy hacks that even beginners can do:
Contact Paper: Applying gold contact paper between the drawers for a touch of glamour.
Stencils: Using stencils to build designs on drawer fronts.
Decals: Vinyl stickers or decals can quickly change the look without much effort.
Inspiration can be found in many places:
Online Communities: Websites like IKEA Hackers offer a wealth of ideas.
Social Media: Platforms like Instagram have many DIY accounts with creative hacks.
Home Decor Blogs: Blogs often feature tutorials and photos of completed hacks.
Absolutely! IKEA dressers are versatile and can be repurposed for various uses beyond traditional storage. For example:
Media Console: A low-profile IKEA dresser can serve as a stylish media console. Just ensure it's the right height for your TV and has openings for cable management.
Bathroom Vanity: With some waterproofing and plumbing work, an IKEA dresser can be converted into a unique bathroom vanity.
Entryway Bench: Add a cushion on top of a sturdy dresser for a comfortable and functional entryway bench with storage.
Conclusion:
Wrapping up, this IKEA dresser hack guide offers practical and creative ways to transform your furniture. With these simple techniques, you can easily personalize your space while keeping it functional and stylish. Enjoy making a unique home with these inspiring ideas.


