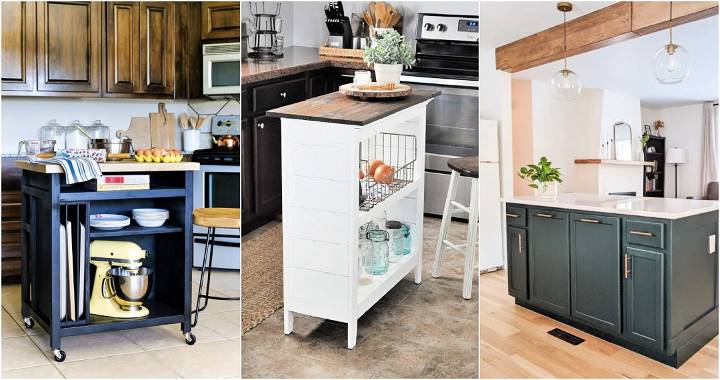
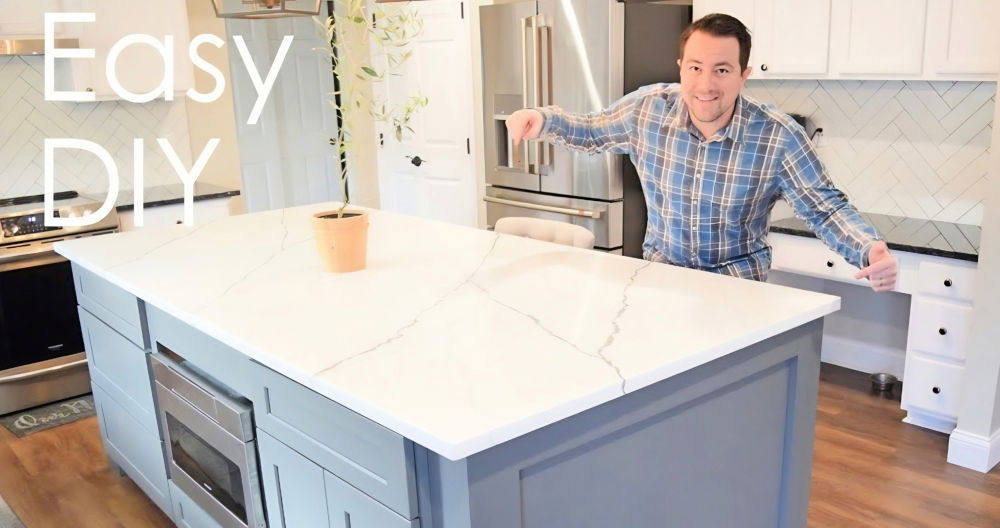
Transform your space with a stylish IKEA kitchen island hack that blends form and function effortlessly. Ever since I moved into my new home, there was one thing that my heart was set on—a kitchen island. I have always admired the functionality and the aesthetic charm of a kitchen island. Yet, due to space constraints in my previous kitchens, it was a dream I had to keep on hold.
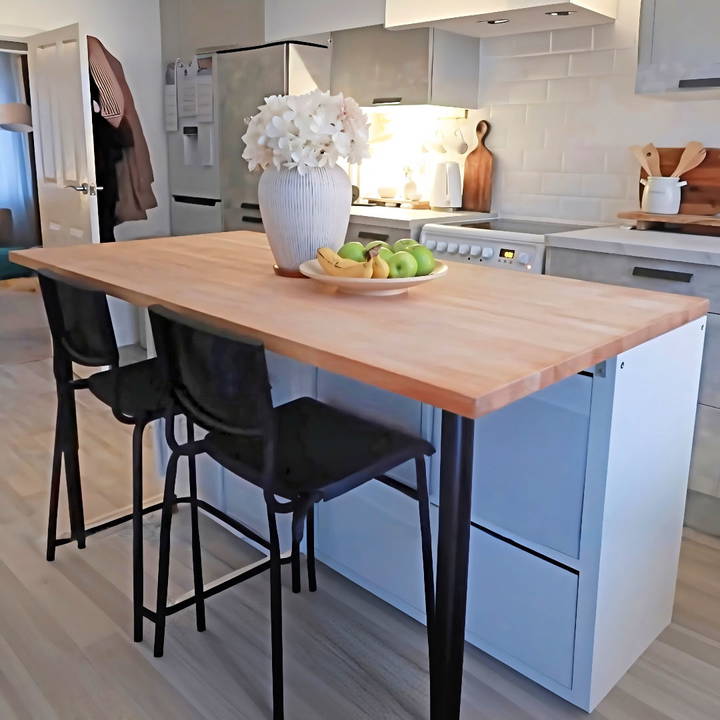
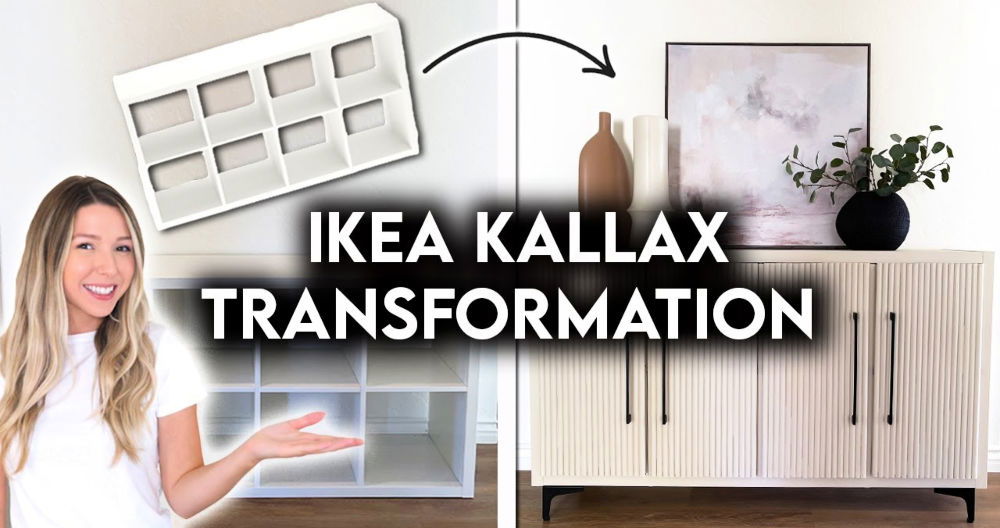
Fortunately, fate aligned when I set my eyes on the open space of my new kitchen. That was the moment the dream of having a kitchen island reignited, and I knew—I had to make it happen. This is my journey of transforming a simple IKEA Kallax unit into an elegant kitchen feature. I'll take you through each step and how I managed to do it on a budget, ensuring it was both functional and stylish, aligning with my dream kitchen vision.
Step by Step Instructions
Transform your kitchen with this creative DIY Ikea kitchen island hack! Discover easy, step-by-step instructions for a stylish, budget-friendly makeover.
Step 1: The Planning Phase
In the planning phase, discover how to plan your project, find inspiration, and manage budgeting and measurements. Start your journey today!
Finding Inspiration
Initially overwhelmed with where to start, I spent countless hours on Pinterest and YouTube, searching for budget-friendly kitchen island ideas. That's where I spotted the creative potential of the IKEA Kallax shelving unit. Sleek, simple, and remarkably versatile, it was the perfect base for my project.
Budgeting and Measurements
With my heart set on a DIY kitchen island, I meticulously measured my kitchen space. It's crucial to ensure there's enough room for foot traffic around the island. My goal was to enhance my kitchen's functionality without compromising on space.
Step 2: Gathering Materials
Discover how to gather materials for your ikea kallax shelving unit, seating options, and additional necessities for a seamless assembly and setup.
The IKEA Kallax Shelving Unit
The hero of this project, the Kallax shelving unit, was affordable and offered the size flexibility I needed. Its cubed sections promised ample storage, a feature my kitchen desperately needed.
Seating
Considering my tight budget, I hunted for the most affordable yet stylish stools. Comfort was key, as I envisioned this space becoming a cozy breakfast nook.
Additional Materials
- Feet for the Unit: To elevate the island to an appropriate height, I opted for sturdy, stylish feet. I found cost-effective options on Amazon – a mix of white wooden feet for the invisible sides and brass ones to add a touch of elegance to the visible ends.
- A Durable Countertop: Given its central role in the kitchen, I chose a durable, easy-to-clean surface. While IKEA offers various options, I sourced mine locally to cut costs further, ensuring it matched the dimensions of the Kallax unit.
- Storage Boxes: To maximize the utility of the Kallax cubes. Opting for white ones maintained the sleek, uniform look I was aiming for.
Step 3: Assembling the Island
Assembling the island: Build the base, attach the feet, and secure the countertop for a perfect kitchen island setup. An easy guide is included!
Building the Base
Constructing the Kallax unit was straightforward, thanks to IKEA's clear instructions. For those unfamiliar with IKEA furniture assembly, I recommend taking it slow and double-checking each step.
Attaching the Feet
Securing the feet to the unit transformed it from a simple shelving unit to the foundation of my island. The brass feet added a chic, expensive-looking touch to the entire project.
Securing the Countertop
Balancing and fixing the countertop onto the Kallax unit required some effort, given its weight. It's a two-person job, so make sure to have help on hand. Once in place, I secured it with hardware for added stability.
Step 4: Final Touches
Unlock a flawless finish with step 4: final touches. Discover tips on adding stools, organizing storage boxes, and adjusting placement for perfection.
Adding the Stools
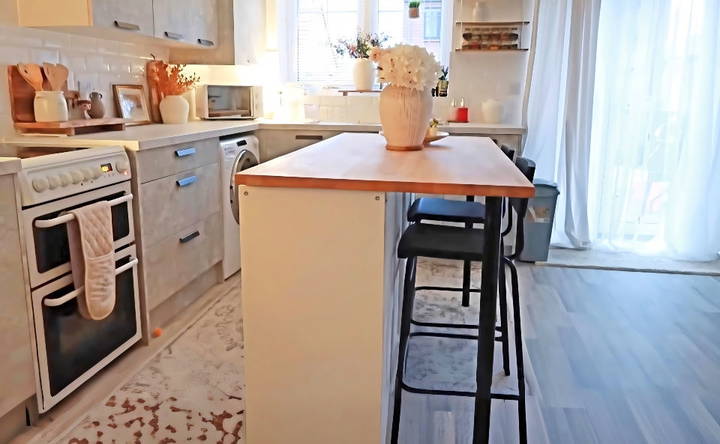
The stools slid neatly under the overhanging countertop, their simplicity complementing the island's overall aesthetic. Their comfort exceeded my expectations, proving budget doesn't always mean compromise.
Organizing the Storage Boxes
The Kallax's cubbies offered more storage than anticipated. I had fun organizing my kitchen essentials into the boxes, streamlining my kitchen's overall functionality.
Adjusting Placement
After living with the island for a few days, I adjusted its position slightly for optimal flow. It's crucial to allow space for cooking, cleaning, and socializing without any area feeling cramped.
The Final Reveal
The completion of my DIY Kallax kitchen island brought a sense of accomplishment. Not only did I manage to save a significant amount by opting for a DIY route, but I also personalized my kitchen to exactly fit my needs and aesthetic preferences.
The transformation was more than just aesthetic; it enhanced the kitchen's functionality. The island has become a central gathering spot, whether for morning coffee or chatting as I cook dinner. The additional storage was a game-changer, making my kitchen feel more organized and spacious.
Customization Ideas for Your IKEA Kitchen Island Hack
When it comes to personalizing your kitchen island, the possibilities are as vast as your imagination. Here are some practical and creative ideas to customize your IKEA kitchen island, ensuring it's not only functional but also a reflection of your unique style.
- Choose a Theme: Start by deciding on a theme that resonates with your personal taste. Whether it's modern, rustic, or minimalist, let your theme guide your choices in colors, textures, and accessories.
- Paint and Finishes: Transform the look of your island with paint. A fresh coat in a bold color can turn it into a statement piece. For a more subtle change, consider using different finishes like matte, gloss, or chalk paint.
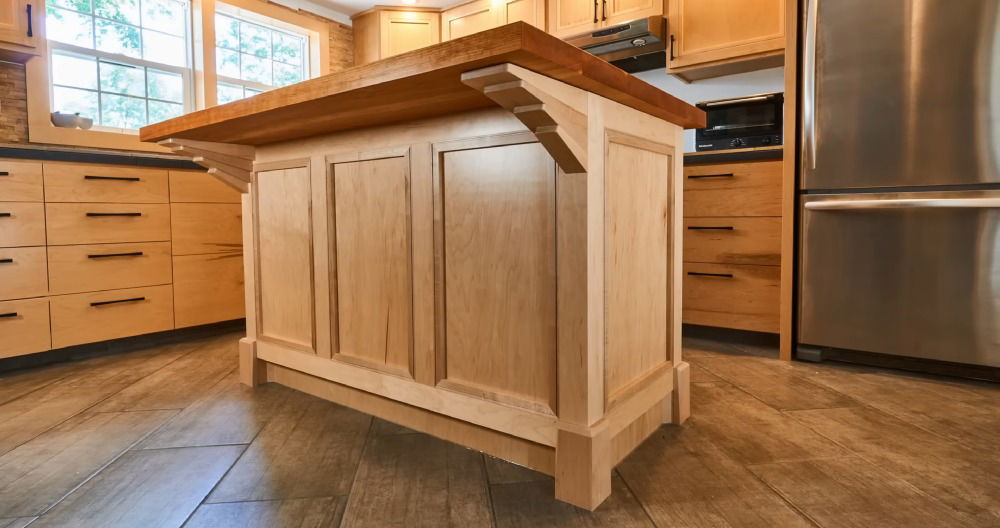
- Top It Off: The countertop is a key element of your island. Swap out the standard top for a butcher block, stone, or concrete surface to add both beauty and functionality.
- Add Texture: Incorporate materials like beadboard or shiplap to the sides of your island for added texture and visual interest. This can also help your island blend in with the rest of your kitchen's design.
- Functional Add-Ons: Think about what you need from your island. Do you need more storage, seating, or cooking space? Add shelves, hooks, or a hanging rack for pots and pans to meet your needs.
- Lighting: Good lighting is essential in the kitchen. Install pendant lights above your island to improve visibility and add a touch of elegance.
- Hardware Upgrades: Changing the hardware on drawers and cabinets can make a big difference. Choose handles and knobs that complement your kitchen's decor.
- Seating Solutions: If your island doubles as a dining area, invest in comfortable seating that matches your style. Consider bar stools that can be tucked away when not in use to save space.
- Decorative Details: Accessorize your island with items that are both decorative and practical. A vase of fresh flowers, a bowl of fruit, or a set of stylish canisters can enhance the overall look.
- Safety First: Ensure that all modifications are secure and safe. If you're adding heavy countertops or fixtures, make sure the base can support the weight.
Incorporate these customization ideas to make a functional and stylish kitchen island that reflects your style. The key to a successful ikea hack is making it uniquely yours.
Maintenance and Care for Your IKEA Kitchen Island
Keeping your IKEA kitchen island in top shape is crucial for extending its life and maintaining its appearance. Here's a straightforward guide to caring for your kitchen island, ensuring it remains a functional and beautiful part of your home for years to come.
Regular Cleaning:
- Daily: Wipe the surface with a soft, damp cloth to remove crumbs and spills.
- Weekly: Clean the countertop with a mild detergent and water solution, then dry with a clean cloth to prevent watermarks.
Protect the Surface:
- Use coasters under drinks to avoid rings.
- Place hot pads or trivets under hot dishes to prevent heat damage.
- Apply a cutting board when slicing to avoid scratches.
Treat Wood Surfaces:
- If you have a wooden countertop, oil it regularly with a food-safe mineral oil to keep it hydrated and prevent cracking.
Check Hardware:
- Every few months, inspect screws and fittings to ensure they're tight and secure.
- Lubricate drawer slides and hinges as needed to keep them operating smoothly.
Avoid Harsh Chemicals:
- Steer clear of abrasive cleaners that can scratch or dull the finish.
- For stubborn stains, use a paste of baking soda and water, and gently rub the area.
Manage Wear and Tear:
- Touch up paint or finish as needed to cover chips or scratches.
- Replace any worn-out parts like drawer liners or shelf liners to keep the interior fresh.
Mind the Weight:
- Don't overload shelves or drawers. Adhere to the recommended weight limits to avoid sagging or damage.
Seasonal Adjustments:
- Wood can expand or contract with changes in humidity. Adjust doors and drawers seasonally if they stick or become loose.
Deep Cleaning:
- Once a year, empty the island and give it a thorough cleaning, including the interior spaces and storage areas.
Follow these simple tips to keep your IKEA kitchen island hack durable and inviting. A little care preserves your furniture's beauty and functionality.
FAQs About IKEA Kitchen Island Hack
Discover the best faqs about ikea kitchen island hack, including tips, designs, and steps to make your perfect DIY kitchen island.
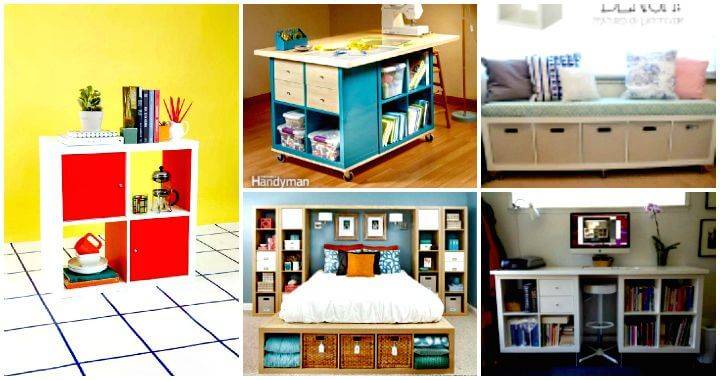
You can build an affordable kitchen island by using IKEA’s furniture pieces creatively. For example, the KALLAX shelving unit can be transformed into a functional island with storage and seating. Another popular hack is to use the IVAR shelving unit as a base and add a countertop for an instant island solution.
IKEA hacks often involve a bit of reverse engineering. You can start with a vision of your desired island and then look for IKEA products that closely match your needs. Combining different IKEA cabinets or shelves can help you make a kitchen island that fits your space perfectly.
Yes, adding casters to your kitchen island can make it movable, which is especially useful in smaller kitchens where flexibility is key. This allows you to move the island out of the way when you need more floor space.
You can line the outside of your island with custom side panels or paint it to match your kitchen's color scheme. Adding a marble slab or a butcher block countertop can also elevate the overall look of your island.
Absolutely! Some innovative hacks include building a kitchen island with a secret compartment for foldable tables or extra storage. This is a great way to keep your kitchen organized and clutter-free.
Conclusion: My Experience and Tips
Reflecting on this DIY IKEA kitchen island hack, here is what stood out:
- Take Your Time: There's no rush in DIY projects. Patience ensures precision and satisfaction.
- Budget Wisely: Originality can still thrive on a budget through creativity.
- Seek Practicality: While aesthetics are important, functionality should not be compromised.
For anyone pursuing a similar project, I hope my journey can serve as a guide. The Kallax kitchen island was more than a household upgrade; it was the fruition of a long-held dream crafted with my own hands. Share your thoughts or any questions, and if you're considering a DIY kitchen project, embrace the challenge and enjoy the process.


