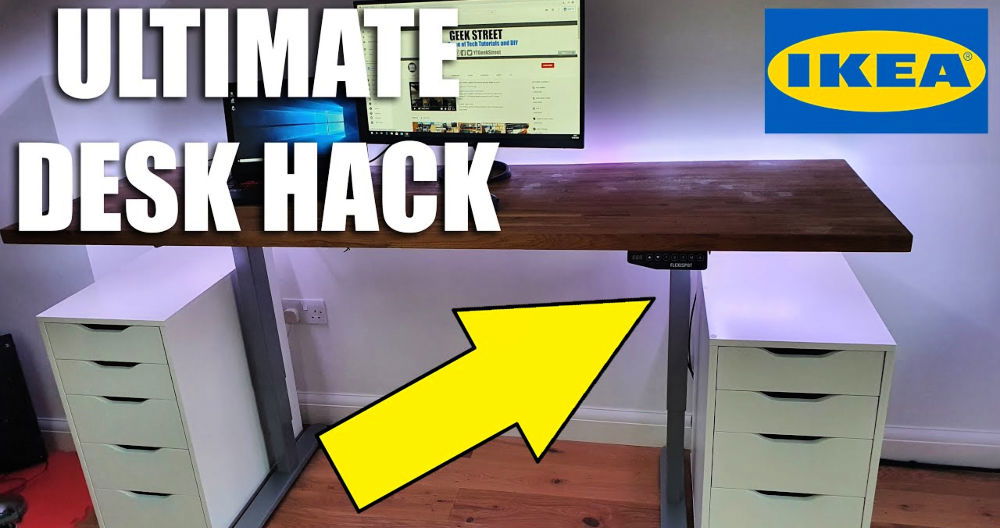
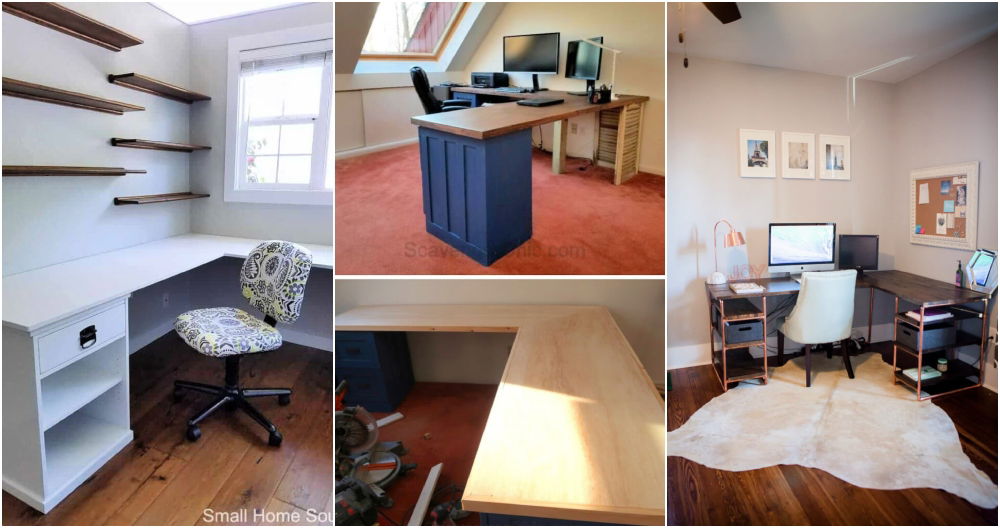
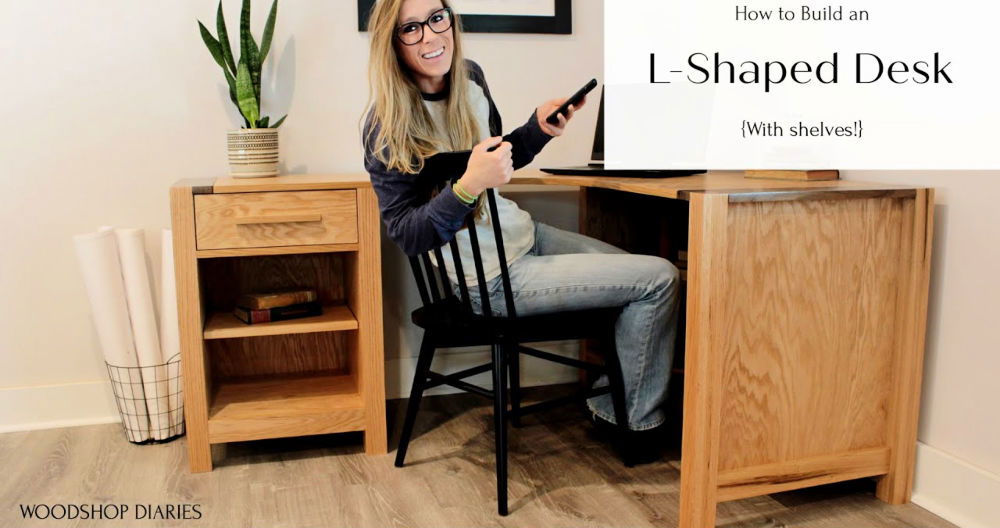
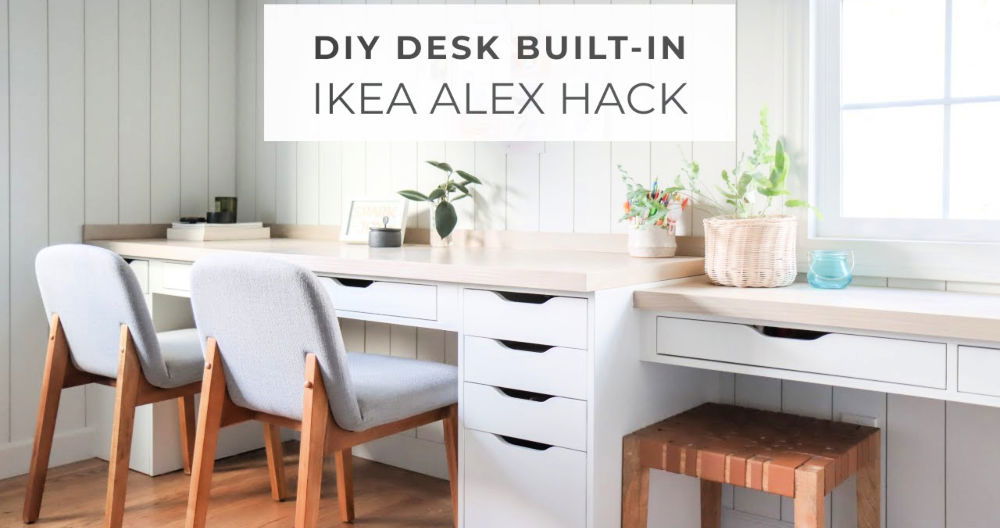
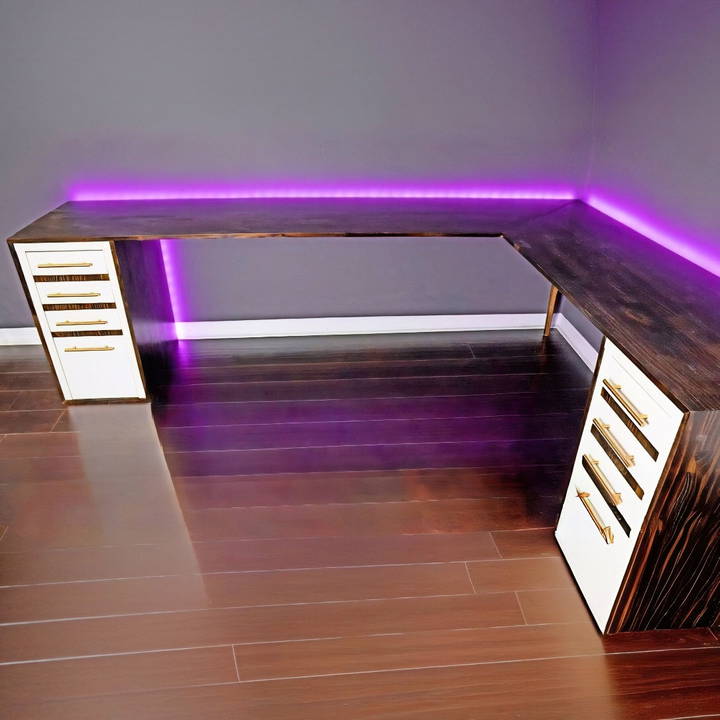
Building furniture can be a lot of fun, especially when you can customize it just right for your space. I recently took on the challenge of making an L-shaped desk using IKEA's MICKE drawers, and I must say, it turned out to be an incredibly rewarding process. Here, you can discover the ultimate IKEA l-shaped desk hack guide for creating a stylish, functional workspace. Step-by-step instructions for an ideal home office.
Why IKEA Hack?
The idea struck when the dining table no longer served the growing demands of my home office. The goal was clear: to build an ergonomic, aesthetically pleasing, and functional workspace. The choice to use IKEA's MICKE drawers was driven by the desire for affordability and customization. IKEA hacks are popular for their versatility, and the MICKE drawers offer the perfect balance of functionality and simplicity.
Materials Needed
Before diving into the building process, let's talk about the materials required and why they're important:
- IKEA MICKE Drawers: These pre-built drawers are sturdy and serve as the perfect base for our desk. They save time and effort while adding ample storage space.
- Pine Wood Panels: We use these to build the desk's surface. Pine wood is affordable and easy to work with. Plus, it has a nice pattern that adds an aesthetic appeal.
- Tabletop Legs: We used one IKEA leg for additional support in the corner of the L-shape. This ensures stability.
- Wood Glue and Screws: Essential for joining wood pieces together securely.
- Stain (Espresso Color): Adds a rich color to the wood, giving it a polished look.
- Polyurethane Clear Coat: Protects the wood and enhances durability.
- Sandpaper (50 and 220 Grit): Useful for smoothing out wood surfaces.
- Clamps: Crucial for holding the wood pieces tightly together as the glue dries.
- Pocket Screw Jig: Facilitates joining two wood pieces seamlessly.
- Gold Handles: Decorative touches that make a big difference.
Now that you have your materials ready, let's get started!
Preparing the Workspace
First things first, you need a designated area where you can work without interruptions. I cleared out space in my garage and laid down a tarp to catch any wood dust or stain drips. It's always a good idea to work in a well-ventilated area, especially when sanding or using stain and polyurethane.
Assembling the Drawer Bases
Start by assembling the IKEA MICKE drawers according to the instructions. This serves as the foundation for the desk. I chose two sets of drawers, enough to support the weight of the desktop and provide ample storage. Place them roughly where you want your desk to be, keeping in mind the L-shaped design.
Building the Desktop
Cutting and Joining the Wood
I chose pine wood for the desktop because of its interesting grain pattern and affordability. To build the L-shaped surface, you'll need to cut the wood panels to size.
- Measure the Space: Carefully measure the area where the desk will sit. This will help you cut the panels to the right length and width.
- Make the Cuts: Using a circular saw, make straight cuts according to your measurements. I initially tried miter cuts for the corners, but straight cuts work just as well and are more forgiving.
- Join the Panels: For a wider surface, you may need to join multiple panels. Drill pocket holes on one side, and use wood glue and screws to attach the panels together.
Building the Support Structure
With the desk panels ready, the next step is to assemble the support structure.
- Position the Panels: Lay the panels on top of the MICKE drawers. The clean lines of the drawers complement the overall look.
- Add the Corner Leg: For additional support, attach an IKEA leg at the corner of the L-shape. This is crucial to prevent any wobble.
- Clamp and Glue: Ensure everything is in position, then use wood glue along the seams and clamp the panels to let the glue dry.
Finishing the Surface
After assembling the desk, it's time to finish the wood.
- Sanding: Start with 50-grit sandpaper to smooth out any rough areas and remove excess glue. Follow up with a finer 220-grit sandpaper for a polished finish.
- Staining the Wood: Apply a coat of espresso stain to all visible wooden surfaces. This step adds a rich, elegant color, making the desk look more cohesive.
- Applying the Clear Coat: After the stain dries, apply polyurethane for protection. This clear coat shields the wood from scratches and spills.
Adding the Finishing Touches
- Handles and Accents: Drill holes in the drawer fronts and attach gold handles. This adds a stylish accent and ties the whole piece together.
- Fill in Gaps: If there are any small gaps between the drawers and the desktop, use stained excess pine wood to fill them in. It keeps the design looking seamless.
What I'd Do Differently
While my custom L-shaped desk turned out great, there were a few things I would adjust if I were to do it again:
- No Miter Cuts: I found straight cuts are easier and cleaner, especially for a first-time project like this.
- Simpler Joints: Cutting the tabletop pieces at a 45-degree angle added unnecessary complexity. Simple straight cuts would also join the pieces effectively.
Personalized Customization Tips
When it comes to personalizing your IKEA L-shaped desk, the possibilities are as varied as your imagination. Here are some tips to help you customize your desk to fit your unique style and needs:
- Choose Your Color Palette: Start by selecting a color scheme that reflects your personality. Whether you prefer a calming pastel tone or a vibrant pop of color, painting your desk is an easy way to make it your own. Use paint that's suitable for the desk's material, and don't forget to apply a primer first to ensure longevity.
- Add a Personal Touch with Accessories: Desk accessories can be both functional and decorative. Consider adding a stylish lamp, a plant for a touch of greenery, or a personalized mug holder. These small additions can make your workspace feel more ‘you'.
- Organize with Creative Storage Solutions: If you need more storage, think outside the box. Mount shelves above the desk, use magnetic boards to keep track of notes or add rolling drawers underneath for hidden storage. The key is to keep everything within reach but out of the way.
- Ergonomic Enhancements: Adjust the desk height to fit your ergonomic needs. If your desk isn't adjustable, consider adding a keyboard tray or a monitor stand to build a more comfortable working environment.
- Cable Management: Keep your cables tidy with cable organizers or clips. This not only cleans up your space but also prevents accidents and equipment damage.
- Personalize Your Workspace Layout: Arrange your desk in a way that suits your workflow. If you're right-handed, keep your most-used items on the right side, and vice versa. The L-shape gives you ample room to set up distinct zones for different tasks.
Make a space where you're comfortable and productive. Plan and customize until it feels right. Your desk should reflect you, so let it shine!
Productivity and Ergonomics Section
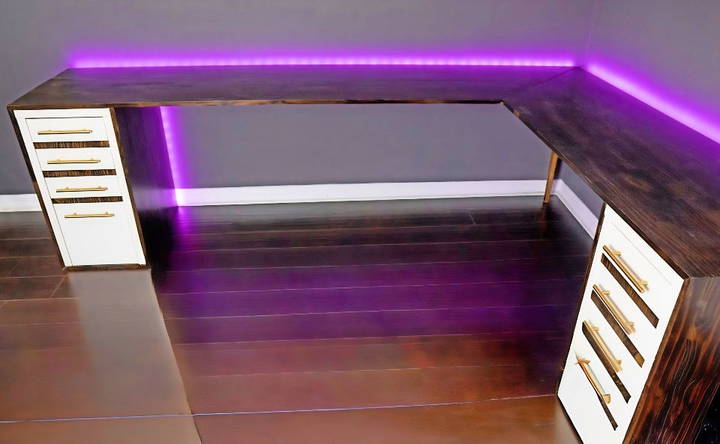
Building an ergonomic workspace is essential for maintaining productivity and comfort, especially when you're spending long hours at your desk. Here's how you can set up your IKEA L-shaped desk to support your well-being and enhance your work efficiency:
- Adjust the Desk Height: Ensure that the height of your desk allows your arms to rest comfortably at a 90-degree angle while typing. If your desk isn't height-adjustable, consider using risers or an adjustable chair to find the perfect fit.
- Monitor Placement: Position your monitor so that the top of the screen is at or slightly below eye level. This helps reduce neck strain. The monitor should be about an arm's length away to prevent eye strain.
- Choose an Ergonomic Chair: Invest in a chair that supports the natural curve of your spine. Look for features like adjustable height, lumbar support, and the ability to recline slightly.
- Footrest for Support: If your feet don't rest flat on the floor, use a footrest. This can help reduce lower back pressure and improve circulation.
- Keyboard and Mouse Positioning: Place your keyboard and mouse within easy reach and on the same surface. Your wrists should be in a neutral position, not bent up or down.
- Lighting: Good lighting is crucial. Position your desk to take advantage of natural light, and supplement with a desk lamp to reduce eye fatigue.
- Organize Your Space: To minimize stretching, keep frequently used items within arm's reach. Use desk organizers to keep your space clutter-free.
- Take Regular Breaks: Set a timer to remind yourself to stand up and stretch every hour. Short breaks can help reduce muscle fatigue and increase blood flow.
- Personalize Your Space: Add personal items that make you happy, like photos or a favorite piece of art. A pleasant environment can boost your mood and productivity.
By following these tips, you'll build an ergonomic workspace that not only looks good but also feels good, helping you stay productive and healthy throughout your workday.
Troubleshooting Common Issues with IKEA L-Shaped Desks
When you're working with furniture, it's normal to encounter a few hiccups along the way. Here are some troubleshooting tips for common issues you might face with your IKEA L-shaped desk:
- Stability Concerns: If your desk wobbles, check to ensure all screws are tightened properly. An uneven floor can also cause instability, so consider using adjustable feet or a shim under the desk legs to level it out.
- Drawer Alignment: Drawers that won't close properly are often due to misalignment. Make sure the drawer slides are installed evenly. If the problem persists, adjust the position of the slides or check for obstructions.
- Surface Scratches: For minor scratches, a furniture marker that matches the color of your desk can work wonders. For deeper scratches, you may need a wood filler followed by sanding and refinishing the area.
- Difficulty Assembling: IKEA instructions can be tricky. If you're stuck, double-check each step to ensure you haven't missed anything. Online tutorials or IKEA's customer service can also be helpful resources.
- Missing Parts: If you find yourself missing screws or other components, contact IKEA for replacements. Keep your receipt and product information handy for a smoother process.
- Adjustment Issues: For desks with adjustable features that aren't working smoothly, check for any obstructions and ensure all mechanisms are clean and lubricated if necessary.
Patience is key when dealing with furniture issues. Take your time, and don't force parts together. If you're feeling overwhelmed, it's okay to ask for help or hire a professional to ensure your desk is set up safely and correctly.
FAQs About IKEA L-Shaped Desk Hack
Discover the top faqs about the IKEA L-shaped desk hack. Get insights on assembly, cost, and customization tips to build the perfect workspace.
Absolutely! Ikea's linnmon tabletops are ideal for creating a custom-sized desk. You can join multiple tabletops to fit your space and needs.
Yes, you can add a kallax bookshelf unit on top of a linnmon tabletop to mimic a desk hutch for additional storage. You can also use alex drawers to support the tabletop and provide ample storage.
To enhance stability, you can use flat brackets to attach two desks together. If you want extra sturdiness, consider adding angle brackets and mounting the desk to a nearby wall.
For narrow spaces, the bestå burs desk is a good choice due to its shallow depth. You can place two of these desks in an l shape to maximize your workspace without taking up too much room. Adding a table in a drawer hack can also help manage space efficiently.
To keep cables tidy in your L-shaped desk, consider using signum cable management trays that can be mounted under the desk. You can also use rabalder cable organizers to bundle cords together and fix cable management clips to keep them in place along the desk legs. For a more personalized touch, try making hidden storage for power strips and adapters using a Kvissle cable management box.
Final Thoughts
This IKEA hack turned out to be a fantastic way to build a custom desk that perfectly fits my space and needs. The experience of a DIY IKEA L-shaped desk hack was both challenging and rewarding, offering a blend of creativity and practicality. Not only does the desk provide a comfortable workspace, but it also adds character to the room.
This kind of project is achievable for anyone with some basic DIY skills and a willingness to learn. By following these steps, you can make your own L-shaped desk, saving money and gaining the satisfaction of building something with your own hands.


